On the subject of photography basics – it is crucial to learn and understand what the 4 basic camera modes do and not only how, but when to utilize them. Many times when you first get your new expensive camera you want to just start shooting and expecting to find magical and majestic images but often you are intimidated by all of the buttons, dials and modes and you aren’t sure where to start. It is my goal to fix that for you today and get you down the right path!
The 4 major modes are:
P – Program Auto
A (Av) – Aperture Priority
S (Tv) – Shutter Priority
M – Manual
(Av, Tv) for Canon

How the Modes Work:
P – In program auto mode the camera automatically selects the correct exposure for you. Meaning it will select what it thinks is the appropriate aperture, shutter speed & ISO*
A (Av) – In Aperture Priority mode, you select the aperture that you want to use and the camera then selects the shutter speed and ISO*
S (Tv) – In Shutter Priority mode, you choose the shutter speed you want and the camera chooses the right aperture and ISO*
M – In Manual mode, you choose everything, aperture, shutter speed and ISO* to get the proper exposure.
*ISO can be set to “Auto ISO” having your camera adjust automatically or you can manually set ISO, for any of the above modes.
When to Use:
P – Aside from fully automatic mode, often shown in green “AUTO” on the mode dial, this is the most “automatic” you should want to get. I’d recommend starting out with this mode only to get started when you first are learning – think of “P” mode as only a stepping stone to the other 3 modes, which is really where you can get the most out of your camera. One instance of where “P” mode may come in handy is if you are anywhere outside where there is plenty of light and you just want to be able to take some snapshots without much thought. This way you can enjoy the benefits of having the nicer image quality, but yet still just push the shutter without much thought.

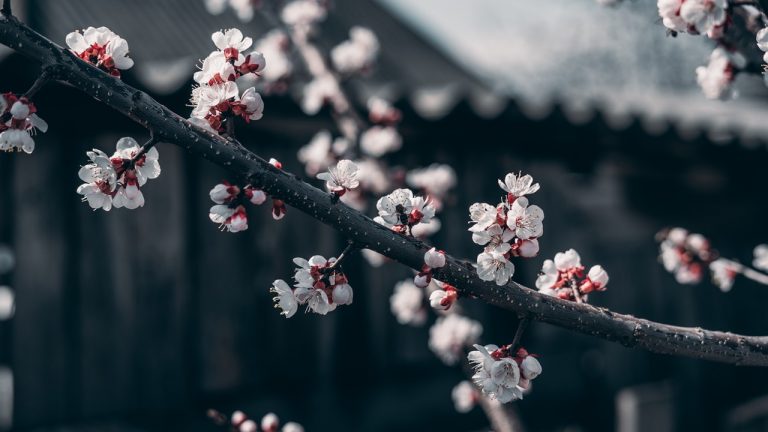
A (Av) – This is the mode that we use 75% of the time. Aperture mode lets you select the aperture on your lens, which determines two things: 1. how much light is coming into your camera thru the lens and, 2. how much depth-of-field you want in your photo – which in laymen terms you can think of depth-of-field as how much of the foreground or background from your focus point you want to be in focus. The lower the aperture number like (1.8), the less depth-of-field you have, meaning the more blurry your non-focused areas will be. The greater the aperture number (f9) the more depth of field you have, so more of the photo will be in focus, even the photo elements that you didn’t specifically focus on. Common real life examples for either scenario is: if taking a portrait of someone, by having a low aperture we can put the focus on our subject and have a nice out of focus background, letting the subject “pop”. Conversely, if shooting a far away landscape photo we may want as much of the scene in focus as possible and a higher aperture number would be chosen.

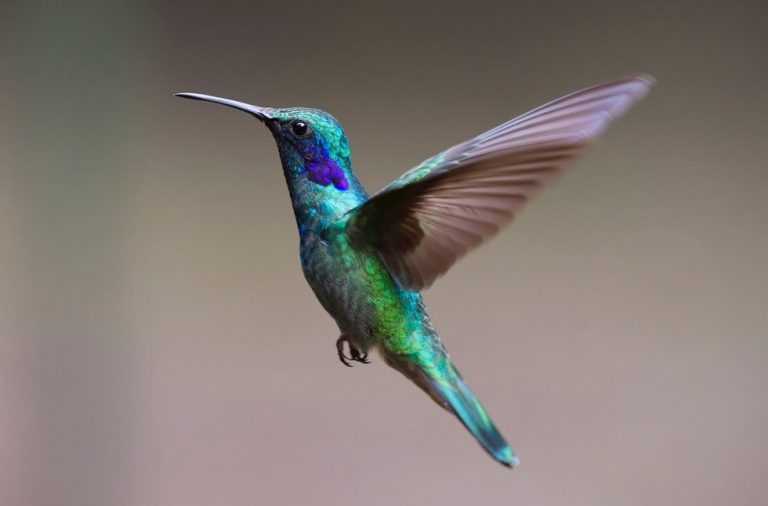
S (Tv) – Shutter mode should be utilized most often when shooting sports or anything where your subjects are moving fast, like birds in flight or even concerts where performers are constantly moving. By dictating the shutter speed you can ensure that you will have a fast enough shutter speed to freeze the motion that you are capturing, and thus eliminate unusable photos that may have too much motion blur from a slow shutter speed. How fast of a shutter speed do you need? A lot of that depends on the lens being used, on full frame cameras the old rule was the “minimum” to be at least 1/lens focal length, but on newer, more entry level cameras that are crop sensor cameras (not full frame) the rule becomes 1/(1.5 x lens focal length). So if your lens is a 50mm, make sure to have a minimum shutter of 1/80. Keep in mind though that this rule is for everyday shooting and for mostly stationary subjects – to freeze motion or fast moving objects a much faster shutter is needed.

M – As guessed, manual mode gives supreme control of each element of your cameras exposure. Use manual for the very tough lighting situations that the digital camera just isn’t smart enough to give proper exposure. A good example is if your subject is back-lit and your shooting into the sun, your camera will measure the light for the overall scene and by seeing all the light from the sun it will expose for that and the sky will look nice but your subjects will be severely under-exposed or even silhouetted. If you don’t want to use flash to light your subject and fill in those shadows you can in manual mode expose correctly for your subject, rather than the overall scene. Manual mode is also very useful and needed when shooting indoors with flash because indoors the lighting often isn’t changing and you can control the amount of ambient room lighting vs flash lighting mixture to give you proper and most importantly consistent results.

As with everything the real key is to practice, practice and practice some more. Get out there in the field and take photos of everything, experiment with all the different modes and different settings and then study the results – with a little effort you will be able to unlock the true potential from that brand new camera you just got!
If you enjoyed this tutorial, please support the site and make sure to sign-up to our mailing list right here to receive more exclusive FREE tutorials, tips and giveaways!
Thanks for reading!
Cole