Are you leaving on a jet plane soon? Flying with your camera can seem intimidating. But it’s really not. Be prepared with these five simple tips.
I don’t do much air travel anymore. And until recently, I’d never traveled with my “big camera.” But I was flying from Denver to Indianapolis for a seminar on off-camera flash, I knew I’d need to travel with my camera, a lens or two and some OCF gear. The thought of getting more than $4,000 in gear from point A to point B had me a wee bit stressed. I needn’t have been. With some planning and forethought, flying with your camera and other gear is a breeze.
I spent several hours scouring the Internet and talking with other photographers who travel with their camera on a regular basis. It was educational but not exactly a good use of my time. So let me save you time and hit the highlights here. Whether you are traveling for a job, headed home for the holidays, attending a photography seminar or just taking a much-deserved vacation, you might want to travel with your camera. Before you take off, check out these five simple tips.
1. Insure your gear.
This isn’t something you need to do simply because you are flying with your camera. It’s simply good business. If your camera, lenses and other gear are your livelihood, they need to be protected with insurance. That way if your gear is damaged or outright stolen, you have help repairing or replacing it.
2. Travel light.
It can be tempting to want to carry every single lens in your kit because you don’t know exactly what your needs will be. Don’t. Not only are your lenses more vulnerable to damage and theft when you leave the house with them, but chances are you’re packing extra weight for nothing.
Evaluate your gear with a critical eye and try to pare down the amount of gear you’re taking. If you are traveling for a photography assignment, you might have less flexibility than if you are taking a family trip to Disney World. But you can still be smart about how much gear you take.
For example, do you need to take your 50mm f/1.8 lens if you’re also taking your 24-70mm f/2.8 zoom? You have the 50mm focal length covered with the zoom, so consider leaving it at home. If you’re traveling where you can take wildlife pictures, maybe a telephoto is all you need. For candids and closeups of family and friends, use your phone.
I can’t make those decisions for you. But give them some thought and travel light whenever possible.
3. Carry on
The best place for your camera and lenses is in a bag you carry on the plane with you. Don’t check them. That way you are the one responsible for your gear’s care and safety, not some tired, overworked TSA agent or baggage handler.

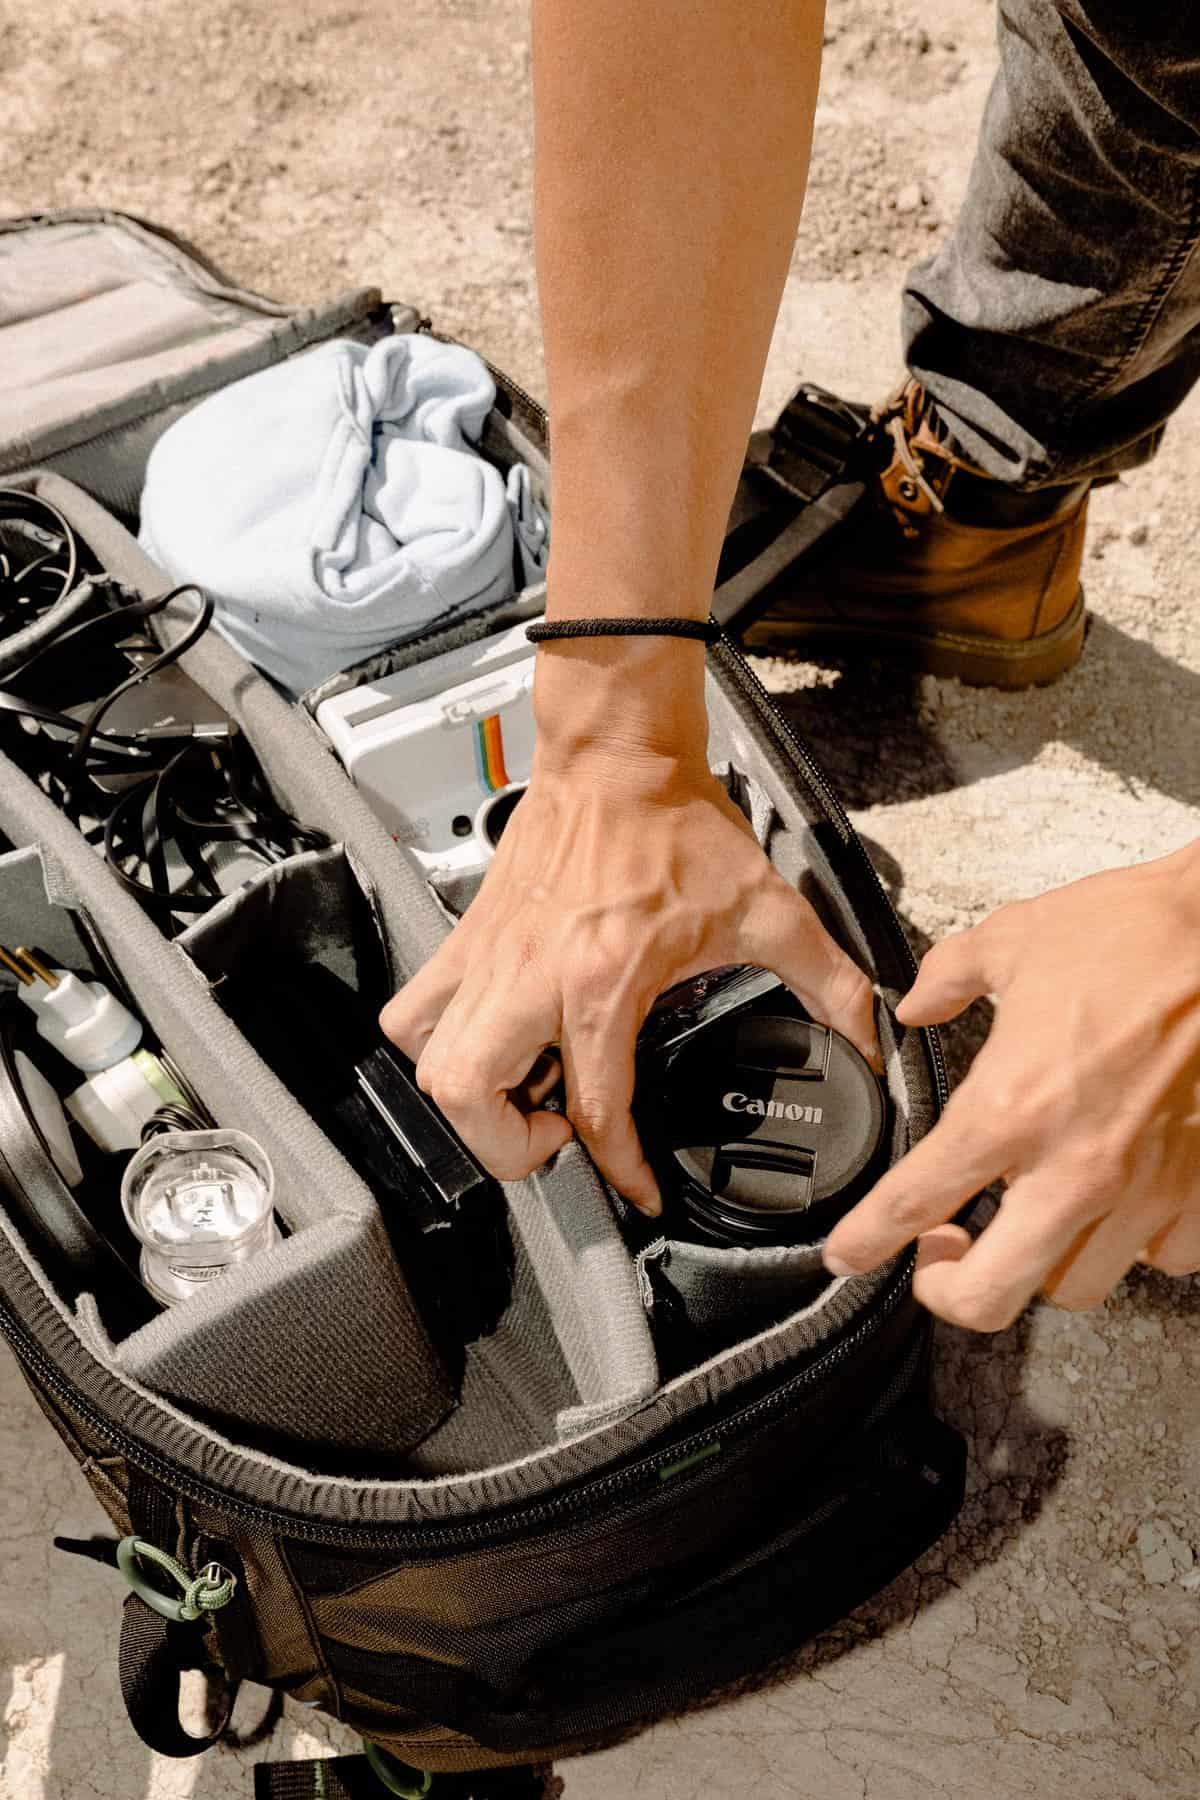
Your gear can still get jostled around a bit on the plane, though, so make sure you use a camera bag with good padding and protection. And make sure it’s a bag that zips securely.
Keep your bag with you at all times. Don’t leave it unattended in the airport and don’t leave it in a car. Keep it with you or secured in a building, such as in the hotel safe or your room at your parent’s house.
Here’s a few other guidelines for packing your camera bag.
- Separate the lens from the camera and use the caps and lens covers.
- Remove the battery from your camera. This isn’t necessary per FAA regulations, but that eliminates the possibility that your camera is turned on accidentally and you have 1,000 black frames of the inside of your camera bag and a dead battery.
- Per the FAA, don’t pack any lithium-ion batteries in your checked baggage. They are a fire hazard. Remove all the batteries from your gear (don’t forget about your flashes!) and put them in your carry on. Keep the batteries separate. Cover the contacts with their plastic shipping caps or tape. This prevents the contacts from contact, which can start fires.
- Try not to overstuff your bag. The more organized your gear is, the easier and faster the screen agents can recognize it as a camera, lens, etc. And if you get pulled for additional screening, it goes faster if the agents aren’t pawing through eight layers of sundry stuff to get to your camera gear.
- When flying with my camera, I like to keep my camera bag under the seat in front of me. Then I know where it is and can keep an eye on it. If yours has to go in the overhead bin, put it in a bin ahead and across the row from you so you can see it easily.
Some other thoughts on carry-ons
- Right now, the FAA regulations say your camera can stay in your bag through screening. But understand that each airport and even each screening agent has a different idea of how to present your gear at security. One advised me to pull the camera body and place it in the bin with my phone. Another told me to leave it in my bag through security. I think the best policy is to leave the camera body in your bag but be prepared to separate it out if asked.
- Don’t stress your camera going through the X-ray machine. It’s perfectly safe for your gear.
- If you have film rolls or disposable cameras, DON’T PUT THEM THROUGH THE XRAY. It may wreck your film. Keep all your film in a separate see-through bag and carry it on the plane with you. Personally hand it to the TSA agent for a hand inspection.
- Check the dimensions of your camera bag and make sure it can be counted as a personal item or carry on. Most airlines require bags to be no bigger than 9 inches x 14 inches x 22 inches, but the exact dimensions can vary. Check with your airline before packing your bag. If your normal camera bag is too big, consider buying or borrowing a smaller bag rather than checking your camera bag as luggage.
- Carry on tripods only if they meet the approved carry-on dimensions of your airline. Otherwise, they will need to be checked.
For more ideas on protecting your camera and gear in any situation, see our tutorial!
4. Don’t forget to protect your checked equipment
If checking other gear, protected it as well. Give it lots of padding and pack your bag snugly so everything doesn’t slide around in transit. Hard-sided cases with foam inserts are great for traveling with strobes and speedlights. Large hard-sided cases, like those for golf clubs, are great for flying with tripods, light stands, and boom arms and modifiers.
Use a TSA approved lock or strap on your bag (or both) to keep your contents in your case. The TSA approved locks have a combination lock and a key lock on the back. You can set the combination, but TSA agents can use a key to open the lock and inspect your bag if needed (preventing the need for cutting off the lock).
[ad id=’1′]
5. Ship it!
If you have to carry a ton of gear for a job, consider shipping it instead of flying with your camera or equipment. Checked baggage fees can easily outweigh the cost of round-trip shipping. You’ll be traveling fast and light which is always much easier. You can ship it ahead of time to make sure it arrives on time. Adding extra insurance to cover the total of your gear may be cheaper (and easier) than paying for additional checked bags.
If you’re renting gear for the trip, have it shipped to your location if possible. It’s one less thing you have to pack. And you can save the rental fee of your travel days.
It’s not that bad
Flying with your camera really isn’t that big of a deal. If you plan ahead, pack smart and follow the TSA guidelines, you and your gear should have a pleasant experience. Just remember to return your seat and tray to their upright positions and secure your belongings for landing.
Happy trails!
