
Two free Photoshop alternatives — DarkTable vs Rawtherapee come together to compete for your time and attention. They both offer photo-editing capabilities beyond your phone’s simple editor, and they both produce some fantastic results.
So which one is for you? Let’s take a look at each of the features to see which one might be more appropriate for you during your editing activities. Or, you may want to blend the two to get more out of your editing. Here’s what you need to know about DarkTable and RawTherapee.
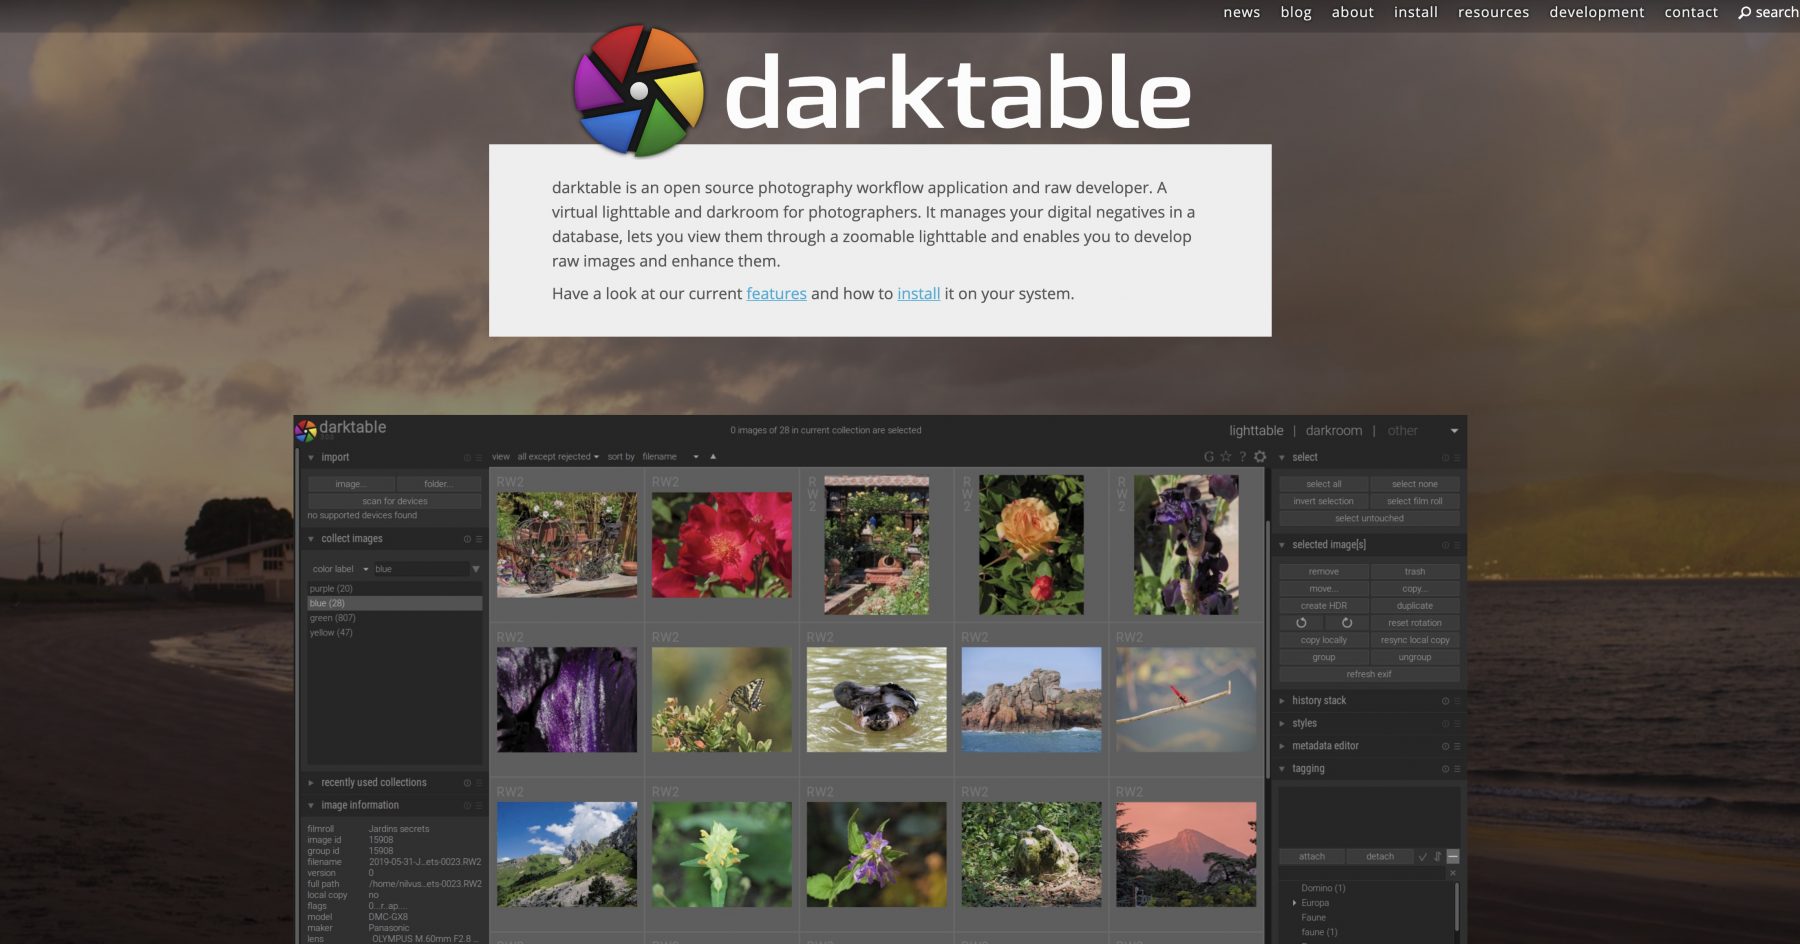
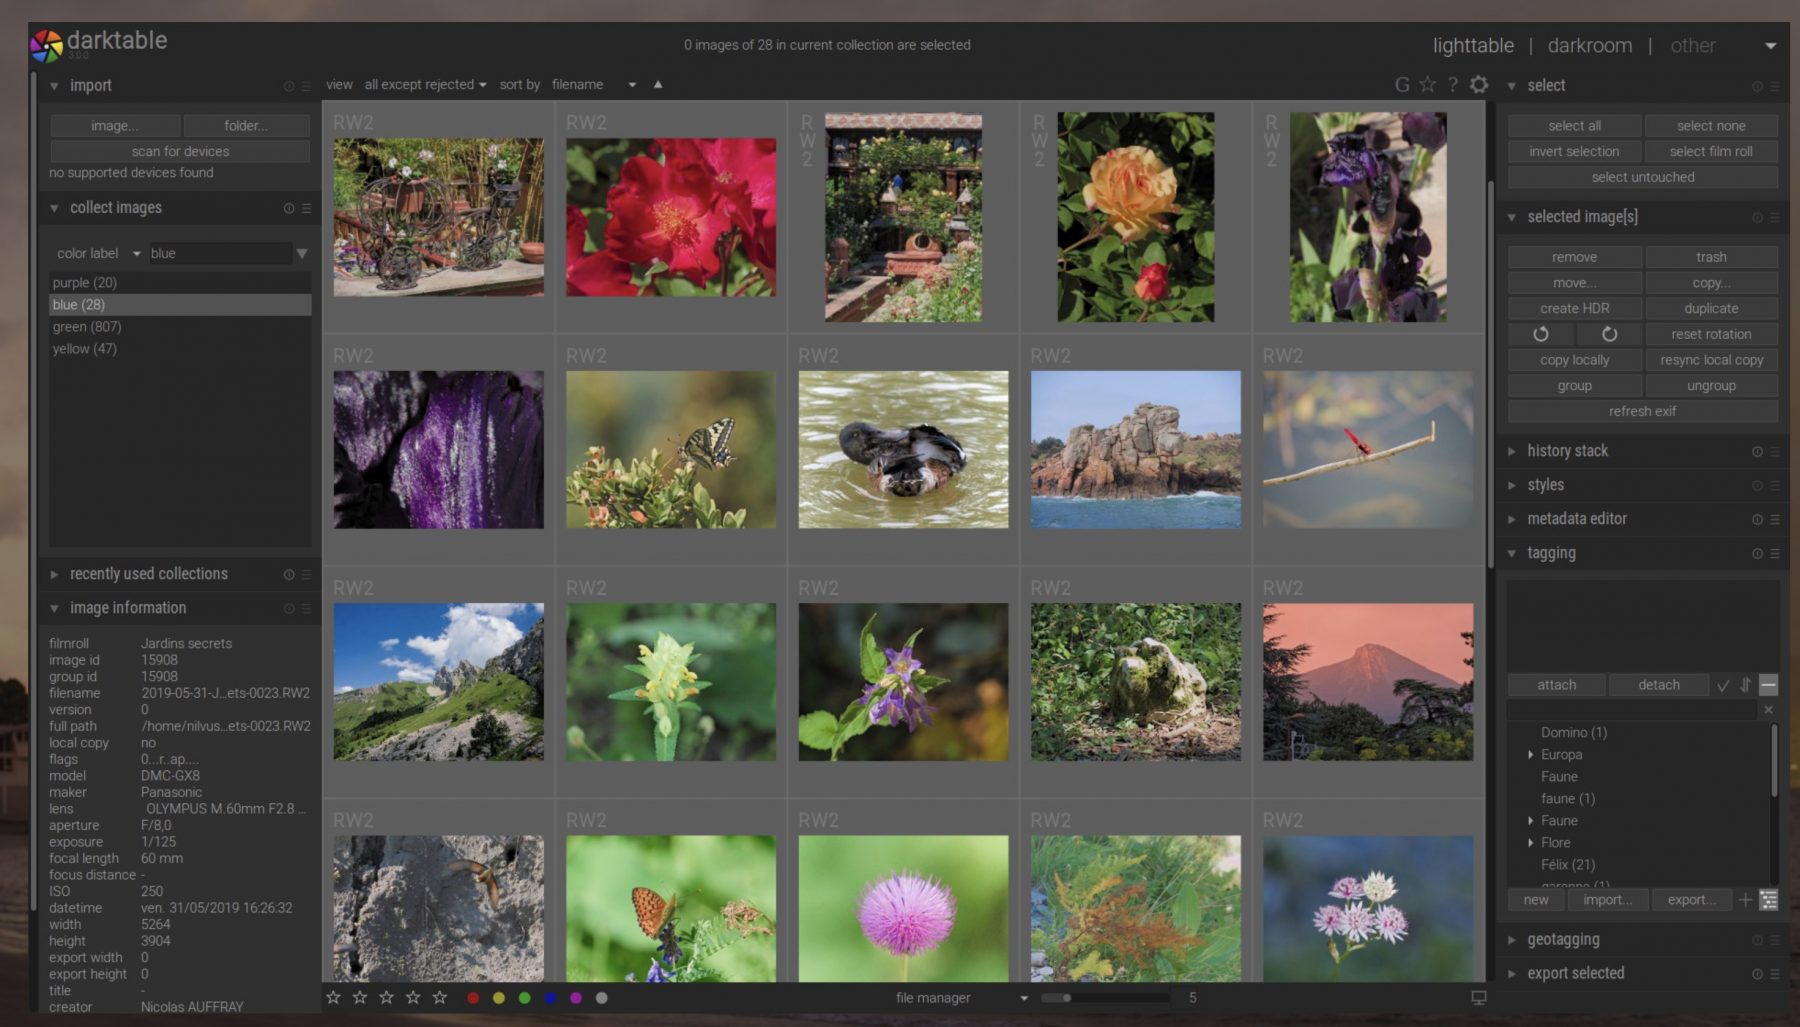
Introducing Darktable
Darktable uses a platform available to everyone to provide free editing features. This is great because you can take part in the development of new features and get into the program to make it your own.
The developers encourage such participation, so the platform features quite a few capabilities that allow you to make deep, impactful edits, not unlike Photoshop or Lightroom. Darktable is currently striving to be as good or better than the paid versions of other famous software, and its functions are only growing.
Right now, it’s a download-only option, so you don’t have the chance to edit on your mobile or use a cloud-based service to remove excess software from your computer. However, it’s beginner-friendly navigation makes it a useful tool for those of you who are just getting into the game.
DarkTable Quick Look:
- Code available to everyone nd free
- Plentiful features for color correction and crop
- Works with most file types including standard RAW files
- No mobile or online option
- Works with batch alterations
- No presets available, although making your own is pretty simple.
How Darktable Handles Photo-editing
Darktable uses a slider method to handle the basics of editing. It features three sliders for the beginning steps to a great photo — saturation, contrast, and brightness — allowing you to get a handle on the overall color quality of your photo. These sliders give you a way to tinker with settings that will make up the foundation for your photo of RAW file.
In addition to these, you also get the chance to recover sections of a photo lost to either shadow or overexposure. The tools take brightness a step further, allowing you to adjust the overall brightness and then fine-tune the shadows and highlights until you’ve got a consistent result across your photo.
You can also soften the image or RAW file using two different blur effects, eliminating unflattering sections of portraits and removing unsightly contrast. While you’re there, the color correction tool gives you a better, more vibrant color or helps to wash out colors for a vintage look. Again, a slider tool gives you a lot of control over how much color correction you’re applying.
Another key feature, white balance, offers some necessary correction for photo editing. While not as in-depth as other photo editing software out there, you’re still able to control for greenish tints in underexposed photos or add warmth to portraits fairly easily. Combine with the color correction two-dot feature, and you can touch up all areas.
Darktable offers a unique feature designed to automatically correct when ISO wasn’t set correctly. Expouse helps you quickly adjust a photo’s settings based on accepted ISO settings, giving you a jumpstart on color correction and white balance.
One thing Darktable also does well is black and white. Color photos transfer to black and white without losing clarity or muddying crisp edges, seemingly as if you set the film itself to develop black and white. You’ll get flexibility with image style and quality.
Darktable Classic Features
In addition to these foundational photo editing features, Darktable also allows you to make adjustments to other things. It will straighten a photo that’s a little off and crop out the white canvas to ensure the image looks professional.
DarkTable also has a robust image cropping tool in general, allowing you to change the image perspective, come in close, or create multiple images out of one exposure. If you work in RAW, you’re able to handle all these things and more from the same suite.
Darktable also has both image vignetting and photo grain tools to give photos a true film quality. Manipulating the grain helps bring out texture naturally, and Darktable’s image capabilities are well equipped to perform this function. The vignettes are natural and well bordered with minimal effort.
You get just about everything you’d need from a photo editing software in this free version, although new image integrations could be a little slow to roll out. Be sure that your photo file type is supported in DarkTable for committing or get involved in writing the software to make it happen.
What about presets?
Fans of Photoshop and Lightroom know that the image presets help make things easier. Unfortunately, Darktable doesn’t come with photo presets because of its open-source origins. Luckily, you can build your own image presets to help jumpstart your edits.
You can also download other photo presets that photographers have created using the origins of Darktable. Both methods are highly accessible, and it’s easy to go both routes. With a little effort on the front end, you’ll be able to take advantage of both your customized presets in using Darktable and crowdsourced options.
When should I use Darktable?
There are quite a few reasons to go for Darktable. The most significant appeal of Darktable is specifically for image developers who are interested in access to the photo software’s inner workings. Because everything is available to everyone, you’ll be able to get in and make it your own.
Darktable also offers quick image color corrections and photo white balance tools. The dual point method of color correction with white balance allows you to assign values quickly to both highlighted and darker areas, giving you freedom without the hassle. Image white balance sliders also provide better clarity for natural white balance. White balance is a clear indicator of quality photographs.
Darktable is compatible with a wide number of image formats for noise reduction. The open course concept of Dark Table is sometimes slow to adopt the newest image formats, but you’re guaranteed that someone is probably already working on getting the software up to speed.
Darktable is best for:
- basic image editing tools including white balance for beginning to intermediate photographers
- photographers interested in using this type of software
- working with lots of photos at once
- photographers who prefer to browse free image presets or create their own
Darktable falls short when:
- photographers want the latest photo integrations with brand new file types
- included image presets are required
- software needs to be fast and reliable (crashes are more frequent because of source changes)
- you need a mobile version, or you’d rather store options online instead of locally
DarkTable Final Verdict
Using DarkTable offers quite a bit of picture functionality and is best for beginner to intermediate image editors due to its less precise color correction but intuitive interface. If you like to do simple batch edits regularly, this could be a great option for you.
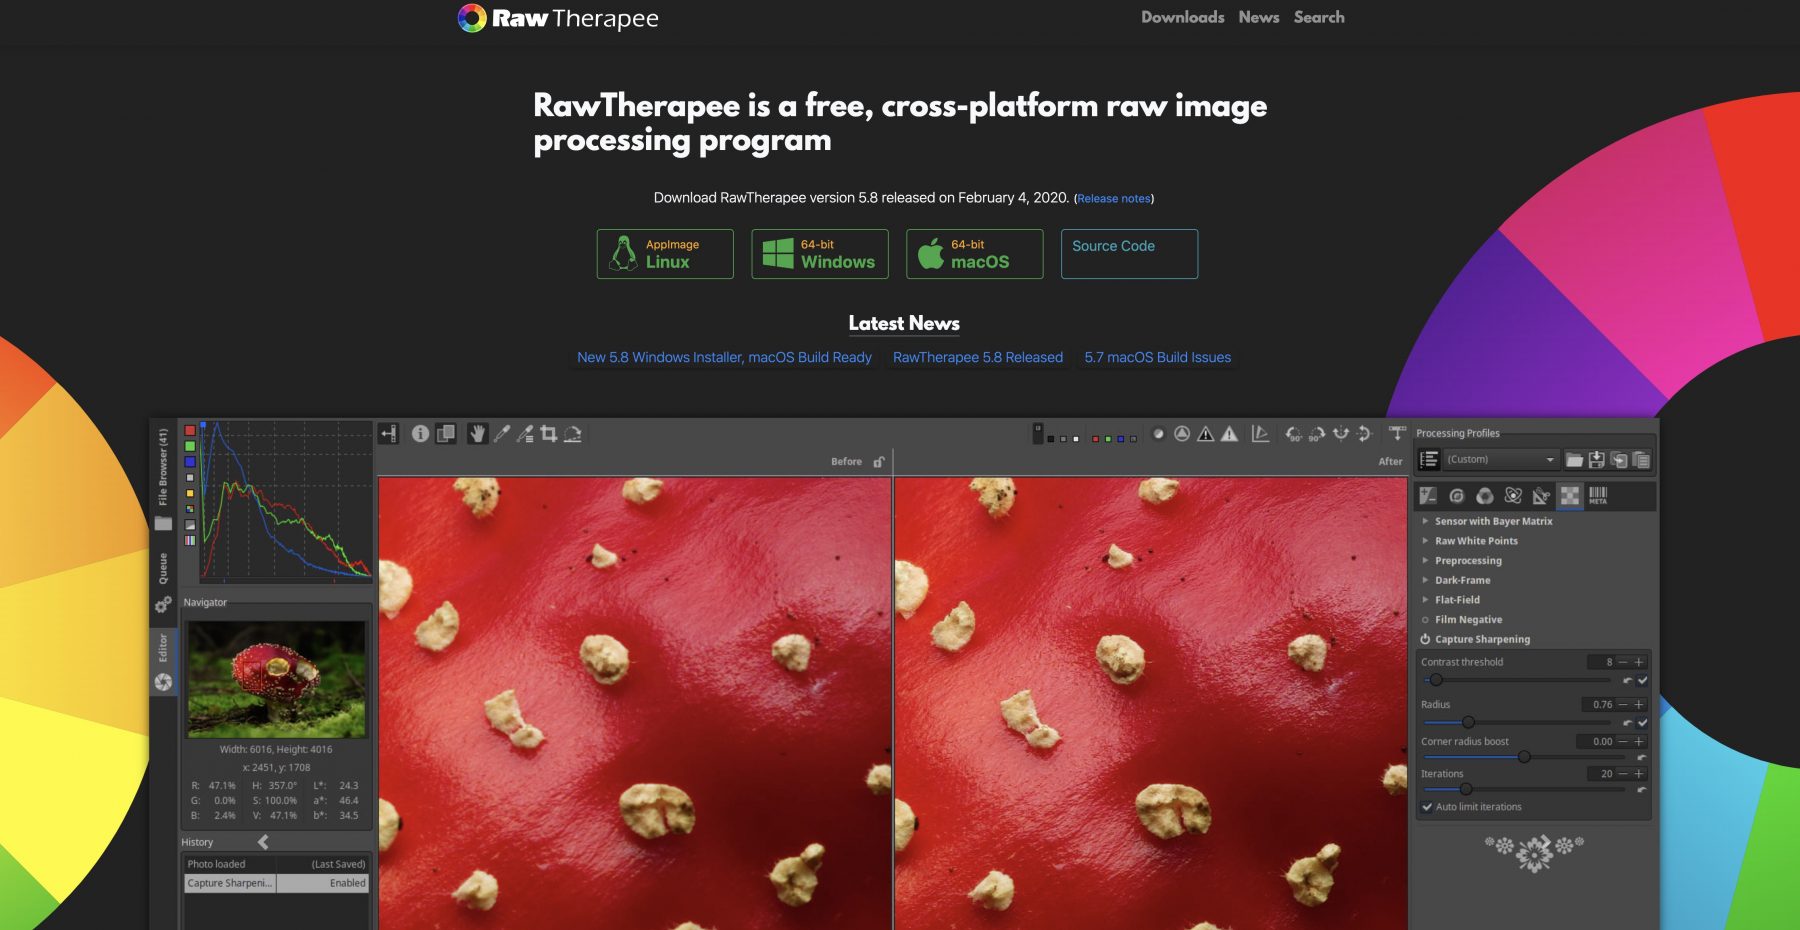
Introducing RawTherapee
RawTherapee is an alternative to Lightroom for free, allowing you to work with various types of RAW file using a multithreaded algorithm. What does that mean? Even if your computer or laptop has seen better days, RawTherapee provides top performance dealing with RAW files with less stress on your computer’s processing power.
RawTherapee is a viable photography option if you do work with RAW or need to alter a large load of images at once. It gives you full control over images and the ability to manipulate images with greater ease. The color correction options are virtually unmatched in this type of software so that you can get into your photos more precisely.
RawTherapee is best for intermediate picture editors, although beginners with some patience may still find the photo software too robust to pass up. Check out a few tutorials to help familiarize yourself with the image platform, and you’ll be good to go.
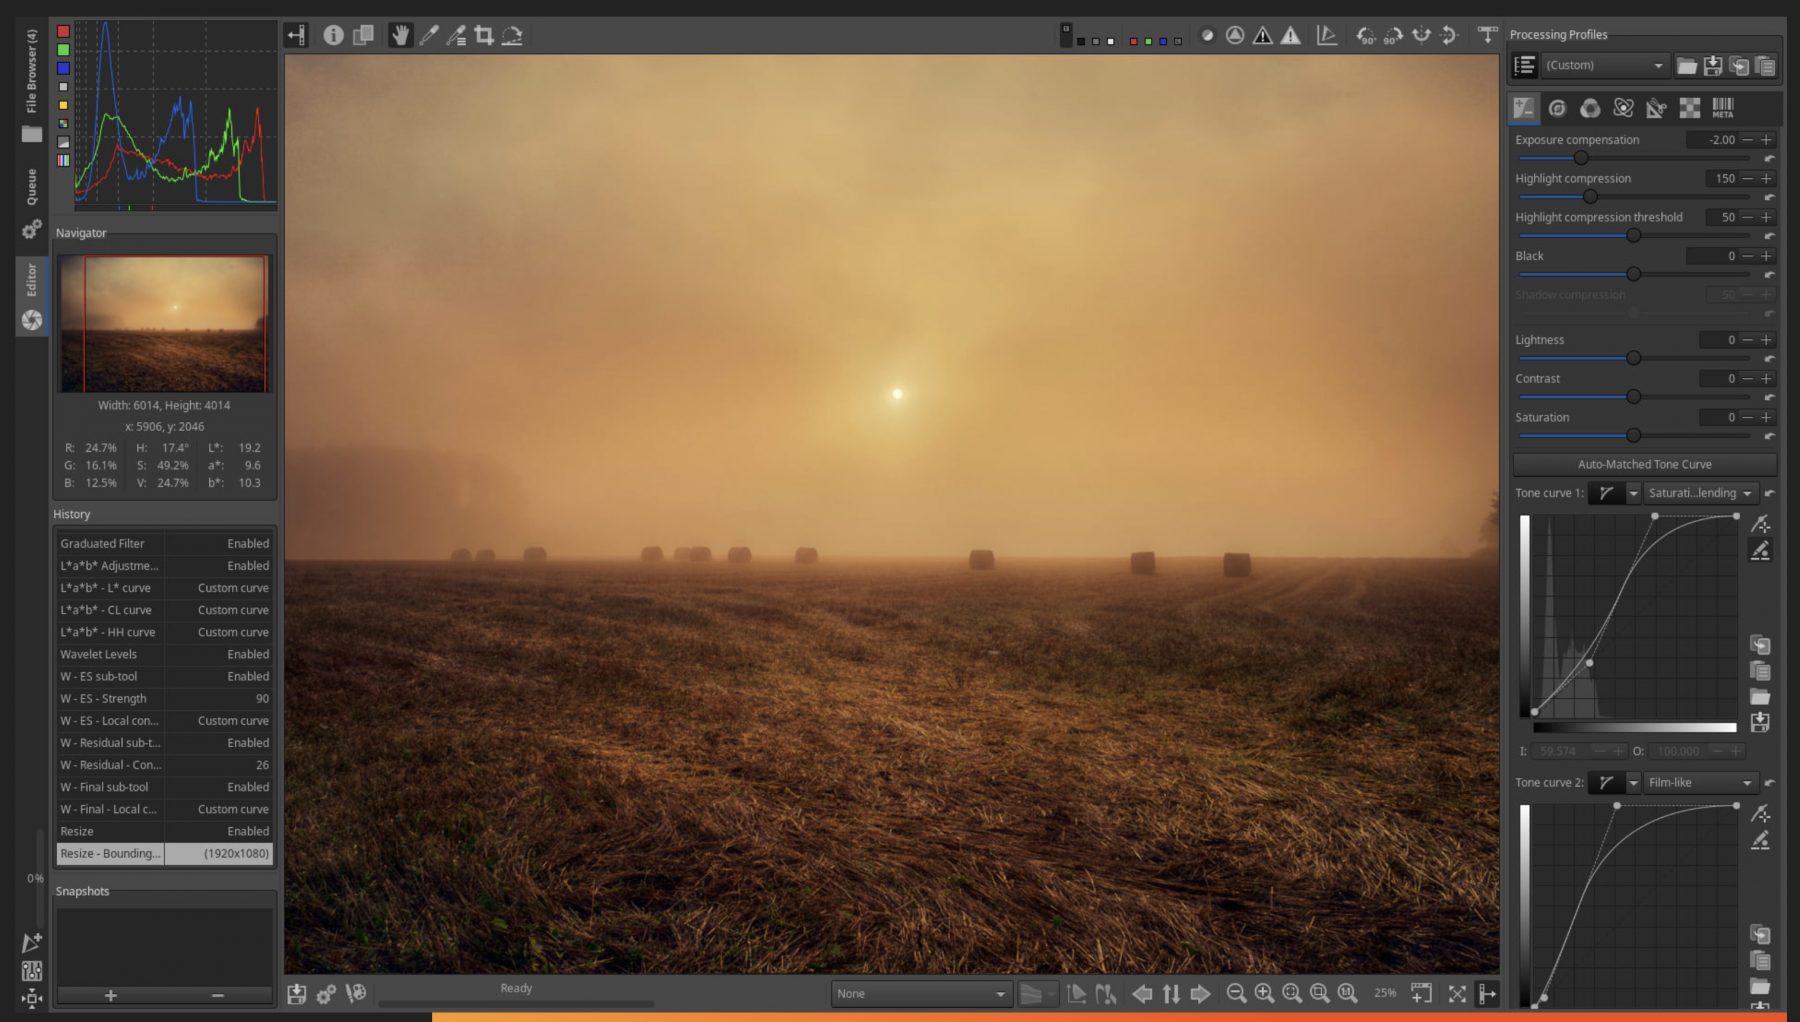
How RawTherapee Handles Photo Editing
RawTherapee’s photo-editing capabilities are a significant benefit of the program. Exposure settings encompass all the foundational edits that help you move forward with your RAW pic, including contrast, saturation, and highlights/shadows.
RawTherapee puts all of these image capabilities under one umbrella, allowing you to move seamlessly to retouch and customize the finish of your image. You’ll smooth over any harsh lines and make effective use of shadows and highlights for RAW professional quality images.
Once you’ve settled the exposure, RawTherapee also offers a photo white balance feature that warms or cools the white balance in the photo after the fact. White balance happens with a single click, but you also have the choice to alter the purple-green axis and the blue-yellow axis for the perfect white balance tone.
Speaking of tone, the photo tone-mapping feature is one area that gives you the flexibility to brighten only certain areas while preserving contrast and minimizing haloes. It maintains the proper contrast at critical borders and reduces overall glare for a realistic and smooth effect.
RawTherapee’s Vibrance tool gives you more control over skin tone and color density in the photo. Where saturation affects all colors equally, Vibrance creates a warmer or cooler tone by leaving reds almost untouched and altering the greens and blues of an image. The result is a sharper, dreamier image without affecting much about skin tone.
Black and white photo options come with three different presets plus sliders to help focus the image. You can sharpen the image lines, deepen the contrast, and ensure that the image tones of black and white are to your liking by adjusting the color along the red, green, and blue scale.
One unique feature of RawTherapee is the image L a B Adjustment tool. You can dive more deeply into the skin tones of your subjects without affecting the overall photo quality and remove over saturation where you need to. It can take some practice to get just right, but once you do, the quality of your photo goes to the next level.
RawTherapee Classic Features
RawTherapee features a superior capability known as Dynamic Range Compression. If you’ve ever had to take a photo in an area where the light and dark contrast is so extreme that you’ve struggled with image exposure, this is the capability for you.
It allows you to adjust the photo parameters around compression, determining the value of the image compression based on the area of shadow or light. You get more control allowing you to recover valuable detail in photos even when you’ve had to over adjust the exposure.
You also have access to vignette filters for a vintage or moody feeling to the image and a graduated filter exceptionally well suited to landscape photos. Some free software struggles with reclaiming details when juxtaposed with the brightness of the sky, but RawTherapee handles it beautifully.
The Lens tool gives you more freedom with the photo’s placement, while classic options like crop help finish off the photo’s perspective and dimensions. Between the two, you can change the image focal point of most of your photos to capture your vision better.
RawTherapee has all the standard image features that most photo editors crave, giving you perspective, color correction, and a host of other suitable options. It’s easy to use and simple to learn. Once you’ve played around with RawTherapee, you may not be eager to go back to subscription-based photo software.
What about Presets?
Good news, image preset fans. RawTherapee does come with presets, but that’s not what they’re called. Instead, look for “retouch profiles” to find RawTherapee’s three standard presets. They’re simple and straightforward, giving you the chance to make some quick edits.
You can also save previous edits to their profiles for access later, making these quick customized presets. If you frequently make the same image edit settings, these could be set officially as some of your standard, personalized presets or Retouch profiles.
When Should I Use RawTherapee?
RawTherapee is excellent for editing RAW images in a single program. It’s up to date with some of the latest RAW files and its code is available to everyone so you can get in and change what you need. If you’re interested in the software itself, this is a good option.
It provides a robust set of features and comes with a few image presets to give you full control over your images. Navigation is pretty intuitive, and the platform shines when you start getting into color correction.
You’re limited within batch alterations to just a few different types of edits, but it does allow you to clean up images in a suitable time frame. You can always go back in for more serious edits later on with individual images.
The biggest reason to get used to RawTherapee is if your computer isn’t the best. It’s so frustrating to work with some of these higher-level photo editing tools only to have your computer software glitch out or run so slowly that it’s tough to get anything done.
RawTherapee uses a multithreaded algorithm designed to reduce the images processing load on your computer, giving you dynamic capability without stressing out your computer too much. If you’ve got an older system for images, this is the obvious choice for you.
RawTherapee is best for:
- Photographers with older computers or systems pushed to the max
- Photographers who want full control over images color correction including white balance
- Robust color, tone, and shadow options
- Photographers who want a handful of presets to get started
- Photographers who shoot exclusively in RAW files or images
RawTherapee struggles when
- you need to batch edit — it offers limited capabilities
- put up against the intuitive navigation of paid programs (it has a steep learning curve)
- photographers need fluid, and automatic storage features
- applying changes overall. There’s a small delay between setting the control and the application
RawTherapee Final Verdict
RawTherapee is a robust tool for digging into color corrections with more precision. Once you’ve gone through a few tutorials, you should be able to run through the program with only minimal interference.
It’s best for intermediate photo editors, but beginners could certainly get used to it. Batch editing isn’t as robust, but if you’re altering for show purposes or single photos at a time, this is the right option for you.
Ok, But How Much?
Luckily, if the price is on your mind, you’ve got a friend in both Darktable and RawTherapee software options. They’re both free, their code is available to everyone, and contain no hidden fees or costs that surprise you.
The Winner — It Depends
This is a good question. Both programs offer the same mission: a public, free editing software with robust features. However, some situational differences can make one better than the other depending on your situation.
If you’ve got an older computer, RawTherapee is the most obvious choice. It runs robust editing software with less stress on your hardware systems as oppose to Darktable’s software. While both can sometimes run a little slow, RawTherapee at least gives your older system a chance.
RawTherapee edges out Darktable in terms of color correction and the sheer number of edit functions you can perform. It’s a remarkable bit of opensource editing software, but the features can be tough to master because of the less than intuitive interface.
Darktable, on the other hand, is well suited for beginners. Wherever it comes in second to RawTherapee in capability, it more than makes up for it in ease of use. If you’re just playing around with settings, you’ll have a lot less frustration with DarkTable.
Overall, RawTherapee edges out DarkTable in terms of precision, but they’re both neck and neck. Make sure you’ve tried both out to discover your personal preferences and go from there.
Choose Darktable if:
- You’re a beginner who hasn’t used edit software
- You batch edit regularly
- You have a powerful computer or at least a newer one
- You haven’t used professional editing, or if you do, you value speed
Use RawTherapee if:
- You have an older computer
- You’ve worked with edit software a lot in the past
- You value control over speed
- You edit photos professionally but not in batches
We do maintain that it’s best to try both out, especially since they’re free. You can play around and find what works for you. Just be sure to check out some quick tutorials first, so you’re familiar with both interfaces, or just play around until you find what you need.
Frequently Asked Questions:
Let’s take a look at some burning questions you might have about Darktable and RawTherapee now that we’ve gone over all the basics for each platform.
- Which is better, really — Darktable vs RawTherapee? — Open-source options can be a learner preference. We genuinely recommend that you try out both, considering they’re both free and won’t require any resources from you.
Check out how your computer performs with each system and whether or not you’re able to accomplish what you need to without throwing your computer at the door. Check the color quality and ensure that it lives up to your preferences.
You could also consider using both programs for different things. Batch edit in Darktable vs RawTherapee, when you need to dig into the color options of your photos. Blending the two programs could be a better use of your time.
- How does Darktable match up to Lightroom? — If you’re looking for free Lightroom alternatives, Darktable and RawTherapee both have excellent alternative capabilities. They run a little slower than Lightroom if you’ve used it and may take longer to adopt new file types, but the underlying capability is certainly there. They’re a robust alternative to Lightroom
- Is it safe to use programs like Darktable vs RawTherapee? — While the code is available to everyone, the community maintains a clear vetting process with commits and documentation. You aren’t downloading just anyone’s software. It’s a fully vetted type of software. Plenty of people have used it safely
- Are there Darktable tutorials available? — Darktable does have a few tutorials on its .org site, giving you an overview of new features and a searchable index that could answer some questions. Because it’s open-source, there are also plentiful tutorials across the web.
- Are there RawTherapee tutorials? — RawTherapee doesn’t have photography tutorials at the moment, but it does have a remarkable community dedicated to making its navigation a little more comprehensible. Check out what the internet has to offer.
Choosing the right editing software
Whether you choose DarkTable or Rawtherapee depends a lot on your photography preferences and the way you work. They’re both open-source and provide excellent capabilities for alterations in different ways.
That capability makes it a lot easier to build a photo portfolio without shelling out monthly for subscription services or investing in licensing for paid software. To help you experiment and get your feet wet, DarkTable is definitely a beginner-friendly option.
For those of you looking to cut costs, RawTherapee’s photography functions rival that of paid services pretty well. It’s robust and provides plenty of ways for you to edit, retouch, or capture a completely new vision in your software without the paid hassle.
Take some time to build your skills in both Darktable and RawTherapee to ensure you’re working with the right one or combine them to produce better photographs based on what edits you need to make it happen.
Overall, RawTherapee’s color capabilities edge out Darktable for photography, but if you’re a beginner or impatient, you may find Darktable’s interface more user friendly. Both Darktable and RawTherapee are free, so experiment away and find out which one you wish you found years ago.