Why You Should Crop Photos
Sometimes, photos aren’t quite right exactly as taken, but you don’t necessarily need to retake the whole picture. At times like this, knowing how to crop in Lightroom can help turn a mediocre image into a great one. Note that some control options may vary in Lightroom Classic, so be sure to check its documentation if you’re using that version of the software.
Tool Options In Lightroom
Before studying cropping images in Lightroom, there are a few things to know about the various tool options available to you.
The Crop Tool
This tool is the primary method of cropping images within Lightroom. The button looks like a rectangle with some marks going through it. When you click it, you’ll see some additional guides appear around your picture that you can drag and move to select your crop. These guides are collectively known as the overlay.
Aspect Ratio
Usually, the markers keep the aspect ratio of the image, or how long the horizontal side is compared to the vertical side. If you don’t want to keep the same aspect ratio, click the padlock icon while cropping an image. This will let you adjust the size of your aspect ratio freely.
While you can set any aspect ratios you want, presets are usually the best option.
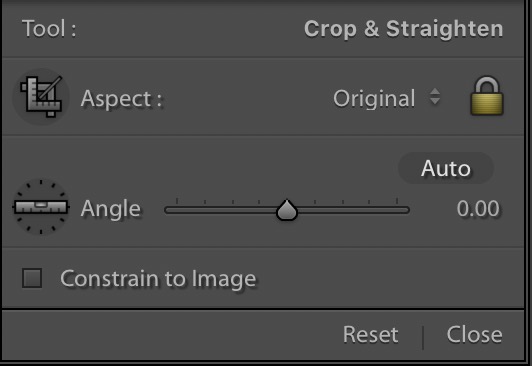
Angle
The angle setting looks like a circle with a ruler inside of it. If you click this button, you can draw a line on your photo, and Lightroom will adjust the photo to make that line straight.
From there, you can drag to adjust it further if needed. The straighten tool is most useful if your picture isn’t quite straight. You can also use the straighten tool if you want to orient it along with something in the image rather than where you stood.
Angle Slider
This slider is right next to the angle button. You can drag this to change the overall angle of the picture. However, most people do not use this function because it also enables handles outside of the picture that you can click and drag to reorient the image.

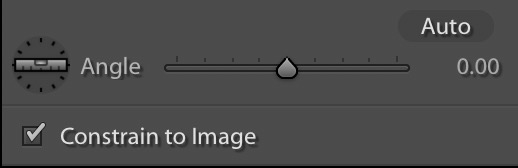
Constrain to Image
This button isn’t particularly relevant when you only want to crop things. However, if you’re also applying lens correction, enabling this will limit the image data to your actual picture so you can see more of what you’re doing while you change it.
How to Crop in Lightroom
To crop a picture correctly, follow the Lightroom instructions below. The best Lightroom crop is a multi-step process that depends on how much correction the basic image needs. Occasionally, you may need to zoom in to get more detail for your Lightroom crop.
Step 1: Import the Image
The first part of cropping Lightroom images is getting the image itself. Import the image from wherever you normally store it, usually a hard drive or a camera memory drive. From here, cropping in Lightroom is a straightforward process.
Also, be sure you understand the legal rights of your picture. This is rarely an issue if you’re editing your own picture, but if you’re using someone else’s image, it may have some rights reserved.
Step 2: Access the Crop Tool
After importing the image, access the tool by going to the Develop module and clicking the tool button. You can jump straight to the Develop module if you’re somewhere else (such as the Library module) by pressing the D button.
Step 3: Straighten the Image
Once you’re in the crop tool, use the adjustment tools described above to straighten the image and prepare it for cropping. It’s always better to straighten the photo before you crop the photo itself since that will help you get a better sense of the final photo.
After straightening the picture, you can also apply any other photo edits that are necessary for the image. It’s usually better to do these before cropping because editing stuff outside the crop’s bounds can help create a more cohesive look.
Step 4: Crop the Image
After doing everything else, make sure everything you want to keep is within the crop guidelines, then click the button to crop the image to your preferred size.
Step 5: Create a Custom Crop
After cropping your image, you’re not quite done. If you need to crop a lot of pictures to the same size, you can also save a copy of your custom crop size from the same tool in Lightroom. This will let you set down a crop box without having to double-check the aspect ratio every time you need it, making the entire process significantly easier.

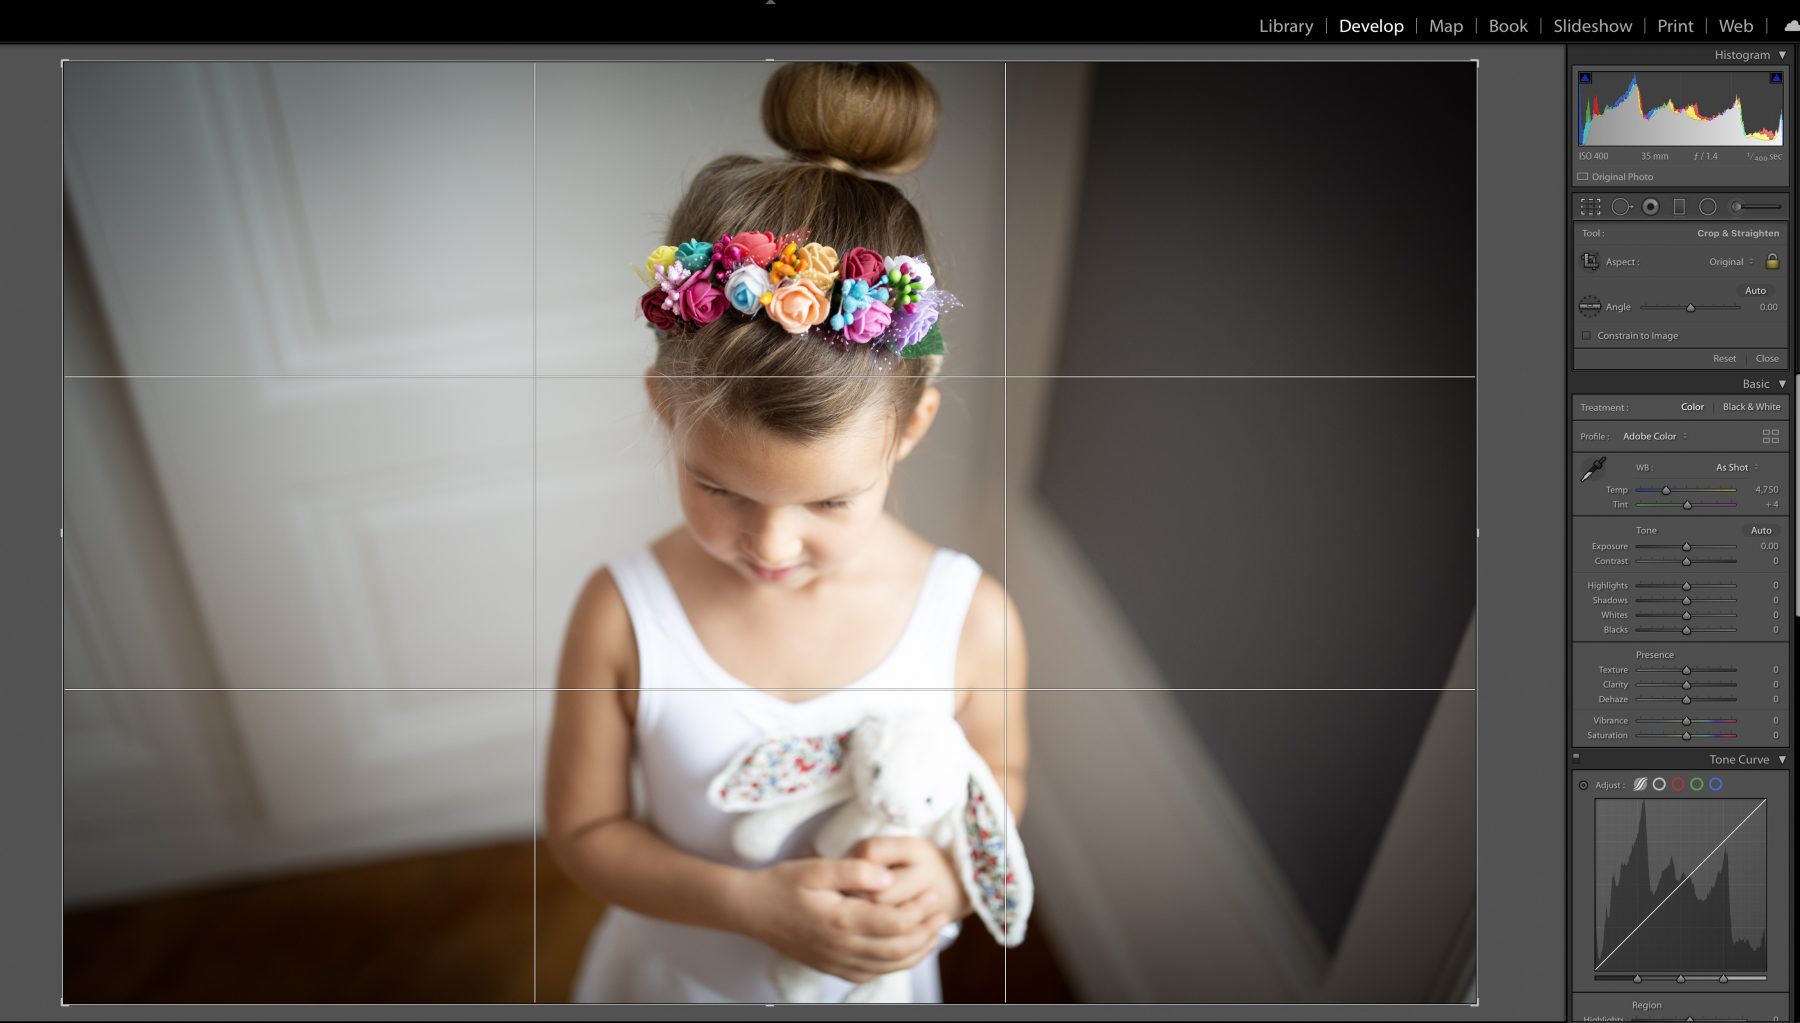
Step 6: Choose the Perfect Crop
Outside of cropping the image, Lightroom also provides crop overlays that you can use to help guide your composition. These include things like applying a grid for the rule of thirds, inputting the golden ratio or the golden spiral, or even setting up diagonals.
These overlays are particularly useful when creating artistic compositions, and they can help you get the perfect crop. The reason to apply them after an initial crop is that it’s usually better to get rid of most of what you’re sure you aren’t going to use, then re-crop it to fit an overlay for a better look.
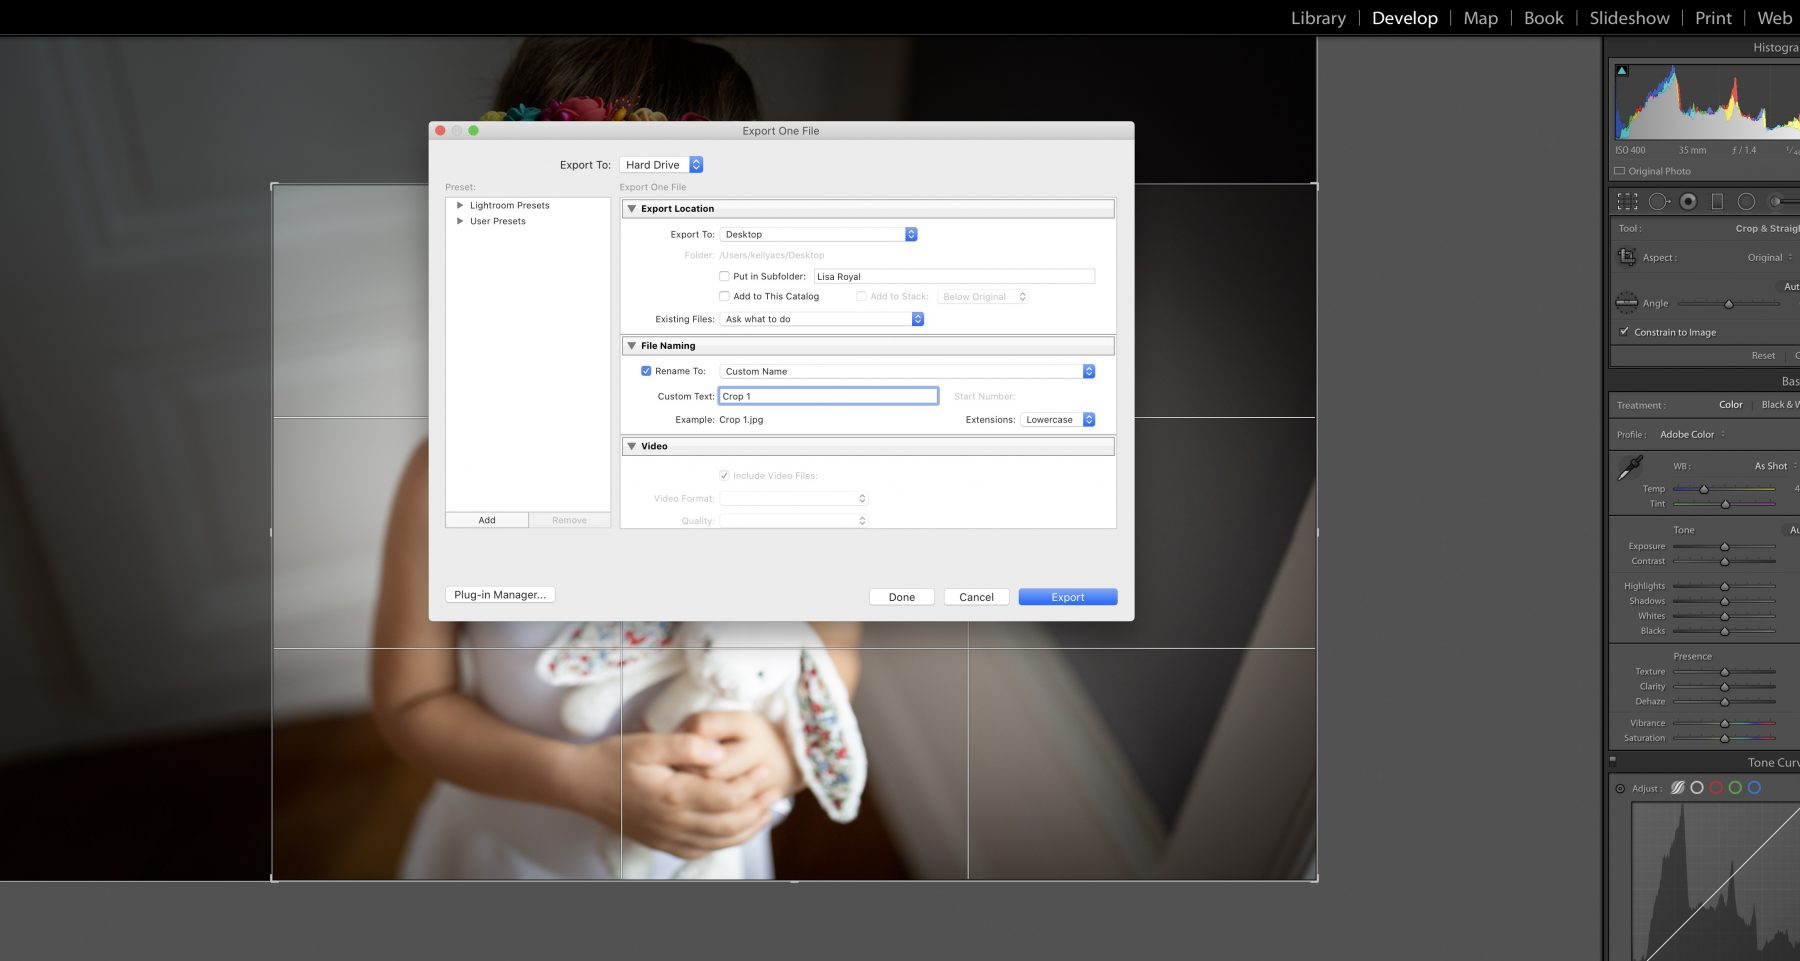
Step 7: Export the Image
Finally, after you’re done with the cropping tool, it’s time to export the image to wherever you want to save it. If you don’t export it, you won’t have a copy of your cropped image, so make sure you never forget this final step.
Other Methods
Simply shrinking an image that you want to crop is easy, but there are some other techniques and methods you should keep in mind.
The Rule of Thirds
The rule of thirds is a fundamental element of photography. It works well with the way our brains process information, and cropping to create the rule of thirds is usually better than just changing the size of an image.
Creating Compositions Using the Grid Overlay
We discussed this above, but using the grid overlay is particularly helpful when you’re cropping compositions because it can help ensure you get a final picture that looks good. Lightroom offers several different types of grid overlays that you can use.
If you want an overlay that’s not present in the software, you may need to picture it in your mind or create a physical overlay that you can hold up to your monitor. This is rarely necessary, but don’t be afraid to apply creative solutions when needed.
Resetting the Crop
Sometimes, a crop doesn’t look good after you make it. In these cases, the best thing to do is reset the crop so you can adjust its size and placement, then try again. The best way to reset a crop is to press Ctrl Alt R after making the crop.
Alternatively, you can right-click anywhere in the image preview area to bring up a menu. Once you see the menu, you can access additional controls, including buttons to reset the crop or crop to the same aspect ratio. Most people don’t need this menu very often, but it’s good to know it exists in case you end up requiring it.