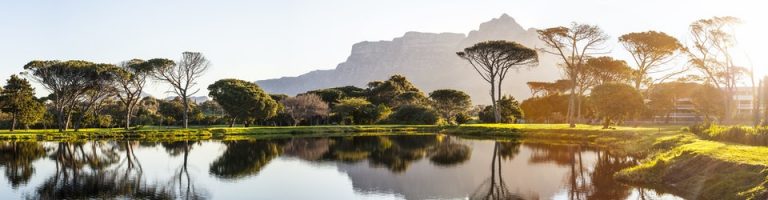
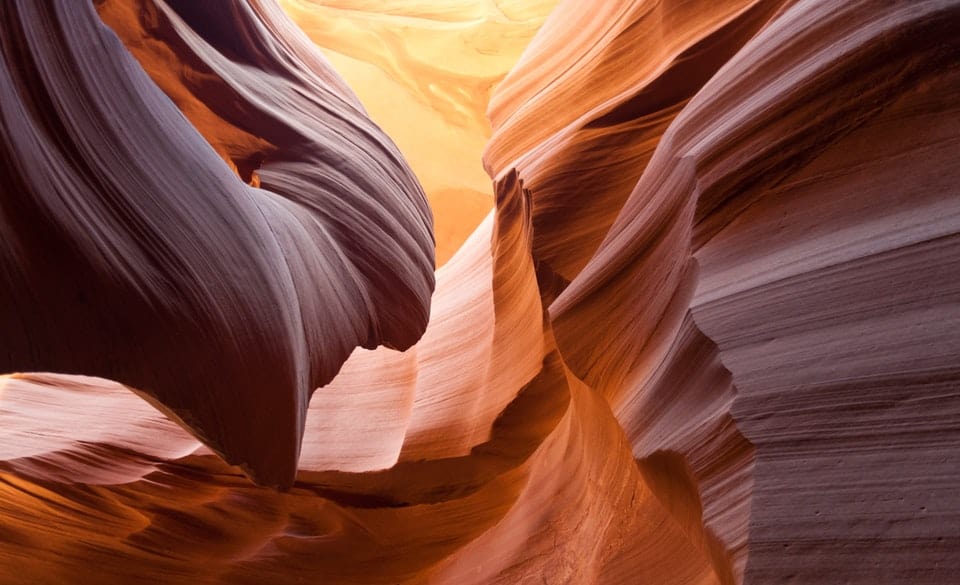
Even with the best camera and skillful exposure adjustments, your photograph can still turn out looking flat or dull. Sometimes the light isn’t quite right for that vibrant image you were imagining (like the one above).
However, there is a perfect tool to enhance your image during post-processing: curves.
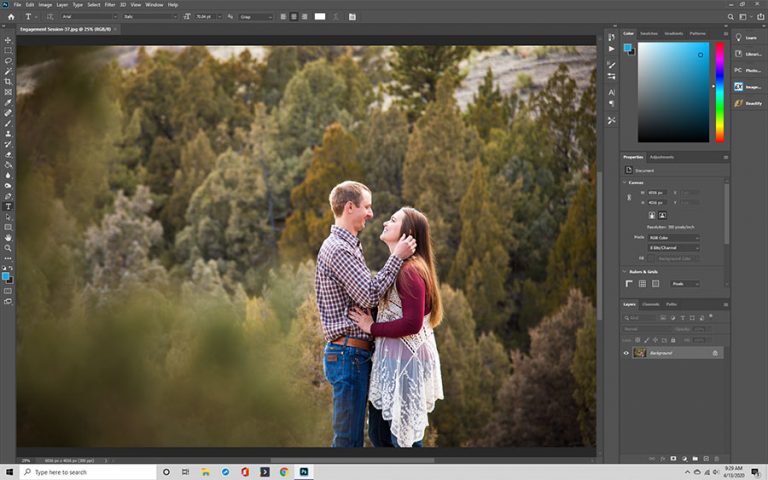
How to Use Curves in Photoshop
Many editing tools may look foreign when you first look at them, but they are all incredibly powerful – especially the curves tool.
You may be wondering, what are curves in Photoshop, and what do they do? It is a powerful tool that lets you manipulate the contrast in your picture to a higher degree than the simple contrast bar.
If you’re wondering how to use Photoshop curves, we have all the answers here.
Let’s Start with Understanding Curves
Before you start using the Photoshop curves tool to correct an image, you must understand how it works.
When you work with the curves, you’ll see a graph. The x-axis represents the input pixels, while the y-axis shows the output pixels. Where the axises touch (the origin), both values are zero, representing black. The further from the origin you go on either axis, the lighter you get until the last value is white.
All the values between the origin (black) and the furthest points (white) are some grayscale shades.
The histogram on the graph shows the range of tones in the photo. On top of the histogram is a diagonal line. When working with curves, you will manipulate this line to affect the contrast and color of the picture.
The Curves Dialog
Before you open up the “Curves” dialog, make sure you are working on a new layer. Then, you can open the curves tool dialog by clicking on “Image” in the top toolbar, then choosing “Adjustments,” and opting for “Curves.” You can also press Control + M (or Command + M for Mac users) to pull up the dialog.
We already talked about the basic layout of the curves dialog box, but some more advanced options will help you.
To the right of the graph, there is a box of options labeled “Show.” The histogram and baseline come up automatically, but you can choose whether or not to portray the other two options.
The “Channel Overlays” lets you keep track of changes to separate color channel curves, while the Intersection Lines help you align points to the grid. You can turn both of these tools on or off as you need them.
Starting with Curves
Now that you know what the tool looks like and does, it’s time to learn how to use it!
Click anywhere on the diagonal line to create a point, and then drag it around to change the tonality. With just one point, you can move the curve up (and lighten the tones at that point) or down (and darken the tones at that point).
Feel free to add multiple points for greater control over the individual tones. Here are some standard curves to experiment with when you get the chance:
- S-curve: keeps the picture light while increasing the contrast
- Inverse S-curve: lowers contrast and brightens details in the shadows
- N-curve: creates less contrast and a lighter photo
- U-curve: creates more contrast and a darker photo
Creating Contrast
Using the curves listed above is a great place to start when looking to add contrast. Here are some other fantastic tips to keep in mind while creating contrast:
- Pulling the lower left side of the baseline down makes a dark photo.
- Stretching the upper right side of the baseline up creates a lighter image.
- By combining these two modifications, you create a popular S-curve.
While adjusting for contrast, one thing to keep in mind is a possible anchor point in the middle of the baseline, which keeps the mid-tones the same.

Photo by Lalmch Licensed Under CC0
Playing with Endpoints and Input
There is often a lot of space on the far ends of the histogram. You can fix this by adjusting the endpoints and moving them closer towards the mid tonal spikes, which creates a more vibrant image.
Erase and Redo
If you don’t like the changes you just made, there are several ways you can return the baseline to how it was.
First, if you want to remove all of your changes altogether, click on the Reset button on the far right while pressing the Option or Alt key. The button says typically “Cancel,” but once you press the Alt/Option key, it changes to Reset.
If you only made a mistake with the last point, drag it off the grid or press Delete after clicking on it.
Using Presets
If you don’t want to start by making your curves, you can choose any of the menu’s presets. Choose from numerous contrast options and see how the baseline changes to accommodate those adjustments.
You can even save one of your curves as a custom preset for future use.
Using Auto and Options
Another simple method of photo editing with the curves tool is choosing the Auto option on the dialog box’s far right-hand side. The tool will automatically correct the color according to the default setting. Feel free to change the default by clicking the Auto Color Correction Options box.
Utilizing Empty Tonal Range
When you look at the histogram, you may notice empty spots (or empty tonal ranges).
If the empty tonal range occurs at the histogram’s far edges, you can create anchor points on the curve for both black and white values. This process forms a much more vibrant picture, as it deepens the dark areas and lightens the whites.
Conversely, if the empty spaces pop up between the tonal peaks, you can alter the curve to make the blank range much smaller. The final product will be a much more comprehensive image with the mid-tones untouched.
The Transition of Clipped Highlights
Whenever an image has incredible brightness (like in a sunset photo), it may reach the maximum value and create a slightly choppy gradient.
To smooth out the color blending, work with the curve on the right side of the chart. If the slope of your line is very steep, adjust the point accordingly to soften the incline and therefore smooth out the gradient in the picture.
Using Curves as an Adjustment Layer
We already mentioned that you should create a new layer when adjusting with the curve tool, but that can damage your image.
A better option would be to create an adjustment layer specifically dedicated to curves. While you’re in the “Layers” panel, click on the “Adjustment” icon (a circle split into a black and white section), and then choose “Curves.”
Using “Curves Adjustment Layers” isolates the changes and prevents them from affecting the integrity of your whole layer.
Sectioning Your Photo with Curves Adjustment Layers
If you follow all of the steps above, you will end up editing the contrast of your whole image. Depending on your image’s lighting and composition, you may only want to edit just a portion of the picture. To do so, pull up the “Lasso” function from the toolbar.
Make sure the “Feather” option is at 15px, and then select everything you want to change at one time. Don’t draw along the edges of the image, but instead hold the Alt/Option key and continue using the lasso outside of the image’s boundaries. Finally, connect the lasso’s loose ends.
Once you have your desired selection, create another “Curves Adjustment Layer” and edit that section separately.
Dynamic Range
If you shoot in soft light, your image could suffer from a narrow dynamic range, causing it to look overly flat.
You can often spot a narrow dynamic range by the skinny peaks in the histogram. You can widen those sections by clipping the curve. Press the Alt/Option key and drag the sliders on the x-axis in towards the leading histogram picks. By narrowing the input, you get a more dynamic range in your photo.
However, with a more dynamic range, you might find that your image has too much exposure. You can lower the whites’ anchor point and then create a slight U-curve to increase the contrast. Finally, give the image a touch of brightness by adding a small curve at the top right of the line, before the anchor point.
Remember, increasing the dynamic range can significantly improve your image, but you may need to make some subsequent changes for a completed look.
The Hand Pick Tool
What happens if you know what part of your image needs improvements, but you don’t know whether to change the mid-tones, shadows, or highlights?
You use the hand picker tool.
On the left side of the dialog box, click on the icon that looks like a hand. Go to your image and click on the area you want to correct, and the value will appear in the histogram. This process will tell you exactly which tone it is and whether you need to adjust the highlights, shadows, or mid-tones.
You can then use that value to adjust the baseline curve accordingly.
Color Correction
One reason that photos may look dull is that a color cast is causing areas of the picture to appear a color that they are not.
For a simple fix, opt for the auto-correction and choose the algorithm labeled “Find Dark and Light Colors.” Click “OK” and watch the image lose its color cast.
Notes on Image Contrast
We have talked this whole time about improving your image’s contrast, assuming that’s what you want to do to your photograph.
However, not every image needs contrast edits. Some pictures, such as those that show the beauty of the fog or soft light, have a much more powerful effect without excessive photo editing.
Whether you want to edit the contrast in your image comes down to the style and your artistic vision.
Precautions
Always use curves with caution, so you don’t accidentally take a great photo and turn it into an over-processed product. Here are some tips to keep you on track:
- Don’t overdo the corrections. If you stretch the histogram too much, you will end up with a posterized photo with a decreased bit depth and shoddy color gradient.
- Try not to change the RGB channel adjustments too much so you don’t affect the saturation.
- Use 16-bit images instead of 8-bit photos. The former holds twice as many colors.
Start Using Curves in Photoshop Today!
With all of these tips and explanations, you’ll never have to wonder, “what is curves in Photoshop?” Start practicing with the curve tool today, and play with the effects that each type of curve makes.
If you’ve already mastered Photoshop levels, curves may be a breeze. Still, take your time to familiarize yourself with the curve tool before sitting down to work on post-processing.
With practice, your final rights reserved photographs will have the perfect level of contrast.