Today I want to discuss my all-time favorite tool in Lightroom – the radial filter. The radial filter is a tool designed to allow you to make edits to an isolated area of your image. Its functions come in handy particularly when I want to add an additional pop to my subjects without affecting the entire composition of the photo. Once your area of adjustment has been selected, you will be able to choose from a wide array of adjustment options from a dropdown menu to help you achieve the desired look you are going for. Here is a peek into a couple of tips for how to use the radial filter in Lightroom.
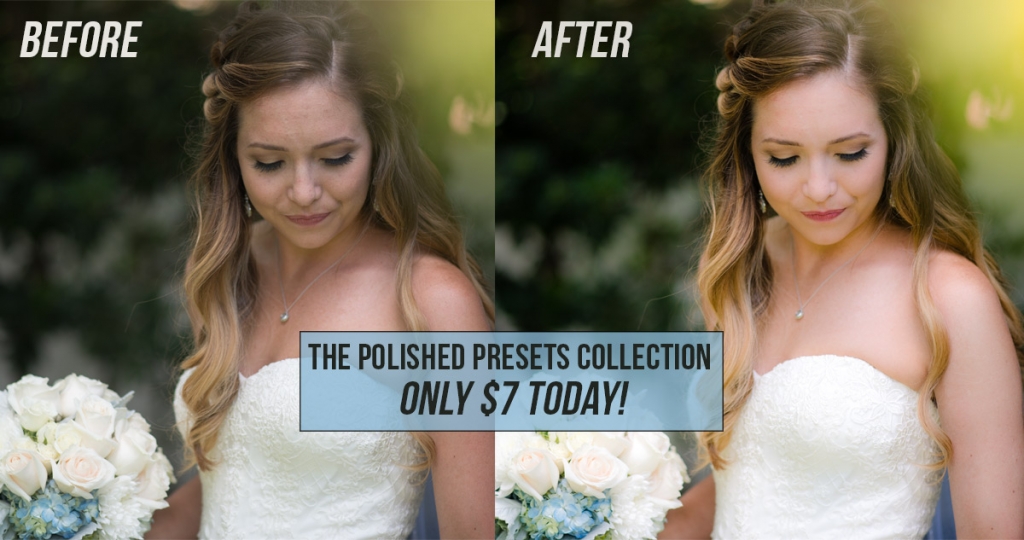
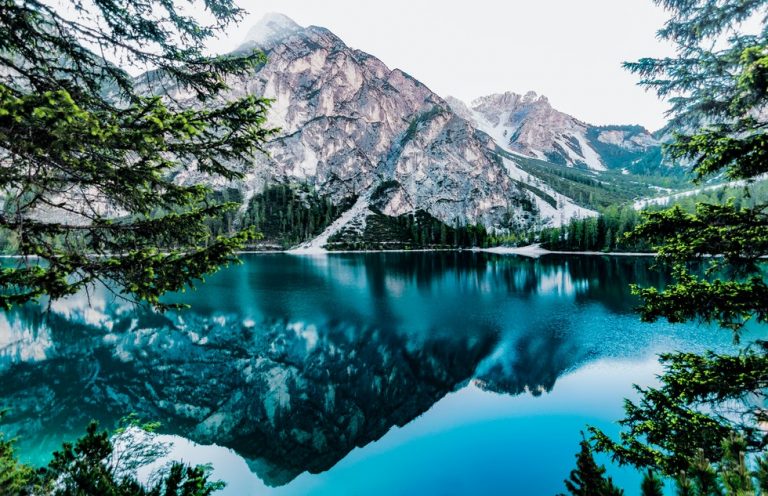
Take a look at my “before” image here. In this case – all of my base edits that are consistent to my brand and style have already been applied. I like to finish all preliminary edits prior to working with a radial filter as editing your whole image after a radial filter has been applied can alter its’ desired effect. Being that I am a natural light photographer ninety-five percent of the time – I knew that if I shot in RAW and exposed for this amazing sunset in camera that I would be able to pull up the exposure of my subject in post processing. This is where knowing how to use the radial filter in Lightroom comes in to play.
[ad id=’1′]
Step 1
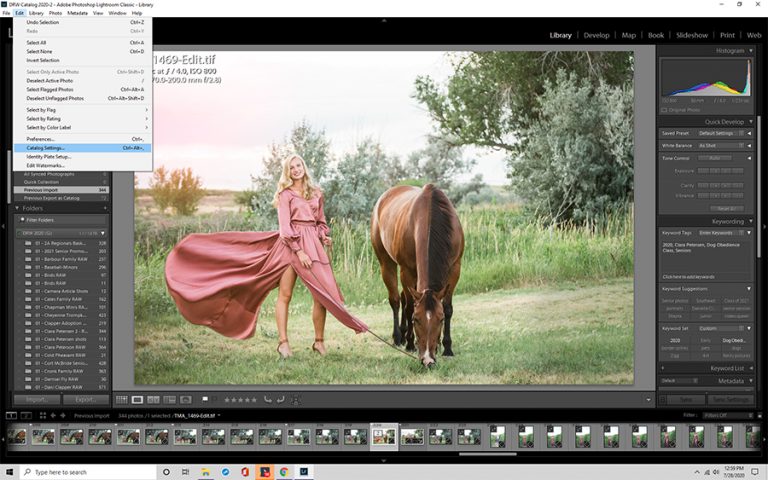
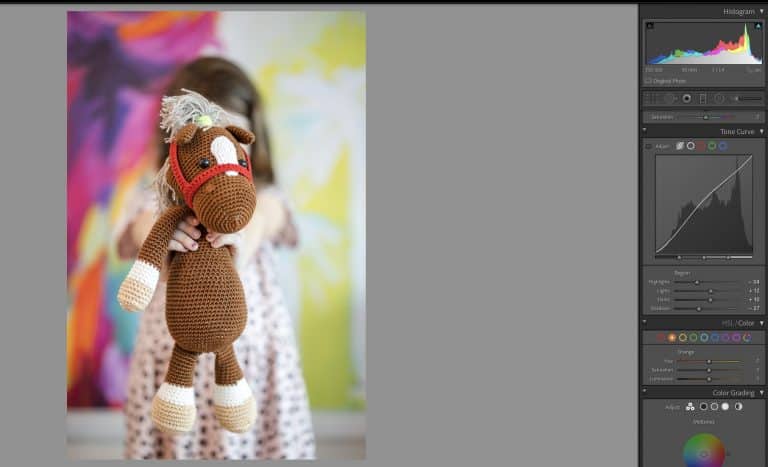
Select the Radial Filter tool (circle icon) on the top of your toolbox located on the right side of your workspace. Select your intended area to edit by drawing a circle around your subjects with your cursor.
Step 2
This is where the fun part starts. Make sure the box that says “Invert Mask” is checked, as this will apply your edits to anything inside the radial filter. This option is located towards the bottom of your toolbox. (We will discuss inverting or not more below). Choose your main desired edit from the dropdown menu in the toolbox (the menu will appear as soon as you select the radial filter icon). My personal preference is to start with a sharpness settings and then I work from there. My main goal is to sharpen – brighten – enhance contrast – and add a touch of luminance. To achieve this, I adjust my: sharpness, exposure, shadows, blacks and noise.
Note: You may not need to adjust quite as many settings as I have to accomplish your goal. Sometimes all it takes is a quick temperature adjustment to correct skin tone or a decrease in your highlights to pull back some detail that may have been overexposed in camera. This process is something that I have developed after months of trial and error trying to achieve my consistent style. Once you have established a filter system that works consistently for you, you can save its settings under a custom label that will appear on its own in your dropdown menu. For the purpose of breaking down the process – I have displayed the individual settings I work with.
Feathering
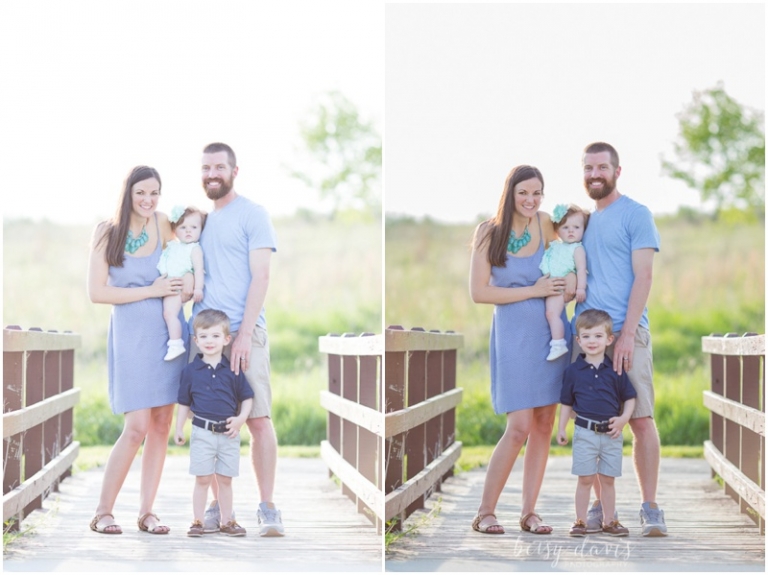
It is important to make sure you don’t go overboard with radial filters as applying them too heavily can result in photos looking unrealistic. One of the best ways to avoid this outcome is working with your “feathering” slider. The feather tool adjusts the softness of the edges of your radial selection. The higher your feather value, the more blended your adjustments will be. Your feathering slider will be located directly below your individual setting sliders when your filter is selected. I always tend to keep my feathering values high for the most eye pleasing results. Take a look at the different degrees of feathering in the example below. The first photo is adjusted with a full strength feather is unnoticeable to the naked eye – while a zero strength feather creates a hard edge and extremely noticeable edit.
The adjustments discussed above were made using an inverted mask, where the edits were made to the area inside of the radial filter. Sometimes you may want to adjust everything in your image EXCEPT for a particular isolated area, and this task can also be accomplished the radial filter. By unchecking the “invert mask” box located directly below your feathering slider, you will be able to apply your adjustment to everything outside of your radial filter.
In this image for instance, I wanted to add a little bit of mood to the scenery surrounding my subject. By unchecking the “Invert Mask” option and adjusting my exposure and clarity I was able to achieve the feel I was going for.
Knowing how to use the radial filter in Lightroom can be helpful in a wide variety of circumstances. I find that particularly helpful in adjusting exposure on my subjects when I had metered for the background in camera – but I use them just as often to correct skin tone in newborns or maybe even to even out a sunburn on a family member at a shoot on the beach. They can be used to draw attention to your subject or to add additional blur to your background. Being able to edit specific portions of your photo without pulling it in to Photoshop will save you so much time and also gives you tons of creative freedom. I hope this tutorial has given you a little insight as to how to take your editing to the next level within Lightroom. If you use radial filters regularly – share some of your most creative edits below in the comments!
Oh no! You load your images into Lightroom after a session and notice they are overexposed! Read on for our tips and tricks to how to fix an overexposed photo in Lightroom! It can be so frustrating: You snap the “perfect” shot and beam momentarily with pride, and then you look at the back of…
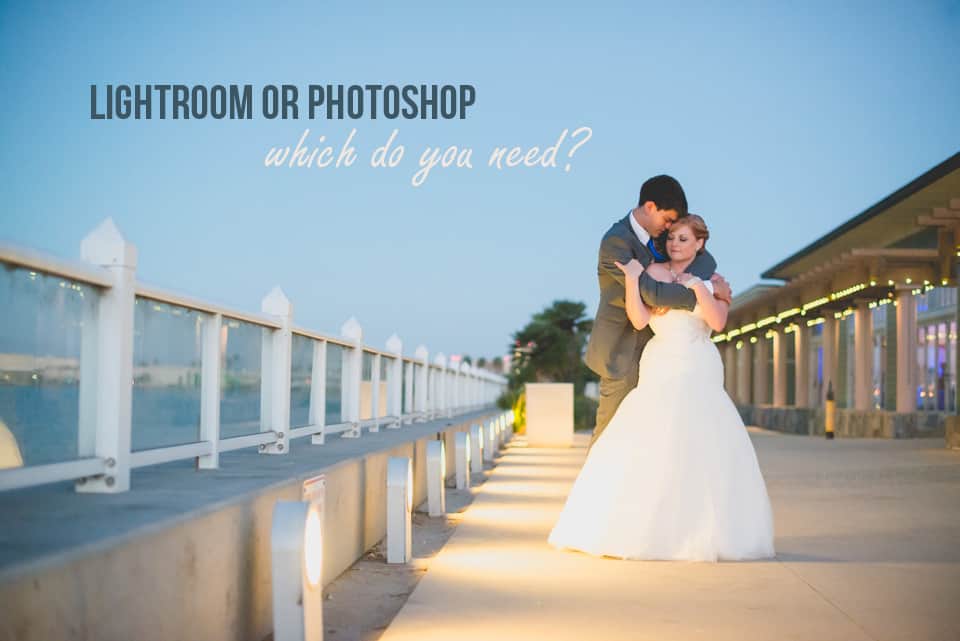
If you are serious about digital photography, at some point you will find yourself needing to edit your images. There are many photo editing software out on the market, but the two most popular are Photoshop and Lightroom. They’re both made by Adobe and have a lot of similarities, so you may find yourself wondering…
How to Move Lightroom Catalog to External Hard Drive If you’ve ever needed to move your images or change catalogs in Lightroom, it can feel a little scary. That’s like ALL your work…what if something goes wrong?!? Relax! It’s much less scary and difficult than you’re imagining. With a few steps, you’ll be ready…
There are lots of reasons why you could need to learn to combine images in Photoshop. Perhaps you took a family photo with one person missing, and you need to merge photos to include everyone. Or maybe you simply wanted to improve one image by combining it with a second one with some higher-quality elements….
If you’re not already familiar with using Tone Curve in Lightroom, you probably feel pretty comfortable using the sliders for highlights, shadows, blacks, and whites in the Basics panel. While it’s easy to assume these two tools do the same thing to your images, the tone curve tool can take your photo editing to the…
Have you ever taken a photo of a subject that ends up overshadowed by a noisy background? It’s frustrating and diminishes the feel of the entire image. If only you could soften or blur the background to make your subject stand out. What if we told you that you could fix those photos? You just…