
The zoom function is one of the most critical parts of using Lightroom (or, for that matter, any other image editor). A professional editing session may involve using the Lightroom zoom feature hundreds of times to make sure every aspect of the photo is crisp and sharp. Here’s what you need to know about how to use zoom in Lightroom.
This guide assumes you are using the default settings. Older Lightroom editions (such as Lightroom Classic) and custom control schemes may have different controls, so check their documentation or references to learn more about how to zoom in Lightroom.
The Keyboard Shortcuts
The primary zoom control on the keyboard is pressing the Z key while you’re in Lightroom. This Lightroom keyboard shortcut instantly zooms the image to 100% of its standard size, which is usually much larger than your monitor. If you want to learn how to zoom in Lightroom, this simple control is almost everything you genuinely need to know.
Typically, pressing the same key on your keyboard will return you to your previous zoom level, making this particularly useful for rapidly checking specific areas and details of the image. Depending on your needs, you may want to change the Lightroom keyboard shortcuts to another button.
The Zoom Tool In The Toolbar
If you want more control, you can add the zoom tool to the Lightroom toolbar at the bottom of your screen. If you don’t see the Lightroom toolbar, press T to bring it up.
If after you bring up the Lightroom toolbar you don’t see the Lightroom Zoom function, click the down triangle at the far left of the toolbar to add it.
The toolbar in Lightroom is exceptionally customizable, so you can further customize it with other Lightroom tools you use regularly.
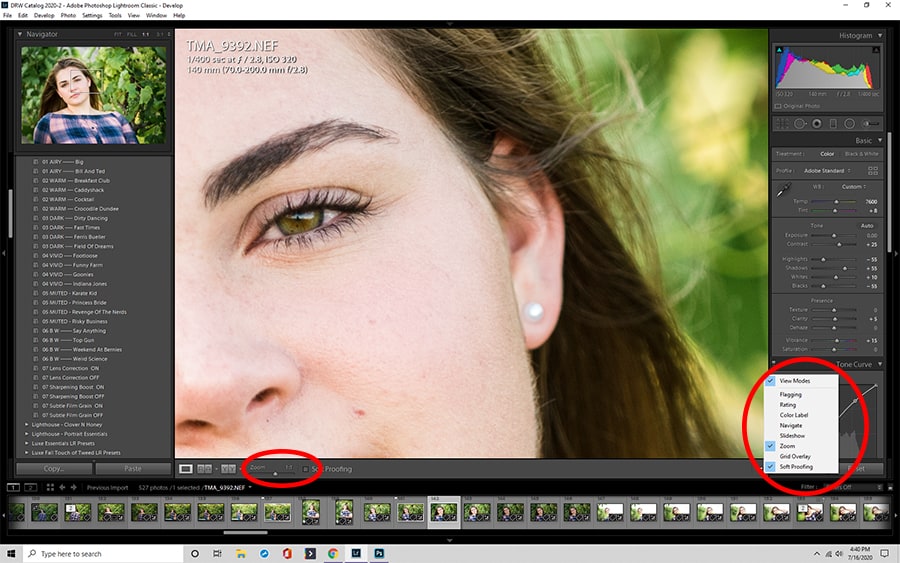
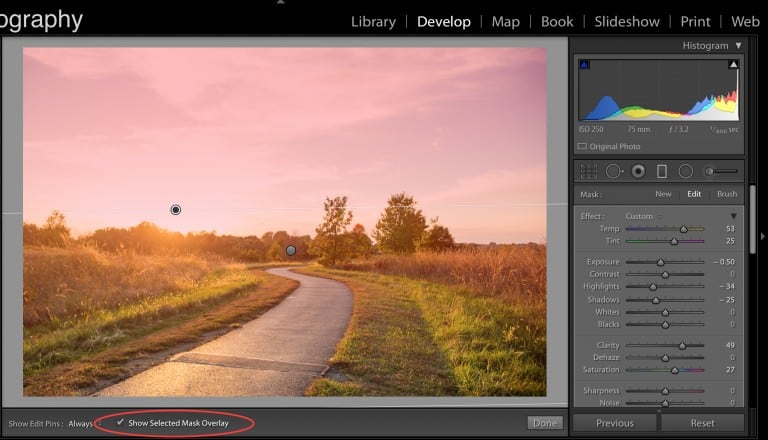
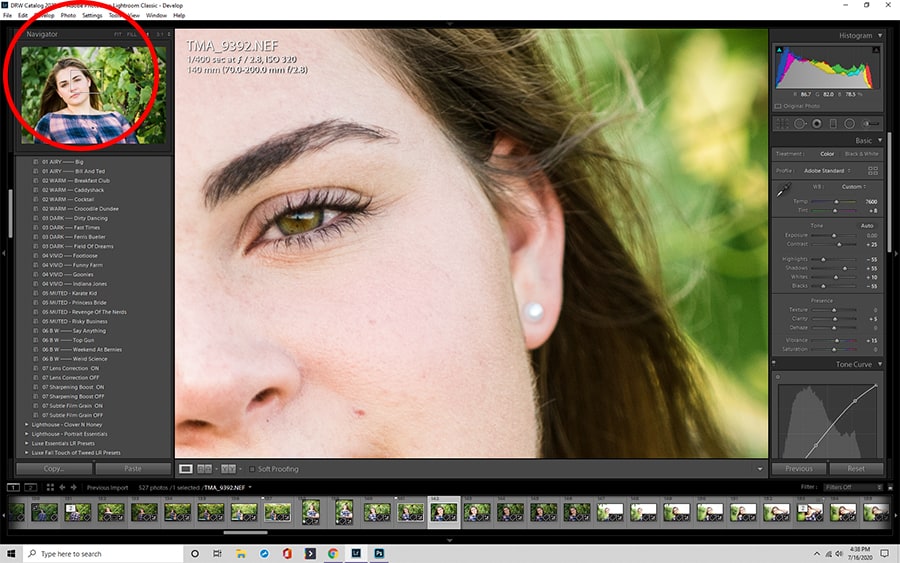
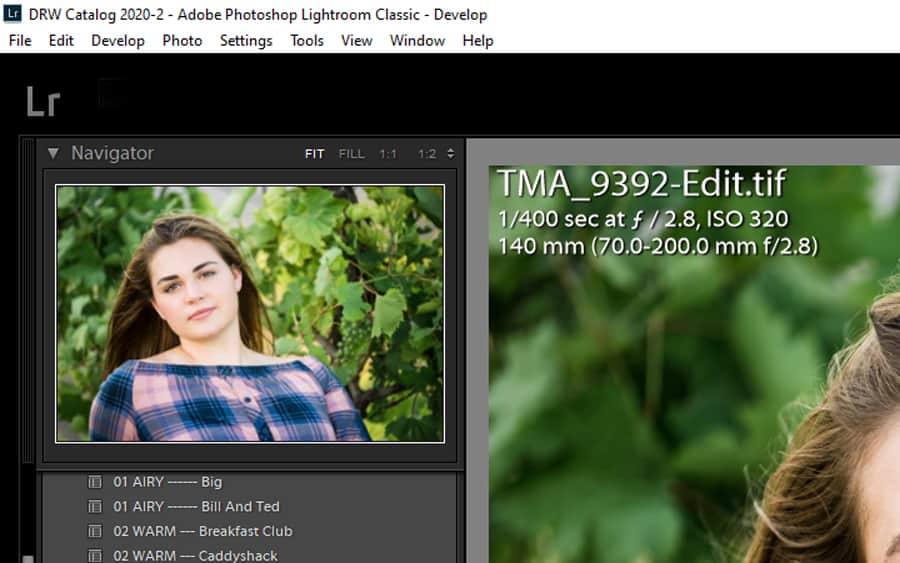
The Navigator Panel
The Lightroom navigator panel is the primary access point for additional zoom options, including Fill, Fit, and different magnification amounts. We’ll discuss those in more detail below. For now, the key thing to remember is that the Lightroom navigator panel is where to look when you want to zoom to a setting other than 100% or fitting to the screen.
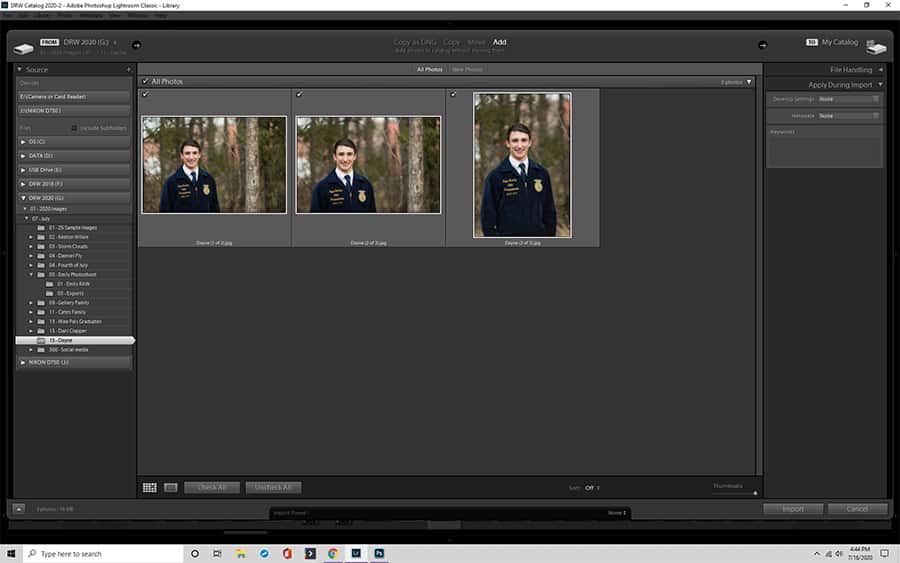
The Import Module
Did you know that you can use zoom in the import module of Lightroom to adjust your view? This isn’t necessary for most Lightroom projects, but if you need to evaluate the photo before importing it (so you can discard it if it’s terrible), this is the place to do it. You can use Ctrl +/- to scale through eight zoom levels and check for details while you’re in this module.
The Library Module
Zooming is also useful in the library module of Lightroom, particularly when you want to evaluate pictures in closer detail with the zoom feature to decide whether to keep them. The Lightroom controls here are mostly the same as in other modes, but you can press the Tab key to hide the Lightroom side panels and give yourself a larger view.

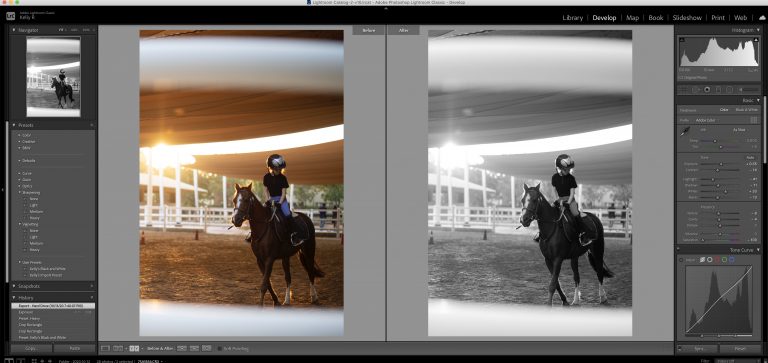
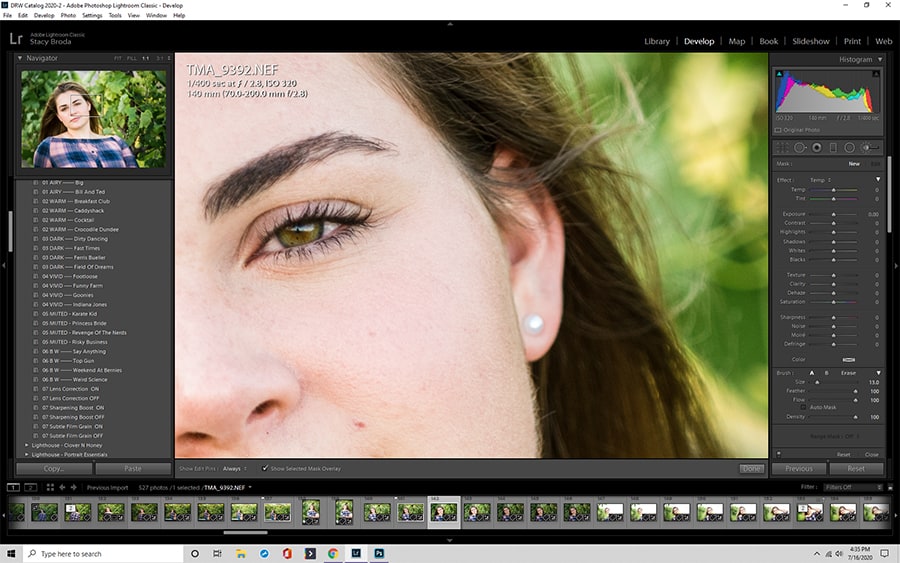
The Develop Module
Using zoom in the develop module of Lightroom is similar to using the library module, but the develop module tends to work best if you only press F5 and F6 to remove the top and bottom panels while leaving your side tools available. This is where most work using zoom happens in Lightroom, so test out some different options and figure out the setup that works best for your needs.

The Map Module
Using the zoom tool in the map module is slightly different from using it in other view modes. Here, you can use the mouse wheel to scroll in and out, and you can also press and hold the Alt key to drag a box onto the screen and zoom in on that area. This takes more practice than some other parts of learning how to zoom in Lightroom, so try experimenting with it.
The Basics of Zooming In And Out

Here are the essential elements of zooming in Lightroom.
Basic Controls
As mentioned earlier, the basic controls for zoom Lightroom offers are pressing the Z key or clicking to the navigator panel. You can also click on the image in most modes to zoom in on a particular spot.
Pressing Ctrl Alt +/- cycles through zoom levels, providing added control of your zoom as necessary. The disadvantage of these keyboard controls is that you may need to press them several times to get back to a specific zoom level and that you cannot easily search through their options without going through them one by one.
Advanced Controls
Advanced controls mostly involve the Navigator panel, where you can toggle your selectable zoom level. You can go through your preset zoom levels by pressing Ctrl +/- (not to be confused with the Ctrl Alt +/- commands, which have the additional key and can move you through all levels in sequence).
The correct setting for a preset zoom varies by project, but 2:1 is a good default for most situations where you need a decent field of view without losing too much sharpness.
Fit & Fill
These buttons are available in the navigator panel.
The Fit command automatically adjusts the zoom so that the entire image appears in your working area. This is most useful when you want to look at your overall progress and don’t want to press keys or click more than once.
The Fill command (available through the same controls as Fit) adjusts the picture so that the shortest side of the image fits in your workspace. This isn’t required for most tasks, so it’s mainly an extra feature that you shouldn’t worry about. Like Fit, the button is most useful when you only want to click once.
Magnification Amounts
Magnification amounts range from 1:16 to 11:1. These numbers are essentially fractions written to look better on computer screens. 1:1 is the standard size. If the one is otherwise on the left, that means the picture will be the listed amount smaller than its real size (so 1:16 is sixteen times smaller). If the one is on the right, that means the picture will be larger than its actual size.

Settings And Defaults
Lightroom normally remembers the last settings you used. If you typically use the same settings for all work, you don’t need to worry about it because it will naturally set itself. However, if you use different settings for different projects, then defaults are irrelevant for you.
Exploring The Image
Zooming in Lightroom is most effective when you’re looking at specific parts of the image. When deciding how to use this function, consider what type of work you plan to do. For example, if you need to edit large parts of the image, you may not want to zoom in more than necessary.
Focusing too much on the details can lead to problems with the larger composition, so zoom in and out on Lightroom regularly to keep an eye on things.
Advanced Zoom Details
There’s one more trick to mastering this function in Lightroom and Lightroom Classic. After setting your image to 1:1, or 100%, you can press the Home button to center your focus on the upper left, then use the Page Down key to move around section by section through the image. This is the most effective way to move around and look at all of the details at full size when doing your final check.
Why Mastering Zoom Is Important
Lightroom is all about editing photos, but the zoom is the only way to catch many small details that can make an image look worse. If you need to process a lot of pictures, mastering this function can significantly speed up your workflow.
Now that you know how to zoom in Lightroom try testing different settings and getting a feel for what works best. People use this software in different ways, so instead of relying exclusively on one person’s