
What lens filters do you need and why? We’ll give you the basics!
Have you ever heard a photographer talk about using a lens filter but didn’t really understand what that meant? You’re not alone! Lens filters are simple in design but can have many different functions. They are also incredibly useful for getting your images right in-camera instead of relying on extensive editing in post-production. We’ll break down the type of filters, what they are used for and which ones might be worth keeping in your camera bag!
What are lens filters?
These filters perform one of three functions:
- Lens protection
- Change the intensity of the light entering your camera
- Change the color of the light entering your camera
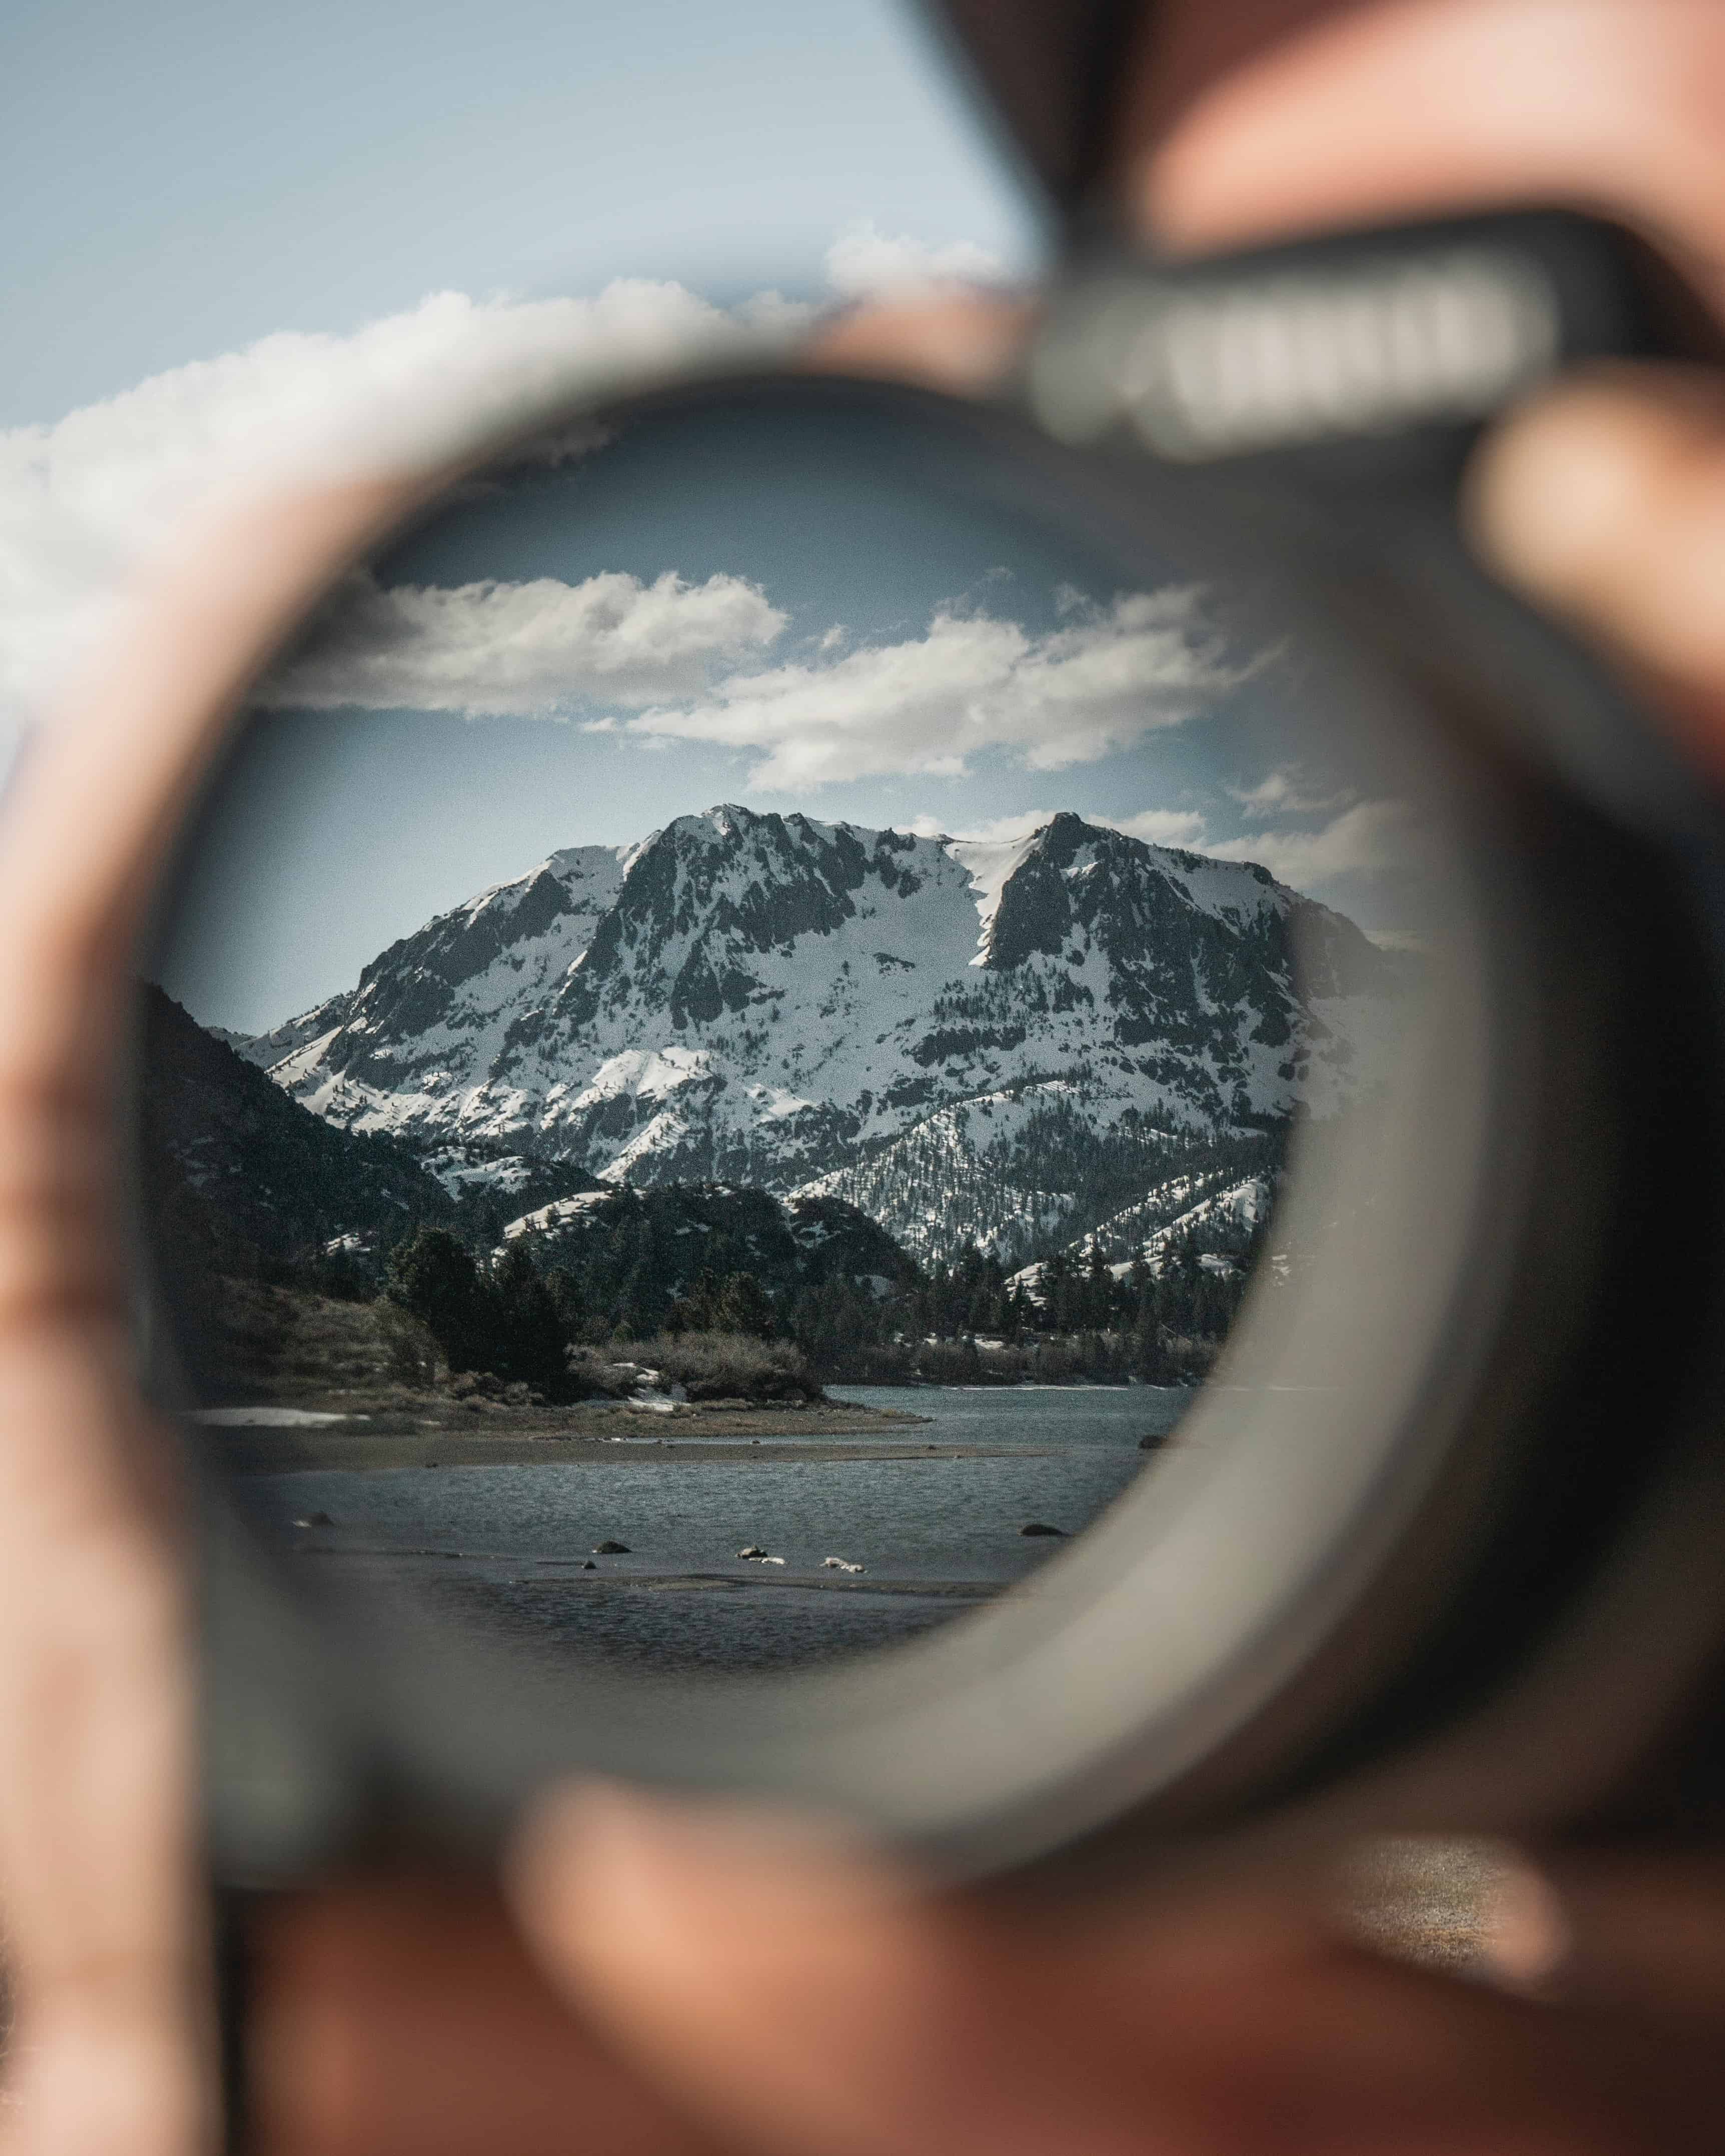
Think of them as specialized sunglasses for your camera! Like sunglasses, filters can protect your lens AND enable the camera to “see” the scene differently.
How do lens filters fit onto a lens?
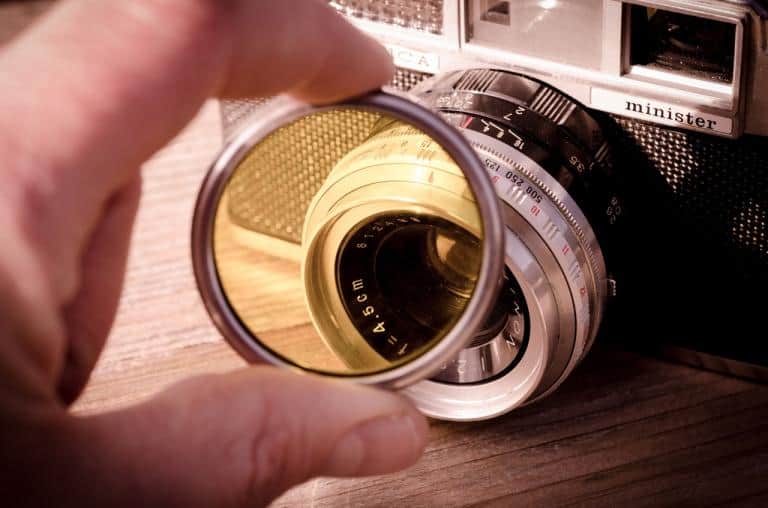
Most lens filters are the screw-on type. They thread onto the end of your lens, putting an additional layer of glass between your environment and your external lens element. Different lenses require different size filters, so be sure to check your lens before ordering one! For example, my 70-200mm f/2.8 Nikon lens takes a 77mm lens filter. These are also called circular filters.
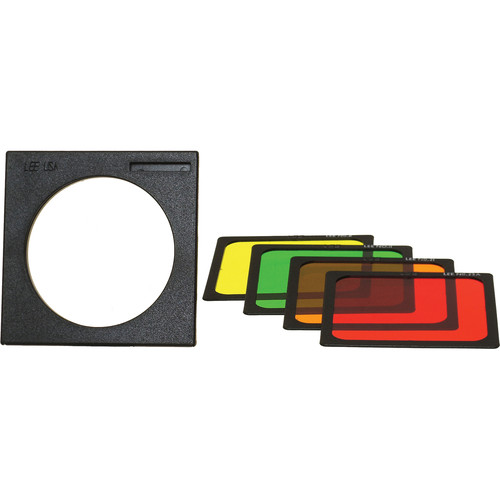
There are also drop-in filters, square filters and rectangular lens filters. Drop-in filters are inserted into a small compartment toward the back of the lens. The other two, square and rectangular filters, are used with a filter holder that is attached to the front of your lens. Once the adapter is on your lens, you can use different filters in it for the desired effect.
What are the different types of lens filters and what do they do?
There are seven different categories of lens filters used today. We’ll break each of them down in further detail below.
- Clear filters (UV or Haze)
- Neutral Density Filters and Graduated ND filters
- Polarizing Filters
- Color correcting filters
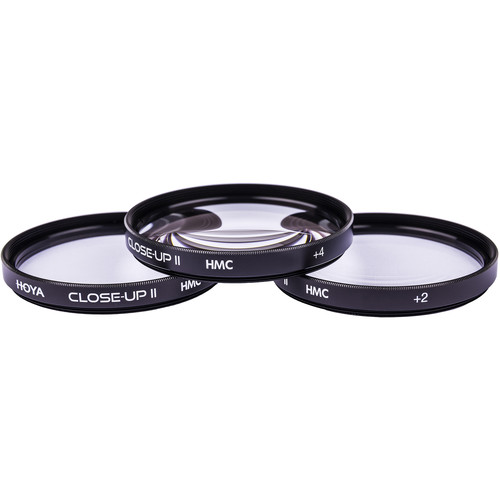
- Macro filters
- Special effect filters
 Clear filters (UV or Haze filters)
Protecting your lens
Back in the days of film, UV filters were used to protect film from the UV light in the atmosphere. These days, DSLRs have a UV filter built into the camera, protecting the sensor from any UV light. So they aren’t really needed for that purpose anymore.
Some photographers keep clear or UV filters on their lens to protect the front element of their lens. A filter can protect the lens from scratches, dings and from any liquids or dust from getting on the front of the lens. I ruined a kit lens shooting geysers in Yellowstone National Park, for example, because some of the spray from Old Faithful hit the front of my lens and left a gooey blob I couldn’t ever get rid of.
Other photographers feel a UV or clear filter can degrade image quality. Why put a $10 or even $100 piece of glass on a $2,000 lens, they ask.
There are good reasons for and against using a clear filter, you simply have to decide what makes sense for you. If you invest in a UV filter, look for a quality filter with multi-resistant coating from a reputable dealer. Cheap filters really can ruin your image by giving you vignetting, weird reflections, ghosting or flare. They can also reduce contrast in certain situations.
Eliminating haze
UV or haze filters can do more than just protect against UV light, however. These filters help eliminate the effects of haze in the atmosphere, along with moisture and other air pollutants. UV/Haze filters are available in different strengths, so if you do a lot of shooting at high altitudes, near large bodies of open water or in snow, a haze filter can actually improve your image quality. The stronger the UV filtration and coatings of the filter, the more pronounced the change in the image will be. Some of the stronger filters will require up to half a stop of exposure compensation, vs. no compensation for the clear filters. That means you’ll have to raise your exposure by up to half a stop to make the image appear as “bright” as it would without the filter.
Some people use the term skylight filter synonymously with a UV filter. That’s not really true. Skylight filters are essentially a subtle color correction filter. They usually have a hint of magenta hint to them.
Polarizing lens filters
Polarizing filters can increase saturation and reduce glare in an image. They work by filtering out sunlight that is coming into your lens from certain angles. The light that does make it through is often more diffused and more colorful. That’s why you’ll find at least one polarizing filter in just about every landscape photographer’s bag.
Polarizing filters, once fitted to your lens, will actually rotate around on the filter thread. That’s so you can rotate the filter to give you the best results for your scene.
The most polarization takes place at 90 degree angles from the sun. The trick I learned to remember this is to extend your forefinger and thumb as if an imaginary gun, then point your finger toward the sun. Then rotate your thumb clockwise or counter clockwise will still pointing at the sun. Wherever your thumb is pointing is where polarization will occur. Understanding this can help you use a polarizing filter correctly and trouble shoot problems in your image.
Polarizing filters are great when shooting around water and glass to reduce reflections, glare off of foliage and increase saturation. It’s one of the only filters whose effects can’t truly be replicated by post-production editing.
The downside of polarizing filters is that they can cause banding in an image if not used correctly. That is, a portion of your image will appear darker or more saturated. And you’ll lose light. Stronger polarizing filters can require up to three stops of exposure compensation.
The video below offers a great explanation and demonstration of polarizing filters!
Neutral Density filters
Neutral density lens filters block light from entering your lens. How much light is blocked depends on the strength of the neutral density filter.
Most of the time we are struggling to shoot in low light. So why in the world would you want to allow less light into your lens? There are a few reasons, actually.
First, you might want to use longer shutter speeds to convey motion or smooth out moving objects, such as blurring water or clouds or creating light trails in good light. Second, you might want to shoot wide open apertures in really bright light, such as in full sun or when using flash. A neutral density filter will allow you to do both.
ND filters are classified by their optical density, meaning how many stops of light reduction they provide. An ND 8 filter, for example, has an optical density of .9 but provides 3 stops of light reduction. That means if you metered a scene without the ND filter to zero, then attached the filter, your scene would be 3 stops underexposed.
Some ND filters are also designed to be stackable. For instance, you can screw two 3 stop ND filters together to block out 6 stops of light.
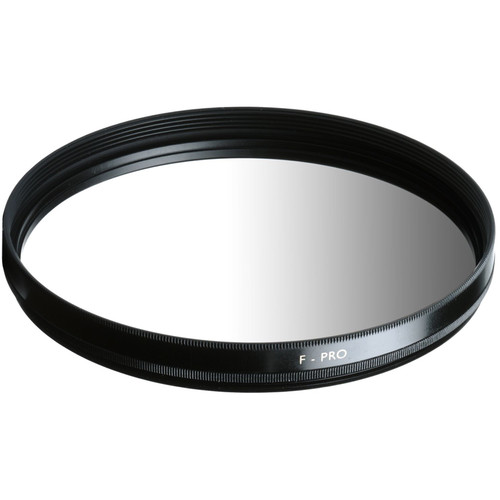
What are graduated neutral density filters?
Some ND filters are graduated neutral density filters. These are ND filters that transition from light to dark across the filter. They are used to balance dark and light parts of an image such as a dark foreground and very bright sky. If you’ve ever used the graduated filter in Lightroom, a graduated ND filter is accomplishing the same thing in camera!
There are also variable ND filters, which allow the photographer to control the amount of filtration by turning the outer ring of a dual ring filter.
Want more info on neutral density filters? Read this tutorial!
Color correcting filters
These colored filter change the color temperature of the light coming into your lens. They can be used to correct light color or for special effect.
For example, you might use a colored filter to compensate for shooting in incandescent lighting or to warm a winter scene where the snow takes on a bluish hue. You might also use a colored filter to introduce or color a scene for creative reasons. These filters were more popular in the days of film when digital post-production was unavailable. But they still have a place in photography today.

Special effects filters
Other filters provide more specific effects. There are macro filters to make small images appear larger, filters to create sun stars and light stars of different points (called cross screen filters) and filters to mimic motion and camera zooms.
Again, some of these techniques can now be accomplished in post-production, but filters can eliminate the need for lengthy edits.
Why is there such a huge price difference between filters?
If you’ve ever priced lens filters, you know that there can be a huge discrepancy in price between brands. Some UV filters sell for $8 or $10, whereas others can cost $100 or more.
Not all filters are created equal. Usually the more expensive filters are made with better glass, meaning less chance of image degradation. To put this in perspective, you can shoot the same scene with a 18-55mm f/5.6 kit lens and a 24-70 mm f/2.8 professional lens and get the same shot. But because the quality of the glass in the lenses is different, your scene will look different.
The same goes for filters. The more expensive filters usually have optically superior and thinner glass and have been treated with special coatings. This helps ensure they filter does it’s job and enhances your image, not takes away from it.
Cheap filters can reduce light, cause ghosting, flare, glare and haze. They may also have cheaply made retaining rings that will bend or jam easily when you are putting them on and taking them off your lens. Do you research, read reviews and ensure you are getting a quality filter that won’t inhibit lens quality!
Lens filters vs. Social Media filters
You might have heard the term filter used in a negative way, such as “I can’t believe my clients used a filter on their images.”
In this case, those filters are social media or editing filters. These are editing techniques that change the look and feel of the image. Some social media filters mimic lens filters, such as warming filters or cooling filters. Others are not, like the puppy dog snout or tongue filter you can use on Snap chat. There’s no lens filter for that.
Lens filters instead are a tangible product used in conjunction with your camera and lens at the time you take the picture.
Do you NEED to use lens filters?
No…but maybe yes. As I said before, using a clear UV filter on your lens is a matter of personal preference. And there’s no need to run out and buy a polarizing filter or ND filter just because. But if you find yourself in situations where you routinely want to slow down shutter speeds, reduce reflections or darken the sky without darkening your foreground, then consider adding some filters to your bag. You might find these filters can help you accomplish your goals for your scene without ever making a single click in post-production. If your goal is to get your image as close to perfect in-camera without relying on post-production editing, then filters should become part of your shooting arsenal. They can also be a lot of fun to get creative with.
Start by learning what each kind of filter does and when you might want to use it. Then purchase one or two filters at a time and experiment with them. You’ll soon figure out what kind you need (or just want!) to accomplish your photography goals.
Understanding and using filters was much more common in the days of film. But even in our world of Photoshop and high-end digital editing, there are still lots of great reasons to know how to use lens filters!