
A handy camera mode is aperture priority. Aperture priority mode helps you take beautiful photos without constantly changing your settings, making it an excellent tool for beginner photographers.
Aperture priority gives you full control over the light you let in, and it is a wonderful time-saving tool. The only other mode that lets you control apertures is manual mode, but it is far more time-consuming. With aperture priority, you can quickly pick the optimal camera settings, making it a worthy option to consider when selecting your shooting mode.
What Is Aperture?
An aperture is an opening in your lens that lets you control the amount of light that passes through and hits the camera sensor. Hitting the camera sensor is what creates a photograph.
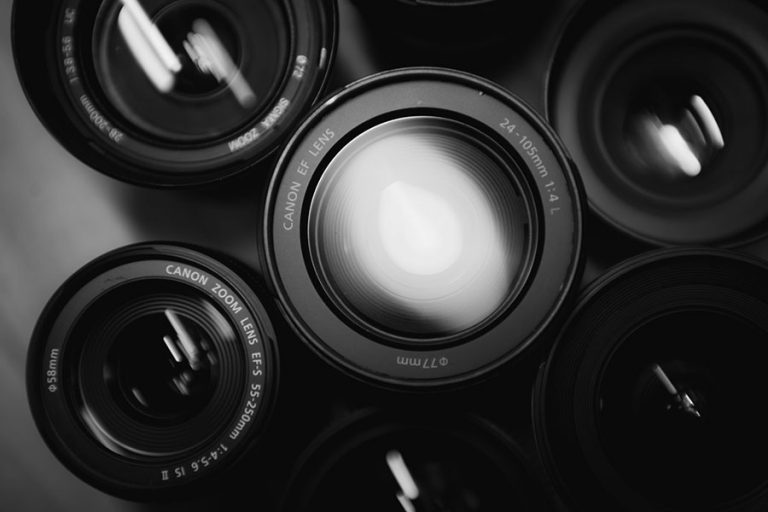
It is sometimes called an f-stop, which is the number needed to open and close the hole. You can find the f-stop on your lenses listed like f11 or f2.8, and they control the degree to which lenses open or close.
It is composed of a set of blades that control the amount of light that can enter. A smaller f-stop indicates larger holes and vice versa. Larger holes let in more light.
Apertures also determine how focused your backgrounds look. Letting in more light creates a soft background, and it is beneficial in low light areas. Smaller ones create a more focused and detailed background. Furthermore, experimenting with them allows you to vary your depth of field.
Comparing Aperture Priority and Shutter Priority
We will begin by comparing various shooting modes.
Aperture priority guarantees the best possible exposure, making it advantageous in low light scenarios. If you are shooting indoors with little light, you will want to gather the most light possible and use higher “A” values.
If you are working in shutter priority, you have limited apertures. Decreasing the shutter value means you will need a lower f-stop to create an equivalent exposure. You’ll either experience ISO or exposure compensation for the changing shutter speeds since you have this limitation.
Setting an auto ISO will change the ISO to compensate for the stop difference. You will usually want to control the ISO, meaning your exposure value will have to change, resulting in excessive exposure compensation.
Your shutter speed always stays within the allowable maximum and minimum values. This limitation affects exposure when you attempt to surpass the limit.
If you are in intense light, you do not have to worry about hitting the limit as there is plenty of light available. Shutter mode is ideal in this scenario.
Using aperture priority means the shutter speed will change automatically, and it won’t affect the exposure. Also, this mode has a faster shutter. You can make a broader depth of field or motion blur by increasing the f-stop. You won’t even have to control the shooting modes as long as you check the settings regularly.
Aperture Priority Compared With Manual Mode
Manual mode offers full control over your camera settings, but it takes a lot of time to do so. You need to adjust the exposure, shutter, metering, and camera technique to create the best photo. If the environment you are shooting in is rapidly changing, the manual mode is not the best choice. A stable background, a tripod, and plenty of time work best with manual mode.
Using aperture priority mode means you’ll only have to focus on the metering and technique. These capabilities make using aperture priority mode an excellent time-saver, though it does offer less control.
Manual mode is best for precision, while aperture priority is best for speed. Manual may be faster if the light is too unbalanced, offsetting the metering. However, you will need to master exposure values to control the settings and create the best exposure.
Aperture Priority Compared With Program Mode
Program mode is relatively similar to automatic modes, but you get control over more settings. You can alter ISO, white balance, and flash. Program mode offers some aperture and shutter speed control by suggesting combinations. If you have a time limit, program mode captures photos with the right exposure, no matter your technique.
Aperture Priority Mode Settings
When you use aperture priority, you have control over a few settings.
Iso
ISO settings determine the amount of light that enters the camera. If you are looking for speed, you should consider auto ISO. This setting has a shutter speed limiter, so you don’t have to worry about your camera selecting a slow shutter speed. You can also limit the shutter speed as you zoom in and out.
If you decide to control the ISO, consider the amount of light in your surroundings. During bright conditions, you can keep the ISO at around 100 to 200, which limits the noise. Try to keep the value as close to the base value as possible. However, in low light conditions, you will need to raise the ISO for a sharper image.
Exposure
Changing the exposure can easily alter your image’s brightness, and the best setting depends on your preferences. Keeping a low +/- exposure value will maintain the quality, as an over or underexposed image can permanently lose detail. You can always edit the brightness in post-processing. Your camera should have an accessible button with a dial or +/- symbol to quickly control the exposure.
Aperture (f-stop)
Changing the f-stop can change the light and shutter speed and control the DoF. A smaller f-stop creates a blurred background and shallow depth of field, while the inverse creates a sharper image with a broader depth.
When you use aperture priority, you can adjust the values when shooting long exposures. A low ISO and small “A” value creates a longer exposure and blurs moving subjects.
How to Select Aperture Priority Mode?
Most cameras have a dial to control the shooting mode, but your camera brand may label the settings differently.
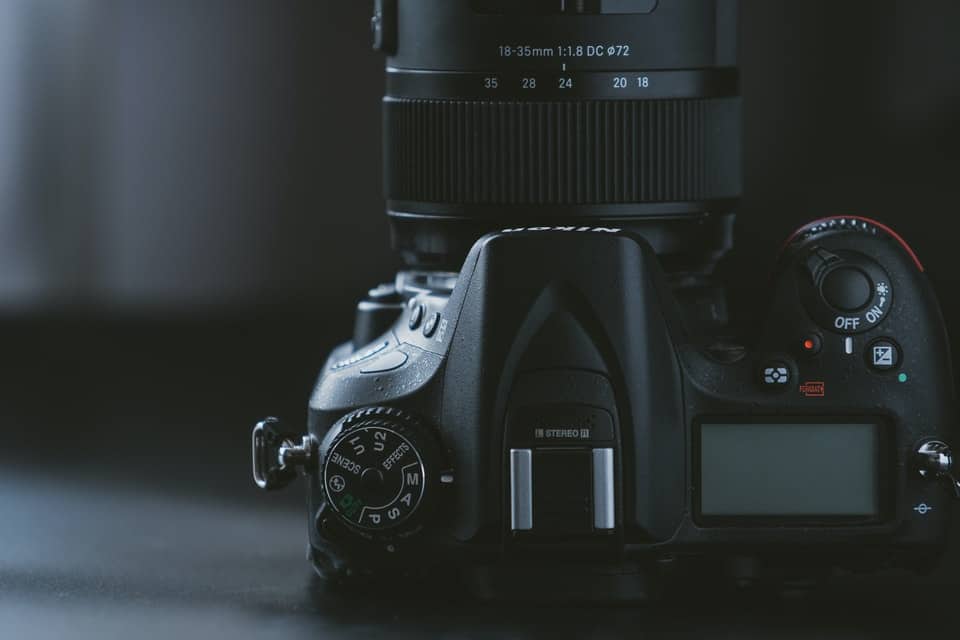
How to Select Aperture Priority Mode in Canon Cameras?
Canon models identify aperture priority by “Av” on the mode dial, short for Aperture Value.
How to Select Aperture Priority Mode in Nikon Cameras?
Nikon models use “A” to describe aperture priority on the dial.
When Should You Use Aperture Priority Mode?
There are a few situations that truly prosper by using this mode.
To Achieve a Fixed Depth of Field
Fixing the aperture fixes the depth of field, making consistent photos that create a more cohesive photoshoot.
Switching to this mode helps when you have inconsistent lighting and don’t want to adjust your settings. Select your desired values and snap away! Your camera will control the shutter speed and ISO as necessary.
To Get Better at Changing Aperture as a Beginner
The manual mode may overwhelm beginners as there are so many settings to control. Using aperture priority can introduce you to different field depths without worrying about the proper shutter speed and ISO.
When You Want to Experiment With Different Apertures
No matter how skilled you are, there’s always something to learn with photography. Aperture priority mode will let you switch through each setting to find your preference while also taking decent photos.
Daytime/Good Available Light
If you’re shooting in daylight, you won’t have to worry about a slow shutter speed in aperture priority. You can select a low ISO for cleaner photos. If you are shooting fast-moving subjects, you’ll need to control shutter speed more, so aperture priority may not be the best choice.
Portrait Photography
Using a large aperture can blur the background, leaving all the focus on the person you are photographing. If they are still, you can control the composition as the camera figures everything else out.
Landscape Photography
You’ll want to select a medium to high f-stop for a broader depth of field for landscape photography. However, long exposure landscape photography requires manual mode.
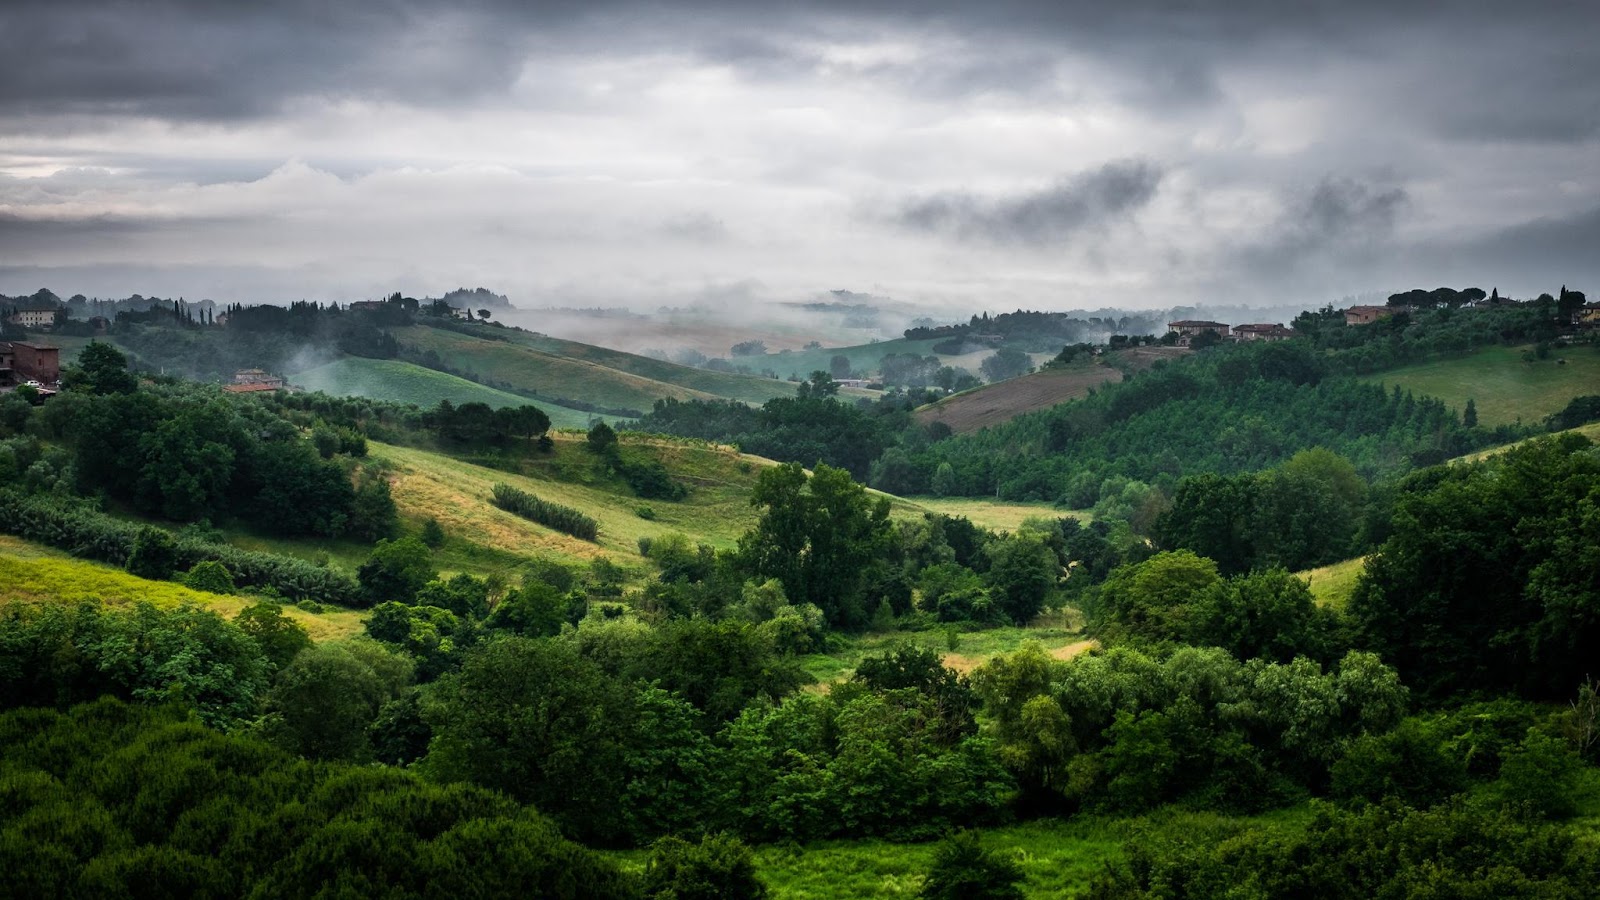
Photo by Giuseppe Milo licensed under CC BY 2.0
Sports and Wildlife
Shooting sports and wildlife can be challenging. Choosing a small f-stop value with a nominal and fast shutter speed can prevent motion blur. You’ll also want auto ISO.
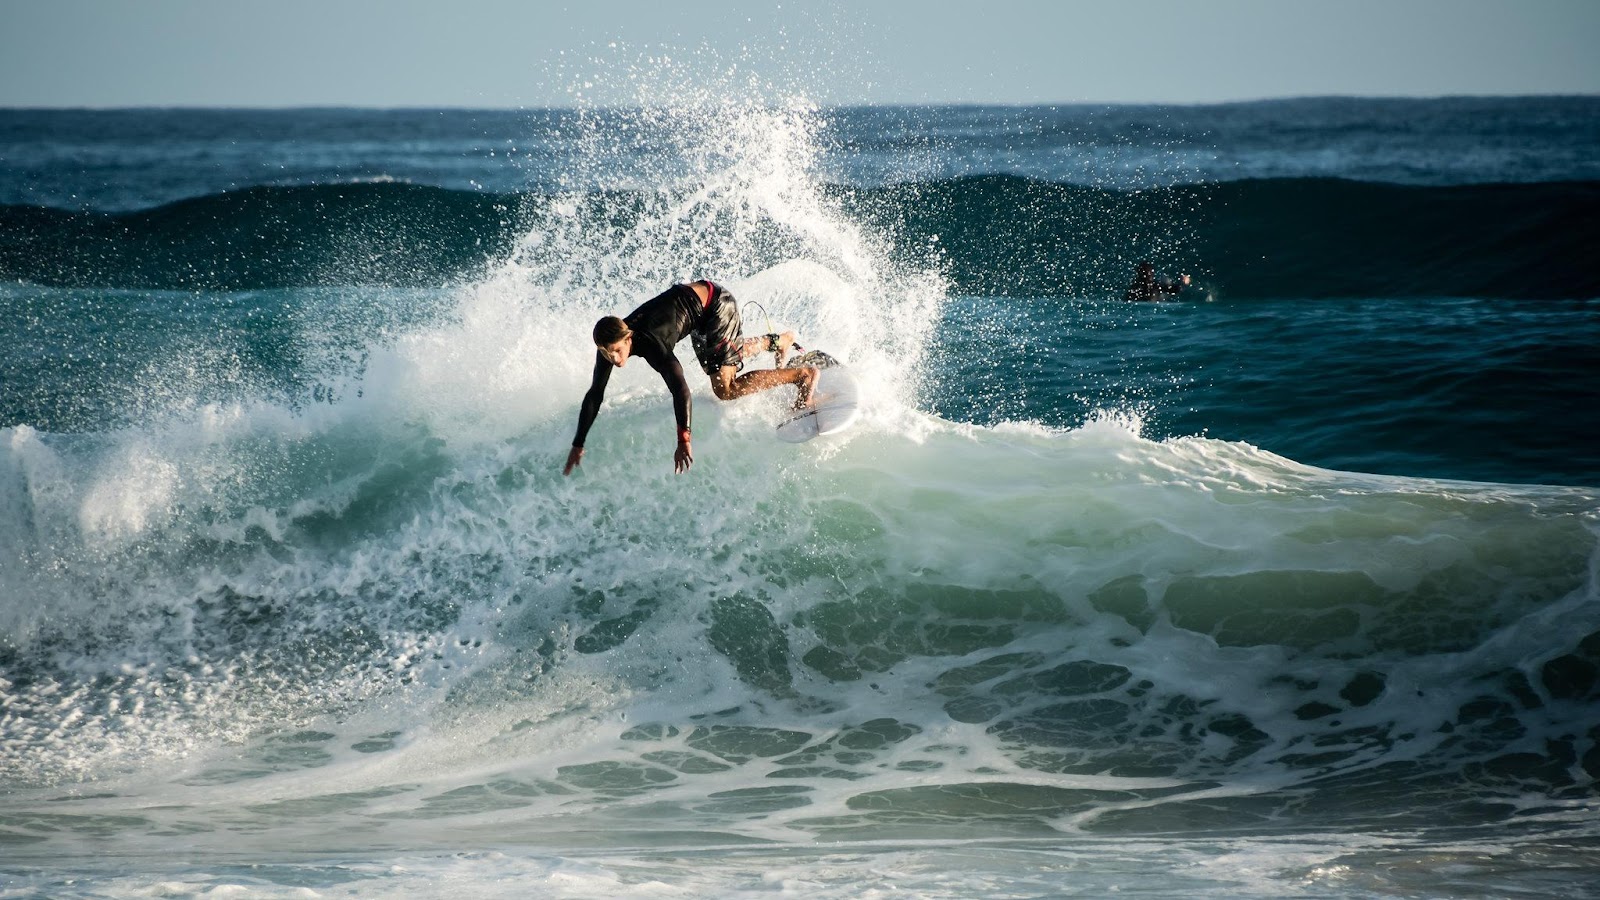
Photo by Jason Jacobs licensed under CC BY 2.0
Wedding and Events
You won’t want to miss a moment, so aperture priority mode can save you a good deal of time by selecting the optimal settings. Ensure you use a fast shutter speed for the best results.
Macro
Macro photography requires a broad depth of field to have a sharp subject. Choose a medium f-stop value, limit the ISO, and set a fast shutter speed to prevent motion blur.
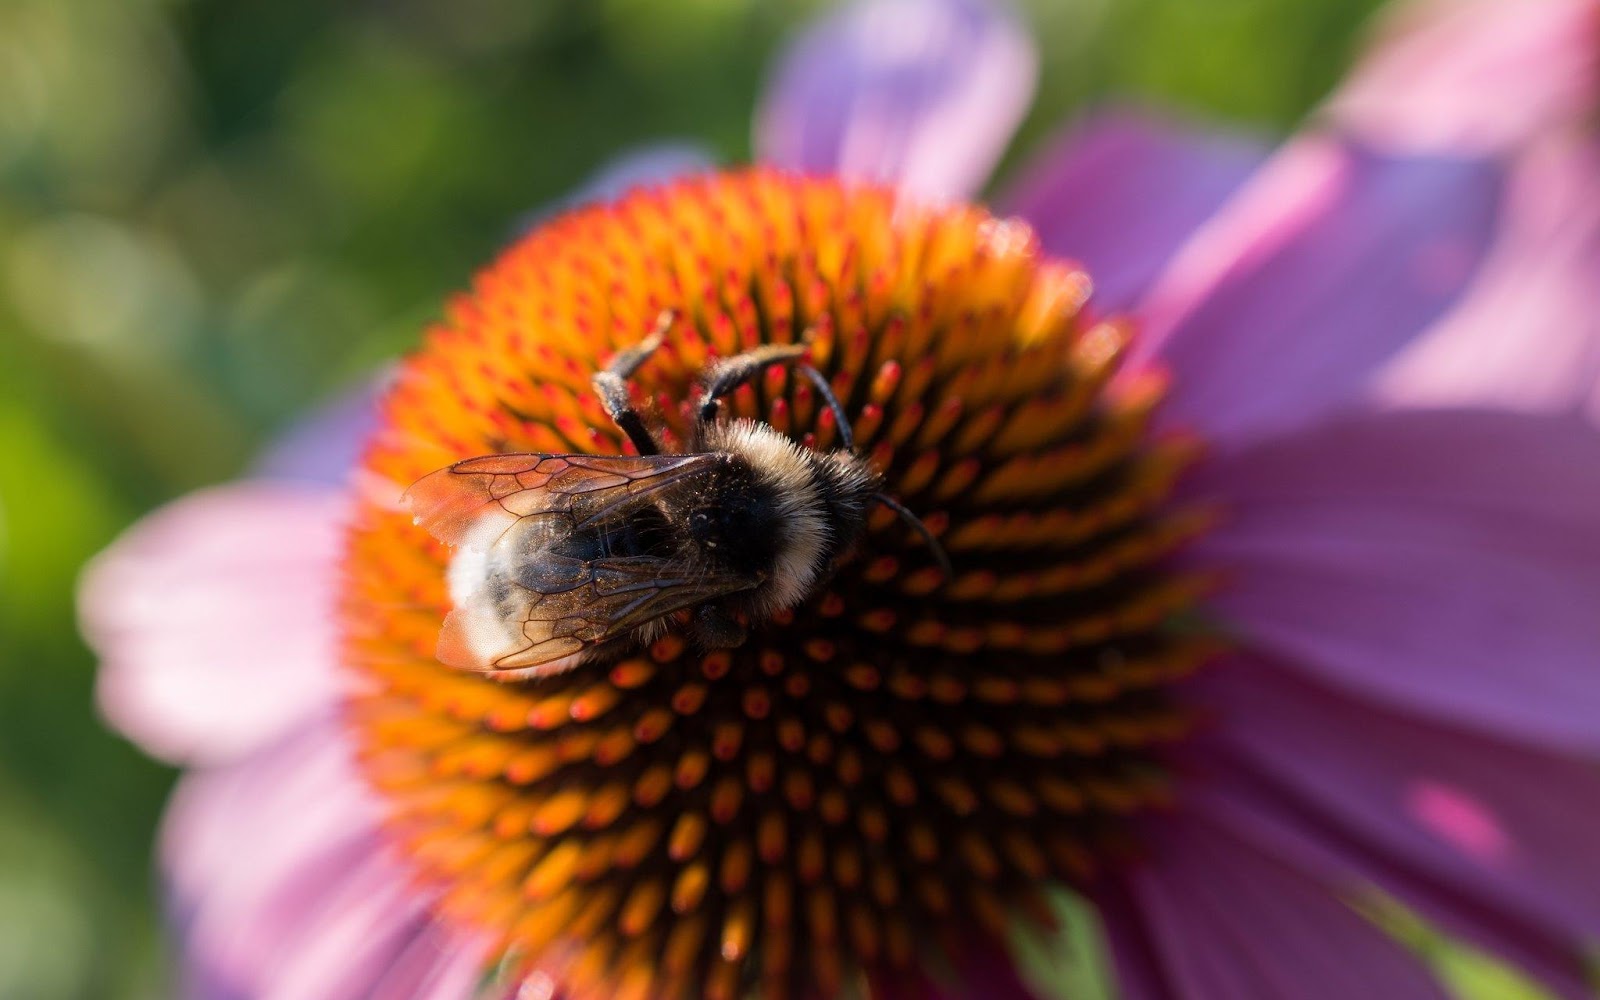
Photo by Tomasz Baranowski licensed under CC BY 2.0
Travel Photography
When traveling, you’ll want to take a lot of photos quickly to enjoy the sights thoroughly. Aperture priority mode can save you a lot of time.
Street Photography
Street photography requires spontaneous shooting, so aperture priority with a manual ISO will give you more freedom to choose the best subject without worrying about the shutter speeds or DoF.
How to Use Aperture Priority Mode Optimally
Aperture priority can be an easy way to control your camera.
Shooting Handheld
When shooting handheld, the automatic settings from aperture priority may not be sufficient, especially in dark conditions. Aperture priority mode will select a long shutter speed with little light, and it won’t be easy to hold the camera steadily for that long.
By increasing the ISO, your camera will use a faster shutter speed so that you can hold it. Auto ISO offers better control when shooting handheld.
Switch to Aperture Priority Mode
Your camera likely has an “A” or “Av” symbol indicating the aperture priority mode. You can turn the mode dial to this selection to activate the mode.
Choose Between Manual or Automatic ISO
If you’re shooting indoors or in poor light conditions, you may want to use a manual ISO. Too much ISO can create grainy photos, which may be difficult to edit out. Selecting a manual ISO is beneficial if you have extra time and plan on using a tripod. Auto ISO is a useful tool to decrease the shutter speed, but it may create extra noise and provide less control.
Change the Value of Your Aperture
To control apertures, you’ll need to turn a gear above the ISO button. Your camera will automatically change the shutter speed as you change it or when the light changes.
Focus on Your Subject and Take a Few Test Photos
Test out the value by taking a few test photos of a random subject. Start with a large aperture and alter it as necessary for your ideal shot.
Experiment With Different Apertures
Different f-stops vary the level of focus, detail, and DoF in a photo. Experimenting with them can help you determine your preferences in photography. Maybe your subject looks better with a shallow depth of field, but you’ll never know unless you try.
What Are the Advantages of Shooting in Aperture Priority Mode?
There are a handful of advantages when you use aperture priority.
It Allows You to Control Depth of Field
The opening size determines the depth of field. Smaller f-stops create shallower depths. Photos with blurry foregrounds or backgrounds happen because of small f-stops. For a focused background and foreground, you’ll want a higher f-stop for the deeper DoF, which is particularly useful in landscape photography.
Creative Freedom
You will have greater creative freedom if you control the DoF. Also, since you won’t have to worry about settings as much, you’ll be able to experiment with more subjects in different lighting. You can even change the size as you shoot the same subject to evoke different moods in your photos.
Allows for a Quick Response
You won’t have to worry about shutter speeds or noise in aperture priority mode in a normal light environment. Choose an appropriate ISO setting and let the camera control its shutter speed.
When to Avoid “A” Mode
Aperture priority is fairly versatile and usable in most situations. However, some situations favor manual mode.
If you need to use the same settings across a series of photos, like with focus stacking or panoramas, you’ll need to use manual. Also, astrophotography requires manual adjustment of metering and exposure to get good results.
For long exposure times, the manual mode will be beneficial. Flash photography requires a balance between the flash and ambient light, so you’ll want manual mode’s precision.
Sports and wildlife typically benefit from “A” mode, but if you’re in low light, you’ll want to use manual mode.
Aperture Priority FAQs
Here are a few commonly asked questions about aperture priority.
Why Should You Use Aperture Priority Mode?
Aperture priority is fast, intelligent, and offers control. You’ll get the best exposure and be able to control the optimal settings for most shots.
How Do You Set Aperture Priority to Your Camera?
For the most part, you turn the PASM dial to the “A” or “Av” setting. Your camera may have a mode button, or you’ll have to rotate the shutter speed dial to Auto and select the value manually on the lens.
Which Is Better: Aperture Priority or Shutter Priority?
Aperture priority is ideal for those who want the same depth of field in their photos, while shutter priority is ideal for action photography. The best one depends on what you’re shooting.
Do Professionals Use Aperture Priority?
Many professional photographers use this mode. Most switch between manual and aperture priority depending on the situation.
Should I Shoot in Aperture Priority?
No matter your skill level, you can benefit from this shooting mode.
What Is the Best Aperture to Use?
The best one to use depends on various factors: what you’re shooting, the lighting, your camera, and your goals. There isn’t one answer to this question.
What Aperture Is Best for Portraits?
The best one for solo portraits is between f2 and f2.8. For couples, look for f2 to f4. Groups of people will need f5.6. Lower f-stops will allow the solo model to be the center of attention, but not everyone will focus on more people.
Conclusion
Aperture priority mode is a speedy way to set the optimal settings in changing conditions without risking under or overexposure.
It is a useful mode to explore in many situations, and it can save a lot of time during photoshoots.
This mode is ideal for beginners, landscape photographers, and portrait photographers, though everyone would benefit from experimenting with it.