Does large group photography scare you?! Here’s why it shouldn’t!
Large group photography isn’t just for wedding parties. Any photographer should be prepared to photograph large groups. Family sessions, corporate sessions, prom pictures, and sports teams all require a knowledge of photographing big goups.
Large group photography seems intimidating, but when you break it down, it’s much easier than you think! If you go in prepared, it can even take LESS time than a regular family session.
Here are 12 tips and tricks for mastering large group photography!
1. Lens Choice for Group Photos
When it comes to larger groups, choosing a wider lens is a must. The best versatile lens for both portraits AND large groups is a 35mm. This gives you the ability to capture a larger group without the use of rows. You could also use a lens like the 24mm or the 24-70mm.
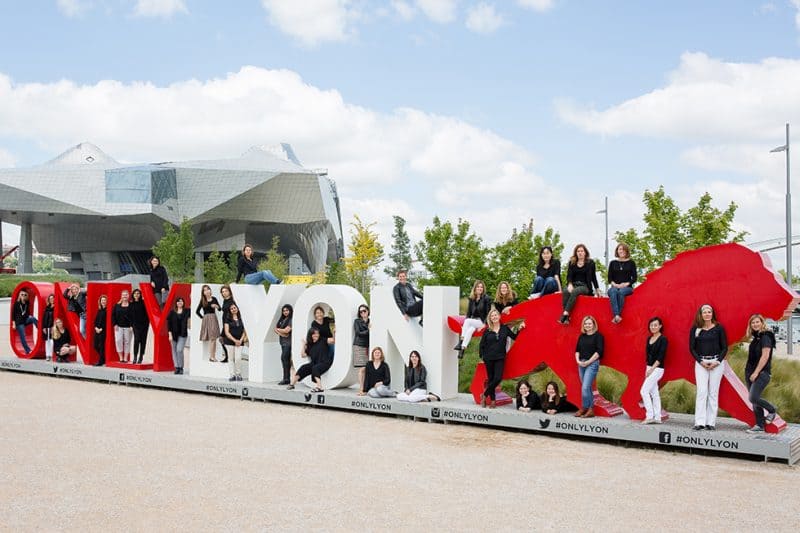
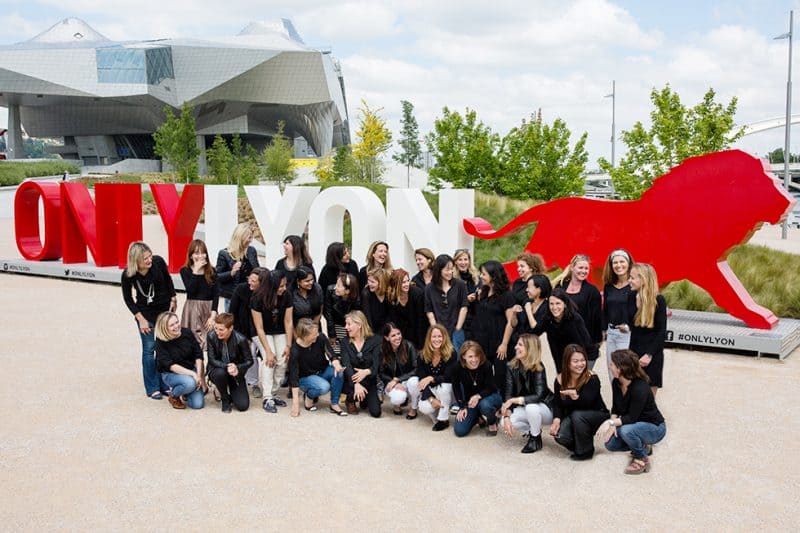
The photo below (32 people) was used with a Canon 5D Mark III, 35mm lens, ISO 100 at f/10, and a shutter speed of 1/200th. I used both a tripod and ladder to shoot at a slight angle.

Ready to take your photography to the next level?
Join Cole’s Classroom today! »
2. Settings for Large Group Photography
F/Stop
In large group photography, your aperture is going to be the most critical setting! We want to keep it above f/5.6 and go up from there. If you are snapping shots of a six-person bridal party lined up in one row, you can probably get away with f/4, but make sure they are on the same plane of focus (basically make sure that all of their toes are lined up on an imaginary line). For groups larger than 6, you start having to use rows, meaning your aperture needs to narrow to make sure you get all rows in focus. Large group photos should realistically range from f/8-f/10.
Shutter Speed
As a general rule, your shutter speed needs to be at least double the focal length of your camera. So if you’re using a 35mm lens, your shutter speed should be a minimum of 1/70th. I always tend to bump it up a tad JUST to make sure that I don’t get any motion blur (especially if there are kids in the shot). As a safe bet, I keep my shutter around 200-250 and use a tripod to reduce shake as much as possible.
If there is motion in the shot, you’ll want to increase your shutter to “freeze” the motion!
Another tip: ALWAYS check the back of your camera. When you’re in between shots, zoom in on your LCD screen and make sure everyone is in focus. It’s worth the extra effort, I promise!
ISO
Set your ISO as you usually would be based on the light in your particular situation. Outside shots on a sunny day will usually start at ISO 100-200. If it’s a tad on the cloudy side, maybe increase it to ISO 400. If you are photographing in an office without artificial light, you may need to increase this. Make sure to ask if these group photos will be printed! We’d like to reduce grain as much as possible when it comes to printing, so it’s always a good idea to know what the photo will be used for. If it’s a company brochure you can probably get away with a higher ISO and the use of a “grain/noise reducer,” but if it’s for a large wall portrait, you may want to encourage your clients to move outside.
3. Large Group Lighting
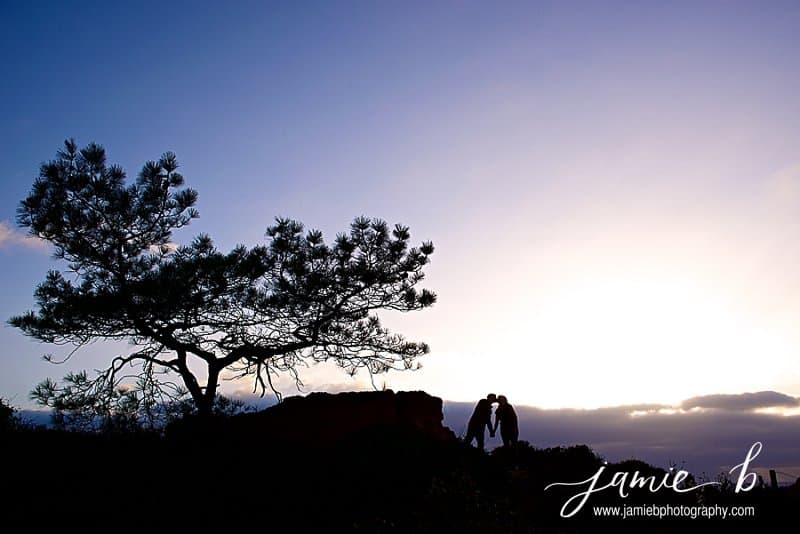
Lighting can be difficult with large group photos, especially if you plan to do them outside! If you’re only using natural light, remember that light ALWAYS beats location (I know this can’t always be negotiated). If you CAN, ask the universe for a few clouds. Ok, ok, I know that doesn’t always work.
If you’re shooting on a sunny day, try to find a large patch of shade. If the shade isn’t possible, put their backs to the sun and make sure they are facing their shadows. This means when they are standing, their shadows should be directly in front of them. Doing this will help eliminate harsh shadows on their faces.
Want to never run out of natural & authentic poses? You need this ⬇️
 Click here & get it today for a huge discount.
4. Make Sure Your Clients Can See You
This seems obvious, but if someone can’t see you, you won’t be able to see them. This is my caveat for the next tip…
5. Embrace giving direction!
I know! This is a hard one for some of us. Now is not the time to be shy, unfortunately. Sometimes we do have to fake it until we make it! Your clients are looking to you as the professional, so you need to have an idea and convey it with confidence! You can ask if they have any ideas, but taking control of the situation and making adjustments is why they are paying you! Tell them what you want, and direct them to make any changes that you deem necessary for a better shot. They will thank you for it!
6. How to Nail Focus in Large Group Photos
So where do you put your focal point? Well, that depends on the number of rows. If it’s one single row, making sure they are all on the same focal plane is very important. If someone in the line is standing just a tad in front or behind, and your aperture is too low, you’ll notice that part of the photo will fall out of focus. Remember that focus falls back more than it falls forward. If you’re photographing a large group with multiple rows, choose to focus on someone in the first or second row in the middle. For more on aperture and how it works, read this tutorial.
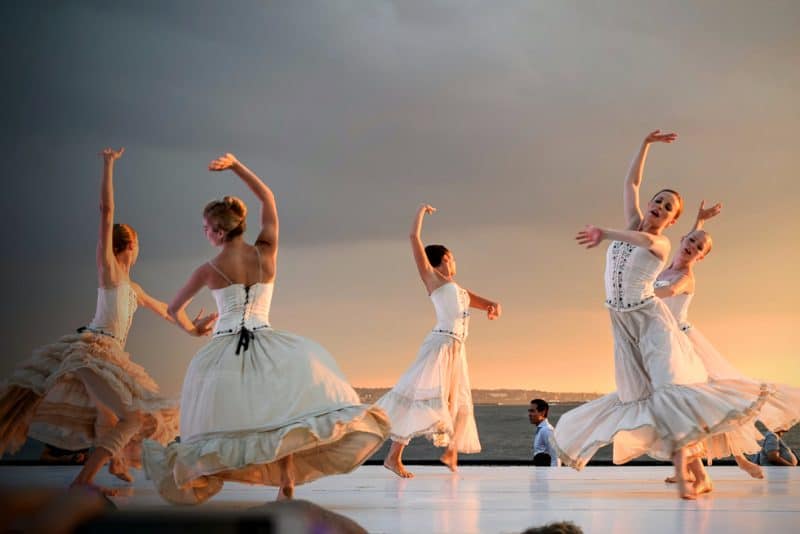
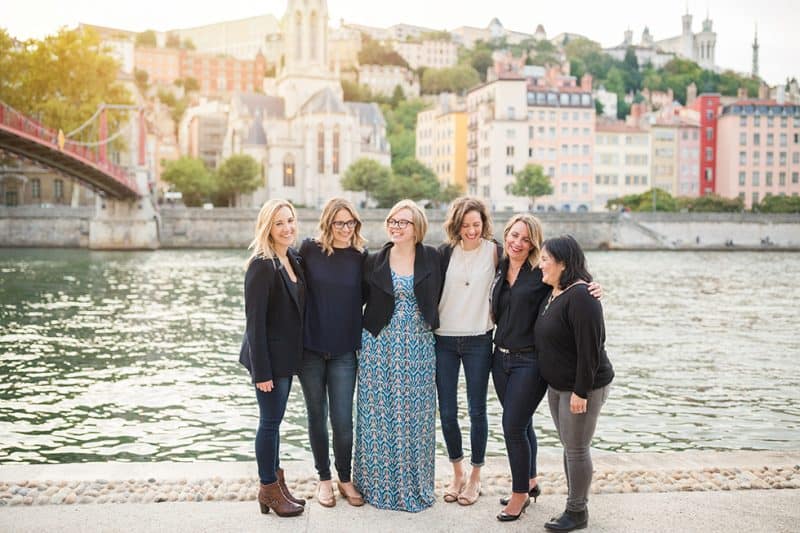
7. Creating a Connection in Posing
If you are photographing a large family, create connection through touch. You can ask families to put their hands on one another, or their arms around each other in a non-distracting way. Obviously if you are photographing a large group that’s not related, touching may not be your go-to pose. Instead, take the serious shots, but then ask them to look at each other and laugh. Then give them your best cheesy joke. Laughing is contagious, so in a large group, it will spread quickly. The photo below was the group’s favorite photo in this series.
8. Use a Tripod for Large Group Photos
If you don’t own a tripod, now may be the time to invest in one. They can be relatively inexpensive, but I would advise not to go with the cheapest option. You want something sturdy! Tripods are helpful when it comes to large group shots is because they allow you to set your camera up, set your settings, and then be able to move around and pose your clients without compromising the composition.
You can also bring a step stool or ladder for huge group shots. This gives you the ability to shoot at a higher angle and the potential to get more people in the frame.
9. Snap a Series of Photos
A trick that helps in large group shots is to take a series of shots in a row. For those posed shots, you can explain to the group that you will count to three and then ask them to “HOLD” in that pose for five seconds. This allows you to get 5-6 of the same shot and eliminates some closed eyes or silly expressions. Be sure to get a fast SD or CF card if you want to take a few shots quickly (this can drastically reduce lag time while your camera processes the images)! Multiple shots can also be useful for any head swaps, like this one here (which are super simple to do)!
[ad id=’5′]
10. Get as Close as Possible
While we love to get those epic scenic shots with those gorgeous mountains or the incredible iconic lake, we want to make sure that we see the faces of all the people in the group. This can be tough when you are talking 30+ people, but try to crop in on at least a few shots (especially those heirloom family photos that will end up on the wall or in an album).
11. Eliminate Distractions
Whenever possible, try and eliminate distracting elements such as a busy background. We want the family/group to be the center of attention in their photo, not the parked cars. When shooting a large group, shoot either above or below the horizon line to keep people’s faces the focus of the photo. Just be mindful of the background as much as possible.
12. Pay Attention to Details
Just as you would in any regular photo session, try and pay attention to the little details. Set your camera and have everyone posed, walk back and forth and make sure everyone’s necklaces are straight and shirts are properly placed. This will save you a LOT of time in post-processing!
The last tip for large group photography is TO HAVE FUN. Be cheerful, smile and go with the flow. You want your clients to be happy, to make it as painless as possible, and for them to give you that killer smile we all want. You can do it! If you implement these quick tips for large group photography, you’ll be well on your way to enjoying a new photography challenge!
Dream of Being a Pro Photographer?
Join Cole’s Classroom today to make it a reality.