
Add motion and make your images more dynamic when you master panning photography!
Looking to improve your photography? Just enter any questions you have about improving your photography below and hit send and get answers & feedback instantly - for FREE! Submit QuestionsMost of the time, photographers do everything in our power to avoid blur in our images. But used correctly, intentionally adding a type of motion blur can enhance your images. Learn how and why to master panning in photography!

What is panning?
Panning is a photography technique used to convey motion in images. Basically its moving your camera horizontally to photograph and track a moving subject.
As your subject moves across your frame, you swing the camera with your subject and take the picture.
4 Reasons to Master Panning Photography
So why in the world would we intentionally add blur to our images? Here’s four great reasons to master panning photography.
Convey motion
The best reason to master panning photography is to convey motion in your images. Photography generally freezes a moment in time. But if we are shooting a moving subject, freezing the action alone might not give us the look we are going for. Panning lets us give the impression of motion in an image.
By moving your camera with your subject, you create blur in the background while keeping the subject relatively sharp. The effect mimics what your eye sees following the same moving subject in person, so the static image “feels” like it’s moving.
Shoot at slower shutter speeds
In addition to conveying motion, panning is a great technique to master because it gives you more flexibility in your settings.
One part of the panning technique is to lower your shutter speed. You can use that lower shutter speed to gain brightness in your image if needed.
For example, shooting football at night can challenge the ISO capabilities of your camera. To stop the motion, you’d need a shutter speed of 1/100 or 1/800 of a second. But if you employ panning, you can lower your shutter to 1/300 or even slower. That lets you gain some brightness in your image.
I learned this concept from a veteran rodeo photographer. Back in the days of film, he would use his ability to master panning photography to still deliver images of his clients even in poor lighting.
You might hear this technique referred to as “dragging the shutter.”
Shutter speed still giving you fits? Check out our ultimate beginner’s guide!

Blur Ugly Backgrounds or Add Interest in the Background
Panning intentionally blurs the background. That blur is what gives a sense of motion. But we can also use it to our advantage and blur out ugly backgrounds.
In this auto racing example, the people in the image give it context. But by incorporating panning into the image, they are rendered blurry in a way that they don’t distract from the subject.
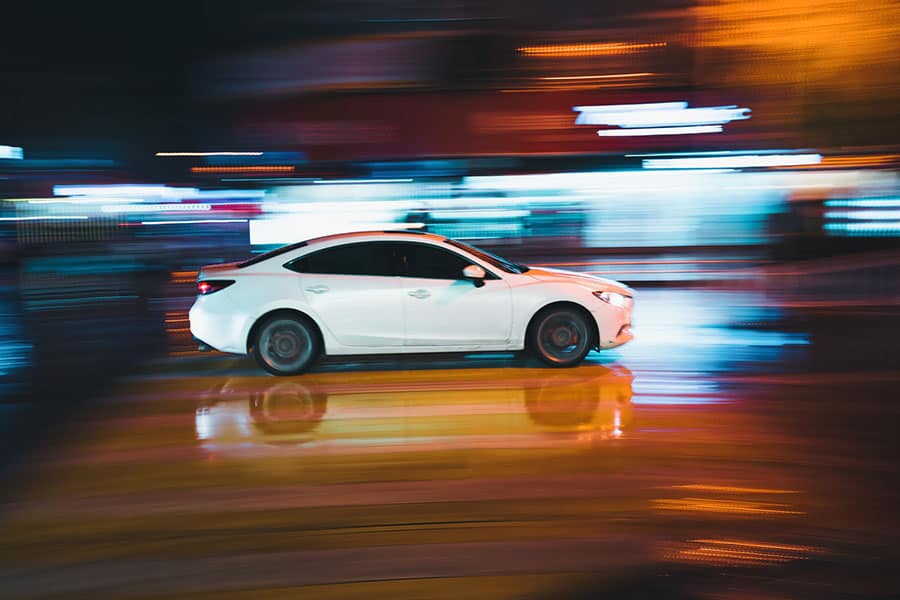
The image below would be a hodgepodge of storefronts and signs that wouldn’t lend anything important to the story of the image. But by panning, the background is blurred and those details are smoothed into something interesting and cool.
Give clients a unique perspective
Panning isn’t a technique a lot of photographers use today. I’m not sure why. It’s fun and fairly simple to achieve.
The good news is that you can use the technique to stand out in your market. When you master panning photography, you can offer your clients unique and dynamic images they might not get or even see from other photographers.
Panning shots work great for:
- Sports and other action photography
- Pet portraits
- Product photography with products that are associated with motion
- Events
- Family or senior portraits
- Running wildlife or flying birds
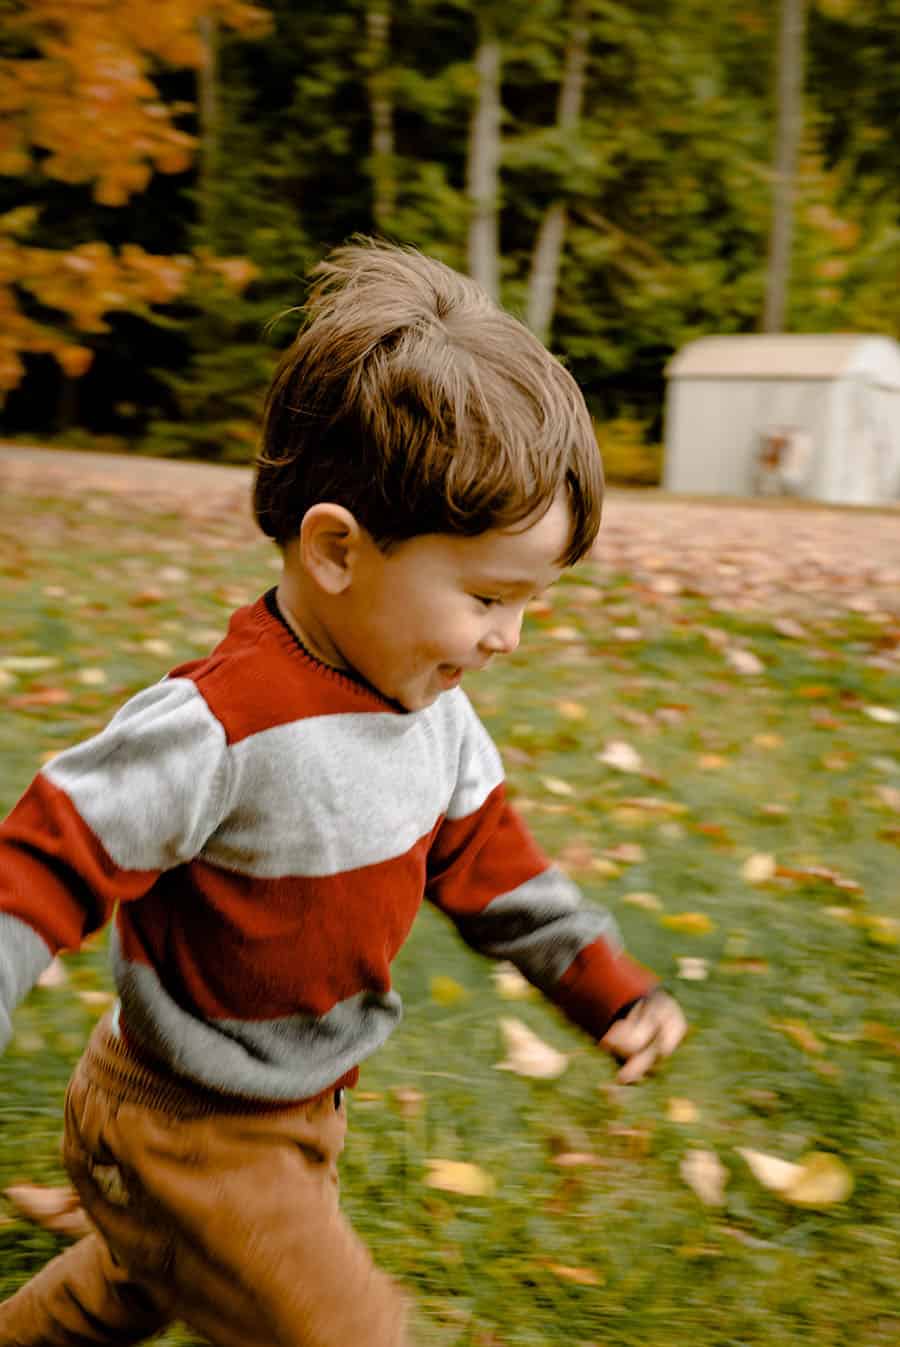
How would you incorporate panning into a family session? It’s easy if you have some active kids. Invent a game where they are running across your frame. Lower your shutter speed, pan with them and fire some images. Not only is it a game the kids will love during your session, parents love the final result!
Master Panning Photography Technique
Panning is a simple technique to employ. But it does take some practice to get it right. Don’t be discouraged if you don’t get it perfect right away. Keep practicing and experimenting!
Choose your starting position
Find a position where your subject is moving across your frame. When you’re first starting out, practice on subjects moving exactly perpendicular to your camera. As you master the technique, then you can start incorporating subjects moving slightly toward or away from you.
Choose your shutter speed
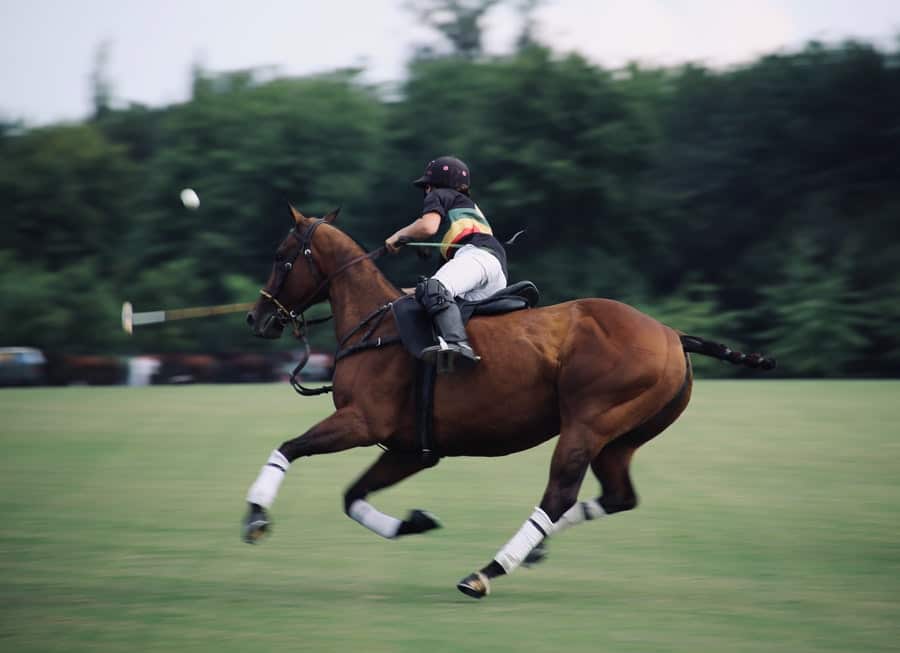
Select a shutter speed that is intentionally slower than what you’d use to stop action. How much slower? That takes some experimenting. It also depends on your subject. I usually start at a speed that’s about three full stops slower than what I’d use to stop the action. So for a football player running downfield, that might be 1/60 or slower. For a dog or a horse running all out, I start at 1/125 of a second and adjust. There aren’t any firm rules on what shutter speed works best…practice and find a style that works best for you!
Aim and focus
Aim your camera at your subject and acquire focus. I find that using auto focus and continuous focus and the back button focus technique works best for me when I’m panning. Swing your camera across your body in line with the subject as it moves across your frame. It’s not just rotating at your hips, although that’s a good start. Imagine if you were in a bucket brigade passing buckets of water up and down a line…that’s the motion we’re going for.
Fire the shutter
When you have the subject framed the way you want and before the subject is out of frame, fire your shutter. I burst shoot when I’m panning, using firing off two or three frames at a time.
Review your images
Review your images and evaluate your focus, composition, and quality of your sharpness/blur. There’s no right or wrong here, it’s all a matter of taste. Remember the goal of panning is to keep part of your image sharp and blur the background to convey motion.
If your entire image is blurry, try increasing your shutter speed to improve sharpness of your subject. If your entire images is too sharp, lower your shutter speed to introduce that blur into the background. I usually work in full stops to get close, then hone in on the exact amount I want in 1/3 stop increments.
Try reverse panning
Okay, this isn’t really called reverse panning. It’s essentially just using long exposures. But since it’s sort of the same concept as panning just flipped, I think it’s worth mentioning here.
In reverse panning, your subject stands still and you use the motion of something else in the frame to add blur to the background. It could be passing cars, moving animals or people or even fast-moving clouds. In this technique, you and your subject stay still and let everyone else move. That creates the blur that implies motion.
Click here to see an editorial photo from a local newspaper where “reverse panning” was used for an interesting front page image!
Learn more about the magic of slow shutter speeds with our tutorial!
Other tips for panning
Panning is a really simple technique to grasp but it takes some work to really master it. Practice is the key! Don’t expect to shoot amazing stuff your first trip out of the box!
One of the best ways to practice is a busy street where the cars are going by regularly. That way you’ll have lots of subjects passing across your frame to really dial in technique.
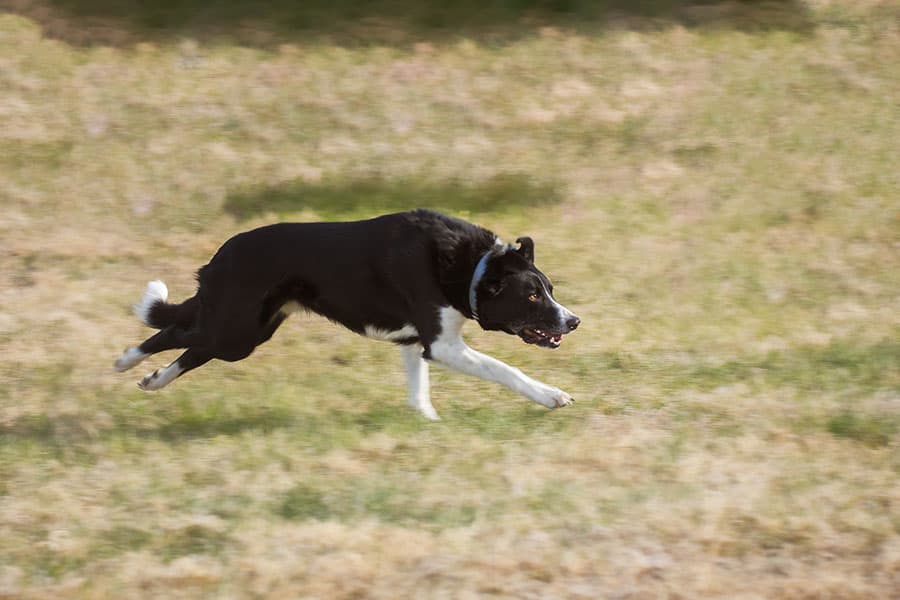
I also like to practice on my dog while he plays fetch with my husband. And panning photos are one practice session my daughter never minds helping me out with!
A few tips that might help:
- Keep enough distance between you and your subject that you can find focus and hold it for a while before firing the trigger. I find it’s much more difficult to pan with success when a subject is very close to you!
- When possible, pick a background that contrasts with your subject. That way the subject really pops!
- You can also pan vertically or diagonally for some really cool effects, it’s just a little harder to do. Master panning photography horizontally first, then move on to subjects moving in other directions!
- Play with different lenses. Personally, I like panning with my telephoto lens. The effect is different than what I get with a wide-angle lens, but you might have the opposite preference!
- Don’t be afraid to raise your aperture to give you the shutter speed of depth of field you need. Even at a narrow aperture like f/8 or f/11, you’ll still get lots of background blur if you are dragging your shutter correctly.
- Consider a tripod. If you’re having a hard time holding your camera up and focusing/framing/shooting, try using a tripod or monopod for support. That eliminates one of your problems so you can focus on the other aspects of panning.
- A neutral density filter can help block some light coming into your lens, allowing you to lower your shutter speed to the right levels.
- Use good composition! Once you’ve mastered the technique, work at using panning in conjunction with other composition rules like the rule of thirds and leading lines.
- Work your angles! You can create an entirely different image by shooting from different perspectives.
- Don’t forget to leave room in the frame for your subject to “go!”
- Practice, review and practice some more! The more you do this the better you get at it and the more you’ll love it!
Panning is a really fun and useful technique. It lets you convey motion, shoot in conditions you couldn’t otherwise and provides a unique look to your images. A little bit of time and effort today and you’ll master panning photography with ease!