Wedding ring photos – one of the most symbolic images you will capture on a wedding day. While every detail from the nuptials is extremely important to photograph, there is nothing that signifies marriages more than a photo of two perfectly polished eternal wedding bands. Shooting photos of the rings is also your turn as a photographer to get creative and show off your skills. This is one of my favorite parts of the day. With ring shots, very aspect of the photo is in your control and the possibilities are endlessly unique to each photographer.
Below are some helpful tips that I have discovered in my time as a wedding photographer to help you capture that perfect ring shot.
1. Invest in a Macro Lens
In order to truly capture the stunning – yet tiny – details of a wedding ring you’ll need to shoot with a lens that is capable of getting up close and personal. A macro lens can focus on your subjects at a much closer distance than a standard lens – this means your frame can be filled with the image of your ring while capturing its detail at the same time.
Looking to improve your photography?
Just enter any questions you have about improving your photography below and hit send and get answers & feedback instantly - for FREE!
Submit Questions
One of the biggest things to take in to consideration when purchasing a macro lens is it’s magnification ratio capabilities. The magnification ratio literally means how magnified your subject will be in the final image. A true macro lens should achieve at least a 1:1 ratio – means your photo will represent a life size image of your subject. Some macro lenses are capable of magnifying a subject as high as 5:1. These types of lenses can be seen shooting close up images of honeybees mid-flight or a tiny drop of dew the moment it splashes to the ground.
My go to macro lens of choice is the Sigma 105mm f/2.8 for Nikon. It has a 1:1 magnification ratio which is more than capable when it comes to shooting detail on wedding rings. One of my favorite parts about shooting with this focal length is its’ capacity to also be a stunning portrait lens. It’s perfect for “down the aisle” photos during a ceremony and it’s tack sharp focus creates an ever so lovely creamy background with bride and groom portraits. No need to be concerned about spending too much money on a lens that would essentially only be used for macro photos. Macro lenses are diverse enough to stay on your camera much through the wedding.
Note: If a full macro lens is not quite in the budget yet you can also look in to macro lens filters that are compatible with your existing lens. They are simple to use and easily installed on the front of your glass. I have played around with the ProMaster Macro Ring Filters and had pleasing results!
2. Close Down That Aperture
I typically try to drive home the idea of opening that aperture as wide as possible to let in more light when it comes to shooting natural light photography. Shooting with a macro lens will contradict this theory because you’ll be working with such a small scale within your photos. A slight change in aperture can dramatically change the amount of your ring that is in focus. If you want every bit of those bands in focus you’ll need make your aperture very small. I tend to start at a minimum of f/5.6 and work my way up from there depending on the results in camera.
There are a few things to take in to consideration when working with small apertures. When shooting with natural light – you’ll need to compensate for the drastic drop in light entering you lens by either lengthening your shutter speed or bumping up your ISO. The longer your shutter speed the more likely you are to have camera shake. Luckily for you, you’ll be working with still subjects so a tripod could be very handy in this situation. Another easy fix to your low light dilemma is adding external light or flash to your image. An external flash, when used correctly, can add amazing range to your photos. When bounced, you’ll often see a burst of light within the diamond itself. When you have some downtime, play around with a ring of your own and various lighting scenarios. This is perfect why to figure out you’re preferred style for wedding day.
3. Allow Yourself Plenty of Time to Get Creative
When developing a timeline with your wedding couple, it is important to incorporate a decent length of time to shoot your details. I typically inform my brides that when I arrive I will be spending about an hour shooting the details such as the dress, rings, stationary and floral arrangements at the beginning of the day. Additionally, I also send a friendly request that these items be gathered in one area and ready to go upon my arrival. Having these details in one spot eliminates any wasted time running around looking for them when we could be full steam ahead letting our creative juices flow. I also love incorporating special touches such as the invitations, veil and bouquets with my ring photos. Which brings me to my next helpful tip.
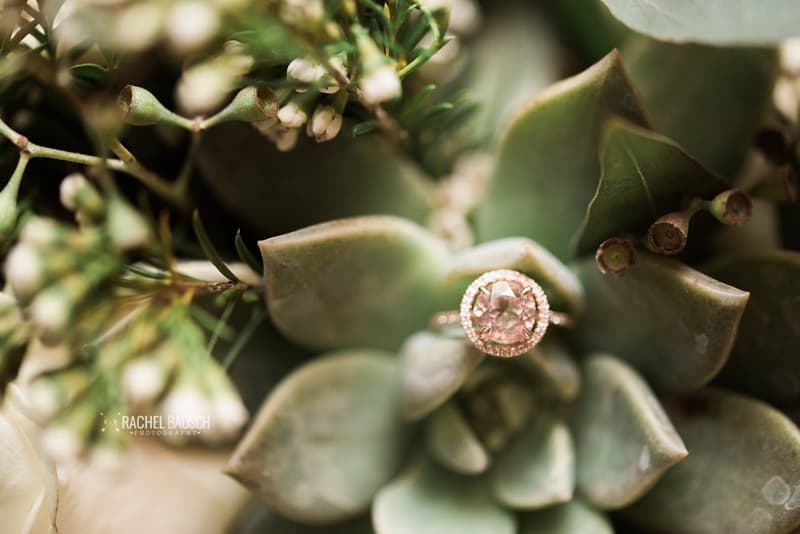
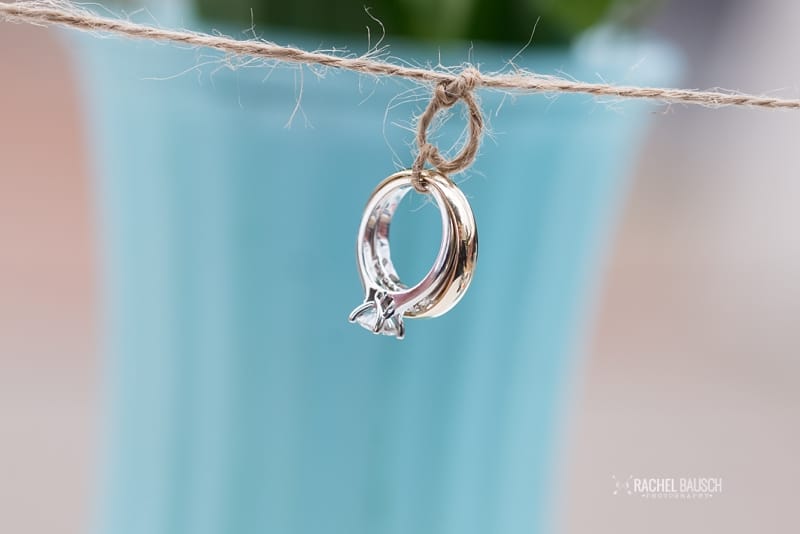
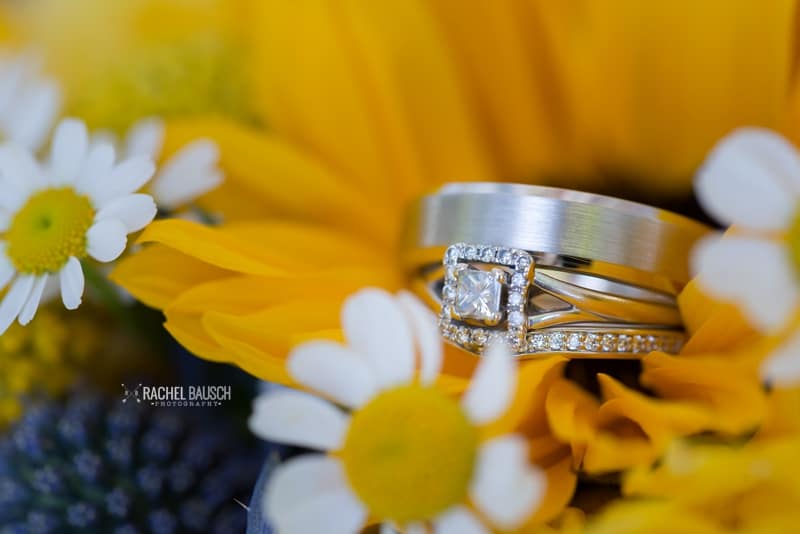
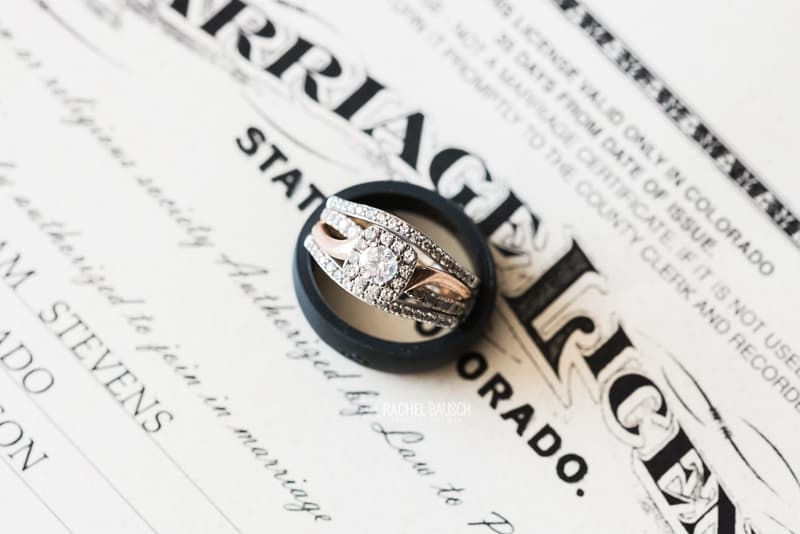
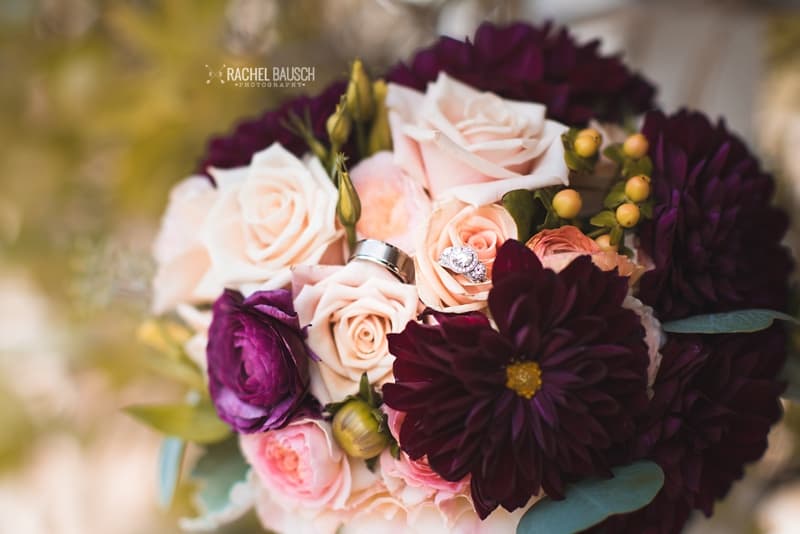
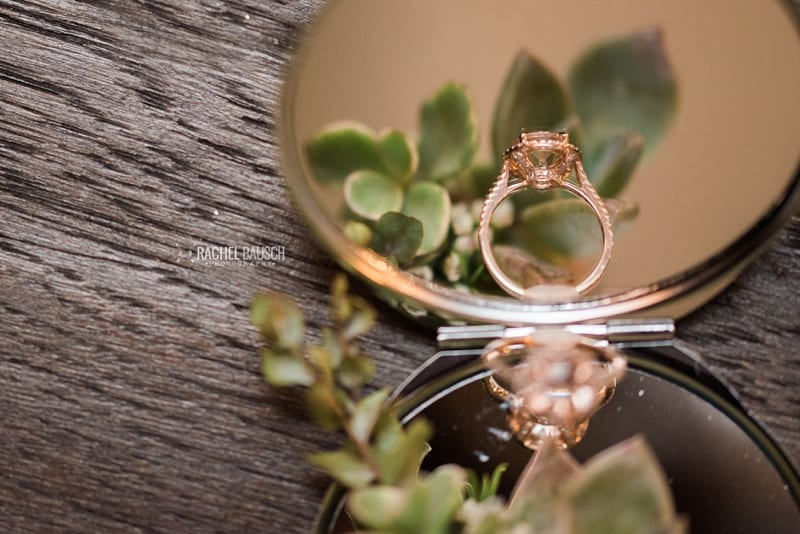
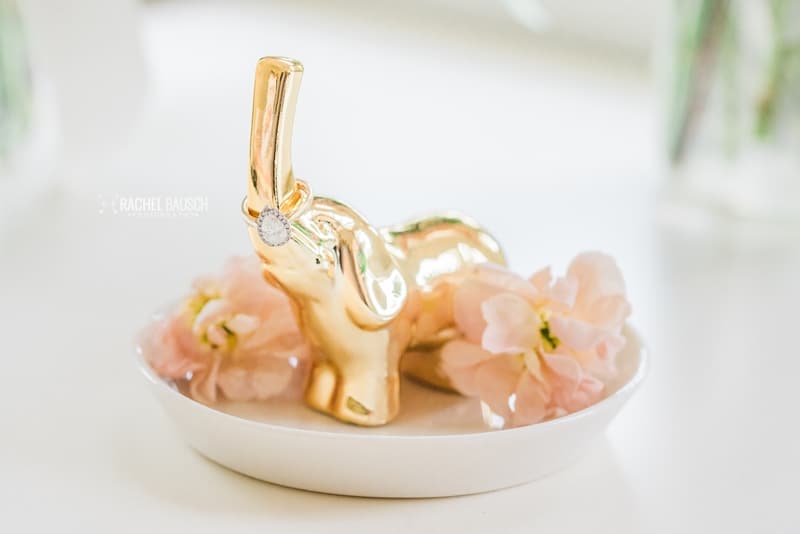
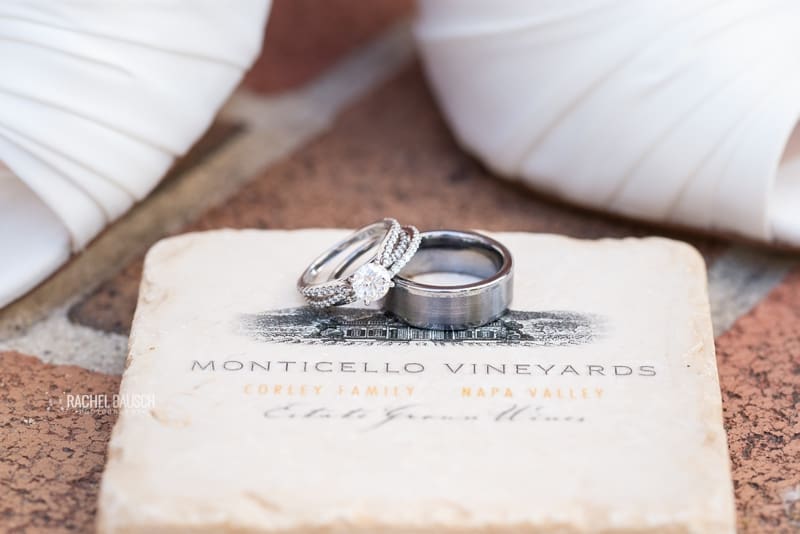
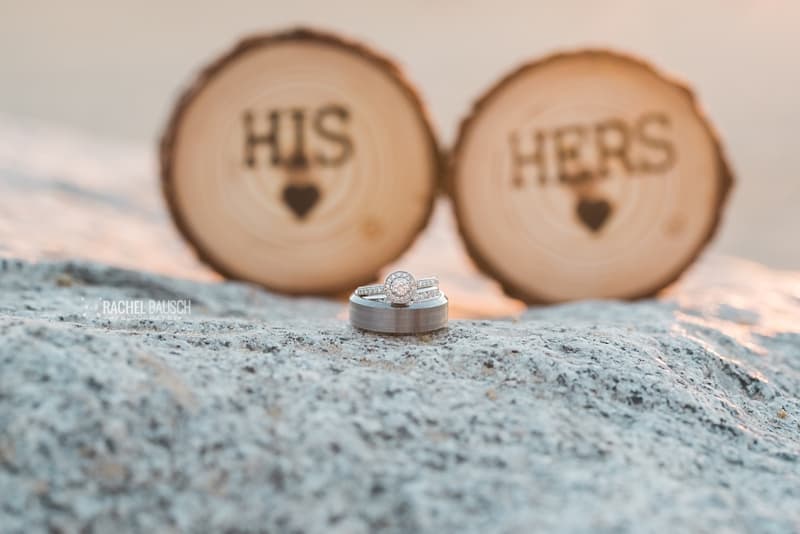
4. Incorporate Those Special Details
I approach my weddings as a storybook from start to finish. I want every aspect of the wedding gallery to flow perfectly from one photo to the next. Therefore, it is important to make sure your ring shots coordinate with the overall theme of the day. Pulling details from the wedding in to your ring photos will ensure this outcome. Your couple will be immensely appreciative that you took the time the make sure their ring photos had significant meaning to their big day. Below are some various examples of additional wedding details being used along with the rings.
I know it can be easy to become overwhelmed with the pressure of shooting something so significant. I hope this tutorial helped you to see that these photos are your time to shine. Every wedding is completely different and there is always something new and unique to work. If you go in with an open mind, you’ll see that you have endless possibilities when it comes to ring shots.
Tell me some of the coolest ways you’ve photographed a wedding ring in the comments below!
We all do it. We make sure we take our cameras with us when we “go” places. Whether to a birthday party or far away travels, we typically make sure to grab the camera. Sometimes on our travel excursions you might become frustrated when you are snapping photos of a truly amazing or majestic scene…
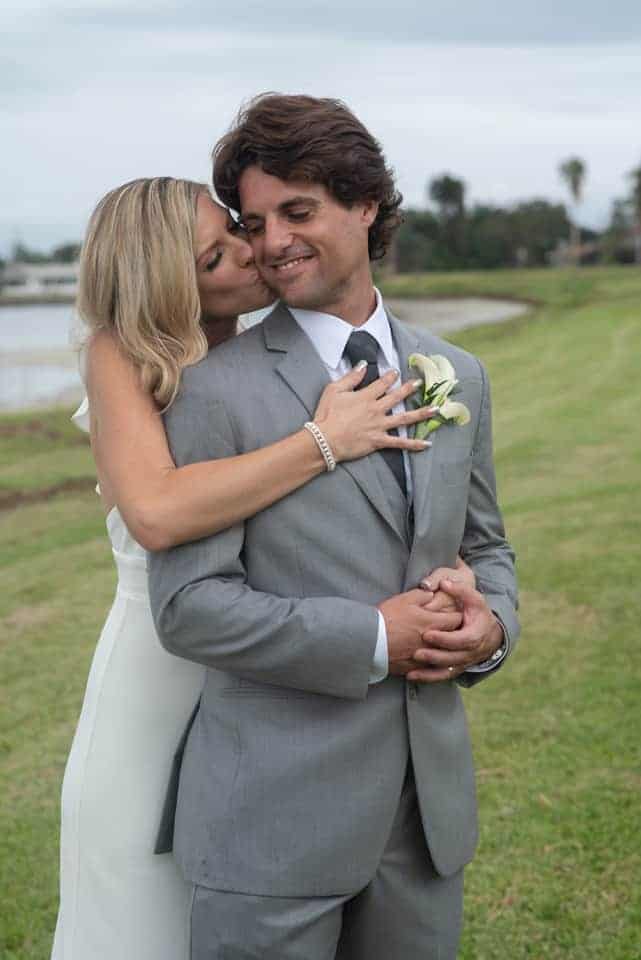
Wondering how to learn wedding photography in a snap? Here are 5 tips to boost your confidence and start booking clients. Your photography business is up and running. All the legalities are handled. You have built a solid portfolio and know your gear. Now, you are thinking hmmmm, I may want to give wedding photography…
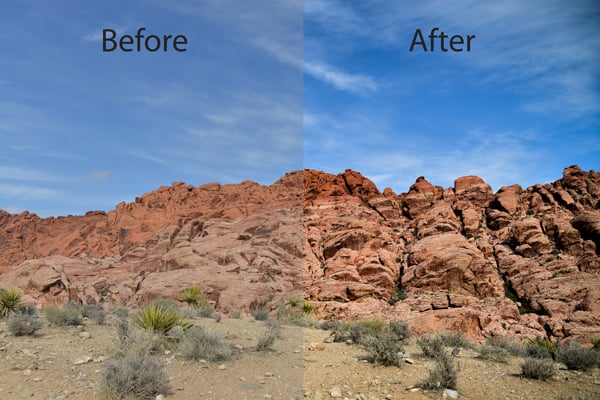
How do you create landscape photos others can’t stop staring at? We’ve all seen those stunning landscape photography images on Instagram, in magazines, travel blogs and tv commercials. Read on for more tips to get print worthy landscape photos. What is the best landscape photography camera? There are tons of great cameras out there and there…
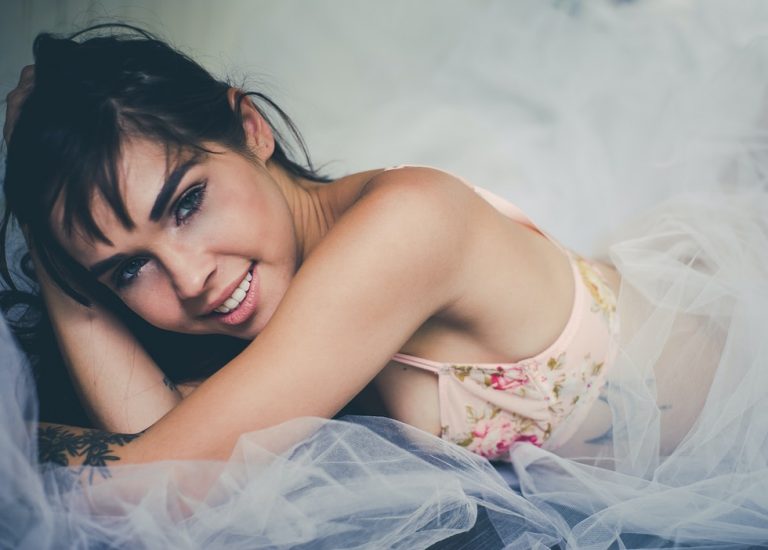
Boudoir photography comes in all shapes and sizes. From classy shoots that hardly qualify as boudoir to risque images you probably wouldn’t want to show your mother, there’s a lot you can accomplish with a boudoir shoot. Photo by Maddi Bazzoco Licensed Under CC0 If you’re feeling a little creatively stumped, here are plenty of…
Headshots are a staple of business owners, actors, actresses, models, and real estate agents. If you’ve been asked to take headshots for a client but have never had a headshot session, you may have questions about the equipment you’ll need. We’ve got some pointers on choosing a lens for headshots. What is the best lens…
Beautiful scenery, unique angles, and attractive people make yoga photography a popular subgenre of sports photography. The best professional yoga photographer shows not just the athleticism of the practice, but the meditative, peacefulness of it, too. If you want to improve your yoga photography skills, these ten tips will help you get beautiful, iconic photos…


![Best Lens for Headshots [Complete Guide for 2020]](https://colesclassroom.com/wp-content/uploads/2020/06/female-4572747_1280-768x549.jpg)