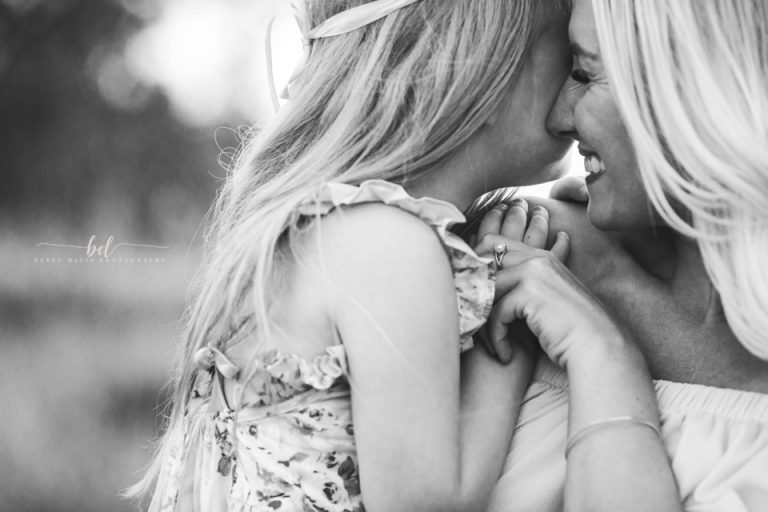
Have you ever struggled taking great night portraits?
As a wedding photographer, diversifying your portfolio is key to attracting ideal clients. One way to do this is to know how to properly use light during your wedding photography shoots. When you are comfortable with light, you can deliver stunning images every time, regardless of the shooting situation. Often times, though, the wedding day shoot provides obstacles with light that you must overcome. This is especially true when it comes to shooting at night and having to create light for your images. I reached out to wedding photo editing company, ShootDotEdit, to provide you with a few tips to help you shoot portraits at night.
Creating wedding photography at night can provide you with plenty of challenges, especially outdoors. The sky is dark, and it may be difficult to focus on objects with your camera. To assist you in shooting through any problems that arise during the shoot, we’ve put together 5 wedding photography tips to help you master night portraits.
Try Several Angles
What looks good during the day isn’t always what looks good at night. And, in contrast, what doesn’t look good during the day often looks the best at night. Don’t be afraid to mix your angles up, and be open to trying a pose or angle that you might not use during the day. Angles that include the surrounding landscape help to bring in the ambient light and emphasize the night time scene. Wide angles can help minimize camera shake, preventing you from having to throw away a great exposure that was soft from a long exposure. Try piggybacking off other light sources, such as placing your couples by buildings or trees that can also be illuminated at night to add additional dimension to your images.
Looking to improve your photography? Just enter any questions you have about improving your photography below and hit send and get answers & feedback instantly - for FREE! Submit Questions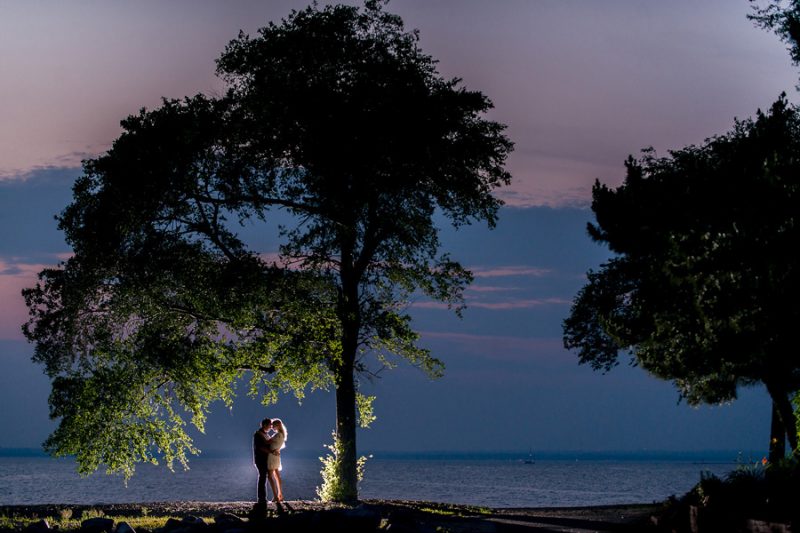 Image Compliments of TNK Photo
Incorporate Ambient Light
As you shoot your couple in an outdoor setting at night, you will need to rely (in some way) on the existing light in the scene. Take a look around to see what type of lighting is available to you without including any off-camera flashes. You may find that it is not completely dark when your shoot starts, so there is a bit of light coming from the sky. If the sky is dark but clear, take advantage of any light from the stars to create wedding photography. Since the shoot is at night, it is more likely that your couple chose a location that is close to buildings that may supply a light source or even a location that is close to street lights. Shooting with ambient light, especially at night, can give the image a sense of realism.
Identify Surrounding Light
If the reception is outdoors, it is likely that there will be lights to help the guests see during the festivities. This is something you can use to your advantage since the lights are unique and will set the tone for your images. It may also be helpful to you because the surrounding lights can take the place of any off-camera lights that you brought for the shoot. If there is a dance floor with lighting surrounding it, place your couple in the center and shoot wide. This allows you to focus your camera on the bride and groom, include an intriguing background, and eliminates any harsh light that comes from the site.
 Image Compliments of TNK Photo
Utilize Flash
In every wedding shoot, the lighting can be drastically different. It is important for you to prepare for challenging light by bringing along additional equipment. Depending on the look you want for the images, you can include several types of flash and off-camera lighting equipment to create a unique look. When using off-camera flashes, you can bounce light off of any of your surroundings, which will take on the color of the surface and create a great atmosphere for the images. Check your surroundings for existing lights that are on but are not powerful enough to produce the light necessary for your couple, and place your off-camera lighting near that location. This will allow you to mimic the available light sources, but maximize the amount of light you need.
[ad id=’1′]
Work with Backlight
During the wedding shoot, there may not be enough natural light to illuminate the bride and groom. If there is a location where your couple can pose, such as a Gazebo, place a light behind your couple. This will help light up the location and place a gorgeous rim light on the bride and groom. For example, a scene as simple as an on-camera flash plus an off-camera flash behind the couple can often be all your need to create an amazing night portrait. Or, you can use just the backlight flash, without the on-camera flash, to create a silhouette of the couple and help to outline them. Using this type of lighting for your wedding photography can help you create a beautiful story for your couple.
 Image Compliments of TNK Photo
BONUS: Adjust Camera Settings
For a night portrait, knowing ISO is your best friend. Learning to balance your use of a high ISO will help you tremendously in creating images at night. Pushing your ISO to a higher number reduces the amount of time your need to exposure your image for, which is key to creating crisp, sharp night portraits. Be careful, though, as the higher ISO there is, the greater the chance of your image having digital noise. This makes the image look overly grainy (and not in the cool way that a film negative portrays grain!). Practice how far your camera’s ISO can be pushed, and then use this knowledge when shooting your couple.
When you understand how to shoot in any situation, you will be able to create stunning images your clients will love. Although shooting at night has its challenges, using these tools can help you quickly capture the best images possible.