
Play all day with flat lay photography!
Did social media make flat lay photography popular? Or did flat lay photography drive the rise of social media? It’s almost a symbiotic relationship. Either way, these days you can’t have one without the other. But what is a flat lay, exactly? Who uses this style? Does it make sense for your brand to incorporate some flat lay into your feeds? Let’s explore this trend in photography and discuss some basic ideas you can try at home!
Looking to improve your photography? Just enter any questions you have about improving your photography below and hit send and get answers & feedback instantly - for FREE! Submit QuestionsWhat is a Flat Lay?
Flat lay photography is a shooting/styling effect now common on social media. Basically, it’s an image of several objects laid flat on the ground (or table) and photographed from above.
Just about anything can (and has!) been used in flay-lay images. Books, food, toys, clothes, jewelry, office supplies, makeup…you name it, it will probably work in a flat lay. With some creative rigging, you can even incorporate yourself into a flat lay!
Flat lay photography works in just about any environment. No studio required. All it takes is some creativity, good light and about 3 square feet of styling space. You can shoot inside or outside if the more natural aesthetic is your style.
Flat lay photography works for lots of styles!
You probably first saw flat lay images in the feed of a social media influencer. And now maybe you aren’t sure it’s a style you could, or should, pull off. Flat lay really can work for anyone, including all kinds of professional photographers. Flat lay photography can help tell a story or compliment your words. Use flat lays as an addition to blogs or social media posts, to display products for commercial photography, to give a “behind the scenes look” for your business or as a background for a quote, message or ad.
So how would a portrait photographer specializing in newborns use a flat lay? Let’s say you wrote a blog post about the importance of actually printing images. Shoot and use a flat lay image featuring a few prints accessorized with some newborn related items (wraps, booties, hats, bows) to showcase the beauty of printed images!
Flat lay setups are can be a wedding photographer’s BFF, too. They work awesome for detail shots. Grab the bride’s shoes, some flowers from a bouquet and a few pieces of her jewelry. Or use the groom’s cuff links, his bowtie and some coins from his pocket. Flat lays work especially well for showing off wedding invitations and stationery!

Flat lays also work well as a behind the scenes look into a shoot or your business. Grab the gear you use to shoot a wedding. Think lenses, memory cards, tripods, camera bodies or flashes. Style them in a flat lay and you’ve got an image that you can use to accompany a social media post.
Product or commercial work naturally lends itself to a flat lay style. Let the product be the star of the show, but accessorize it with other small props and make a compelling image a client will love. Flat lay images especially curated for personal branding clients are another great way to incorporate the style into the work you are already doing!
Check out our Introduction to Product Photography!
How to style a flay lay image
#1 – Start with good light: Flat lay lighting setups
Look for an area in your home or studio with soft, even lighting. Next to a window or in a bright, well-lit room usually works great. Use a reflector or a piece of white foam board on the opposite side of your scene to bounce some light back toward your flat lay and lighten up those shadows!
If your only window light is too harsh when you like to shoot, diffuse the light. Use some sheer curtains over the window or let the sun filter through a white reflector. Parchment paper taped over a bright window can make a great scrim!
Natural light isn’t the only light!
A lot of flat lay photography how-tos will tell you not to use flash because it just doesn’t look good. That’s a load of bull as we say here in Wyoming. Flash can, and often is, used in flay lay photography. The flash from an iPhone probably doesn’t look very good. But good off camera flash technique is perfectly acceptable. Continuous light is another great option if that’s the equipment you have. Try choosing big modifier shot down and across the scene to really soften the light and avoid harsh shadows. You can also try bouncing your light off the ceiling. The image below was shot with a speedlight behind an umbrella in the middle of my very dark kitchen. Good light is good light, regardless of where it comes from!

If you find you need to drop your shutter speed below 1/160 of a second, use a tripod. It will help eliminate camera shake and allow you to shoot at lower shutter speeds than you can hand-held.
#2 – Design a theme or story.
Like any good image, your flat lay needs a subject. What will be the star of your show? What’s the setting? Do you need some supporting characters (accessories or accents) or is your subject strong enough to stand on your own? Think about what story you want your flat lay to tell or the written words your flat lay will accompany.
#3 – Choose your background.
Pick a background to serve as the base of your flat lay image. Solid colors or subtle textures work best. What vibe or feel are you trying to achieve? For a light and airy feel, try some bright pastels – pinks, baby blues, yellows or whites work well for these flat lays. If your style is more ethereal, think about wood, linen or other natural backgrounds. The background shouldn’t overpower your subjects.
Just about any material can make a great flat lay photography background. Look around your home or studio to see what might work. Counters, wood floors, towels, furniture…you’ll be amazed at what you find. Or invest in foam board, poster board and scrapbook paper in different styles, textures, and colors. You can curate a lot of different looks for very little money!

#4 – Choose your orientation based on where the image will be displayed.
Before you start stying, think about where you will ultimately display this photo. If it’s just for Instagram, a square composition makes sense. If you want to use it in an ad or on your blog, decide between a landscape or portrait orientation.
Need more help understanding orientation terms? Read our tutorial!
#5 – Add Your Subjects
The composition rules of photography apply to flat lay photography styling. Place your main subject or subjects using the rule of thirds and design the rest of your composition from there. Or use multiple subjects to add symmetry. Accessories or accents can create leading lines or frame your subject. Negative space is another great composition choice in flat lay work.
There aren’t any real rules, but great composition that works in a vertical image also works in a flat lay!
#6 – Accent and accessorize!
Remember that your accessories or accents should all compliment each other and work to tell your story. If you’re featuring nail polish bottles as the subject, it doesn’t make sense to surround the polish with batteries or silverware. Ditto for a stapler and car parts. The items need to make sense together OR the contrast between the items needs to help tell the story.
If you want to incorporate larger items into your flat lay without overpowering smaller subjects, try using just a piece of it. The brim of a hat in the corner of your compositions helps tell the story without a large floppy hat overpowering your bottle of sunscreen, for example.
#7 – Use layers.
Just because the title is flat lay doesn’t mean every single item needs to be flat on the surface or the same height. Add depth and interest to your image with layers. Stack items together, use items of different heights or
#8 – Mix, match and mix again!
There’s a bit of an art to flat lay photography. Don’t be afraid to try several different compositions. Arrange, shoot. Rearrange and shoot again. Often the composition you begin with isn’t the image you’ll ultimately decide to use later!
#9 – Don’t be afraid to get lower.
If you have a flat lay that just isn’t working from directly above, try shooting at a different angle. You might love your image more if you drop down from a 90 degree angle to 45, 35 or even lower. Just because you started with a flat lay doesn’t mean you can finish with something else amazing entirely!
#10 – Flat lay photography editing
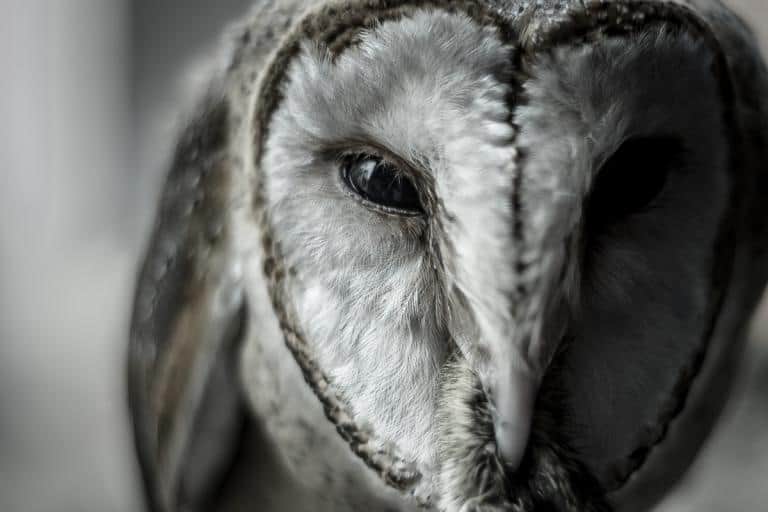
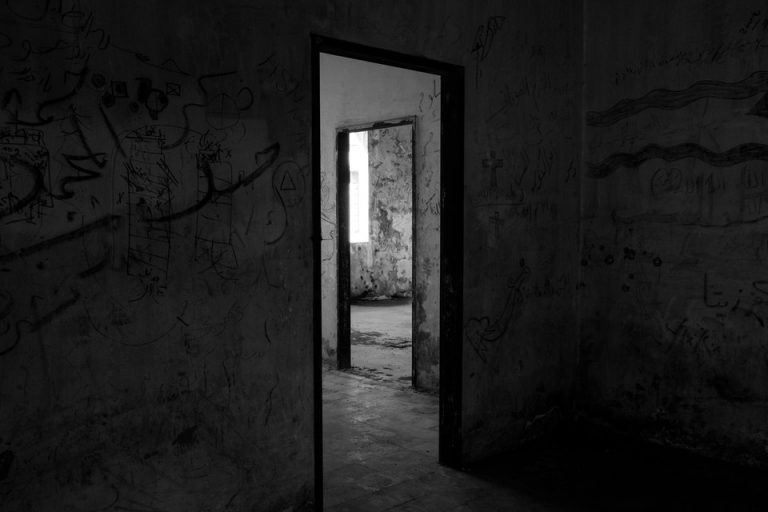
Your flat lay images should match your usual style. If you’re a dark and moody portrait shooter, for example, your flat lays should lean toward dark and moody. If you’re a light and airy photographer, use similar editing presets and techniques as you would with your light and airy landscapes or portraits. Consistency is key – flat lay images should look like a natural extension of your (or the client’s!) brand.

Let’s talk materials used in a flat lay
Flat lay photography can incorporate many different materials. To decide what to use, make sure you have a clear goal for your flat lay. See #2 above! Once you have a general idea of your story, choose the subject and supporting accessories that make sense!
For example, if you want to do a flat lay with a book you’ve been enjoying, the book is your subject. Choose accessories or accents that compliment the subject and fit your overall theme. It could be flowers, ribbons, other books, plants or your favorite coffee mug and a bookmark.
If, on the other hand, you’re creating a flat lay about gardening, it makes more sense to choose garden related pieces. Gardening gloves, tools, seed packets, leaves or flowers would all work well together in this instance.
The part I love about flat lay photography is you have so many subjects and accents right at your fingertips! No need to spend a bunch of money, just scour your home, office, studio or backyard for everything you need. But if you really fall in love with flat lays, there’s no stopping you from scouring flea markets and antique stores for new and funky accent pieces!
Click here for 10 more photography styles you can achieve at home!
 What is the best lens for a flat lay?
Many social media influencers use a smartphone camera to shoot flat lays. If you’re like me, though, you’ll reach for your “big camera” instead. So what lenses work well for a flat lay?
Any lens can work for flat lay photography IF you have enough room to work with. You simply need enough space to achieve your lens’ minimum focusing distance. So in theory, you coud stand on a ladder and shoot a flat lay with a 300 mm telephoto lens. Doable, but not practical.
With that in mind, I find that my two favorite prime lenses for flat lay photography are my 35 mm and my 50 mm. A wide-angle to short-telephoto zoom lens, like the 24-70 mm or 24-120 mm are also excellent choices. Remember if you’re shooting a crop body camera to account for the crop factor when choosing a lens.
Macro lenses, such as a 105 mm f/2.8, are also great lenses for flat lay because of their sharpness. And because they are designed to be used for close up work, their minimum focusing distance is often shorter than a standard 50mm lens. Try different lenses in your kit until you find one that’s to your liking!
[ad id=’1′]
Flat Lay for Instagram
Flat lay photography for Instagram uses the same techniques as described above. If you want full control of your flat lay image and how it appears in your feed, shoot in a square crop. Otherwise, you might find an important element or accessory cropped out when the picture is sized down for your grid.
Keep practicing
Like anything in our craft, flat lay photography takes practice and work to get it right. Don’t be discouraged if you don’t wow yourself with your early attempts. Keep trying.