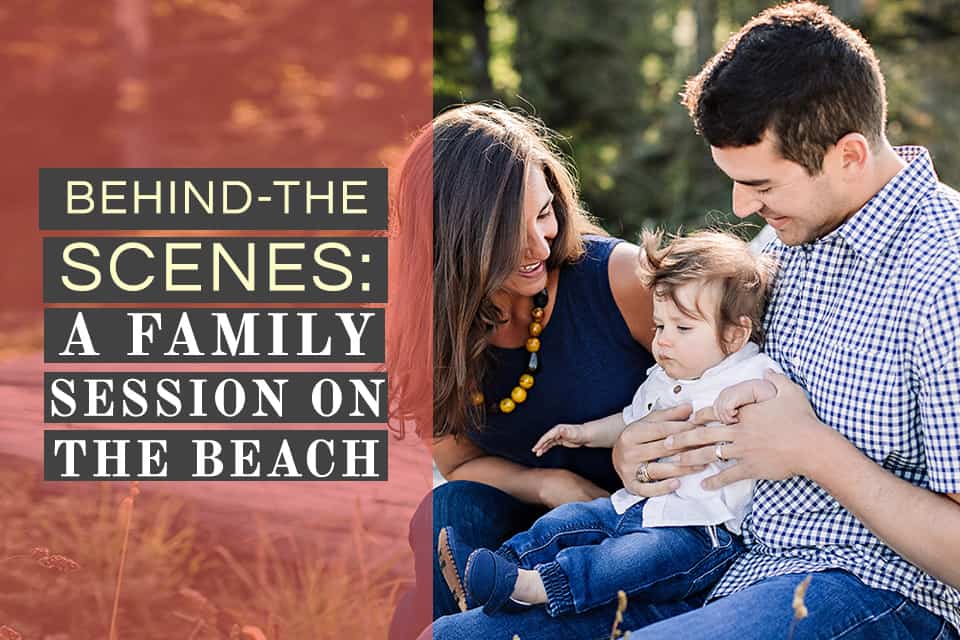

If you have ever struggled with finding good lighting for a family portrait session on the beach, this behind-the-scenes video is for you!
Looking to improve your photography? Just enter any questions you have about improving your photography below and hit send and get answers & feedback instantly - for FREE! Submit QuestionsDIFFICULT LIGHTING
As photographers, of course we always want to shoot in beautiful, soft, perfect lighting situations – but unfortunately, it’s not always possible. If you live somewhere like I do, the sun rises before 5am and sets well after 9pm, making scheduling golden hour sessions next to impossible – especially when you’re working with families with little kiddos.
So I’m going to show you how I just made the best of my situation, even in tricky lighting. Ok, so I have 3 main shooting locations with this session, and I thought I would walk you through each of them so you could see my thought process and see the settings I chose for my camera.
SHOOTING IN FULL SUN:
First, we started out shooting on the beach, in full sunlight. Now, this is absolutely my least favorite lighting scenario – and if it were up to me, I probably wouldn’t choose to shoot here at all. But, I had talked with the mom ahead of time and because she wanted a few images with the water, we did just a couple to start out with. I had prepped her beforehand, letting her know that these images would be more about them facing the water and walking along the beach, rather than them smiling at the camera with the water behind them. And this is because I knew how bright it would be for them at this time of day, to look in my direction. So instead we just grabbed a couple of images where they were looking toward the water and walking.
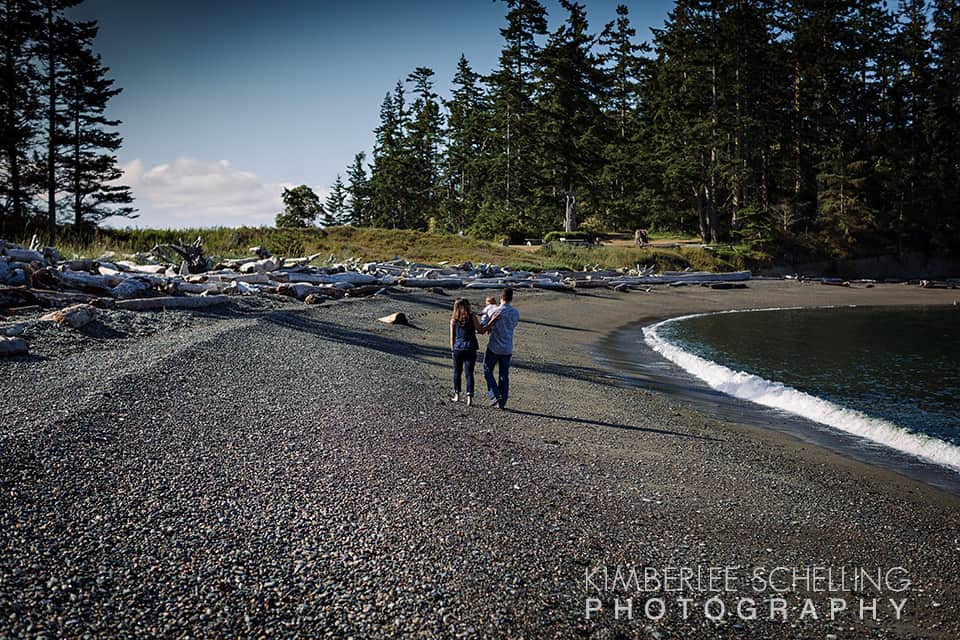
These aren’t my favorites, just because I’m not a fan of this harsh lighting – but, it works and mom was happy to get a few photos with the beautiful water in the background. If you notice here, I tried to keep their backs to the sun, so that I could expose for their faces – and this worked out ok, but as you see dad has a really bright, overexposed spot on the back of his neck. I don’t love this, but I also let it go – because I was ok with the overall look of the image. No, it’s not perfect, but I liked it enough to keep it in their gallery. I also want to mention that my style is to shoot 100% natural light… I’m sure a lot of photographers out there would want to see this shot with fill flash, reflector, or other light modifier – but I’m simply showing how I work solely with available natural light here.
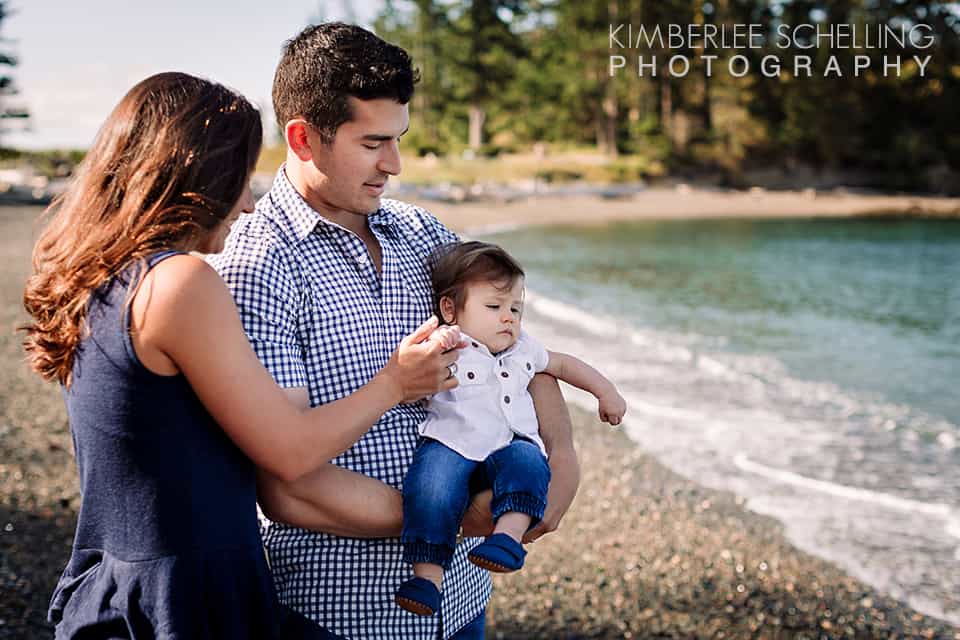
My settings for these images in the full sunlight were:
ISO – 100 | Aperture – F2.8 | Shutter Speed- 1/640
SHOOTING BACKLIT PORTRAITS:
Next, while we were still on the beach, I did a quick change of locations with my clients so that they were now facing the water, with the sun behind them. These images are all backlit, which I personally prefer, over full sunlight.

So for these images, the goal is to expose for my clients’ faces, letting that beautiful light spill behind and around them. And as long as that light doesn’t spill onto to front of their faces, then that’s what I want – I want nice, even lighting on their faces.
My settings for these backlit images:
ISO – 250 | Aperture – F2.8 | Shutter Speed- 1/800
Keep in mind, I know that I could have kept my ISO lower and shot at a slower shutter speed, but because this little guy was moving around a lot, and because the family was moving and interacting with him, I decided to play it really safe and shoot with a fast shutter speed, to avoid even the smallest amount of blur.
SHOOTING IN THE SHADE:
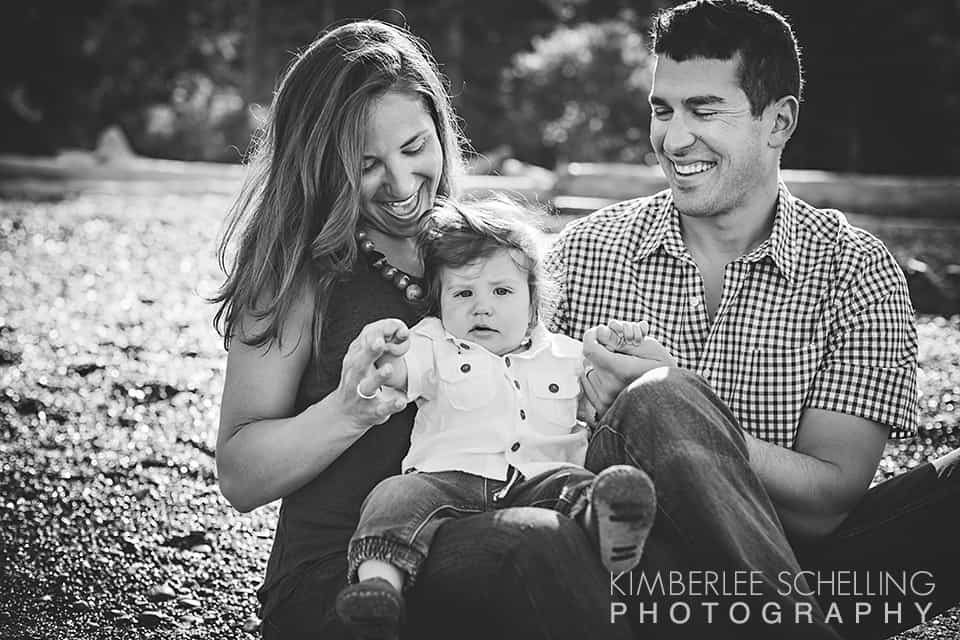
And now for my last shooting location from this session – and this is my favorite of the three. For this, I chose a location that was almost completely in the shade – however, it was really bright shade, and there was still some nice sunlight coming in and hitting my clients from behind. I just love the effect this kind of lighting has for my family sessions – the warmth and ‘glowy-ness’ is exactly what I’m looking for when I scope out a new location.
Now, as you can see, when I shoot from a direction that is more straight-on, the sunlight is spilling and wrapping around too much on dad’s face – so on one side you’ll see this overexposed spot where the light is just too bright on him.

This is definitely not something we want! Not only that, but look at the background – it’s completely in full sun, so it’s really bright, and not very pretty to look at.
But then look at what happens when I simply change my shooting position slightly:

From this new angle, you’ll see that my images are completely different now. That bright spot on dad’s face is gone, because now the sun is more directly behind them. And then you can also see that the background is much more beautiful to look at from this direction — it’s in more shade, so you can see more texture and color in the background now. I just love these images; this is one of my favorite types of light to shoot in, and now I can just focus on getting some more shots with this sweet family here in this location.
My settings for these images in shade:
ISO – 250 | Aperture – F2.8 | Shutter Speed- 1/640
I kept my settings almost exactly the same as in the last shots that were backlit, but I did have to change my shutter speed, because there is a little bit less light over in this new location, since we moved to the shade. So in order to let more light in to my camera’s sensor, I chose to slow down my shutter speed to 1/640 for these.
WHICH IS BEST?
So, which lighting situation is best? Well, it really does depend on your personal preference, and your style as a photographer. Whether you choose to shoot in full sun, backlit, in the shade, or in soft light in that last hour before sunset… just keep in mind that you can use lighting to your advantage in any situation – and be aware of how the light is hitting your client’s face, noticing when the light is most flattering for them.

And above all – whether you shoot natural light, or use flash or other modifiers – just remember that you can capture beautiful images when you know your camera and use the right settings. So be mindful of the light, learn to use your camera’s settings, and go have fun capturing gorgeous images that your clients will love.
Looking for more tips on Family Photography? Check out these tutorials!
3 Tips to Capture Emotion and Connection
Unlocking Authentic Expressions from Kids in Your Family Sessions
6 Simple Family Posing Tips for the Photographer
Photo Session Jitters: 3 Ways to Calm Your Nerves Before a Session