
Flower photography is a popular texture niche for photographers. Floral images make for great macro subjects, and many texture photographers use flowers as the focus of their images. If you’re exploring texture photography, you might be wanting to add pictures of flowers as macro subjects to your portfolio. We’ve got some great tips for improving your flower photos, including how to ensure they’re full of texture.
Flowers are a common subject for texture photographers to capture with their cameras. It’s easy to point your camera and aim. But if you want your pictures to have textures, depth, to look realistic and life-like, you need to know how to capture images the proper way.
Floral pictures make a great texture addition to your portfolio because there’s never a lack of interested customers. With the right light and angle, one single drooping flower can be a powerful piece.
If you want to make sure your images have texture and realism, keep reading to discover some helpful tips. Using these, you’re sure to capture excellent texture pictures of flowers, realistically preserved.

Tips for Improving Your Flower Photos
These tips are for use in texture photography so you can apply them to any subject you want to show the intimate details.
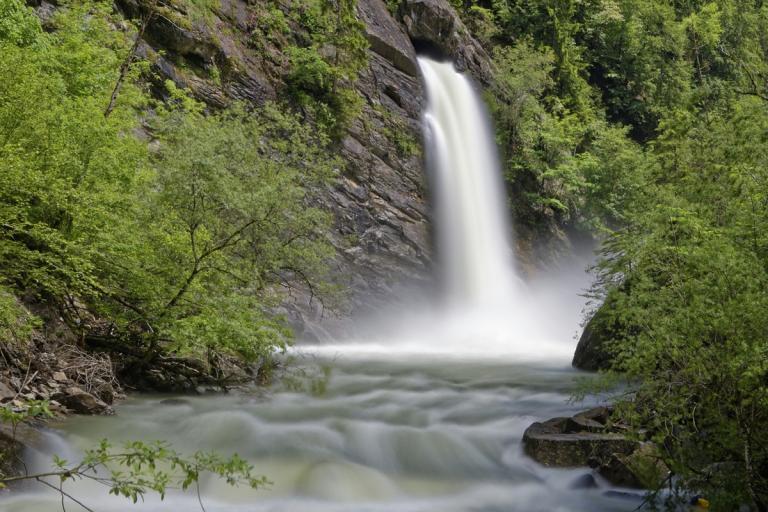
Peeling paint on a rusty tractor, rotted wood on a dilapidated barn or a dead tree that’s been struck by lightning can all be excellent textures to capture in images.
Here are ten ways to capture texture photographs to improve your flower photos.
1. Take Advantage of a Cloudy Day
Taking flower pictures doesn’t have only to happen when it’s beautiful and sunny outside. Take a stroll on a cloudy overcast day for the chance to capture excellent texture flower pictures.
When it’s cloudy, you don’t have to worry about bright spots or shadows. The low light also helps make your floral pictures pop with color. You’ll capture brilliant textures.
When you want to engage in capturing textures on a rainy day, aim to go out early in the morning or late in the afternoon, so you get the best light. Wait until the rain has stopped for optimal results of textures.
2. Use the Sun to Backlight Your Flowers
Backlighting is a great technique most texture photographers use when taking flower pictures. If done correctly, backlighting will make the flowers look like they’re glowing.
To get the best angle for backlighting, you want to make sure you are standing with the sun directly in front of you, shining on the flower from behind.
At the right angle, when the sun shines on the leaves, they become translucent or see-through. The best time of day to use backlighting is during the late afternoon as the sun is going down.
3. Skip Flower Photos on a Windy Day
Flowers need to be stationary to capture texture details that make your picture look life-like.
Therefore, you don’t want to try on a windy day. Many photographers like to do their texture shooting early in the morning when there’s less chance of wind.
If possible, you could create a shield from the wind long enough to get your texture shots. Some photographers like to use cardboard or tarps as a barrier.

4. Capture the Details Up Close
Flowers make a great texture subject because the closer you get to them, the more detail you see. Getting close to your flower subject can capture some excellent textures.
If you have a telephoto lens, you can zoom in on the flower without having to move closer. If you don’t have a lens, you can use extension tubes, which can affect the outcome of your photos, sometimes in the wrong way.
There’s also the option to use a close-up filter, which attaches to your lens and magnifies your photo subject.
You can also use a macro lens. These lenses are a favorite of texture photographers. Many people associate a macro lens with this type of photography. A good macro lens can bring you a whole new world of subjects for your photos.
If you’d rather not spend more money on a macro lens, you can always use an extension tube, too. They’re a good alternative to macro lenses.
5. Brighten Up Your Flower with a Reflector
Photographing flowers in a shady spot? An expert move is to use reflectors to add more light to the area, so your flower subject appears brighter. You’ll be able to snap more texture details while shooting flowers.
Don’t have a professional reflector handy? Try wrinkling up some aluminum foil and use spray adhesive to glue it to a white photo card found at any hobby shop.
Radiator reflector foil can also work as a homemade reflector. Or even your windshield protector. A warm car is a small price to pay for great flower pictures.
6. Keep the Background Clutter-Free
Your background will determine the quality of your photo. If you want a clean shot that doesn’t have any distractions, you’ll want to make sure your background is clear of anything that will compete with your subject.
Many experts like to use colored cards to create temporary backgrounds. Pick a shade that makes your flower pop with vibrant colors. Avoid colors that will compete with the flower, as this will reduce the quality of your texture shots.
You can also frame your shot to include the sky as the background. Some photographers like to use cut flowers instead of fresh plants. It makes it easier to control the location of your shots.

7. Adjust Your Depth of Field
Playing around with your depth of field is a great way to enhance the textures of your images. The depth of field changes the way your subject comes into focus.
Part of your image will be sharp and crisp, perfect for textures. The rest of your photo will be blurry and out of focus.
To achieve different depths of field, use a wide aperture, which means your aperture numbers will be low, like f/4 or f/2.8. Different lenses, such as telephoto or macro, enhance your images more and show better texture.
8. Sharpen Your Focus
If you want to have texture images that show loads of details, your photos will need to be sharp. Details won’t show as well with a blurry image, meaning you won’t get maximum texture appearance.
To get a sharp focus, set your aperture to at least f/6. You’ll also want to shoot your images while your camera is stationary or with a slower shutter speed. Movement, even something as slight as your hand moving as you press the shutter, can distort your images.
Use a tripod to keep your camera steady while you shoot. Set your timer, so you don’t have to worry about your hand interrupting your shot when you use a tripod.
9. Try Angles for Different Perspectives
When capturing texture, try shooting from different angles so you can have various shots. Don’t just stand in front of the beautiful flower and click.
Consider taking a picture of one single flower from underneath, with the light shining over the top. Or hover over the top and aim your camera straight down.
Climb in a tree or on a ladder and shoot down. Lay on the ground and tilt your camera sideways. Or angle your camera upwards. Experiment with different angles and flower photography techniques to capture different textures.

10. Use Other Flowers To Get a Stunning Shot
You can get some great texture shots by shooting through other beautiful flowers or trees. Set your focus point on your main subject, which should have another flower or leaves in front of it.
This first one needs to be close to your lens. When you snap your image, your short depth of field will blur the back into an exciting mass of color.
The front flower will be a blast of color, full of texture and depth. You’ll end up with a dramatic texture image that could be publish-worthy.
Steps for Creative Flower Photography
If you want to be an expert on texture photography, there are five steps to follow. Doing each of these makes sure you’ve included textures and details. It gives you a more dramatic effect and can produce more vibrant colors.
Step 1. Identify Your Photography Subject
The first thing you need to do when you’re preparing for your photo shoot is to choose your subject. An ideal object will be different from everything around it. Maybe it’s a flower with broken petals. Or it could be one with unique shades of color or texture.
If you want your image to be publish-worthy, you have to find an object that makes a statement. Don’t settle on a regular flower that doesn’t look any different than the one next to it. You can even use flowers that have been picked and placed in vases or bouquets.
Step 2. Choose a Good Background
Because your background is so important, you want to ensure you’ve got a good spot for your flowers. Avoid anything that would distract the viewer from the main object of your image.
If you can’t find an ideal location, you can always manufacture a fake photosite. Use colored boards as backgrounds for your flowers or hang up a sheet to create a backdrop. Or use a piece of cardboard or your reflector to limit the view behind your object.
Step 3. Understand the Importance of Lighting
Having the right light is a crucial part of capturing textures. If you try to take a photo when it’s too dark, your image will appear grainy and of poor quality. But when the light is too bright, it can create shadows or bright spots, which will appear as flaws in your photo.
The best lighting is early morning or late afternoon. Overcast and cloudy days are optimal lighting conditions for capturing the most texture in photography. You can use reflectors or other shiny objects to control how the light shines on your subject.
Step 4. Setting Up the Shot
Before you can take your photo, you have to style your shot. This means that you need to determine how you want to frame your photo. Maybe you need to set up the scene with photo boards or reflectors. Or you want to pose your subject in a certain way.
You might have to set up your props or move around in different positions so you can find the perfect angle. Other people like to set up their camera on a tripod, so they have a stable prop.

Step 5. Capture Your Image
Now that you’ve got everything set up, it’s time to do the final step. You’re finally ready to capture your photo full of texture and bright colors. While shooting, work from different positions, so you have a variety of shots.
Pay attention to your foreground, middle, and background. Meaning what you see in front of, around, and behind your focal object. Play around with different depths by moving your camera closer or changing lenses. Take multiple shots, even when you don’t think the conditions are right. Sometimes there’s beauty in the overlooked.
Improve Your Skills
We’ve given you ten tips and five steps to help you improve your skills. We’ve even explained why you need to ensure your images have lots of texture and depth. With this information, you also understand what texture means. Grab your camera and take some pictures!