If you’ve ever seen a photograph of a tourist appearing to hold up the leaning tower of Pisa, you’re familiar with the concept of forced perspective photography. Forced perspective shots can be incredible optical illusions, but many photographers struggle with taking forced perspective photos that look good.
Looking to improve your photography? Just enter any questions you have about improving your photography below and hit send and get answers & feedback instantly - for FREE! Submit QuestionsIn this article, we’ll discuss everything you’ll need to know about forced perspective photography so that you’ll have a head start on creating perspective photos of your own.
What is Forced Perspective Photography?
Forced perspective images are optical illusions in which the configuration of the camera’s lens and the composition of the photo’s subject in relation to the background and reference objects create the appearance of distortions in-depth that do not exist in reality.
Forced perspective images are conventional in cinematography, informal mainstream photography, and professional photography because they can be very impressive even when the reality might be more mundane.
The leaning tower of Pisa photo is probably the most commonly replicated forced perspective photo. But it’s possible to take forced perspective photographs with nearly any set of subjects provided that the forced perspective photographer is free to move the position of the camera laterally and perpendicularly relative to the subjects.
Often, the photographer’s approach is used to get the right angle, which can require some creativity.
However, the technique or illusion of depth may be more pronounced in some situations than others, so not all forced perspective photos will be equally impressive. The most impressive perspective photographs will have their usage rights reserved.
What Are The Basic Principles of Forcing Perspectives in Images?
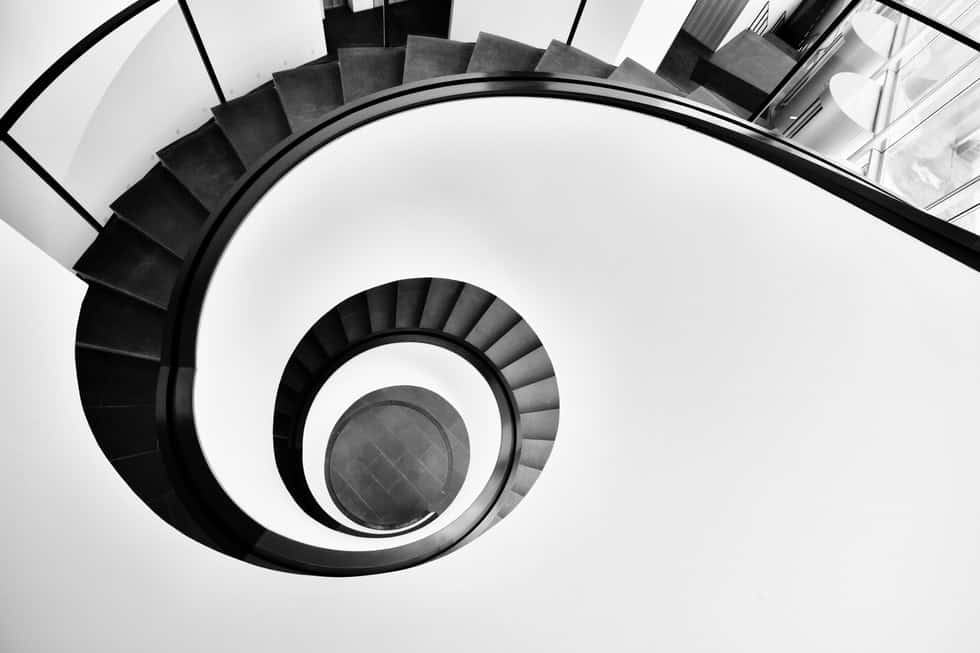
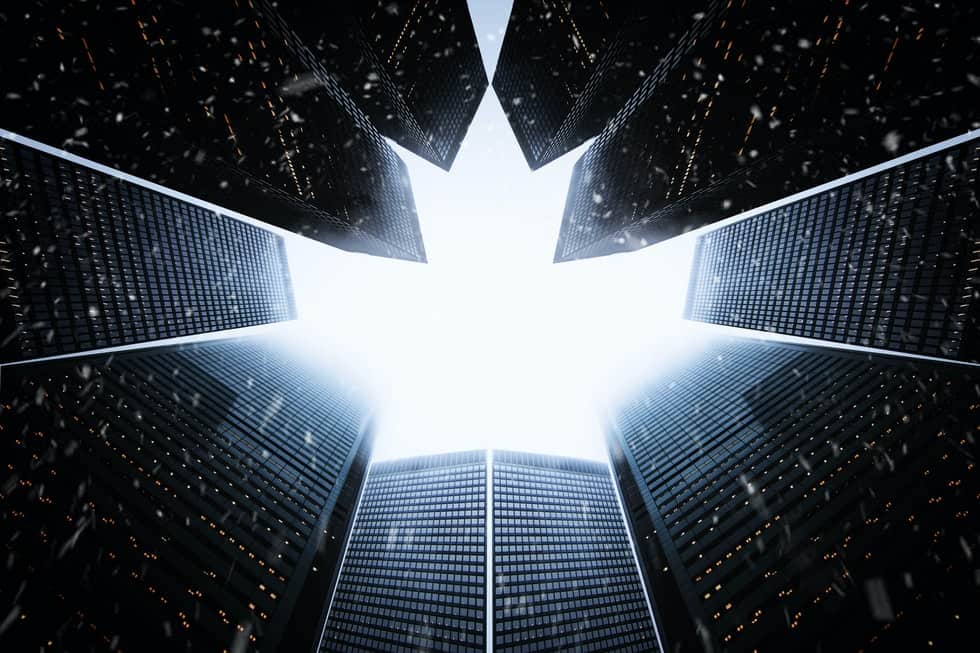
There are a handful of principles when taking forced perspective photos. The first is that architecture makes for an excellent subject for forced perspective photos because structures typically have features that viewers intuitively use as indications of depth.
The second basic principle of forced perspective is that human subjects can create powerful optical illusions of depth if they are contorted into odd positions. As an example, consider how strange it is for a person to be in the posture of the prototypical leaning tower of Pisa forced perspective shot.
Odd postures are only bizarre in the context of forced perspective photography because the subject’s body position is not visibly part of the optical illusion while the photograph is being taken.
The final principle of forced perspective photography is that normal size relationships are soundly rejected as part of the illusion. In real life, a person is nowhere near the scale of the tower of Pisa, and it is obvious that they don’t look like the same size.
Likewise, using smaller-than-reality objects as props can create the illusion of a subject being massive. The general idea is that the forced perspective makes the concept of scale into a variable aspect of positioning and image composition rather than something that is fixed.
Tips And Tricks For Creating Stellar Forced Perspective Photographs
The first thing you should do to improve your forced perspective acumen is to look at other forced perspective images from films and photographs to give you an idea of what is possible.
For films, check out oldies like King Kong for more rudimentary approaches and newer films like the Lord of the Rings series for outrageously sophisticated examples. For photographs, anything with an emphasis on architecture is an excellent place to start.
Once you have examples of forced perspective photographs in hand, plan your own shots. Focus on generating ideas for removing the size contrast between the subject in the foreground and large elements of the background.
Then, take test shots to establish the essential boundaries for what you can accomplish with a forced perspective shot. If you have a partner, you can show them the test shots to get a few more ideas about exciting juxtapositions or angles.
If you have a zoom lens, you can use it to distort the perspective of your shot even further. Zooming in on the subject in the foreground can make the larger background objects loom large.
Many photographers have used a tilt-shift lens as a shortcut for creating the parallax effect in images, too. In this vein, you should also try to use a small aperture setting to prevent washout when other aspects of the image are distorted.
Washout is a concern with forced perspective photographs but can incorporate light if you want to add another reference for depth. Think about the chiaroscuro technique as you’re composing your shot to make the most out of seemingly deep shadows that are shallow in reality.
Remember, forced perspective photos are an exercise in contrived composition. If you can initially compose your forced perspective photo to include a hint of depth or flatness, you can exaggerate the composition to get the desired illusion.
In many situations, it looks like you may not have full control over the lighting. Using flash is typically prohibited when making forced perspective shots because it disrupts ambient lighting cues, which the viewer needs to experience the illusion. You do, however, have control over the location you shoot from, props, and your human subjects.
Prop selection is key for forced perspective photos. Viewers will recognize the size that your prop objects should be if they see the prop farther away in the image. This means that you can use props when you take pictures to subvert the viewer’s perspective and create an illusion.
The best bet for subversive accessories is props which are larger or smaller than the prototypical version of the object. Instead of using a normally-sized coffee cup as a prop, think about using a comically large coffee cup or perhaps a coffee cup from a child’s tea set.
During your entire forced perspective shoot, don’t hesitate to experiment. Take a lot of shots and try out a lot of different small variations of props, subjects, and positions. If you find a winning solution, make sure you file it to have rights reserved.
No matter how much you experiment, you will probably find that perspective photos work best when they are relatively sparse. More subjects and background noise means that you have to make a more intricate illusion, and it also increases the chance that the illusion is broken by something that clashes with the false scale you are creating.

Common Forced Perspective Photography Tropes
Perhaps the most common forced perspective photography trope is the use of the held object or building. As with the famous tower of Pisa shot, it’s easy to use architecture and parallax to create the illusion of a distant object appear being the same size as a nearby object. By changing the positions of the human subject, it’s possible to come up with a variety of entertaining shots.
The reverse is also a very popular technique option for many people. To create the reverse shot, forced perspective photographers arrange smaller objects in the foreground and subjects the background with this technique, then zoom in on the closer object, making the person appear tiny. If you’re not used to this technique, it can take some practice.
Exploiting or avoiding shadows or angles is also critical for creating apparent distortions in size between objects of a similar scale. If you want to create the illusion of two people being different sizes with this technique, avoid capturing their cast shadows.
Then, like the technique used in the Lord of the Rings films, you’ll be able to have one subject stand further away than the other, thereby making the nearby person appear smaller when you zoom the camera onto the distant person.
Fisheye lenses are one of the most reliable ways to produce forced perspective photos without much effort. Be aware that the fisheye lens will distort the periphery of your image to the point where the viewer will realize that the perspective is not normal.
On the other hand, if your fisheye lens shot is composed such that the foreground subject takes up the majority of the image, the distortions around the periphery can exaggerate the size of your subject to complete the illusion.
Likewise, if you can use the Bokeh trick to diffuse light sources into looking larger than reality with your camera, you can make forced perspective shots without as many of the complications as you might need otherwise.