
The word photography translates from Greek to “drawing with light.” Why not have some literal fun by experimenting with light painting? Break out your camera, a light source, and your tripod, and let’s explore using light as a brush and the world as your canvas with light painting!
In this article, we’ll cover what light painting is, what gear you’ll need, and how to make the magic happen. Soon, you’ll be creating your own light painting photography masterpieces!
What is light painting?
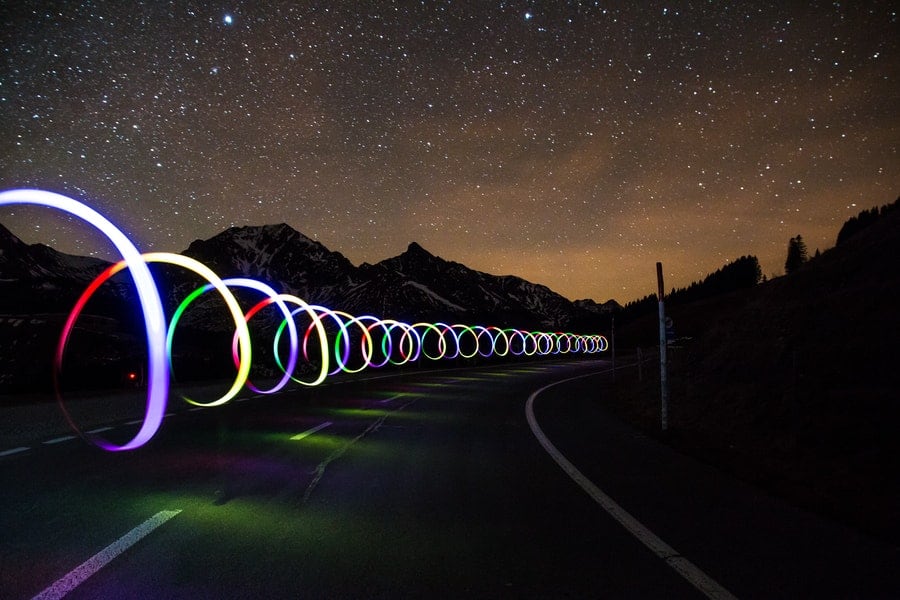
Light painting is the practice of using long camera exposures and a moving light source to illuminate a subject or create light trails visible in a photo.
Looking to improve your photography? Just enter any questions you have about improving your photography below and hit send and get answers & feedback instantly - for FREE! Submit QuestionsIf you’ve ever waved a sparkler in front of a camera and drew shapes with it…that’s light painting!
How does light painting work?
When you leave the camera shutter open for an extended period, and drag an illuminated object through the frame, your camera records that as a light trail. That trail shows up in your photo. Knowing this, you can use that light in artistic ways, either to draw specific shapes or patterns or to illuminate a subject you couldn’t otherwise.
What equipment do you need for light painting?
Here’s the mandatory equipment you’ll need:
- A camera and lens
- Tripod
- Lightsource
Optional equipment:
- Remote trigger or cable release
- Timer
- Colored gels
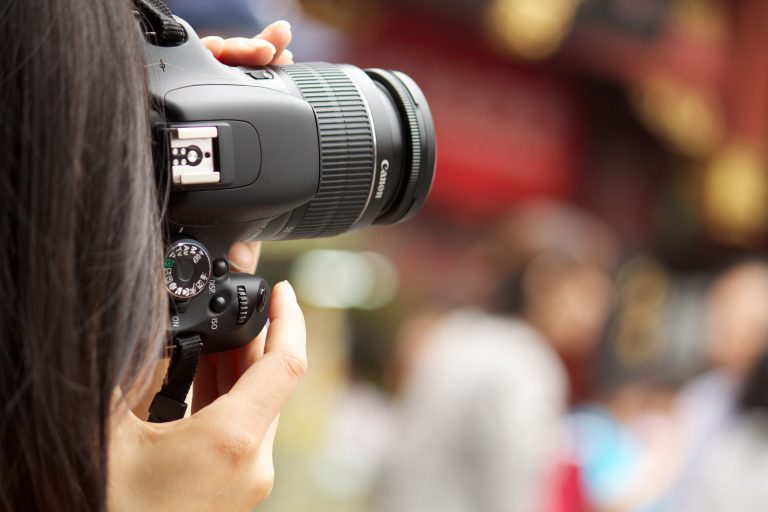
The camera
Choose a camera that has manual mode. You’ll need full control over aperture, shutter speed, and ISO. The body should also have a Bulb setting as an option in shutter speed. A DSLR or mirrorless camera works best for painting with light because you have more control over your exposure and other settings, but a smartphone with a special app can work.
The lens
Any lens works for light painting! Just make sure it’s wide enough to capture the scene as you envision it.
Tripod
A tripod or other means of keeping your camera still is a must for this technique. You can use a standard tripod, a flexible tripod, or even prop your camera up with sandbags. The key is a still, steady camera for a sharp background.
Timer
A stopwatch or other timer helps time your exposure. Use your phone if you’d like!
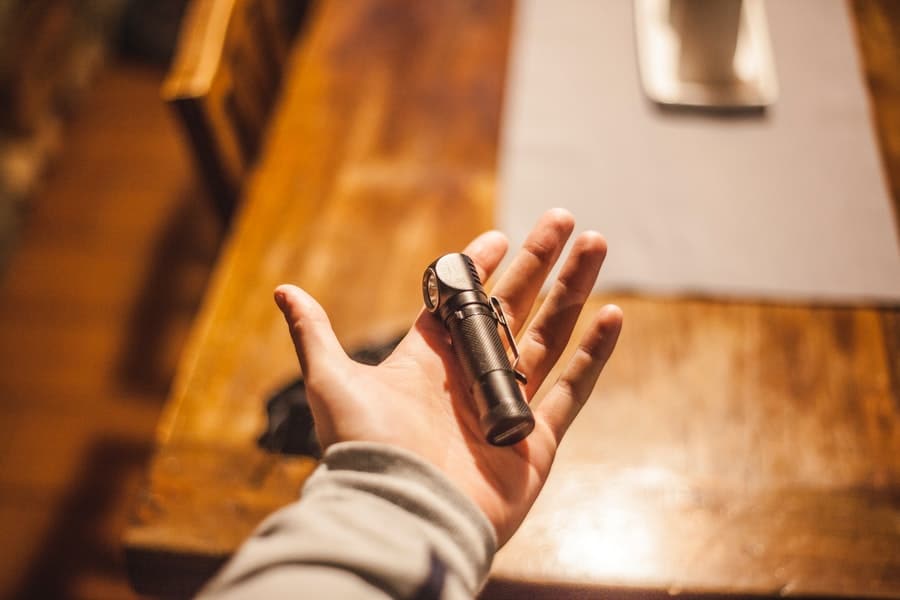
Light Source
There are lots of different options for the brushes you can use for painting. Some ideas include:
- Flashlight
- Headlamp
- Phone screen
- Sparklers
- Glow sticks
- Candles
- Old fashioned torch (no pitchforks, please!)
- Spotlights
- Car headlamps
- Lasers (just don’t shine them at your lens, sensor or in your eyes)
- Speedlights
- Christmas lights or twinkle lights
- Steel wool lit on fire
If it’s a light source and you can carry it around, it should work for light painting.
Some photographers use a flammable material like steel wool on a chain. Please be extremely careful with any open flame. Don’t be the photographer that burns down a historic building, like these dudes. Stick to open areas with no vegetation and proceed with extreme caution.
Remote Shutter Release
A remote shutter release lets you open and close the shutter without pressing the actual trigger on the camera. It’s a helpful tool that gives you more freedom of movement.
Colored Gels
Change the color of your light with gels! You can purchase gels, such as these which fit over the head of a flash. Or you can make your own.
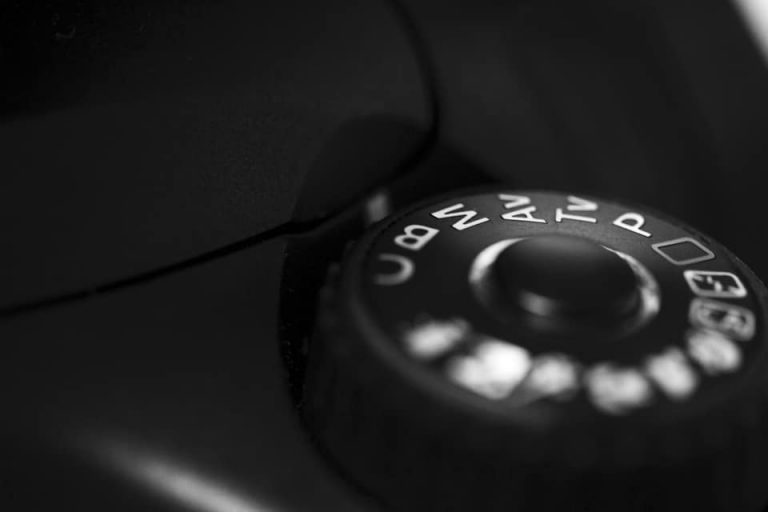
Camera Settings
You’ll need to dial in some specific camera settings to create your light portraits. Know what the following settings are on your camera and how to adjust them.
- Turn on manual mode. You need full control of your exposure settings.
- Shoot in RAW format. RAW gives you more information than JPEG and provides you the most flexibility in post-production.
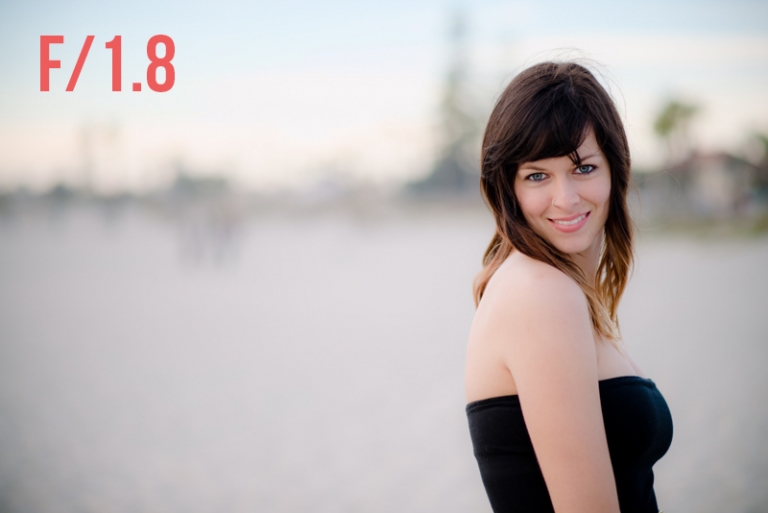
- Aperture. Start with a mid-range depth-of-field, such as f/8. Adjust to your personal preference to match your scene or the brightness of exposure you prefer.
- Shutter speed. Light drawing requires exposures of several seconds to several hours! Know how to slow your shutter speed down to 5, 10, or 30 seconds, or utilize bulb setting.
- ISO. Start with a low ISO such as ISO 100. You can always raise it later if you find you want a bit more pop to your lighting or prefer some noise in your photo.
- White Balance. This is a matter of personal preference. You can match your white balance to your light source, such as choosing incandescent for a standard flashlight. Or you can choose a different white balance to match your artistic vision. I recommend avoiding auto white balance, however. As your lighting changes in color, position, or intensity, the camera adjusts white balance. This can result in inconsistent colors from one frame to the next and make image stacking in post-production incredibly frustrating. When in doubt, try Daylight and adjust in post-production.
- Highlight warnings. These “blinkies” show up on your LCD panel as warnings to areas where you’re under or overexposed.
- LCD Brightness. Regular daytime brightness is too bright for dark scenes. Save your night vision and turn down the LCD brightness on your camera (and your phone if you’re using one of those!)
- Vibration reduction. If your camera or lens has vibration reduction or image stabilization, turn it off. Using VR with a tripod can actually introduce camera shake into your photo. Weird, I know.
- Long exposure noise reduction. I recommend turning this off if you’re using a low ISO. Leaving it off shortens the time between shots that the camera is working and saves your battery. But feel free to test your work with and without LENR and see which results you prefer.
Setup for Successful Light Painting Photography
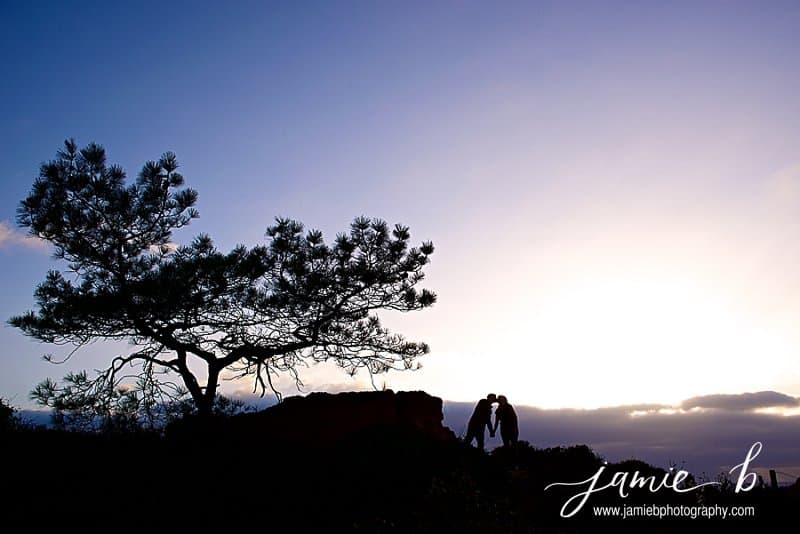
- Choose the right environment. Find a dim or dark area for shooting. Long exposures and contrast between bright and dark are the keys to light painting. Look for an area with very little ambient light, especially ambient light that leaks into your frame and causes hot spots. Outside, that means avoiding porch or street lamps. If you want stars to be in your background, find a really dark area away from cities and towns. Indoors, you may have to cover windows and cracks indoors.
- Set up your Gear. Mount your camera on your tripod and frame your scene. Set your aperture and ISO, then change your settings as described above.
- Lock-In Focus. Focus in the dark can be tricky. There’s often not enough illumination for the camera’s autofocus system. My method is to shine a bright flashlight on the subject or area where the subject will be. That gives me enough light to achieve focus. Once I’ve locked focus, I switch to manual focus and leave it there. You can also focus to infinity or focus through Live View if those techniques work better for you.
- Determine Exposure. To determine a proper exposure for light painting, you need to first determine how the ambient light in your scene will affect it. Take some test shots of your scene to get a baseline exposure without adding in your lightsource. Try underexposing your image by a stop. That way when you add in your additional light, there’s less chance of overexposing your scene.
- Bulb. The Bulb setting in a shutter speed setting. In Bulb, the shutter opens when you fire the trigger and remains open until you hit the button again. This lets you have as long of an exposure as you need. Time the length of the exposure for consistency. You’ll need the bulb setting if your exposure time exceeds the preset speeds of your camera, usually 30 seconds.

How to Paint Your Subject
There’s really no one exact technique to paint a perfect exposure. How much light that appears in your final image depends on your settings, technique, source, and more. So I can’t tell you “do it exactly this way for success.” It’s more a matter of experimenting with your equipment and materials as you paint to make your vision come to life!
Light painting photography takes some practice to get right. Don’t be discouraged if your first light paintings are a little lackluster. It can take several sessions to grasp the concept. But then again, you have the rest of your life to practice and create!

Paint in Strokes
Just like you use strokes with real art, employ strokes to paint with light. Pain up and down or side-to-side.
Try slow, steady strokes to add brightness or faster strokes where less light is needed. Keep your light moving so you don’t get hot spots.
Try Different Angles
Experiment with how you add light. Try it from above, below, and from the sides to see which technique you prefer.
Keep moving
One concept beginners have a hard time grasping is how you, as the holder of the light, won’t show up on the final image. Why? Because if you don’t stop and let the light shine on you, you aren’t bright enough to be recorded in the image.
So keep moving! If you stop, your image will be partially exposed and you’ll see yourself as a bit of a ghost in your picture.
Turn the Light Off and On
If you want light in different parts of your scene, but don’t want the trails to connect, turn the light off as you move from one spot to the next. When you get to the next area you need light, turn it back on and continue painting.
Light Painting Tips
One of the reasons this technique is so much fun is because you are only limited by your creativity! Here are a few helpful tips to get you started on your light photography journey!
- A headlamp with a red bulb helps save your night vision. Turn it on to walk around or adjust your equipment.
- Scout the area in the daytime. This is a safety tip. Visit your scene when it’s well lit and look for any safety hazards like holes, barbwire, junk to trip over, etc.
- Start simply. Start by painting light in a simple pattern with a single source for your few first attempts. Once you have the basic concept down, then move on to more complicated setups.
- Wear dark clothing. It helps the sensor record the light and not a vision of you in your hot pink shorts.
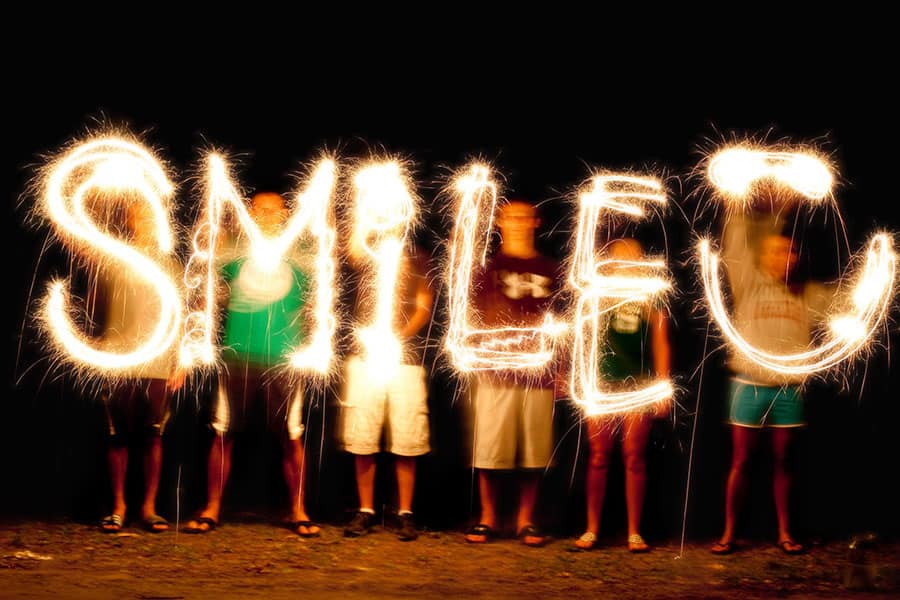
- If you write letters or numbers, remember to write them backward so they appear correct to the photographer. You can flip the photo in post-production if you forget, but that always looks wonky to me.
- Don’t get between your light sources and your lens. Otherwise, you’ll appear as a big black blob.
- Tie your light sources to a string to dangle or swing them. You’ll get longer strokes if you do this and can do new and crazy things with your light sources.
- Light painting works indoors, too! Your scene doesn’t have to be a huge sweeping vista. There is plenty of fun to be had on a smaller scale.
- If you’re painting a living subject, remind them to stay completely still to avoid motion blur.
- If you’re drawing on a large object or complicated scene, illuminate one segment at a time, then combine the different segments together in post-production. Check out this video tutorial on how to do it!
- Take a friend. The second pair of eyes and hands are very helpful. It’s also safer and just more fun to have a friend to be creative with!
- Don’t aim the light back at the camera. You’ll create a bright spot in your photo. Some photographers call these spots bugs.
- Keep at least one light painting tool in your gear bag when you travel. That way, if inspiration strikes, you have your medium handy!
- Make your own colored gels with plastic wrap or transparency sheets and permanent markers.
- For more symmetric shapes, try a light source in each hand. It’s easier to bring the points together and will give you cleaner lines.
- Add more than one color!
- Try putting your light in a translucent “container” such as a tent, car, or window. You can paint from the inside, too.
- Go for the zoom! Physically zoom your lens slowly in or out to create different effects.

What is the best light for painting?
Any small light source you can easily move works for this type of photography. Try using what you have on hand first. That way, you’ll know if this is a genre of photography you’d like to pursue without buying a bunch of unnecessary equipment.
Can you do light drawing with an iPhone?
Yes, you can light paint with an iPhone or other smartphone. You’ll need an app that lets you control the shutter speed, aperture, and ISO. But the photography technique is basically the same as with a DSLR. An iPhone also makes an excellent brush.
Light Painting Ideas
There is literally no end to what you can create with your imagination. But here are a few simple ideas to get you started as a light painter.
- Paint basic shapes, letters, or numbers.
- Draw accents around basic household objects.
- Draw light trails to imply motion.
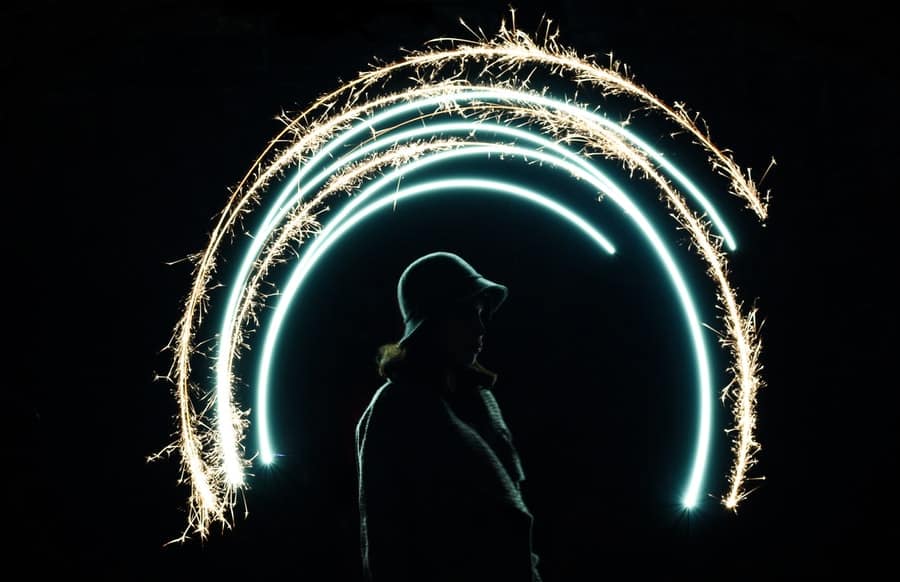
- Use trails to accentuate a human subject. Surround your wife with a heart, give her a halo, or add butterfly wings.
- Draw outlines around larger objects. Old trucks, tractors, flag poles, or trees make good subjects.
- Use an unpredictable subject. Strap a light to your dog as he runs around. Put a headlamp on your 8-year old and tell her to dance in the pasture. Tape an illuminated phone to a remote control car and let your husband have some fun. You don’t always have to create identifiable shapes…sometimes randomness is key!
- Try strings of lights. Swing some short strands of Christmas lights or battery-powered twinkle lights around in different patterns and see what you get.
- Add mirrored surfaces to create twice the lighting fun!
- Have a drone? Use it to illuminate areas up high!
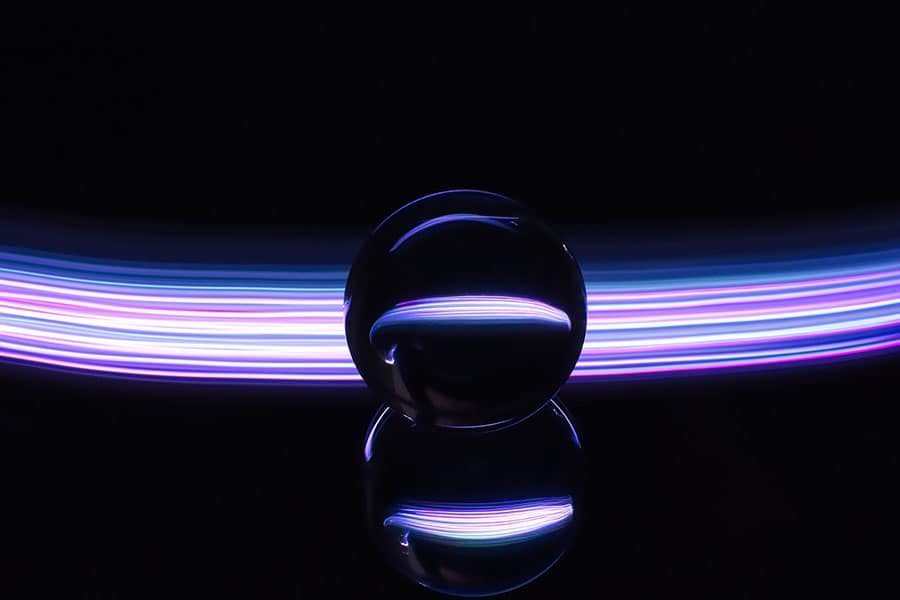
- Incorporate water or glass elements into your picture to add depth and different dimensions.
- Try abstract shapes and concepts. Not everything needs to make sense!
Conclusion
Light painting really should come with a warning label because it’s highly addictive. Once you get started, you will find yourself imagining all sorts of ways you can draw a scene. The trick is to simply get started.
So grab your gear and get light painting. It doesn’t have to be perfect. It should just be fun. Use your imagination and your love of photography to create scenes in a whole new way!