
How to Apply Presets to Multiple Photos in Lightroom
Adobe Lightroom is one powerful piece of editing software. It can speed up your workflow and helps you turn photos into true works of art. But making changes to each photo individually can be a huge time suck. Presets, or groups of changes, makes editing faster. But wouldn’t it be amazing if you could use the same preset to a bunch of photos at once?
The good news? You can!
The better news? It’s simple! I’ll show you how to apply presets to multiple photos in Lightroom and make your editing work go even faster!
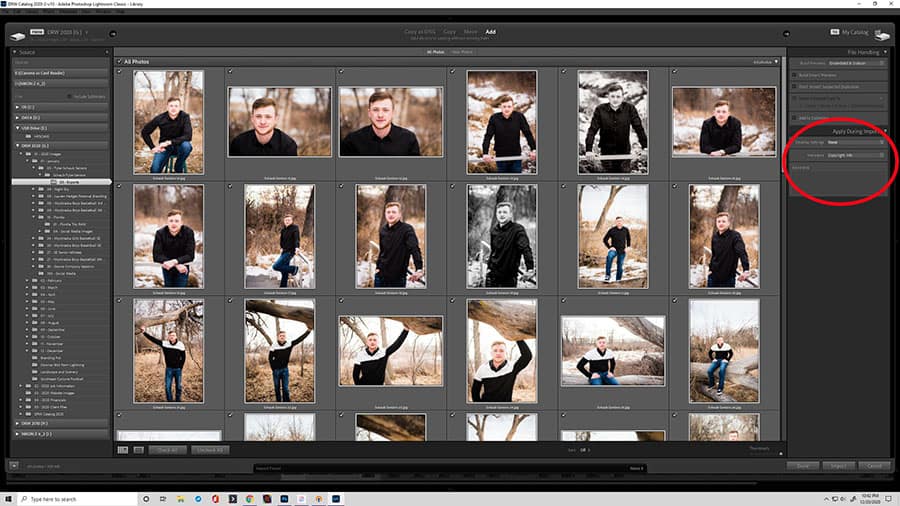
Method 1 – Apply Preset While Importing
Lightroom makes it really simple to apply the same preset to all your photos immediately on import. If you have a go-to preset, or a base preset, you can automatically apply it when Lightroom imports those images.
- Choose “File,” then “Import Photos and Video.”
- In the Source Panel, choose the photos you want to import.
- Locate the “Apply During Import” panel on the left side of the screen.
- Click on the arrow to the right of “Develop Settings” and choose the preset you want to apply to all the imported photos.
- Make any other changes you’d like, such as keywords, then click “Import” in the lower left-hand corner.
- Adobe Lightroom will automatically apply that preset to all the images you just imported into your catalog!
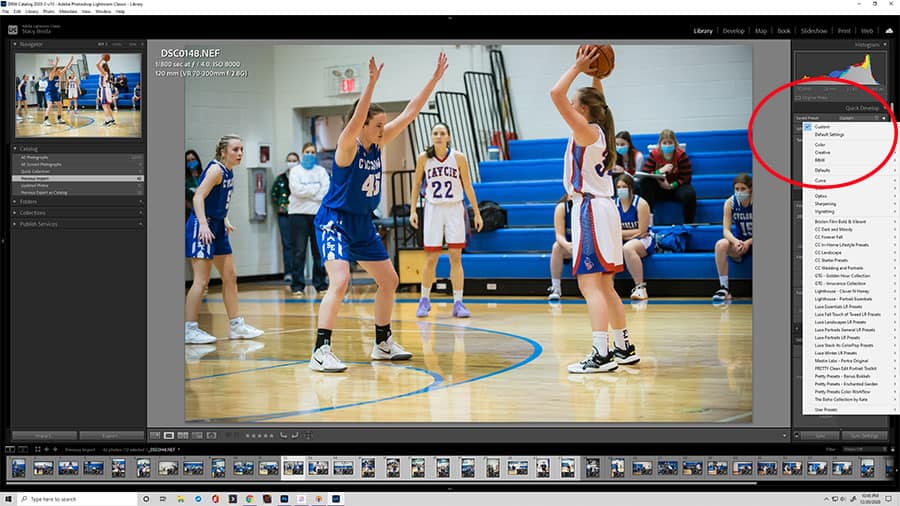
Method 2 – Apply Presets in Library Module
If you didn’t apply the preset upon import, you can add them in the Library Mode instead.
- Ensure you are in Library mode in Lightroom.
- Select the photos you want by clicking on them in the filmstrip at the bottom of your screen. Press and hold “Control” while you click on the different photos to select them.
- Locate the Quick Develop dialog box at the top right corner of your screen. Click on the up/down arrows to the immediate right of “Custom” and choose the preset you’d like to use.
- In some versions of Lightroom, the software will immediately apply it to all your selected photos. If it only applies to the current photo, choose “Sync Settings->Synchronize” in the lower left-hand corner. All of the selected photos should now have the preset applied.
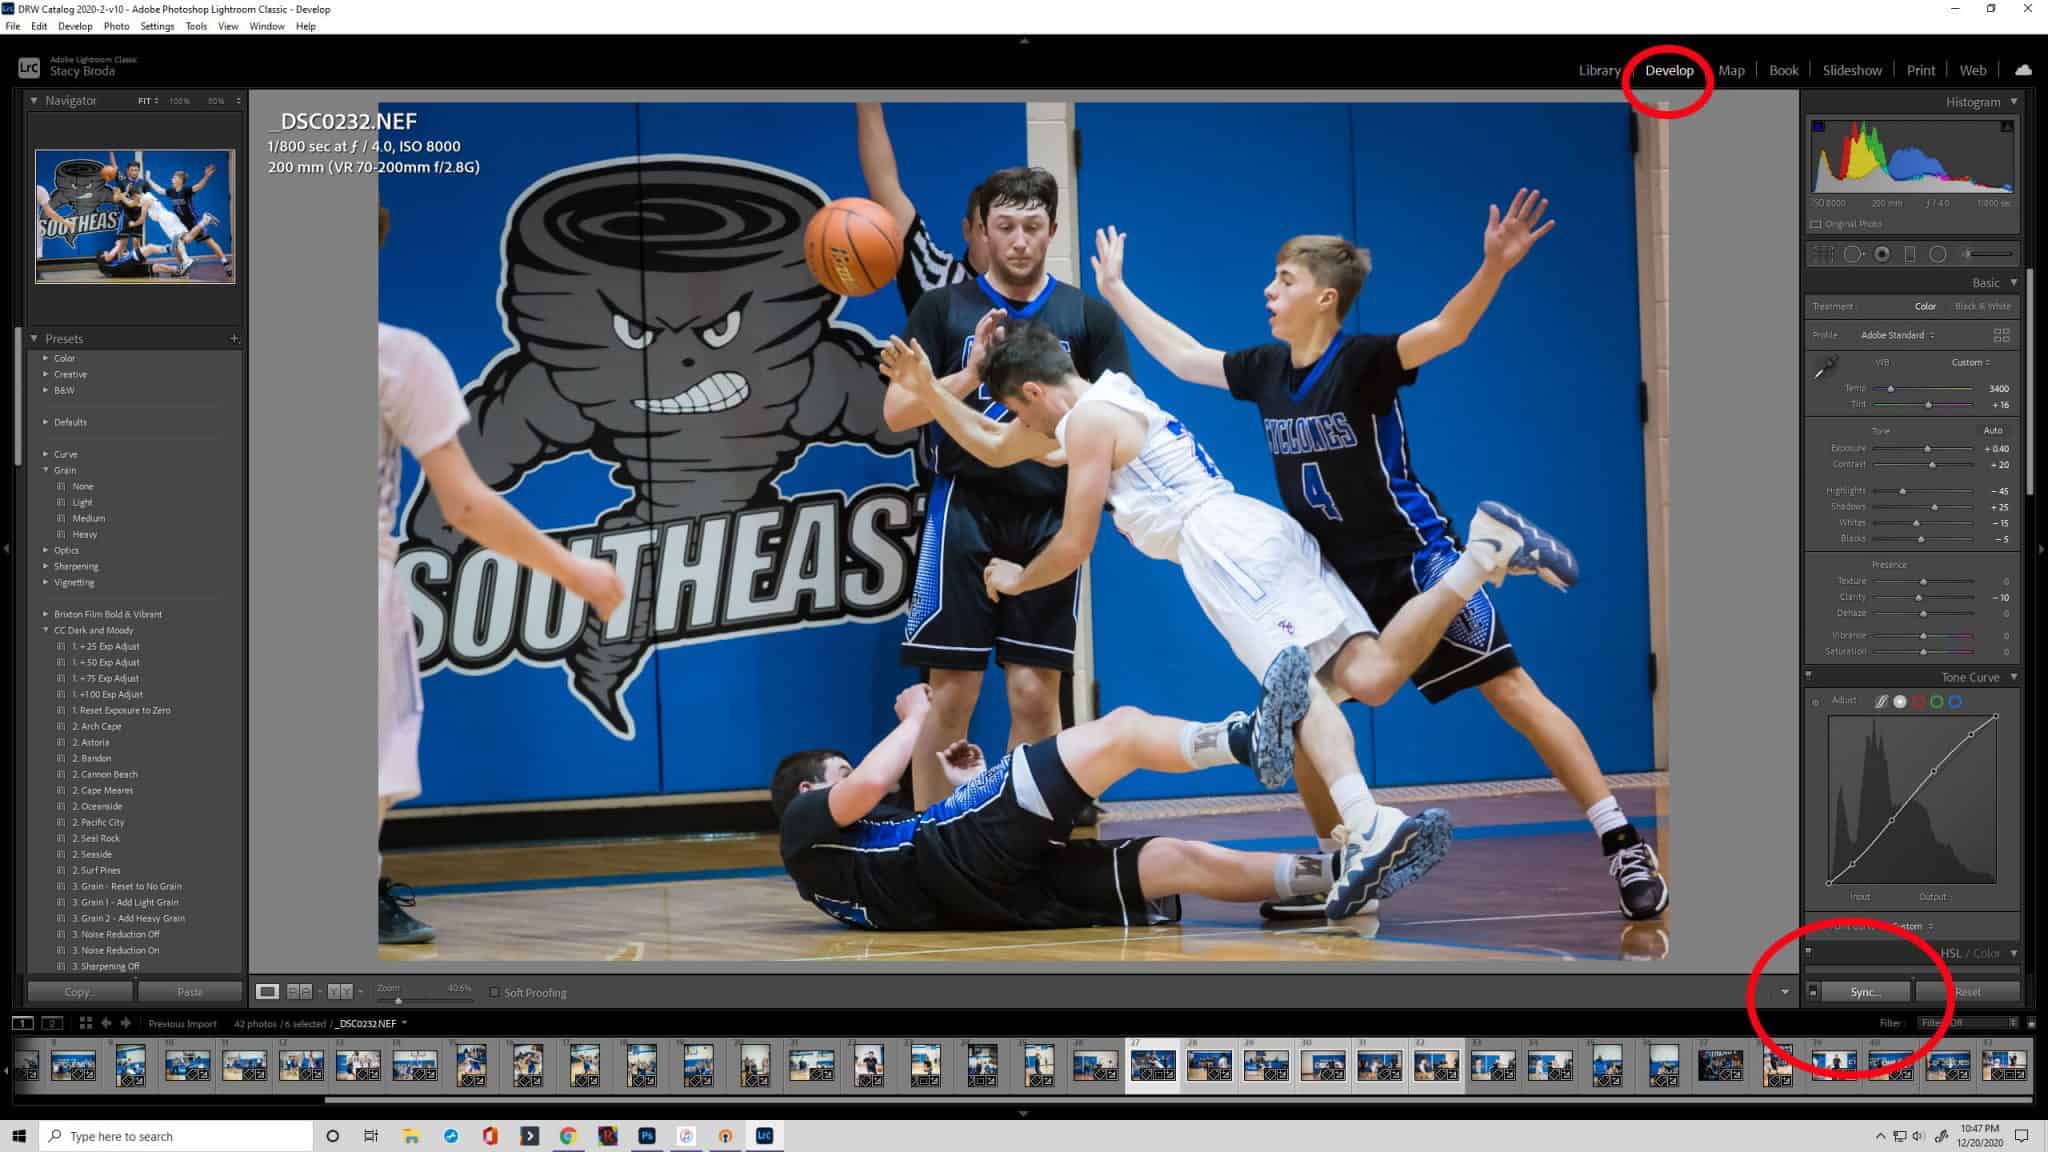
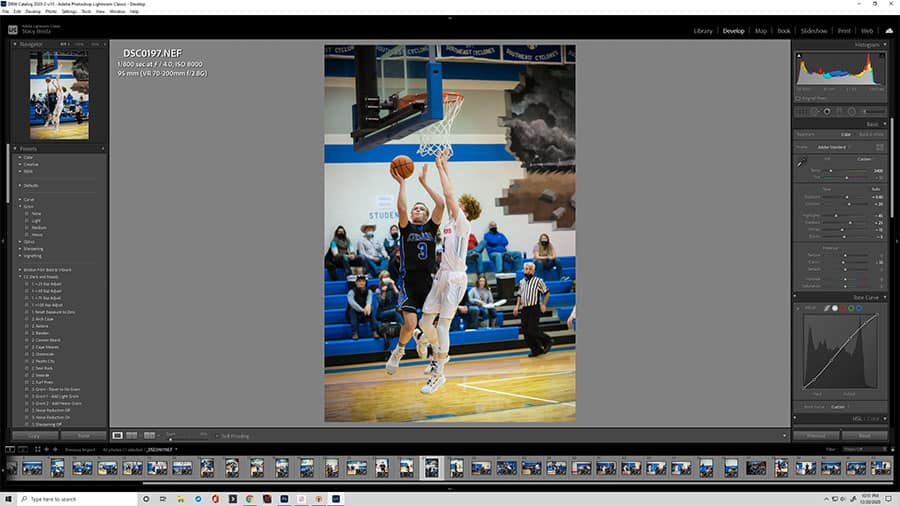
Method 3 – Sync in Develop Module
You can also apply a preset to multiple photos in Lightroom via the Develop module. This is a time-saver if you have just a few images in a series you want to have the exact same settings. I use this method to quickly add the same preset/edits to images with similar lighting in a session.
- In the Develop Module, apply the preset to a single file. Make any tweaks to the preset that you need based on that particular image.
- In the filmstrip at the bottom, first click on the image that you’d like to copy the settings from. Then press and hold Control while you click and choose the images you want to use the same presets or editing changes on.
- Click “Sync” in the lower left-hand corer. Choose the settings from the first photo you’d like to transfer to the others. Press “Synchronize” when you’ve selected the changes you want.”
- The changes will be synced across all the selected photos.
SPECIAL OFFER – Discover the secret to adding “wow factor” & retouching your photos, without having to use Photoshop, in only 3 clicks (…even if you’re brand new to editing your photos – guaranteed!)
Join the 54,000 other photographers using our Polished Lightroom Adjustment Brushes Presets Collection and get them here for 80% off!

Which Method is Best to Apply Presets to Multiple Photos?
Any of the above three methods work and work well. Which you choose depends on your preferred editing style.
I typically apply my base preset when I import my images. It gets me pretty close to my final editing style. From there, I’ll use the Develop Module technique to edit a single image and sync those tweaks to images with similar lighting conditions.
How do I Batch Edit in Lightroom?
You might hear photographers use the term batch edit. Batch edit is actually a carryover term from Adobe Photoshop. In that program, you automate your editing by applying the same actions or steps to a photo using the Batch function.
Some people use this same term to describe applying the same changes to multiple photos in Adobe Lightroom. Technically in Lightroom it’s called syncing edits, but it’s the same concept. Batching or syncing, no matter what you call it, the steps to do it are outlined above.
If you have a preset you use with every photo you take, use the Apply Preset While Importing method. If you have a few similar images in a session, try the Sync in Develop Module Method. No matter which method decide on for how to apply presets to multiple photos in Lightroom, you will speed up your editing. And that leaves more time to get out there and enjoy taking photos in the first place!
Dream of Being a Pro Photographer?
Join Cole’s Classroom today to make it a reality.