“Why don’t my sunset photos look like what I saw that day?”
Looking to improve your photography? Just enter any questions you have about improving your photography below and hit send and get answers & feedback instantly - for FREE! Submit QuestionsAmong all levels of photographers, taking gorgeous sunset photos can sometimes be challenging. We want to know how to take advantage of “The Gold Hour” to capture sunset pictures and sunrise images too. What type of digital cameras are used, what shutter speed, how you can use shutter speed effectively and other exposure settings, what to do with the foreground, what is the right time to get the best colors, all these are variables that affect whether we end up with cool sunset photos or with just another lackluster snapshot.
Camera Settings for the Perfect Sunset Pictures
For the best sunset pictures, some camera settings and sunset photography methods work better for than others.
- Make the most of the “gold hour.”
- Figure out the right camera mode. We always recommend manual mode, but landscape photography mode might be an option as you start learning.
- Use a tripod or monopod to stabilize your photos. Low lighting means a higher risk of camera shake.
- Keep auto white balance in mind. Consider shooting in RAW over JPEG mode if possible.
- Consider the dynamic range of lighting and colors.
- Use a neutral density filter to enhance colors.
- Consider using HDR and other image editing techniques if you’re going for a more artistic feel.
- Use the right apps when shooting sunsets with a mobile device.
Make the Most of the Gold Hour
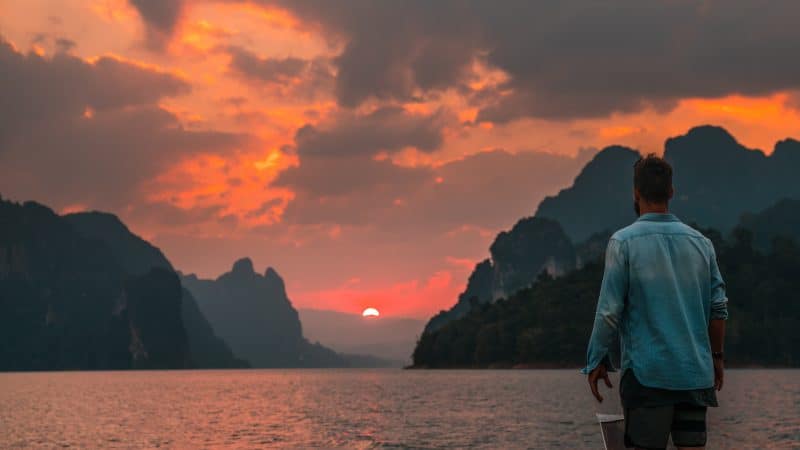
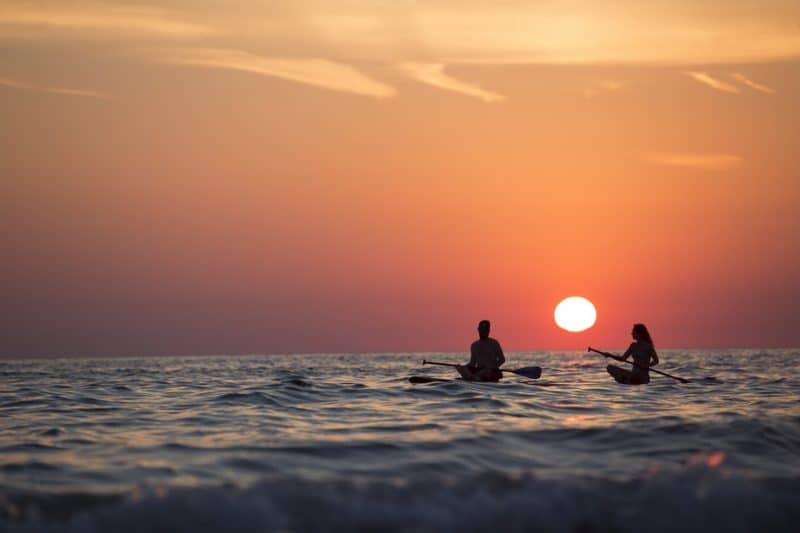
This term refers to that short stretch of time when whether the sun goes up during sunrise or when the sun goes down during sunset and gives us the most opportunities for beautiful images. It may be the increasing warmth of color tones as the sun goes down near the horizon, or we could target the early evening cool hues with just a hint of brightness lingering in the background or in reflections. This hour is seldom a waste of our time, so if you’re wanting to capture that perfect sunset picture, you’ll want to check what time sunrise/sunset is and make sure you’re in location and ready to shoot.
Camera Mode
For many beginning photographers, the elusive beautiful sunset photo seems beyond their grasp. I hear all the time from beginners that since they don’t know how to use manual settings, the gorgeous light and perfect colors they see are too difficult to capture. It doesn’t have to be that way.
The manual settings all photographers need to master are in the instruction manual. So many of today’s DSLR cameras have multiple automatic shooting modes. Knowing the exposure triangle is vital to understanding what settings work with different lighting conditions. The meter reading might get you in the right area, exposure-wise, but make sure you know when to take control. When you’re familiar with the settings in manual mode, you can optimize the shutter speed, choose the best shutter speed, the aperture, the metering mode, and other settings to allow us to capture wonderful pictures of the sunset.
In terms of aperture, you can start around f/11 and if you see f/11 is not good enough for you, experiment with aperture and shutter speed up to f/16. Keep in mind that the wider the lens, the more pronounced the starburst effect will be. Finally, remember any mode good for sunset photos will also be usable for sunrise pictures as well.
Automatic Modes
Certain automatic modes might fit in with what we are attempting to capture. We need to know what those modes are doing, though. That means being familiar with what our camera settings when it is in an automatic mode. We may need to take control of one or more settings. Does our camera have exposure compensation? Exposure bracketing is a method that we can employ also, whether shooting manually or in one of the automatic modes.
Practice before that Hawaii vacation, though. One of the great things about digital photography is that we can shoot a lot of images and review them immediately. See what each different automatic mode does for your images.
Many of today’s DSLR cameras have multiple automatic shooting modes. Try to determine which automatic modes match up with what you’re doing. If we are taking sunset pictures on the beach, for instance, the beach setting might help us. Maybe mountain sunset photos are our subject, and many cameras have a mode for mountain or other landscape scenes. Depending on your lighting conditions, after sundown, but still, during twilight, a night mode could be more usable.
Whether relying on the camera’s automation or on our own settings, we need to practice before that Hawaii vacation. One of the great things about digital photography is that we can shoot a lot of images and review them immediately. See what each different automatic mode does for your images. Also, take notice of what changing each setting manually does to the image. If your camera has the ability to display the histogram of the exposure, that information can really help us determine exposure settings.
Tripod vs Hand Held
One of the issues to consider when looking to capture gorgeous sunset images is that we may be working into dusk. In some vacation areas, nightfall seems to overtake us rapidly. Since the light is changing so quickly, a tripod or other camera support may be a good idea. Some situations may not lend themselves to carrying one, so learning good hand-holding techniques can be beneficial.
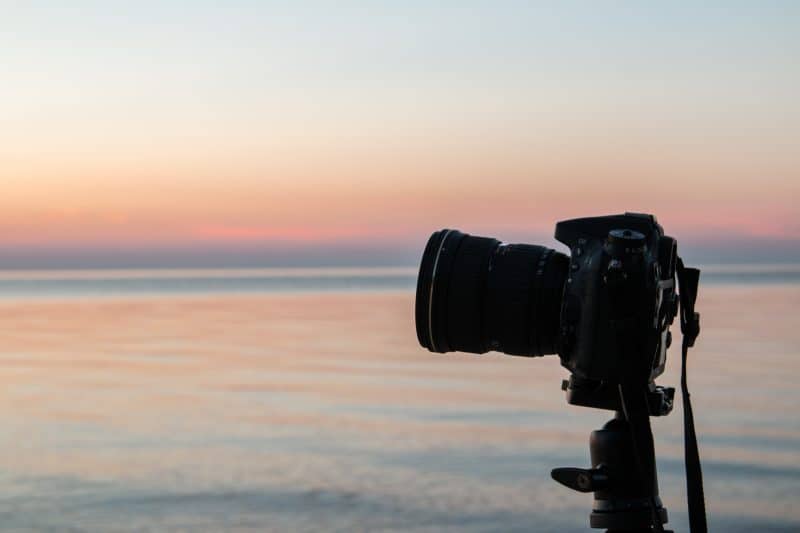
A DSLR lends itself to effective hand-holding techniques more so than a point and shoot camera or smartphone. Holding the camera up to our eye instead of in front of our face to see the view screen brings our arms closer into our body, giving us leverage to make us into a human tripod or camera stand. An easy-to-transport monopod is another viable alternative to tripods.
Auto White Balance
In the automatic scene modes we just discussed, the auto white balance will be part of the automated settings. Light is made up of different colors. In photography, we talk about the color temperature of various light sources. A room may be lit with cool, white photo lights or warm incandescent bulbs. Our eyes adjust automatically, but sometimes our cameras don’t compensate enough.
Sunset sky pictures may have a mix of colors in them, form the warm light shining through the clouds, to the cooler evening tones melting away from the direction of the sun. White balance is especially important to consider when we are saving our images in JPEG. If our digital camera lets us save in RAW, we can adjust the images later with an image processing program. Some JPEGs are in the camera; others are simple computer programs that may have come with our camera. You can learn more about shooting in RAW vs JPEG in our “RAW or JPEG: Raw Truth About Which and When” post.
Dynamic Range
Dynamic range refers to the difference in the lightest and darkest values in the scene, and can also refer to how much difference between light and dark a camera can record. Our camera instructions can tell us what the camera’s capability is. It’s pretty easy to Google your specific camera model for that info as well.
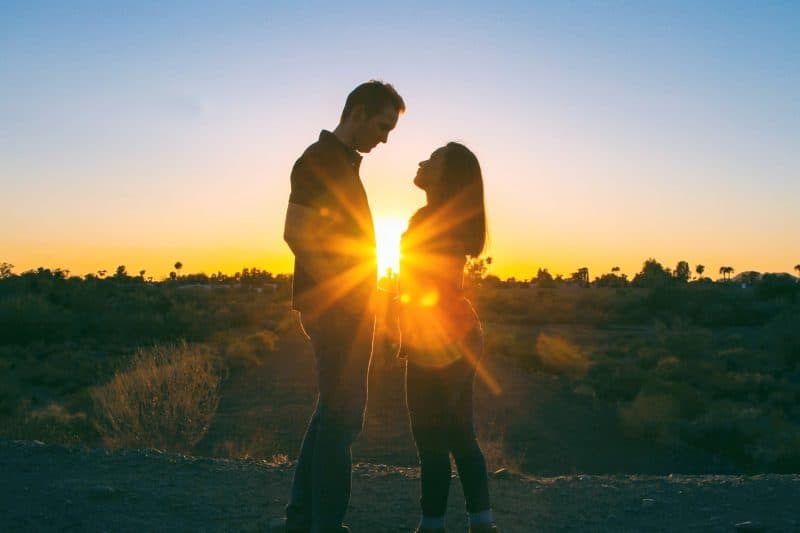
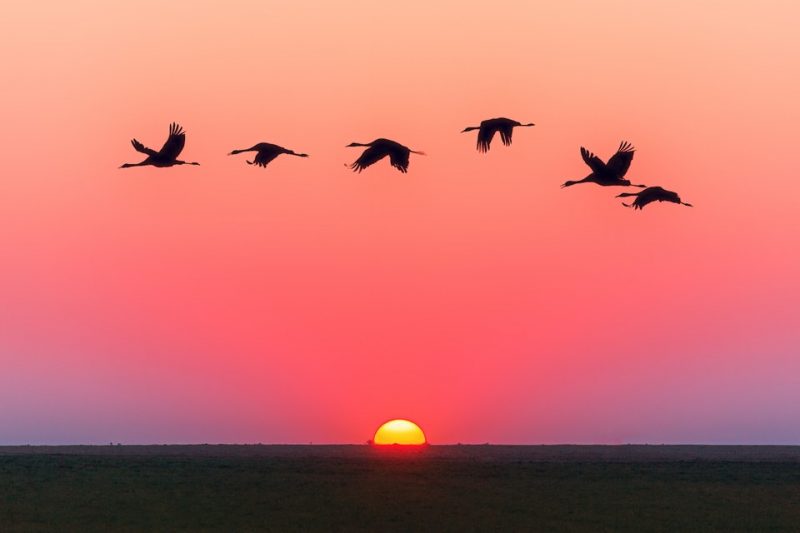
In sunset scenes, the sky and clouds may be at a very different light level than foreground objects. If we are going for a silhouette effect, that may not create any issues of dynamic range for us. We would still need to know how to make pleasing silhouettes, though.
Often times, a photographer is tasked with trying to balance out keeping a foreground subject well exposed while still capturing the beauty of the sunset or sunrise. If we expose for the foreground subject, the sunset will be washed out and over-exposed. Conversely, keeping the detail and color in the clouds and sky will result in a dim view of the foreground subject. Sometimes, a photographer will remedy that situation with some sort of off-camera flash. Flash isn’t always practical. Which bring us to the topic of filters.
Neutral Density Filters
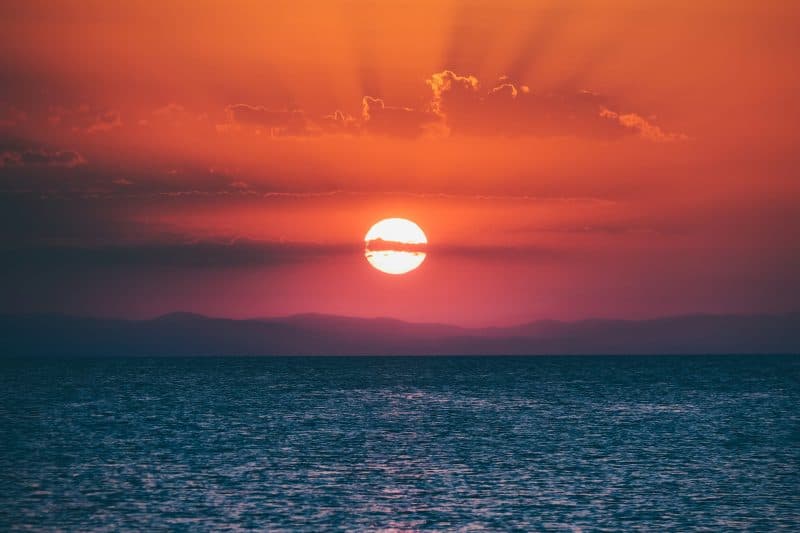
We can use color filters to enhance any sunset image. Keep in mind that it will alter everything in the photograph. A neutral density filter is a tool that adds density only, no color cast, to the optical path of the light. These filters are great for pictures of the sun itself, or when the sung goes down or for some other fun uses. A special filter that aids in shooting sunsets is the graduated neutral density filter.
[ad id=’5′]
A graduated neutral density filter is clear on one side and has the density on the other side, with the transition being gradual, instead of a distinct line. They can be screw-in filters or square filters in a holder. The way you use them is to place the line where the density changes on the horizon. Usually with the darker part of the filter covering the lighter part of the sky. That’s why I personally like the square filter in a holder because it’s easier to place the line where I want it.
A Quick Trick
A basic guideline in photographic composition is called the rule of thirds. A lot of information is available on that rule, and some sources go back to when my grandparents were in school! Basically, we want to break up scenes into thirds, horizontally, vertically, or both. Main subjects might be placed on the intersection points of the lines we draw in our mind’s eye. Another way to apply it is to have one part of the scene in either one third or two-thirds of the image area. So, a beach wedding party on the lower third with the sunset sky in the top two thirds. Or, a quaint old house in the bottom two thirds with the sunset or sunrise sky in the top third.

I like to say that this rule is more of a guideline than a rule because some subject matters can be successfully imaged in other compositions. It’s good to know the old school rules, though, even when using smartphones or automated cameras. Curved or S lines is another good composition rule to know.
Other filters that prove beneficial for the best sunset pictures are polarizers. These can eliminate or reduce reflections off of glass, water, and even some vegetation. There are even special effects, such as a starburst effect filter, to take advantage of sun flare in a creative way.
Using Flash and Reflectors
A very effective way to change the range of a scene is by using fill flash or reflectors to lighten up the foreground subject. The quick and easy route is to set up the flash and camera in auto and see what happens. With some cameras, this will work fine, for others, it’s going to be the luck of the draw. Two better options are available.
Daylight fill flash is a tried and true method that lets the photographer balance the flash exposure for the foreground subject with the exposure needed for the rest of the scene. This method is often used by wedding and portrait photographers with outdoor portraits. Many flash units are capable of being manually set to incremental power. With the camera set to an appropriate flash-synch shutter speed, balance out the flash power setting with the f-stop that gives a good background exposure. This is easier and quicker to actually do than it is to describe, so play around with your shutter speed and settings until you find what works best.
A portable reflector can be used to direct light back onto the subject. The color of the reflector and the color of the light being reflected will determine the color of the reflected light, so you will need to keep that in mind. It may also be a good idea to have someone assist you with the reflector. If the foreground subject is a portrait, the subject themselves may be able to hold it in position.
HDR and Other Image Processing
Sunset photos can also be prime candidates for an exposure and processing technique known as HDR. HDR stands for High Dynamic Range photography. Some cameras have a mode built in that does it for you, maybe even doing it as one internally processed photograph. Most HDR photography is captured by taking two, three, or more exposures at different settings and combining them with an image processing program. At a minimum, one exposure (or frame) for the highlights, and one for the shadow areas get combined to stretch the dynamic range of the final image.
I know quite a few photographers who have a dislike for HDR, primarily because a lot of HDR photographs look completely unnatural. It doesn’t have to be an unreal image, though. I do a lot of HDR sunset photography that doesn’t look artificial, using the technique merely to extend the dynamic range of the final image. It’s a matter of taste. Some pictures look good with an over-processed, artificial look, others can come out rather garish. Done right, an HDR image can look completely natural.
Film
There’s a lot more a photographer can do with an image processing program besides HDR. Some image manipulation techniques that were used in film and paper-based darkrooms can be accomplished with modern computer programs designed for photographers. From the simplest processes to some of the most complex, learning image processing can be one of the more exciting and funs aspects of sunset photography in general, besides what it can offer our sunset photos.
One of the nice things about current programs is the ability to download preset functions for specific processes. Cole’s Classroom Light & Airy preset package is one such preset that allows us to be image-processing gurus with just a little hands-on experience. Besides really obvious changes, image processing gives us control over exposure, white balance, tones, colors, and other things. Especially if we shot in RAW as opposed to JPEG.
How to Get Pretty Sunset Pictures with a Smartphone
Sometimes, we don’t have our DSLR with us when the opportunity to take the perfect sunset photo comes up. Or, we haven’t made the leap into the magical world of SLR cameras yet. We can still get beautiful sunset images with an iPhone or an Android smartphone.
That’s right, there’s an app for that! There are, actually, several apps for taking great sunset photos for both Android and iPhones. Snapseed and Afterlight are good apps to enhance our iPhone images, and Skyfire or the Photographer’s Ephemeris are helpful for determining the best time and place for finding a gorgeous sunset scene.
Android smartphones have their own version of Snapseed, as well as Adobe Photoshop Express which opens up a whole new world for smartphone photographers. Does anyone use a Windows phone? Fotor, PicsArt, and PhotoFunia are available.
The worst photograph imaginable is the one we missed because we didn’t have a camera. With smartphones, many of us never have to pine away after that lost picture opportunity.
There is no reason why just about anyone with almost type of any camera can’t get perfect sunsets to show as perfect sunset photos. A little forethought, a little practice, and a passion for beauty and art are all we need to capture that gorgeous sunset photo and make all our friends and family say, “Why don’t my sunset pictures look like that?”
https://youtu.be/_r95CHdJ_uU