
Photoshop altered the way that people edit their photos. With a plethora of tools at your disposal, design selections are practically unlimited. One common edit is to remove the background in Photoshop. The process has several steps. And while it might look complicated at first, learning how to change the background in Photoshop is easier than it seems.
How to Change Backgrounds in Photoshop
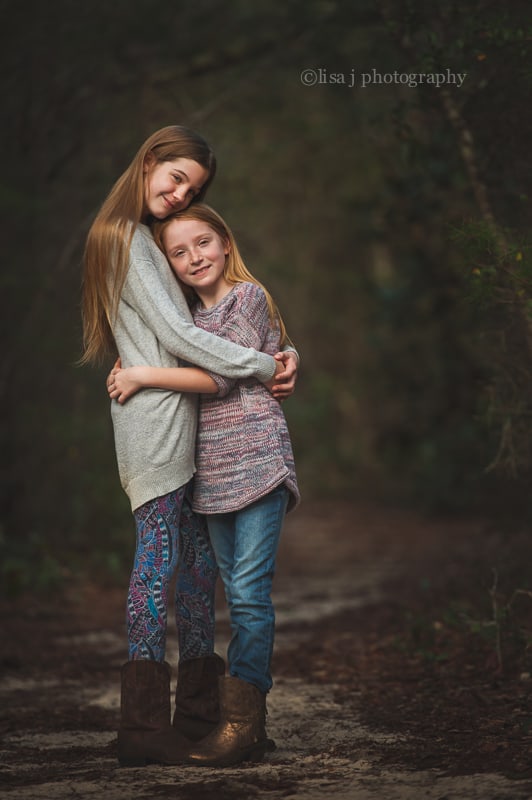
Our step-by-step guide helps you with removing and change the background with Photoshop in any background. You can shoot the photos at home, then make a selection of adding a new background or image of your choice.
Step #1: Highlight the Quick Selection Tool
This Quick Selection Photoshop CC tool looks like a paintbrush with a dotted oval behind it. The Quick Selection Tool is the first tool you use to remove background photoshop images.

Step #2: Choose the Select Subject Option
If you have the 2019 version of Photoshop CC, you use the quick selection tool called the “Select Subject” button instead of the “Select and Mask” button. This gives you the option to outline the subject of the image quickly. Once you have chosen this tool, begin outlining the subject.
Step #3: Refine Your Outline
After you have fully outlined the subject, take a few moments to ensure you have everything of the selection you want. If you need to make changes, use the quick select brush. Use the brush to clean up the outline. Click on the parts of the outline you want to adjust, then use the alt/option key to deselect areas of the outline.
When refining the selection for your new background, look for areas that have too much of the original backdrop in them. Those background selections will stand out against the new one you choose.
Step #4: Choose Select and Mask
When you click on the quick selection tool called Select and Mask, set the opacity to 100% so you cannot see through the subject. Then set the backdrop color to white so you can see everything that you might have missed in step 3.
Step #5: Click on Show Edges
When you do this step, you will see the image disappear, and the edges of the outline will show. You will have the option to adjust the radius so you can see the line of the subject.
After you see the edges, turn off the Show Edges tool. At this stage, you will notice if you need to refine edge areas of your image.

Step #6: Clean Up with Refine Brush
The most challenging part of changing the background is adjusting the outline around the hair. Select the Refine Brush, then use the refine edge brush tool to circle the areas that need to be refined.
When you complete the circle, the Refine Brush tool will soften the refine edge areas and remove most of the original background.
SPECIAL OFFER – Discover the secret to adding “wow factor” & retouching your photos, without having to use Photoshop, in only 3 clicks (…even if you’re brand new to editing your photos – guaranteed!)
Join the 54,000 other photographers using our Polished Lightroom Adjustment Brushes Presets Collection and get them here for 80% off!

Step #7: Use Layer Mask and Create a New Layer
This selection tool will change the backdrop to the checkerboard pattern that designates a PNG image. It will remove whatever background you previously had so you can place your subject on your desired background. Select the output to “New Layer with Layer Mask.”
Step #8: Open the Background
At this point, you are ready to open the new backdrop image. Be sure you can see the new background image tab at the top of Photoshop.
Step #9: Open the Foreground Subject
At this point, you return to the cutout image of your subject. Then you drag the subject to the tab of the new background image. Do not wait for the image to open when you have your cursor on the tab.
Your subject will be there. Once you let go of the subject on the new background tab, you can open the new image and see your new background.
Step #10: Transform with Ctrl/cmd+t
After you press these buttons, you can make adjustments to your selection with the new image in place. You can also open other images and add your subject to them to decide which one you like the most.
Questions About How Remove Background in Photoshop
Because the Photoshop CC options change from year to year, users often have questions about their specific needs.
How Can I Fix Background in Photoshop?

There are several ways to fix the background in Photoshop, but many have several steps.
One way is to remove the subject in the foreground so you have full access to the background. Then you use the brush tool to make subtle changes to the areas that need repairs.
When you use the brush tool, you will see areas that have hard edges and high contrast. These are usually the easiest areas to repair. The areas with soft edges and low contrast are more challenging.
You can fix areas with the brush tool without doing anything to the subject in the foreground.
How Do I Remove a White Background in Photoshop?
Background removal in Photoshop is more straightforward if there is high contrast between the subject in the foreground and the background. Before you do anything with the white background, you have to duplicate the layer, unlock it, and rename it.
The next step involves selecting a tool called “Magic Eraser.” Set the preferences to a tolerance of 30, checked anti-alias, and 100% opacity. Then, click on the white background, and the Magic Eraser will pick all of it and make it disappear.
If you see any other background colors, you can do the same thing with the Magic Eraser. Or you can use the Background Eraser Tool to remove any remaining background. Photoshop makes these steps simply because they have been popular with users for years.