
Knowing how to change the color of something in photoshop can help you add critical visual interest to your images while also altering the hue saturation for a better result. Using one tool or another, you can modify colors, enhance blending, and work with unique color schemes.
All of these methods allow you to use as many layers as you wish over your photo, and you can always go back and make changes at any point.
In this step-by-step guide, we’ll go over three methods for changing the color of an object, or shapes in Photoshop, and which tools are ideal for various applications. We’ll also look at how you can use an adjustments layer, make a hue saturation adjustment, utilize a mask, and identify when blending is required.

Ready to take your photography to the next level?
Join Cole’s Classroom today! »
How To Change the Color of an Object in Photoshop
There are three main ways to change the color of an object in Photoshop, and you’ll need to have a reasonably good photo to start the process. Using an adjustments layer is highly recommended but not required, and you can make alterations to your original photo if you wish.

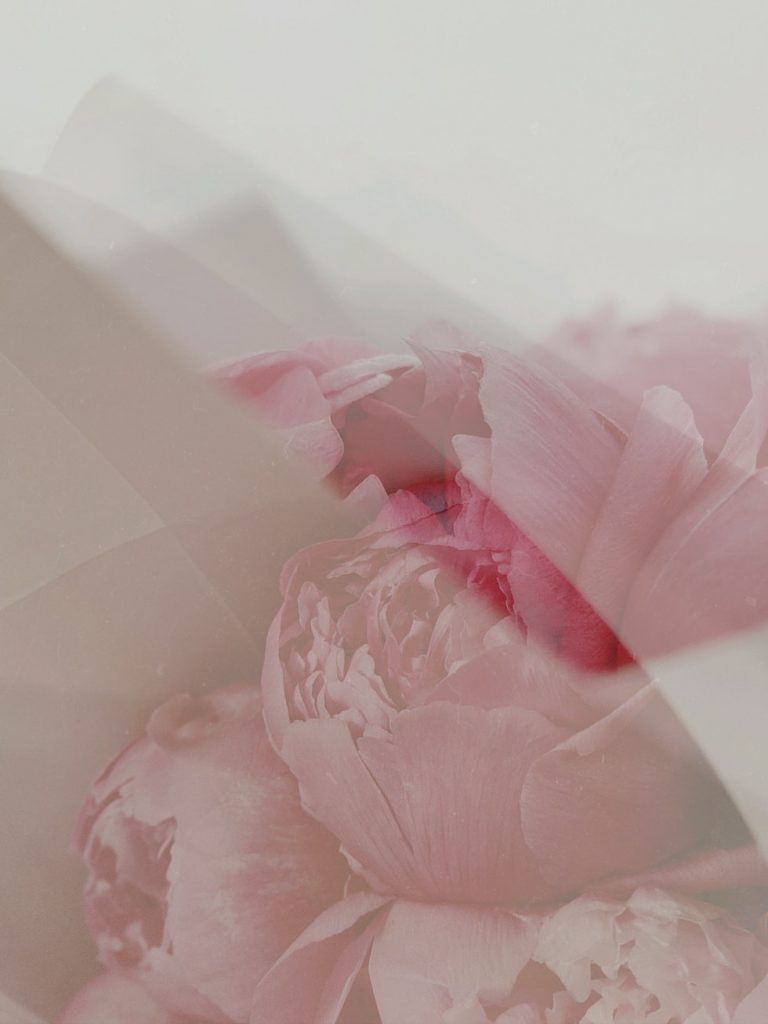
Photo by Sharon McCutcheon Licensed Under CC0
Keep in mind that these methods each require different levels of skill in Photoshop, and some are more detailed than others. For more considerable color alterations, you can expect to use other filters and tools to create a clean looking photo.
Option 1: Use the Color Replacement Tool
Using the color replacement tool in Adobe Photoshop allows you to change the color in your photo without complicated instructions quickly. This Photoshop tool is not the most professional option, but it works well for simple changes and is ideal for users of all skill levels. To use this tool to change the color of an object, you’ll need to follow these steps:
STEP 1: IMAGE > ADJUSTMENTS > REPLACE COLOR
Start by opening your image in Photoshop. Next, add a new layer to work with to protect your original image by choosing Control J or Command J.
Now you’re ready to use the Replace Color Tool. Choose Image>Adjustments>Replace Color.

This opens up a new dialog box with options that let you control which color is replaced and how it looks. Choose the eyedropper on the left and then click in your image to choose which color you want to replace. Adjust the sliders to control how the replaced color looks.
Control the tolerance of the color replacement mask by adjusting the fuzziness slider. Control the color you want to change to by adjusting the Hue, Saturation, and Lightness sliders.

STEP 2: CHOOSE THE EYEDROPPER TOOL WITH THE PLUS SIGN
Sometimes, that first click onto your color doesn’t grab all the color you want to replace. Choose the Eyedropper tool with a plus sign and click in your image again to select additional shades you want to change.
If you click on an area accidentally, use Control Z or Command Z to undo the selection.
Pay attention to your entire image, however. This tool will replace that color in your entire image, not just where you’d like the color change, though. So the best use of this Photoshop tool is for changing the color across an entire photo, and using it in another way may yield less than ideal results as the other tools available will do a better job.
STEP 4: HIT THE OK BUTTON AND SAVE
Once you are satisfied with the color changes, you can click on OK. Toggle back and forth between the two layers to make sure you haven’t altered color somewhere you don’t want! If you’re satisified with the color replacement, then flatten and save your image. Save it with a new name, so that your original image without the color change remains intact.
Why stop here? Unlock hundreds of photography classes for beginners.
Start Free TrialOption 2: Using Hue/Saturation Adjustment Layer
Using the Hue/Saturation adjustments layer to change the color of an object is a little more involved than using the color replacement tools. This Photoshop tool allows you to make finer alterations to the saturation adjustment, make a hue adjustment, and select individual shapes or smaller areas.
Select your image and add a layer to protect the original content as you are changing other qualities.

You’ll then want to select the object or individual shape that needs hue or saturation adjustment, which is often the most tedious part of the whole process. Isolating this object takes time, and you can employ the object selection tool in Photoshop to expedite this process.

You’ll then draw a box around that object to isolate it, and Photoshop will work to detect the edges of where the color of an object begins and ends.
You can then use the hue and saturation adjustment layer to select another color. Choose Layer>New Adjustment Layer>Hue/Saturation, or choose Hue/Saturation from the Layers panel.

Change the color of your selection by adjusting the Hue, Saturation, and Lightness sliders to your liking. Checking the Colorize box lets you use the Hue Slider to choose the shade you want to change the color to.

At this point, you can make an adjustment to smaller details by using the brush tool and other colors to create more realistic blending. By using the black and white mask on the adjustment layer icon, you can refine the colors and select areas that should remain the same.
Option 3: Hue/Saturation (On-image Adjustment Tool)
Hue/saturation in a photo is another characteristic Photoshop easily adjusts, and by using the hue slider, you can add color to a layer over an image that is a different hue or even black and white.
Add a Hue/Saturation layer to your image by selecting Layer>New Adjustment Layer>Hue/Saturation, or choose Hue/Saturation from the Layers panel.
This will adjust the hue and saturation for the entire image.

If you don’t want to adjust the hue and saturation for the entire image, but instead just want to replace a certain tone, click on the button that looks like a hand with arrows pointing either direction. Then hold Control (Command on a Mac) and click on the area in the image where you’d like to adjust the hue/saturation. Click and drag to adjust that specific hue.

For the most professional results, you’ll want to learn how to use the hue and saturation adjustment tool as this allows for greater control. The hue and saturation adjustment tool is compatible with all of the other filters and tools Photoshop provides.
Using the hue saturation adjustment takes a bit longer to learn. Still, it allows you to select either individual objects or specific areas for alterations, which you then refine and adjust further for a realistic result.
Become the photographer of your dreams with Cole’s Classroom.
Start Free TrialFAQ
How do I alter colors using Photoshop 2020? What about Photoshop CC?
For both Photoshop 2020 and Photoshop CC, you can use all of the methods listed above, and additional information on the Adobe website lists the changes and differences between the two. In 2020, Photoshop dropped the “CC” bit of the app’s name, which is confusing for many users who aren’t aware of the difference between the versions.
What is the color replacement tool in Photoshop?
The color replacement tool in Photoshop resides on the adjustment panel, and it allows you to alter specific objects or color across the entire photo. You can also apply this tool if you want to change more than one color at a time and preview exposed areas that have a mask applied.
This tool is best used for simple edits without a lot of detail but doesn’t work in Indexed, Bitmap, or Multichannel color mode. If you are experiencing issues with color changes or color matching and get stuck for a solution, it’s a good idea to check the active mode type. You can also employ the color replacement tool when you want to make changes to the hue and saturation.
Do I have to use adjustment layers?
You don’t have to use an adjustment layer, but if you decide not to deploy them, you’ll be making alterations directly to your original photo. When you make a color or hue adjustment to an image, some of the information gets discarded. When you apply a layer to the image in Photoshop, you have the ability to use a mask or other tool with less information loss.
Ready to Learn More?
Join Cole’s Classroom today to unlock everything you need to become a pro photographer.
Start Free Trial