
Need help exporting your photos from Lightroom? This will help!
Presets are designed to accomplish one primary objective – save you time. The best kinds of presets are the ones that simply help automate any standard or routine tasks that you ALWAYS do the same thing (or settings) over and over. Today I am going to share with you the quick and easy way to create a Lightroom export preset.
All you will need is Lightroom and about 4 minutes of your time and I’ll turn you into a Lightroom export preset making pro!
With this super tutorial, you have two options to learn exactly how to create a Lightroom export preset. You can follow along with me in the video tutorial directly below, or you can read and review the screenshots showing you the process 🙂
Looking to improve your photography? Just enter any questions you have about improving your photography below and hit send and get answers & feedback instantly - for FREE! Submit QuestionsHere is The Simple Way to Create a Lightroom Export Preset!
Step 1 – Open the Export Dialog Box
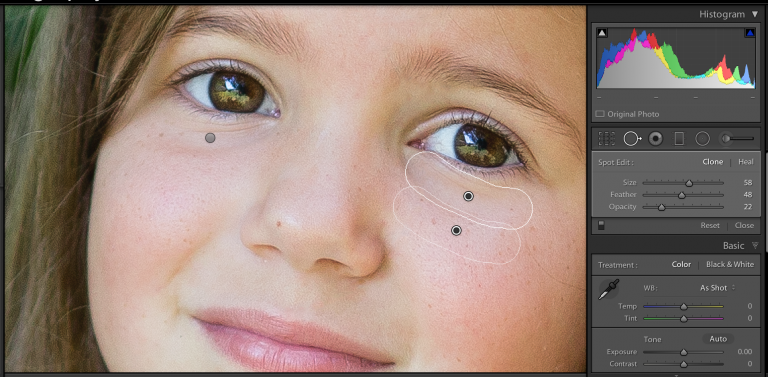
Inside the Library module you’ll see the export button in the bottom left. Even if you are in the develop module though, you can always right click on the photos in the film strip to launch the export dialog window as shown below.

[ad id=’1′]
Step 2 – Add Desired Settings for Export
The next step is simple…add all the settings that you want for your specific export preset. One word of caution though… for export location, I recommend “export to: choose folder later”. This means whenever you click export it will then prompt you to select where you want the photos to export to.

Step 3 – Click “add” Button & Give Preset a Name
That’s it! You’re all done. Once you’ve hit the “add” button you’ll have the export preset available to you and whenever you select it, all of your export settings will be automatically pre-populated and all you’ll have to do is add your file name and select which folder you want to export to.
Chat soon,
Cole