
Space is a beautiful, uncharted mystery, and as photographers, we want to be able to capture some of its majestic allure. However, night photos – especially Milky Way pictures – pose a challenge to photographers, as what we’re photographing is foreign to us.
While the naked eye can see portions of the Milky Way, its colors and brilliance are unfamiliar to us. When you edit your images of the Milky Way, a lot of the coloring is up to your imagination. However, getting those colors and bright stars can be a long and frustrating process very different from that of photos taken with ample daylight.
Basics of Editing Astrophotography
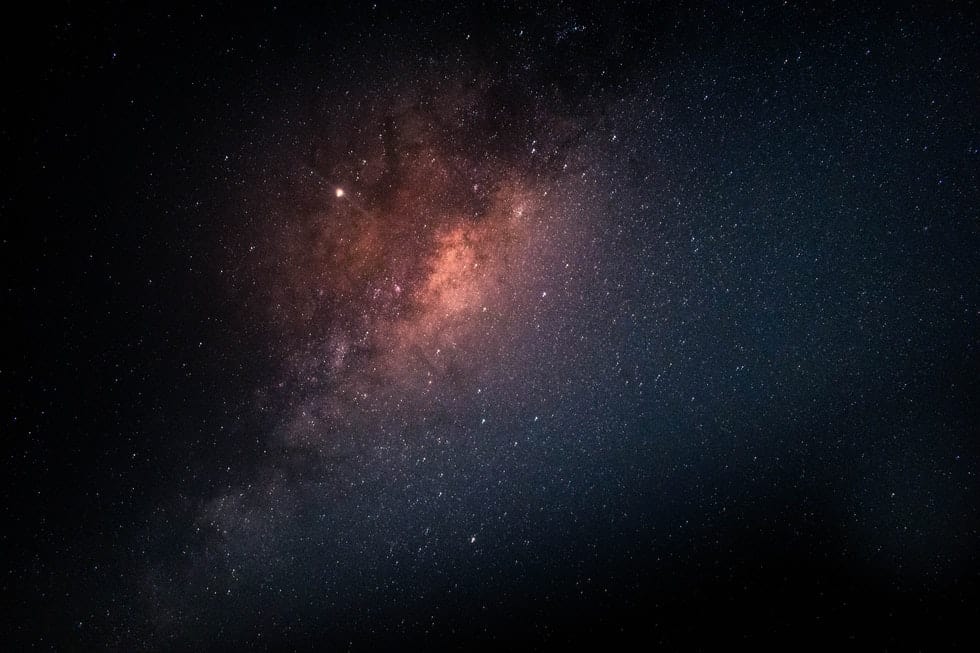
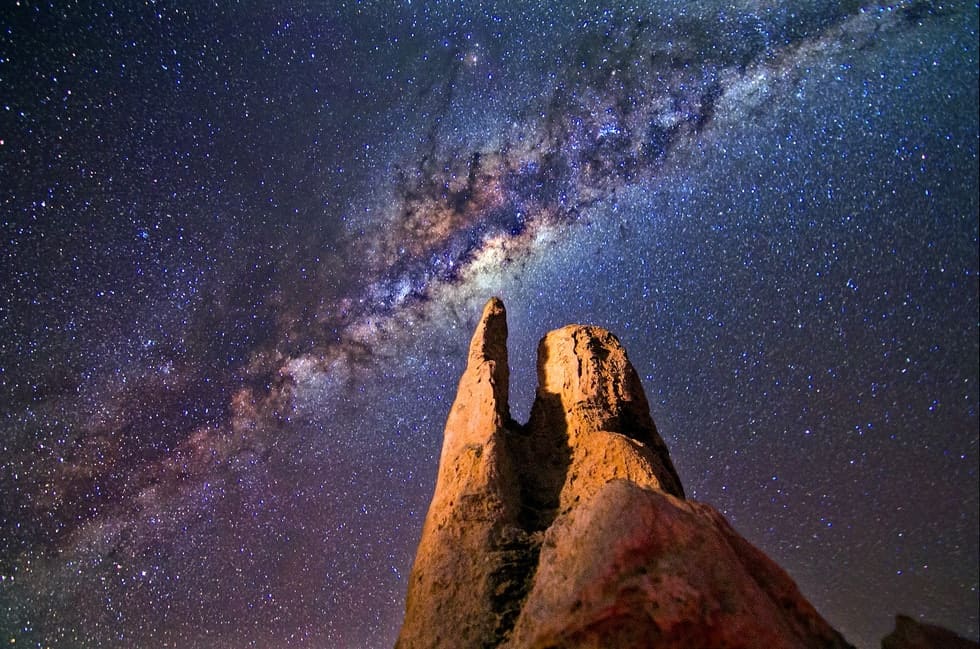
Most of your raw astrophotography images are probably dull, with some light pollution blocking out the stars’ grandeur. To bring out the authentic colors, avoid light pollution and make it look like this stunning photo, you will need a couple of things to get started: a raw photo (preferably multiple photos) of the Milky Way, Adobe Camera Raw, Lightroom, and Photoshop.
Image Stacking
While you can edit just one picture, you should ideally take numerous photos to stack them. While long-exposure images can improve the signal-to-noise ratio, there are limits to its capabilities.
With image stacking, also called integration, you can achieve a signal-to-noise ratio. The stacked images average out the values across the picture, lowering the noise values. The signal stays high, though, which gives you a crisp, clean photograph.
Editing Programs
Since images of the Milky Way are in a league all their own, make sure you have top-notch editing programs capable of fulfilling your post processing needs. Ideally, you want to have Adobe Camera Raw, a professional program for importing and editing raw Milky Way images.
Nevertheless, Adobe Camera Raw isn’t the only option. Adobe Lightroom has the same powerful raw imaging processing capabilities and is simple to use. Photoshop and Lightroom are comparable on many levels, but one program may be better than the other for specific needs. If possible, have both programs on hand.
If you need to choose between them, we will look at the specifics on how to edit the Milky Way photos using each program a bit later.
SPECIAL OFFER – Discover the secret to adding “wow factor” & retouching your photos, without having to use Photoshop, in only 3 clicks (…even if you’re brand new to editing your photos – guaranteed!)
Join the 54,000 other photographers using our Polished Lightroom Adjustment Brushes Presets Collection and get them here for 80% off!

Tools for Post Processing Milky Way Photos
Before we get into the specifics of post processing Milky Way photography, examine your photo thoroughly. You want to manipulate the photo as little as possible to maintain its natural integrity, so analyze its values before changing anything. Consider the following:
- Look at the exposure of the image. Obviously, as you’re taking a photo in the middle of the night, a common problem is low exposure. However, when you’re taking a photograph, keep the exposure at a reasonable level. That way, once in the post processing phase, you can check the exposure histogram. Ideally, the values will be average, with nothing on the extreme ends.
- Consider the color of the photo. You can expect a dull look to start with, but think about how much editing you would like to do. Compare the ground to the sky, as well. If the foreground is too bright compared to the night sky, you’ll need to edit that.
- Check the white balance or temperature of your photo. Since Milky Way photography is unique, it is best not to use any white balance adjustments in the field. Leave it as natural as possible for more post processing changes. For edits, you want to have a neutral white balance, so check how warm or cool your image’s colors are.
Once you’ve done a general assessment of how much editing your Milky Way photograph needs, it’s time to dive into the complexity of post processing astrophotography.
1. Using White Balance
We already discussed that you must consider the white balance of your image before editing, but once you start post processing, this is the first thing you should undertake. If the white balance is off, you could end up with a photo that doesn’t completely show the full range of colors and vibrancy that truly make up the image.
Each photograph is different, but you want to look for a neutral level that shows blues and yellows. To help you clearly see the colors and adjust the white balance accurately, turn the saturation all the way up temporarily.
Then, in Lightroom, go to the two white balance options that are labeled temp and tint. Again, each photo is different, so try moving the levels to see where you can see the most color in the sky.
If your photo is slightly yellow, start with a temperature of 3900 K and a tint of +14. In general, the temperature will probably be between 3700 and 3900k, and the tint will range from +5 to +15.
Once you find the perfect setting that shows you a range of temperature and color, be sure to reset the saturation levels to zero. For a detailed tutorial on how to find the correct white balance, watch this video.
2. Using Contrast and Exposure
Contrast and exposure cover a wide range of values to consider. You can adjust both values directly by using the contrast and exposure sliders individually, but editing each part of these values will give you greater control over the resulting image.
Blacks and Whites Sliders
Start working on the contrast using the Blacks option. By moving it far into the negative range, you can pull out even more colors and starlight as you darken the photo’s black portions.
However, the lighting of each Milky Way photograph is unique, and you may even need to leave the Blacks slider slightly in the positive numbers to improve the image’s brightness. Try changing the Blacks level and see what works best for your desired result and your particular photo.
Similarly, you want to brighten the white of the stars while darkening the black sky (creating contrast), so move the Whites value into the positive range until you reach your desired contrast of light and dark.
You can continue to adjust the contrast by moving the general contrast value bar once you have determined the values of the Blacks and Whites sliders. Using a combination of the three sliders in Lightroom, you can achieve the perfect balance between the bright starlight and dark background.
Exposure
While improving the contrast gives your image a robust and vibrant look, it will probably be slightly too dark. Go to the Exposure option in Lightroom and move the value up to lighten the image overall. You don’t want to go too high, or you’ll wash out the contrast you just achieved.
Dehaze
Another tool that can help improve the contrast of your photograph is the Dehaze slider. Pushing it into the positive values will give your photo a more dramatic look while also decreasing some of the haze in the sky.
Curves
So far, we’ve covered various ways of adjusting the contrast by changing general light and dark values. However, there are many more shades and hues in the middle range that you need to monitor to ensure the best coloring in the photo.
Find the Tone Curve tool in either Lightroom or Photoshop, and pull on various points in the diagonal line to reshape it. You want it to appear like an oblong S-shape instead of a straight line. Set the bottom point slightly above the line, then pull the upper-middle part back to give a gentle curve. The more drastically you change the trajectory of the line, the more contrast your image will have.
For additional help, use this excellent tutorial on Curves adjustment.
Vibrance
While we previously talked about using the saturation to find the perfect white balance, it was set back to zero. Once you have edited the other aspects of contrast and exposure, you can revisit the clarity, vibrance, and saturation of your photo.
All three of these tools will give your photo more punch, but use them with caution, so you don’t make the image appear too noisy.
The Clarity slider brings out more details of the photo and helps sharpen the photo. The Vibrance and Saturation options bring more color to the image. Adjust those two as you see fit, depending on how you envisioned your final product.

3. Highlights and Shadows
High contrast and exposure can give your Milky Way photography an impressive look, but the high values may cause certain parts of your photograph to appear almost blindingly white. To correct any overexposure or high contrast, edit the Highlights and Shadows sliders.
You will probably need a lower Highlights value to combat the high contrast. The Shadows slider could be in the positive or negative range, depending on how your image is affected. If you find that pulling the shadow value done covers up some of your previous work with the contrast, move it back up a little.
4. Noise Reduction
We’ve already looked at one way to reduce the noise level in your photograph: image stacking. This trick is probably something you will want to do every time you photograph the night sky, as it is a great way to reduce the noise and produce clear photos. The only difficult part would be a night sky with many clouds, as it is harder for applications to distinguish between the clouds and noise.
An additional way to reduce noise in your Milky Way photo is by using a combination of Nik Dfine and a Luminosity mask. Nik Dfine is a separate software that you can use with Photoshop, which analyzes your image and automatically reduces the noise level. Check out a tutorial on all the available plug-ins for Photoshop.
However, Nik Dfine may also reduce the brilliance of the stars while taking away the noise level. To prevent this, add luminosity masks, or specific selections of brightness. Edit each mask separately to maintain the brightness of the image.
5. Foreground Processing
Now, most photos of Milky Way don’t just focus on the night sky. Many show a foreground, which could be anything from a campsite to mountains to people stargazing. Either way, we need to perfect the foreground as well, so it doesn’t look like a black blob in comparison to the Milky Way.
There are two main ways you can bring the foreground back to life. The first one is to use an Adjustment Brush in Lightroom to go over only the areas you want to edit.
In the Adjustment Brush options, you can change the exposure and contrast options, so when you pass the brush over the foreground, it is automatically adjusted. Here’s a simple tutorial on using the brush tool to edit only one section of your photo at a time.
Another option would be to create masks before you start editing anything. This method is particularly simple if you have clear lines dividing the sky and the foreground.
6. Lens Correction
Have you ever noticed that your raw images looked slightly warped? Maybe the foreground looks somewhat elongated, or the Milky Way has a different curve than when you photographed it. Your camera lens causes these distortions, and you can fix them with the Lens Correction option in Lightroom.
There is no straightforward Lens Correction for every camera. You must set up the corrections for each camera type that you use and save the templates for future photos of the Milky Way. Check out an excellent tutorial for more details on how to use Lens Correction.
7. Astigmatism Removal
Your camera lens, unfortunately, may further affect your photo of the Milky Way. The curvature of the lens can cause sagittal astigmatism, which blurs some areas on the picture’s border. Because Milky Way pictures include hundreds of stars, this effect can be quite noticeable in stars that appear more like smudges than circular stars.
The process of astigmatism removal is a bit tedious, but the result is worth it. You will want to use the Clone Stamp tool to edit out the smudges around the stars, leaving just the central circle of light in the sky.
The easiest way to do this is by creating a custom brush with a black outer ring and a white center. When using the Clone Stamp tool, make sure to align the white center of the brush over the center of the star to maintain the original star shape.
8. Orton Effect
Now, a lot of your post processing journey is subjective to your taste in Milky Way photography. Photos of the Milky Way especially come in all forms because of the sky’s ethereal beauty. Some photographers prefer more realistic edits, while others want a dreamy glow.
If you would like a dreamy look in your Milky Way photography, try the Orton Effect. It essentially adds a soft effect on your whole image, making it look more like a painting than a photo. This effect is especially prevalent in nature photos and Milky Way photography.
9. Graduated Filter
We’ve already talked extensively about how to get the perfect construct and coloring, but there are still numerous other ways of achieving the ideal look you want.
An alternate way to correct the image’s coloring is to add Graduated Filters in Lightroom. Choose the color you want to apply and the area of the photo, and touch up just one area with incorrect coloring.
For example, if you’ve played with the contrast and balance sliders for a while and you still can’t fix that one area that looks too orange, apply a blue graduated filter to just that area, helping it to blend with the rest of the photo. Learn more with this tutorial on graduated filters.

10. Star Reduction
Our final tip to create excellent Milky Way photography is to reduce “secondary” stars in your image, drawing more attention to the sky. Star reduction also helps distinguish between the hundreds of stars in the Milky Way, giving you a crisp photo.
Star Reduction in Photoshop is relatively simple to do. You want to use the Eyedropper Tool and choose a color range of stars that you want to appear less prominent.
Adjust the Fuzziness level to make sure you only change the desired area. Edit the Feather option and choose 1 or 2 pixels for the radius. Don’t forget to preserve the roundness under the Filter options, and you are ready!
Other Ways to Edit Milky Way Photos
As you may have noticed, some of the tools to edit a photo of the Milky Way are best found in Lightroom, while others are in Photoshop. Because of the different capabilities of the programs, it would be ideal to have both. However, you can use just one application. Let’s take a closer look at some tips for each program.
Lightroom Mobile
If you want to edit your Milky Way photo on the go, Lightroom mobile offers many of the same capabilities as the desktop version. Of course, you won’t get the same precision for close-up editing (like star reduction and astigmatism removal), but you can do a lot of the main editing on your phone.
The main edits, like lighting, contrast, temperature, and clarity, can all be done quickly on your mobile. First, go to the Light option, and you can adjust the Exposure, Contrast, Highlights, and Shadows sliders. Then, under the Color settings, change the Temperature and Tint. Finally, you can adjust the Clarity and Dehaze bars under the Effects option.
While the final product may not be quite the same as a photograph edited on a desktop, the result can still be breathtaking. If you are interested in all the available mobile options, check out this tutorial.
Photoshop Tricks
With all this reference to Lightroom, it may seem like you can’t produce a quality photo of the Milky Way with photoshop. That is absolutely not true. While both programs share a lot of the same tools, each one has its perks to editing Milky Way pictures.
For example, all the color correction can be done simply in Lightroom or Photoshop. To give your Milky Way photo a professional touch, make sure to utilize the graduated filters, lens correction, and color saturation sliders.
Produce Your Professional Photos
Now that you have the complete guide on how to edit amazing Milky Way photos, it’s time to get out there and take some stunning raw photos and practice your editing skills!