
Changing the size of an image in Adobe Photoshop is simple, but you need to take additional steps to preserve the image without losing quality when you make it larger or smaller.
What is Resolution, and Why Does It Matter?
One of the most misunderstood concepts among designers and photographers is resolution. Before we talk about enlarging images in Adobe Photoshop (rights reserved), we’ll have to get a solid understanding of resolution.
The first thing to understand is that a digital image contains many pixels. These are like little square tiles that make up your photo. The concept of pixels is not unlike the idea of many small tiles or stones in a mosaic.
When you hear about resolution in normal conversation (and camera marketing), it is usually about how many of these little tiles exist in a photo. That number is the pixel count.
Pixel counts multiply the width by the height of a picture. For example, if your photo is 3000 pixels wide and 2400 pixels high, it has 7,200,000 pixels (3000 x 2400 = 7,200,000).
In practice, this number gets written as 7.2 Megapixels (7.2 MP). The 7.2 MP is the resolution for the picture in question.
While pixel counts get referenced often, they do not provide the whole story when it comes to resolution.
Pixel Density
Another essential concept when learning how to resize an image in Photoshop is the pixel density of a picture.
Pixel density refers to the number of pixels in a given area. While a rectangle might consist of 7.2 MP, that number doesn’t tell us anything about how tightly those pixels are packed.
How tightly packed the pixels are packed gets measured in DPI (dots per inch) or PPI (pixels per inch).
These two measurements mean almost the same thing, though there is a subtle distinction between them. When the image is on a screen, the correct term is PPI. When in print, the pixels are little ‘dots’ inked by the printer, so DPI is more accurate.
However, over time, this distinction has disappeared, and most people use these two terms interchangeably.
If your image has a 72 DPI resolution, that means there are 72 pixels in every inch. For a picture of 3000 x 2400 resolution, that should be a size of 41 inches by 33 inches. On the other hand, at 300 DPI, the size changes to 10 inches by 8 inches.
Something to note about this example is that the pixel count is the same regardless of size. Both the larger image and the smaller one are 7.2 MP.
In a sense, the pixels get stretched at a lower DPI and squeezed at a higher one. The image at the lower DPI may look more blurry than the one with the higher DPI, even though it’s larger, and they both have the same pixel count.
The numbers 72 and 300 are critical, depending on how you plan to use your picture. If you are planning to share your image on the web, 72 DPI is just fine. In print, you’ll need a higher pixel density of at least 300-350 DPI to preserve the image’s detail.
Digital Resolution
Digital resolution is the pixel count of the screen. Most monitors, for example, have pixel dimensions of 1920 x 1080. 4K monitors have 3840 x 2160, and your average iPhone retina screen will have about 750 x 1334 pixels. An image for a smartphone app, for example, will not need as many megapixels to be clear as an image meant for a desktop or laptop screen.
Print Resolution
While it’s okay to speak of digital resolution purely in terms of the pixel dimensions, DPI figures are especially crucial in printed media. When you are printing a picture for display or using it as part of a printed graphic, you need to consider dots per inch.
The higher the dpi, the better the resolution. Print resolution usually hovers between 240 and 360, though it’s 300 DPI on average.
Image Size Described
Now that we’ve laid the groundwork, we can meaningfully describe image size and density for resizing in Photoshop. You need to describe the image size either in terms of the image size pixel count (such as 7.2 Megapixels) or the image size target size in inches and DPI. Anything else would be too ambiguous.

How to Enlarge Photoshop Images using Preserve Details 2.0
One of the best ways to make increase the image size is Preserve Details 2.0. This tool is a newer one, but it offers more-accurate pixel changes when you make a picture larger.
Here are the steps you need to follow.
Step 1: Select the Image
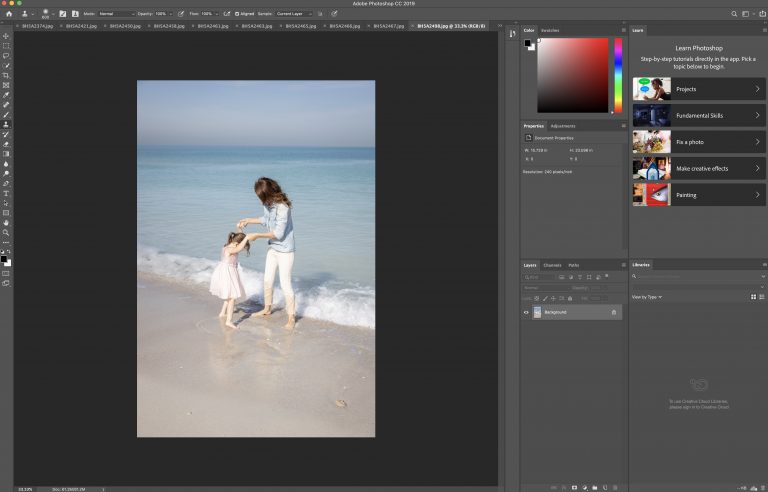
Open the image you would like to upscale in Photoshop.
Step 2: Enable “Preserve Details 2.0”
Preserve Details is in Photoshop 2.0, but it isn’t a default tool. If you’re on a Mac, go to Photoshop CC >> Preferences >> Technology Previews and then check the box labeled “Enable Preserve Details 2.0 Upscale.” On Windows, the path is Edit >> Preferences >> Technology Previews. You then have to check the box.
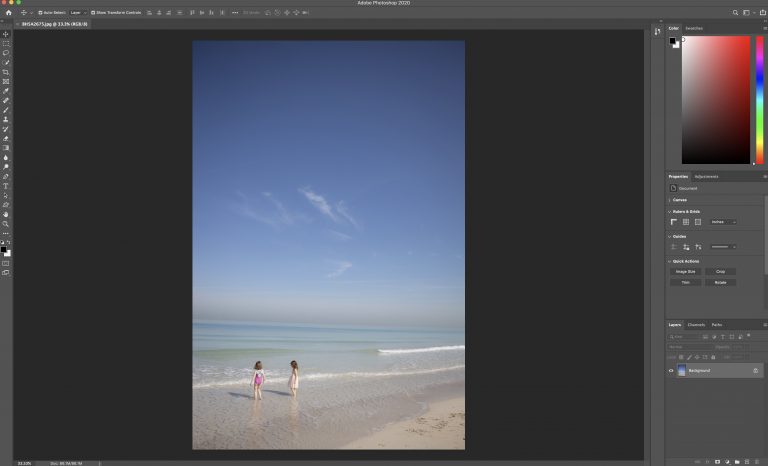
Step 3: Open the Image Size Settings
Click on the Image menu and then choose Image Size to open a dialog box. You can drag the bottom right of the dialog box to see a larger preview of your image.
Step 4: Choose “Resample”
On the right-hand side of the size box are some resizing options. Check the box labeled “Resample”. This step is simply a way to tell Photoshop that we want to add or remove pixels as we change the dimensions of the photo.
Step 5: Change The Width And Height
Enter the dimensions you would like the new image to have in the fields labeled “Width” and “Height.” Width and Height are typically linked together to preserve the aspect ratio of the picture, so changing one dimension will automatically constrain proportions to match the adjusted figure.
Step 6: Change the Resample Method to “Preserve Details 2.0”
When we checked the “Resample” checkbox, you may have noticed that the method was set to “Automatic” by default, which means that Photoshop will automatically choose the appropriate resampling method.
However, since Preserve Details 2.0 is experimental, it isn’t among the options. Instead, Photoshop will use the original Preserve Details algorithm from an earlier version of Photoshop CC.
You have to set 2.0 manually. We first had to enable it to get it as an option. Now we have to select it as the resampling method manually. Click on the method option (labeled “Automatic” by default), and you will see a drop-down menu. Select “Preserve Details 2.0” from the options. You’ll only see it as an option if you enabled it in Step 2.
Checking the Results
Once you’ve selected your resampling method, you should see what your upscaled image will look like on the preview window. You can drag the image around in the preview window to see how the different areas appear when you change the size.

The Difference Between Resampling and Resizing
Resizing and resampling are two terms that can cause quite a bit of confusion. However, they are quite simple.
When you resize an image, you make it bigger or smaller by redistributing the pixels. Remember our earlier discussion about how tightly packed the pixels are? Resizing doesn’t change the overall pixel count; it merely changes the pixel density to make the picture larger or smaller. It stretches or squeezes the pixels to accommodate the new image size.
Resampling changes the pixel count. When you resize an image with “Resample” checked, Photoshop adds pixels as the picture gets bigger and subtracts them as it gets smaller. This step improves the overall quality, especially when upscaling, by preserving the detail of the image. That also explains why the resampling algorithm is called “Preserve Details.”
How Does Photoshop Adjust Pixels During Resizing?
How does Photoshop know where to add pixels and what details to give each new pixel?
The magic word here is “interpolation,” which is another way of saying Photoshop uses algorithms to readjust the pixels when resizing.
Interpolation involves recreating the image when resized, pixel by pixel, and deciding how to add pixels based on what their neighbors look like or, in the case of downscaling, deciding how best to smash pixels together to create a smaller image.
When you’re upscaling an image, Photoshop will fit newly created pixels into the picture. It will decide the color of the new pixels based on their neighbors’ appearance. When downscaling, it will smash pixels together to create fewer pixels and determine how the smashed pixels should appear.
Comparing Photoshop’s Upscaling Methods
Photoshop uses different methods for upscaling. If you choose “automatic” when selecting the method, here are some of the options of what Photoshop could use.
Bicubic Smoother
The bicubic smoother algorithm looks at the 16 surrounding pixels of the newly created pixel and finds their average tonal value. However, the bicubic smoother gives more weight to the 8 pixels closest to the newly created pixel. As a result, it smooths out many of the artifacts created when an image gets bigger.
Preserve Details 2.0
Preserve Details works on a proprietary algorithm that uses artificial intelligence. Think of Preserve Details as using the Bicubic Smoother, but not just blindly performing math calculations. The Preserve Details algorithm factors in the amount of resizing, as well as the details of the specific image, creating a result that is almost impossible to distinguish from the original.
Note, however, that Preserve Details 2.0 works best when upscaling images. If you want to downscale, other algorithms work better.
Stair Step Interpolation
Stair Step Interpolation isn’t a resizing algorithm per se, but more of a clever technique for effectively changing the size of an image. When you want to upscale an image, instead of changing the size dimensions to the final ones, you can scale it up by increments of 10%.
This process seems to improve the quality and sharpness of the image when you’re using older resampling algorithms. It doesn’t seem to be necessary with Preserve Details 2.0, however.
With this information, you should understand how to change the size of an image in Photoshop.