Are you struggling to get the look you want in your camera when shooting in automatic mode? Leave all the frustration of inconsistent photos behind by working in manual mode!
Looking to improve your photography? Just enter any questions you have about improving your photography below and hit send and get answers & feedback instantly - for FREE! Submit QuestionsWhen you shoot in automatic mode, you often get photos that are too dark one minute and too light the next. This will happen even when you don’t change a single setting on your camera. This might not be a problem a majority of the time, but occasionally you can miss out on an important shot you can’t recreate. Don’t fret, you’re not doing anything wrong. Sometimes our cameras make mistakes reading the light conditions around you and over or under compensate. So today we’re going to teach you how to work in manual mode.
What is manual mode on a camera?

Manual mode (M) is a setting on your camera, among automatic (A/Auto), shutter priority(Tv/S) and aperture priority (Av/A) modes. These modes allow you to lock or control various settings on your camera. Automatic mode let your camera make all exposure settings for you. Shutter priority mode gives you control over shutter speed and ISO but locks other settings. Similarly, Aperture priority gives you control of aperture and ISO. Manual mode gives you control over all your cameras settings. You get to choose how fast your shutter is, how much light is entering your camera via the aperture and how sensitive your sensor is to light via the ISO. Don’t be scared by these terms, especially if you’re not familiar with them. We’ve got numerous articles explaining each of them in depth. If you’re too impatient to read those articles, this next section is for you.
What do all these photography abbreviations mean?
What are Aperture, ISO, and Shutter Speed in manual mode?

Aperture
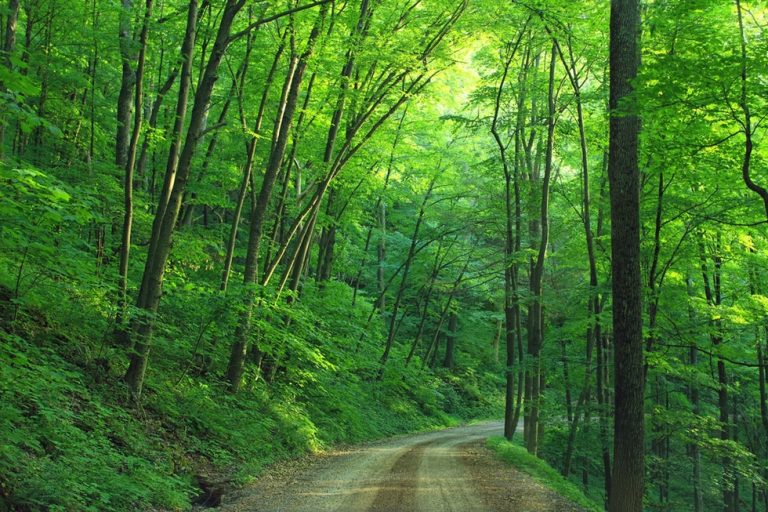
As mentioned in the previous section, aperture controls how much light enters your camera. It acts as a pin hole. The larger your pinhole, the more light gets through the hole and into your camera, and the brighter your photos will be. It is important to remember that larger apertures are represented by smaller numbers (ie 2.8) which means a larger “pinhole”. So how can you use that in manual mode? Let’s use an example of shooting outdoors midday, with full sunlight and no clouds in the sky. If you’re looking for a clear subject with a blurry background, you’re going to need to change your aperture to the largest setting your camera lens will allow. However now you’re going to have a photo that is way too bright. So how do you fix that?
Still not sure what aperture is? Read this article to get more familiar.
ISO
You’re going to need to change the ISO setting in manual mode. ISO controls how sensitive your camera is to light. The smaller the ISO number, the less sensitive it is to light. So in the above example you will need to set your ISO to the lowest possible setting (100) to avoid overexposing your photo. Unfortunately in the bright midday sun you’re still going to end up with overexposed photos. Thus you need to change your shutter speed to completely fix your exposure issue.
Shutter Speed

The shutter speed affects how long your camera sensor is exposed to light. The larger the fraction (ex 1/50 is large and 1/500 is small) the slower your shutter speed is and the more light gets into your camera. To avoid too bright photos in the sun, you need to increase your shutter speed (approx 1/2000) to reduce the time light has to get in your camera.
If you are indoors in a darker room you should do the opposite settings from the example above, with the exception of aperture. You need your aperture to be big (ie 2.8) to let in as much light as possible to avoid dark and grainy photos. Your ISO will also be bigger (ie 1600) and your shutter speed will slow down (1/125). These numbers are a starting point, and you will need to adjust based on the ambient light in your room
Shutter speed 101: the ultimate beginners guide
Should I always shoot in manual mode?

Yes, but also no. When you’re learning to shoot in manual mode, it can become frustrating to determine when and how much to adjust your aperture, ISO, and shutter speed. In these cases there is no shame in switching back to a mode you’re more familiar with. When you’re in a situation where you won’t get a chance to redo your photos if they don’t turn out right (ie shooting the first kiss at a wedding) its okay not to shoot in manual mode. Shoot in a mode you’re comfortable and confident in to make sure you catch the unrepeatable moment right.
More on when full manual mode can do more harm than good.
However, you should practice shooting in manual mode whenever possible. You can’t get better without lots of practice. Manual mode gives you the most consistency in your images, unlike all other modes which often give you two wildly different exposures despite being shot using the same settings in the same location and time of day.
How do you start shooting in manual mode?
Manual mode can seem daunting to newer photographers who don’t have experience experimenting with aperture, ISO, and shutter speed. Thus the best way to ease into manual mode is to actually depend on your camera to tell you the settings. Your camera has a light meter that measures and recommends settings based on the ambient light. When you look through your viewfinder, you will notice the scene in front of you plus a black frame. The black frame will have some measured numbers suggesting which settings to use. Now you input these settings in manual mode and adjust as necessary. This will help you get used to guessing which setting to use in which situations. Even photographers experienced in using manual mode still take a few shots and adjust their settings before starting to shoot photos.
Why are my pictures blurry in manual mode?

The most common frustration from shooting in manual mode is getting blurry photos. Don’t feel defeated if this happens to you. The most likely cause of blurry photos is too slow a shutter speed. This commonly happens when photographing young children and athletes in action, or when there are low light levels. Faster shutter speeds mean the subject has less time to move before the shutter closes. For fast moving children and athletes, you will want to have a minimum shutter speed of 1/500s. When you change your shutter speed in manual mode, you will also need to adjust the aperture or ISO to compensate for the decreased amount of light. I recommend leaving your aperture alone for the most part and adjust the ISO to compensate.
How do I get sharp images in manual mode?
Sharp images start with an appropriately fast shutter speed, but sometimes that doesn’t solve your problem of photos that are not sharp enough. The next thing to check is your autofocus on your lens. Many lenses have a switch on the side allowing you to turn autofocus on or off. Accidentally switching autofocus off will prevent you from getting sharp photos.
The next troubleshooting step is to determine whether you’re using the right focus point. You can tell your camera which point of the scene you want the focus on. If your focal point is in the wrong spot, your camera might focus on a tree behind your subject rather than your model. With the right focus point selected, your image should be sharp. Similarly, when photographing a group of people, you should focus on the person closest to the camera. With small groups, everyone should stand the same distance from the camera, so ask them to stand in a line. With large groups when they have to stand in multiple rows, decrease your aperture to bring as many people in focus as possible. You might have to shoot with an aperture of 8.0 rather than 4.0 to get everyone in focus.
If this still is not working for you, check to make sure you’re not too close to your subject. Your camera lens will have a minimum distance it has to be away from your subject before it can focus on it. If you’re too close to your subject your image won’t be sharp. Take a step or two back to bring your subject back in focus.
So much to learn
Don’t worry if this seems like a lot to learn all of a sudden. Take it in little batches at a time. Try keeping all of our manual mode settings the same, and only adjust one of the three exposure settings at a time. Move from light areas to dark ones and see how your camera’s shutter speed needs to change to compensate for this. Before you know all the practice will pay off and you can walk into a dark concert hall and know before you lift your camera that your ISO needs to be at least 3200 to get properly lit photos!