
Creating the perfect level of white balance and colors with your photos is easy to accomplish with Photoshop by using some of the vital tools available and following our recommended steps. It’s not always possible to get ideal lighting for every photo, and becoming proficient at colors correction can massively improve your photography and help you stand out in your community.
We’ll cover a couple of quick topics related to hue balance and the tools provided by the Photoshop software. Then we’ll explore convenient methods for locating colors adjustments within each image, adjusting the white balance in Photoshop of each image, and editing the hue balance of an image with Lightroom, Elements, and Photoshop.
What is White Balance?
White balance is a process where the lighting or color cast within a photo is adjusted to give a more natural overall color. Adjusting the hue balance of an image allows light-colored objects to appear with their true hue, which is also called “color temperature.”
Light can have different levels of warmth or coolness, which means a light source or other light-colored object can have a colors temperature that reflects the level of blue or yellow casting. The human eye can detect many different levels of white under varying light sources, so adjusting the white balance of your image can not only make it more true to life but more enjoyable to view.
White balance is also a setting on most professional cameras, and while it can be a bit tricky to use on various settings, it can cut down on the number of adjustments you’ll need to make to the image later, which can save you valuable post-processing time.
In specific circumstances, you may be able to adjust the hue balance of photos in batches using Photoshop. Still, it is often best to edit an individual image in photoshop for the best overall colors balance.
Why are Light and White Balance Important?
Using the white balance settings on your camera can ensure you capture shots with true colors, or as close as possible, regardless of the lighting quality or type. When correctly set, the hue balance settings can help eliminate weird tinting or colors casting on part or all of your image, which can lower its quality and realism.
An image that needs colors correction due to uneven or poorly managed hue balance will appear unnatural, or as if a filter was applied.
There are several tutorials online that can walk you through the specific camera settings for your specific device, and it’s worth looking into these to ensure you get the best possible shot before attempting to edit with a program like Adobe Photoshop.
Adobe Camera RAW
Adobe Camera Raw is a plug-in that allows users to import and edit raw images. This tool has been around since 2003 and works with software such as:
- Photoshop
- After Effects
- Photoshop Elements
- Bridge
You’ll also find that Adobe Lightroom offers similar raw image processing that is very powerful, and it is also what makes Adobe Camera Raw so powerful. Many tutorials exist online that shed some light on this powerful tool and its many features.
You can find a complete list of cameras that support Camera Raw, and there is also a list of supported lenses. If you have Camera Raw 2.3 or later, the program will also support the Digital Negative (DNG) format, which is publicly available thanks to Adobe.
Using a Gray Card
A gray card is a device that helps a photographer adjust the hue level setting on their camera, so it consistently compensates for any color casts or other color equilibrium issues. This card serves as a reference point for your image and allows you to get a more accurate color balance by modifying the settings manually.
Using a gray card is a natural process, and it can make product shots or portraits appear more true to life both inside and outside. This highly transportable item can also help you set yourself up for the best exposure in any environment and make other small adjustments to the focus or settings.
If you don’t already have one, many tutorials can help you find out how to use this device specifically for your type of photography.
What is a Color Checker?
A color checker is a useful tool for reducing colors casts, and many tutorials can show you how to use this for double-checking colors balance as you work with your camera.
The perfect color is often hard to achieve, but correctly setting your camera’s hue balance is easier to do with a color-checker that helps you replicate the true colors of what’s within your image, including skin tones, and colors like black and grey.
When it comes to colors checkers and achieving true to life colors balance, there are many options, and this tool can improve the colors balance with any shot and make altering your camera settings a quick process.
Several variables affect the color cast within your shots, and these include your camera and the balance setting, your lens, and the lighting you use for your photography. Each camera interprets color differently, which means that you’ll need to work on improving the color cast within your photos or spend more time with photoshop doing editing.
Your lens may also impact the color in your shot, and many different lens options provide varying levels of quality and saturation. A lens made from a cheaper kind of glass may change the coloring of your image, while higher quality lenses are perfect for minimizing this issue but are often costly.
For many photographers that shoot raw, hue leveling is less of an issue if you use the right color equilibrium settings from the beginning. Most cameras aren’t able to choose the best white balance setting on their own, so it’s best to select the option yourself and pair it with decent quality lighting instead of cheaper or low-quality lights.
How to Correct White Balance in Photoshop
Once Photoshop is open, you can navigate to “Filter” and then “Camera Raw Filter,” where you’ll select the white balancing tool on the toolbar at the top. Create a fresh layer, and click on “Edit” and then “Fill” so you can fill that layer with a 50% gray color. From there, you can set the mode for layer blending to “Difference” and add a “Threshold Adjustment Layer” set to 10-15.
At this point, you should see black spots, and you can use the eyedropper tool to select one of these spots to help get the best possible color correction. You’ll then want to delete the “Threshold” you set earlier along with the 50% grey layer and create a new “Curves Adjustment Layer.”
Select the middle or gray eyedropper tool again and zoom in if needed to get a sample of the target and click. This action will then equalize the color using the gray spot as a reference point.
Color Temperatures
To achieve the best image, it’s best if you don’t rely on any kind of software entirely, and instead work on modifying settings on your camera and follow specific lighting tips. While it’s possible and somewhat easy to adjust the hue level in photoshop, doing the best you can with your camera and lighting options during the shoot is preferable.
It’s unlikely the lighting will be perfect, but taking the time to work on the hue level of the image, and consult relevant tutorials during the shoot, will make the result better looking.
Camera RAW
Removing color casts and achieving excellent white balance in Photoshop is an easy process once you have your image. You’ll want to open your image using the Camera RAW editor, and then you can navigate to the “White Balancing Tool” from the top menu.
This selection will allow your mouse pointer to change to the “White Balancing Tool,” and you’ll be able to make changes using a neutral gray area in the image. If there is no neutral gray area for you to use, you can find a white space and click it with the mouse pointer.
Once you have clicked, this will automatically correct the hue leveling in the image, and you’ll be able to adjust it further by clicking on the “basic” tab and navigating to the “Camera Raw” dialog box. After that, you can use the “white balance” menu that drops down and select one of the presets available.
Types of Light and White Balance
Outside of your camera, lens, and the settings you use, lighting is the most crucial variable to consider in photography. There are several tutorials online that can help you perfect your lighting techniques, and we’ll go over a few different lighting options and how they impact color cast issues, and white balance.
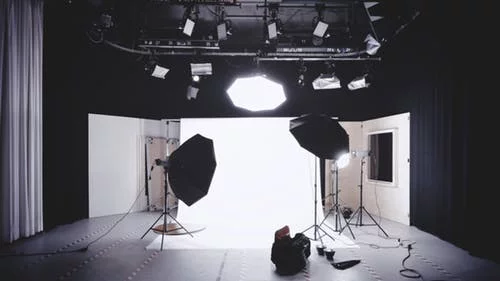
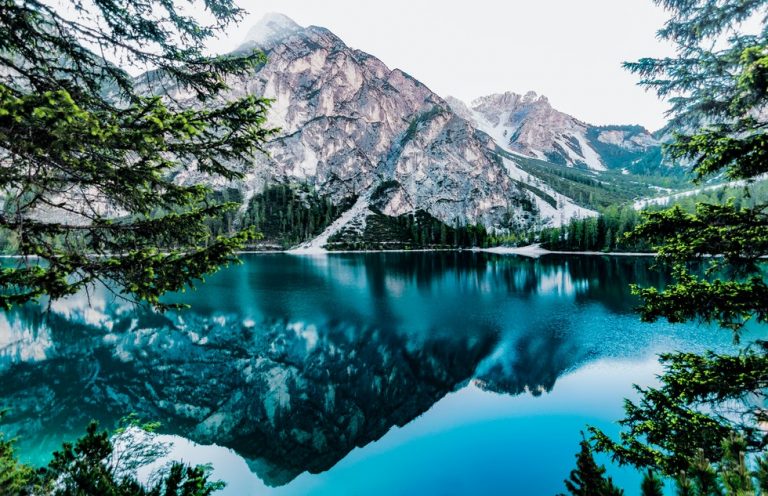
Photo by alexander-dummer Licensed Under CC0
How Tungsten Lamps or Incandescent Lamps Affect White Balance
Tungsten lamps are similar to the incandescent bulbs that you likely had in your home in the past. One vital difference is that they use pressurized halogen gas inside the lamp. The bulb itself uses a higher quality of glass with greater strength called aluminosilicate glass.
The halogen gas trapped inside creates a cycle that redeposits tungsten metal onto the filament once it has evaporated. Tungsten bulbs are a close match when it comes to the warmth provided by incandescent bulbs, and they are dimmable and produce a full spectrum of light that ranges from infrared to almost ultraviolet.
This spectrum range creates a high level of color stabilization; however, the lights can cast warmer colors when dimmed, and you’ll need to use gels to correct the color.
Tungsten bulbs offer near-perfect hue leveling and are low cost. Incandescent lamps can also be used in a pinch and will provide equal color equilibrium and cost. Tungsten lamps have a longer life than an incandescent bulb and also come to full brightness instantly while an incandescent will need a few moments to warm up.
It’s also worth noting that both Tungsten lamps and incandescent lamps are dimmable and have a long life, but neither uses mercury, like mercury vapor lights or CFLs.
Tungsten and incandescent lamps both get incredibly hot, which makes them a fire hazard in your studio and also a safety hazard. These bulbs are hot enough to burn your skin and require a lot of power to run in exchange for their brightness.
Another disadvantage of Tungsten bulbs is that they cannot be touched as their surface is somewhat sensitive to oils. It’s also possible for this type of lamp to explode outwards, sending hot shards of glass all over the place, and a screen or another layer of glass can offer valuable protection for users.
Incandescent bulbs don’t have a reputation for exploding, but they can fail without warning or when bumped around as their filament is somewhat fragile. These bulbs are often less bright than Tungsten but share the same power requirements at comparable brightnesses.
How Quartz Lamps or Halogen Lamps Affect White Balance
Halogen lamps have several names, including tungsten halogen, quartz-iodine, or quartz-halogen. These lamps are essentially an incandescent lamp with a tungsten filament and filled with a small amount of halogen gas, such as iodine or bromine gas. The combination produces a cyclical chemical reaction
Quartz lighting or halogen quartz lighting is relatively inexpensive, and you’ll find them useful when high levels of color consistency or brightness are essential. These bulbs don’t have a color drop off over time like other Tungsten equivalents, and these lamps are ideal for photography of non-perishable items, or interior architecture.
If you are using actual film for your photography, it’s worth checking out a tutorial online for how to use a filter with this type of light for ideal coloring. For digital cameras, selecting a simple setting is all that is needed, and accessories like softboxes and various stands are also inexpensive.
Quartz and halogen lamps are very hot and have earned the name “hot lights” for these heating capabilities. This extra heat might not be a big deal if you’re on a chilly set, but for regular still photography of food items, it can cause some problems.
Keep in mind you’ll likely need additional filters if you are using real film, and you may need to increase ventilation while using these lights to keep your subject more comfortable.
How Fluorescent Lamps Affect White Balance
Fluorescent lamps use low-pressure mercury vapor and are more efficient than your typical incandescent light. This type of lighting can produce up to 100 lumens per watt and is similar to other super bright lights but without the power requirements, or heat emitted.
Fluorescent lights contain mercury vapor that produces ultraviolet light. This ultraviolet light causes the interior of the tube to glow because of the phosphor coating inside, and it’s this reaction that gives off visible light.
The visible light emitted will vary depending on the mix of phosphors used inside the tube, and it will create much different lighting than an incandescent in terms of color. The color temperature of fluorescent lighting ranges from 2700K to 6500K, and you’ll often find several tubes combined in a row within a lighting fixture.
Fluorescent lamps offer a high level of efficiency and produce lighting that is soft and more even than other lamps. This type of lighting is also relatively compact and runs cooler than other lamps.
These lamps don’t need much power to run, and their low cost and long life make them an excellent option for budget-conscious photographers. These lamps can cast lighting over a large area and are lightweight, which makes them ideal for travel.
Flickering is a problem with these bulbs, and in some applications like filmmaking, using electronic ballasts is a common tactic to eliminate flickering.
Fluorescent lighting is available for residential applications, but these may cast poor color compared to higher quality lamps designed for commercial use. Look for lights that have an excellent Color Rendering Index (CRI) for ideal results.
The Three Steps to Change White Balance in Photoshop
Our tutorials for locating the black, grey, and white point in your image can help you add valuable contrast that adds realism and true-to-life colors.
Just because you missed the feature for hue stabilization on your camera doesn’t mean you missed the whole image and Adobe Photoshop can help you achieve the perfect level.

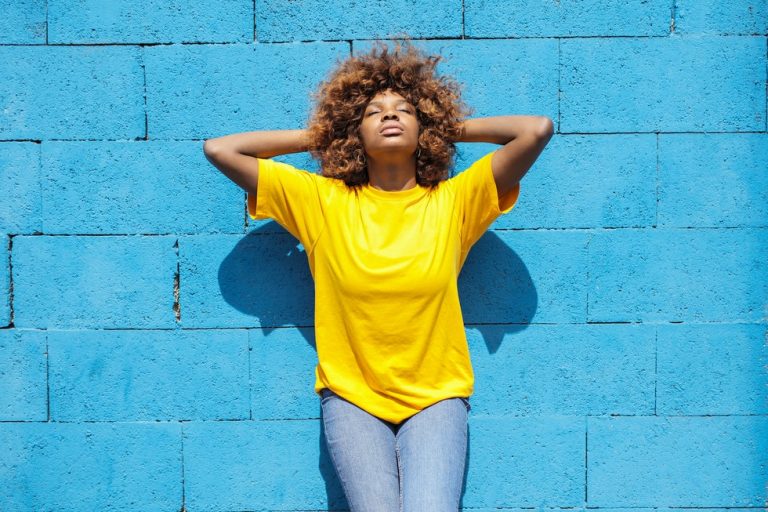
Photo by kaiquestr Licensed Under CC0
Step 1: Set the Black Point
Locating the blacks is somewhat of an art and is subjective from image to image. Accurately locating and positioning the black point on your image will add excellent contrast without impacting the other colors in the image. There are a few options for achieving this, but if you follow the method using the eyedropper, you may cause color changes you didn’t intend.
Instead, you can set blacks in Lightroom by using the Black slider located in the develop module. This feature is one setting available from Camera Raw, and this slider allows for blacks to be set in Aperture using the Black Point slider under the Exposure menu.
Step 2: Set the White Point
Locating the white point in Photoshop once you have an image selected is simple and starts by creating a new fill or adjustment layer by tapping on the icon. You’ll then select “Threshold,” and a dialogue box will appear with a slider that you can move until white areas appear. You can then choose a white area using the color sampler tool and create a new curves adjustment layer.
After that, you can delete the “Threshold” layer you created earlier and click on the upper layer, so it’s active. Using the eyedropper from the “Curves” dialog box, you can select the white point that was created and click on it to set the white point.
Step 3: Set the Gray Point
Locating the grey point is just as easy as fixing the white or black point, but there are a couple of additional steps to follow. You’ll start by selecting an image and adding a new layer to it in Photoshop. Then you can open the “Fill” dialog box and fill the new layer with 50% grey.
The blend mode should set to “Difference” at this point, and you’ll add a “Threshold Adjustment Layer.” To add this layer, you’ll click on “Create a new fill or adjustment layer” and select “Threshold,” which will open a dialogue box with an adjustable slider you can move to the left side.
When you drag the slider back to the right, grey spots should appear, and you will need to locate a genuinely grey area before using the “Color Sampler Tool” to set a point in that area. With that complete, you can create a new “Curves” layer from the adjustments panel by selecting “Layer” and then “New Adjustment Layer” and “Curves.”
With this new layer in place, you can then delete the previous “Threshold” and “Fill” layers, so only the uppermost layer is active. Select the grey point eyedropper tool from the “Curves” dialog box and locate the “Color Sampler” point you made earlier and click it to set that grey point.
Ways to Adjust White Balance in Photoshop
Many tutorials exist for setting white balance in Photoshop, but we’ve rounded up your options using different steps so you can enhance the white balance in Photoshop of your photography quickly.

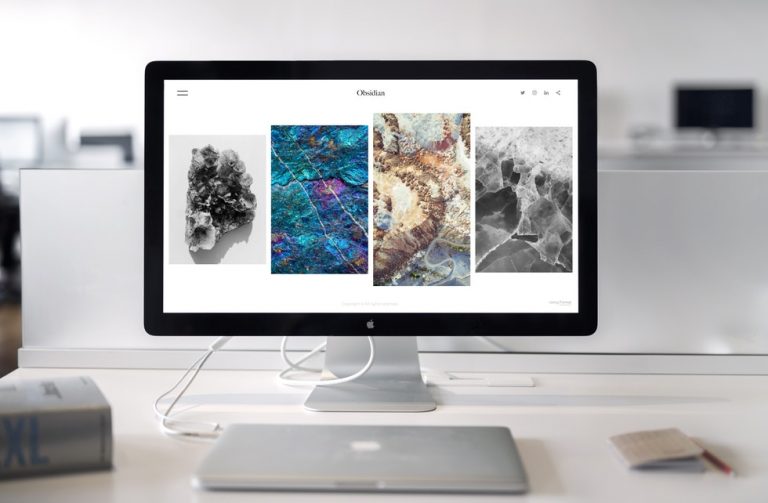
Photo by tranmautritam Licensed Under CC0
How to Adjust White Balance Using a Levels Adjustment Layer
To adjust tonal levels with Photoshop, you’ll either click on the “Levels” icon located on the “Adjustments” panel or choose “Levels” from the menu panel. You’ll then select “Choose Layer” and “New Adjustment Layer” and click on “New Levels.”
At this point, you have some options for editing multiple colors channels at the same time or adjusting only specific colors tones, but you can also adjust shadows and highlights using the slider.
How to White Balance Using a Curves Adjustment Layer
For Curves adjustment, changes made with Photoshop focus on specific points within a select tonal range. Within this range, highlights and shadows are added and accentuated, clicking on the “Curves” icon, and then adding a “New Adjustment Layer” and select “Curves.”
On the properties panel, there will be at least four different options to choose from at this point, including adjusting the curve manually or selecting a preset. The last steps are optional and allow you to further modify the adjustment by adding more points, change specific parts of the image, or moving the sliders for positioning the black and white points.
How to Adjust White Balance in Photoshop Using a Color Balance Adjustment Layer
This method allows for the colors used within your photography to change for somewhat generalized colors correction when using Photoshop. On the “Channels” panel, you’ll select the “Composite Channel,” which is a command that is only available when you see the “Composite Channel” menu.
You’ll then have two tasks: click on the “Color Balance” icon located in the “Adjustments” panel, and choose to create a “New Adjustment Layer” then select “Color Balance.” Then click on the “New Layer” box and navigate to the properties panel to select the tonal range where you want the changes within your photography.
There are options to select “Preserve Luminosity” to freeze those values, and a slider allows you to increase or decrease the hue level as needed.
White Balance On a JPEG in Photoshop, Elements, and Lightroom
Lightroom, Elements, and Photoshop are all well-known photography editing apps that also have large communities of users posting content online. This community is an excellent place to find answers to specific questions, but we’ll talk about editing the hue level using all three types of software.
Photoshop, Elements, and Lightroom are all somewhat unique, and the level of detail contained within the menus directly impacts your experience editing photos. Many individuals like how some adjustments are automated, such as the white balance feature within Elements, but others will want to perform manual adjustments, and Lightroom and Photoshop provide this level of detail.
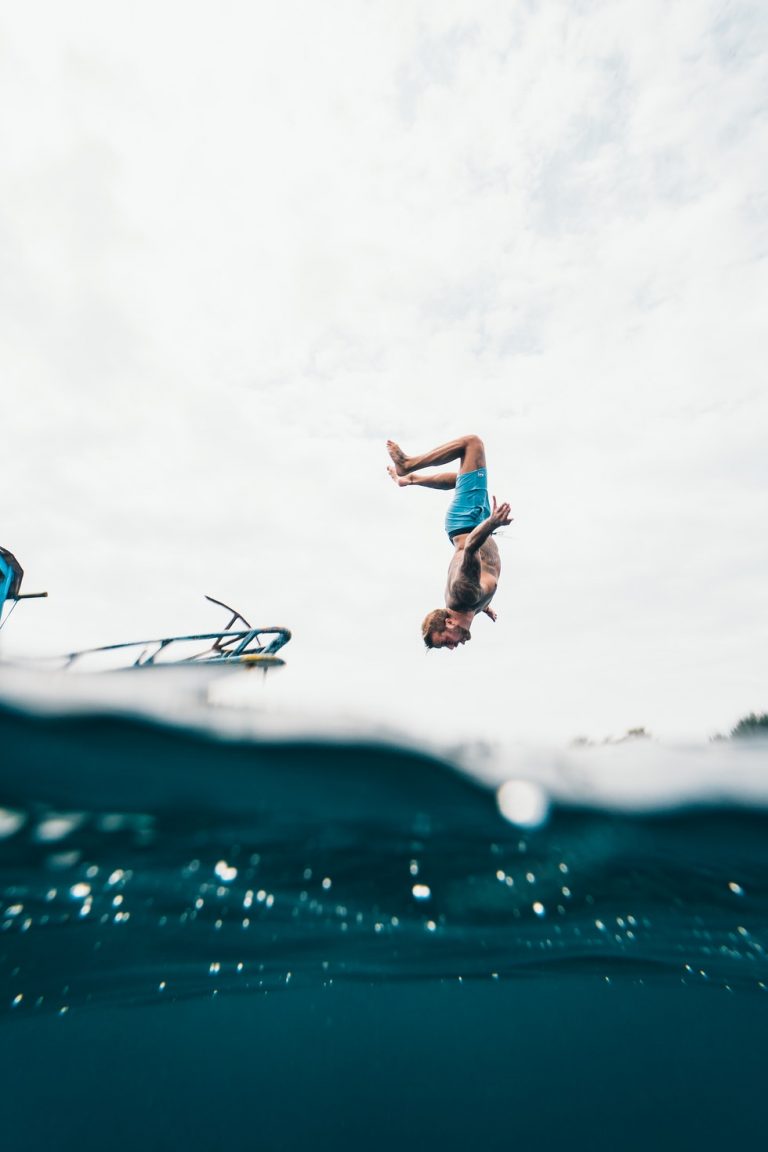
Photo by matan-segev Licensed Under CC0
How to Edit White Balance in Lightroom
Lightroom offers a variety of tools for editing white balance, and to see what is available, you can open an image within the “Develop” module of the software. You’ll find the “Basic” panel near the top, and there will be all of the white balance tools at your disposal.
Using Lightroom, you can make adjustments to different file types, including raw, and many of these settings will look similar to what appears on your camera. For a JPEG image, you’ll use the options shown on the right, and you should see sliders for “Temperature” and “Tint,” but the units of measurement will differ between raw images and a JPEG within the Lightroom software.
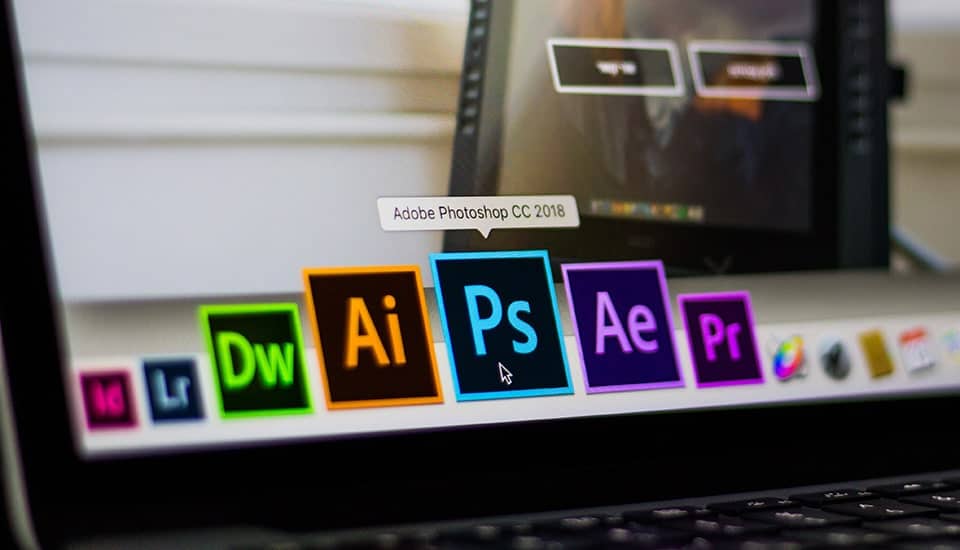
How to Edit White Balance in Photoshop
Editing the white balance with Photoshop 2019 or any other version is relatively straightforward, and you can adjust photos that are both raw and JPEG formats. It’s also possible to batch together photos and adjust the white balance by using presets or customizing presets for photo editing batches.
Camera Raw is a plug-in that you can add to either Photoshop or Lightroom, and it allows you a more significant number of tools for working with raw images. This tool isn’t really necessary for JPEG images, so you likely won’t use it there, but you don’t need to convert your JPEG images to raw formats either.
There are two ways to make adjustments to a JPEG with Photoshop, and the first method is to select the image, navigate to the “Adjustments,” and select “Color Balance.” There you’ll find sliders for different colors, and you can move those sliders to alter the hue balance within your image.
The second way is to use the “Curves” feature, and add layers to the image, which allows you to make a more precise adjustment. This technique will enable you to set reference points not just for the white balance but for black and gray as well, which is very handy when your image needs more excellent contrast, and there’s not much white involved.
How to Edit White Balance in Elements
Using Photoshop Elements, you can open a JPEG and click on the “Enhance” menu at the top before clicking “Adjust Color” and finally “Remove Color Cast.” While this method may seem similar to editing the hue level with Photoshop or Lightroom, there are also some differences.
Once you’ve clicked on “Remove Color Cast,” you’ll see a dropper tool instead of the mouse cursor that you can use to click on different parts of the image that should be pure white.
Examples of these areas include clouds near the horizon or teeth, but parts of the image that are off-white should not be selected. Once you click, the tone of the image will change, and the white balance will adjust automatically.
This process doesn’t leave as much customization as other methods, but you can click around until you get the result that you want. There is also a shortcut called “Quick Fix” that corrects colors casts with fewer steps and appears within the upper right-hand corner.