Are you interested in taking professional catalog photos? What about high-quality pictures for your online store? If so, a light box (also known as a photography tent) is a must-have accessory for achieving a shot worthy of a place of honor on your website.
Looking to improve your photography? Just enter any questions you have about improving your photography below and hit send and get answers & feedback instantly - for FREE! Submit QuestionsWhat Is a Light Box?
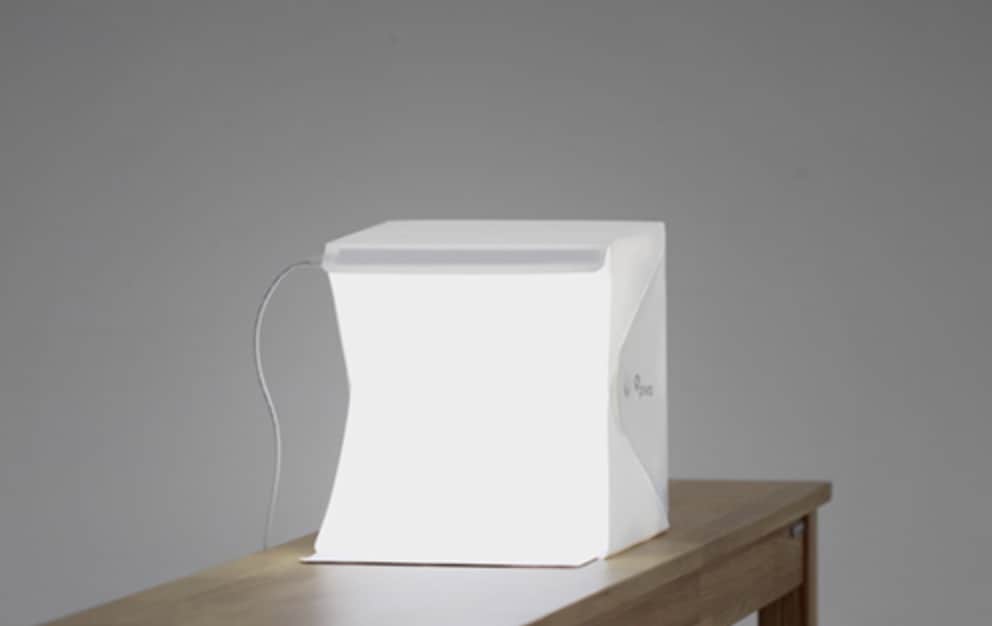
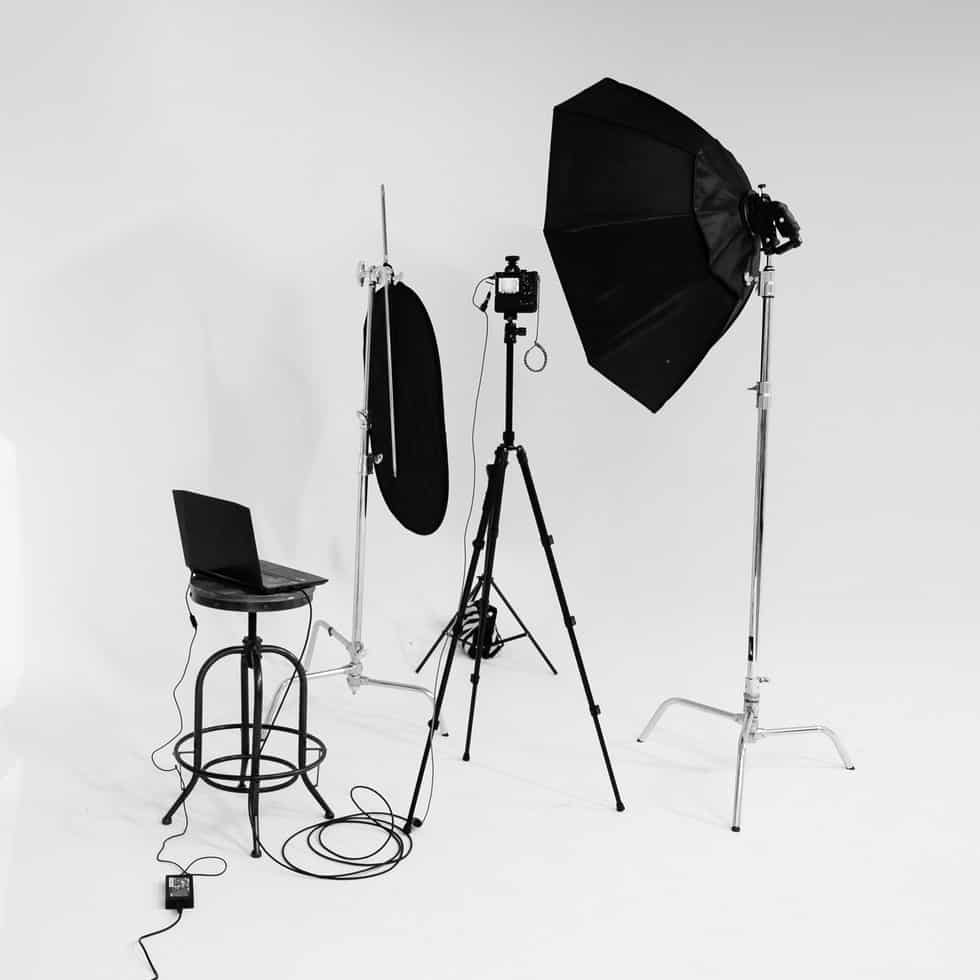
Light boxes are used to produce sharp images against a white background with no shadows. They create this effect because they have semi-transparent sides, which help diffuse natural light and avoid harsh shadows. Shooting in a light box gives your photos that magazine-like effect that you’re used to seeing online.
But despite being a relatively simple accessory, to light your photos with one will set you back a few bucks. Some people prefer to make a DIY light box instead by using cardboard, especially if they’re new to photography and just want to get their feet wet. A homemade version cuts costs, is easy to make, and does the same job.
Read on to find out how you can make your own light box for photography if you’re ready to start using this smart accessory. We’ll also go over some helpful tips on how to set up your camera for the best results, as well as how you can improve images in post production.
Making a DIY Light Box with Natural Light
We’re going to start with the most straightforward light box for photography. It’s the perfect light box for beginners who want to get their start using this accessory. Why? Because the only light you need to use it is the light that’s around you.
We’ve got even more good news: you probably already have the materials you need to create it somewhere around your home. It’s so simple that your photography will be benefiting from this new tool in less than thirty minutes.
Let’s get started.
What You Need
First, make sure you have all the materials required to create this DIY light box. Here’s what you need to have on hand:
- A large, sturdy cardboard box (it should be at least 12 inches square, but you may want to find something larger depending on the size of the products you’ll be shooting)
- Scissors
- A utility knife
- A white sheet paper
- Baking or wax paper
- A ruler
- Glue
Steps to Follow
Follow these steps to create your very own light box.
Step 1: Start with the Cardboard
Gather your cardboard box, and based on its size, determine how you want to orient it. The most important part of this step is figuring out which side will be the front.
Once you’ve identified the proper orientation for your box, take your X-Acto knife and cut a vertical line straight down the middle of the front side (where you will be able to look in and see the object you’re photographing). This step creates flaps that are the “doors” of the light box.
Step 2: Make Your Markings
In step two, we want to mark a square or rectangle (depending on the box size) on the sides of the box. These markings will become a cutout that we will later cover with wax paper. To make the cutout, locate your ruler and use it to measure two inches from the edge of the sides of the box, making multiple markings on all the edges.
Once you have several markings, use your ruler to connect them. At this point, you should be looking at a square that has a border of about two inches. The border is essential because it will allow you some space to attach the wax paper and help maintain the structural integrity of your box.
Repeat the process on the other side of the box and the top as well. Leave the back and bottom of the box alone—you won’t be cutting these areas.
Step 3: Start Cutting
Grab your X-Acto knife, and use it to (carefully!) cut out the squares you’ve just marked on these three sides of the cardboard box.
Step 4: Attach the Wax Paper
Cut the wax paper so that it’s a little bigger than the size of the holes you’ve just created, as you’ll be attaching it to these three cutouts. Take glue (you can also use tape if you prefer), and secure the wax paper to the box.
Step 5: Insert the Paper
Take the white sheet of paper and put it inside of the box. The paper will be your background, so take care to place it properly. Avoid creasing, wrinkling, or otherwise damaging the paper, as these imperfections will be highly noticeable in your photos.
Step 6: Start Snapping
Grab your camera and start using your DIY photography light box in photography! Yes, that’s it—you’re ready to go. Here are a few tips for using your new DIY light box:
- Look for a well-lit area to place your box
- An ideal place is to position the box with its back near a window
- Try to get the light coming in as evenly as possible on both sides
- You can use the flaps and white poster board to help you get the most natural light available to you
Making a DIY Light Box Using Light Bulbs
While the natural light method of making a DIY light box is incredibly easy, it does have limitations. Your photography sessions are dependent on natural light, which isn’t always available with this method. And sometimes, it’s hard to get the even light that we mentioned in step 6 on both sides.
If you’re facing some of these issues with your light box photography, there’s a simple solution—and yes, it’s a solution you can add to the DIY light box from the previous section. All you have to do is place lamps on either side of the box, which will even out the light. This easy fix allows for greater control over your shooting conditions.
One critical thing to note: make sure that the bulbs in your lamps are the correct color scale. The goal in light box photography is to achieve bright, white colors. However, many bulbs are designed for interior use, and they tend to be on the warmer side. This warmth is ideal for creating a cozy home environment. It’s less than ideal for photography, as it can make your shots come out weirdly yellow.
To avoid this yellowish hue, look for bulbs with a more neutral color. This information is easy to find on the packaging. You can also make use of your camera’s white balance settings to match the light’s intensity. The daylight weight balance setting matches 5400K bulbs, for example. And another way to adjust white balance is in post-processing. Just make sure you’re shooting in RAW, which allows you to change it later easily.
Making a White Box Flash Diffuser
Another useful photography tool is a white box flash diffuser. Using it helps you avoid overexposing your subject or creating harsh shadows behind them—common issues photographers run into when using flash. Additionally, it’s an ideal alternative for photographers who don’t like using LED light in their light boxes.
Aside from adding another weapon to your photography arsenal, making a white box flash diffuser is incredibly easy and requires very few materials. Here’s how you can create your own in no time flat.
Materials
You’ll need just four things for this quick DIY. They include:
- A white storage box. It should be made of plastic and translucent
- White sheet of paper
- Two speed lights
- One speed light transmitter
Steps to Follow
Step 1: Position Your Box
Position the storage box on its side. The opening should be facing you and the camera. Put a white sheet of paper inside of the box, which will function as your background. You can also put a poster board on the back or the bottom.
Step 2: Figure Out Your Lighting
Set whatever your subject is inside the light box, and check to make sure the speed light exposure and positioning are optimal. Then you’ll want to sync your transmitter with both the speed lights and your camera.
Step 3: Pick Up Your Camera
Take your camera, start your session, and enjoy your simple lighting hack! See? It really is this simple!
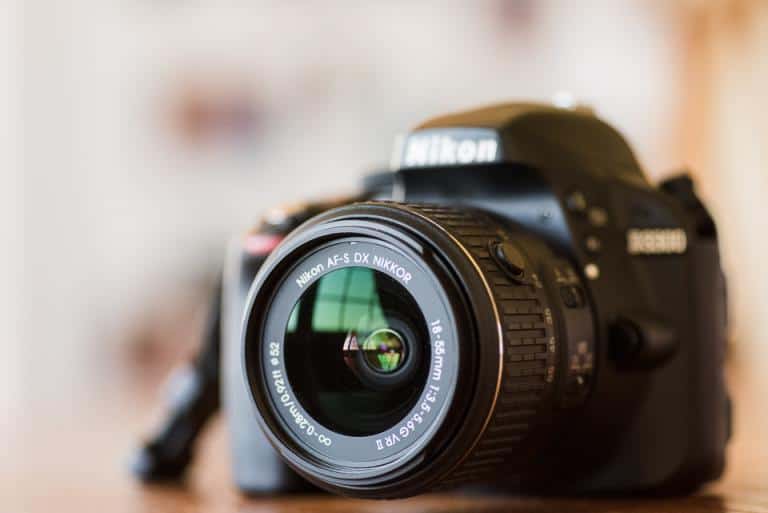
Camera Settings
While a light box is a necessary accessory for taking product images, it’s just one part of the equation. Your camera–and the proper settings–are an even more critical part of getting a shot you like with your DIY light.
So what do you need to adjust before pressing the shutter button? The exact setting you’ll use will depend primarily on what product/subject you’re photographing and what you want to achieve with the image. But here are general settings to either use or pay attention to to help your light box photography turn out fantastically:
- Manual Mode
- Raw
- ISO
- Shutter Speed
- Aperture
Let’s take a closer look at these settings.
Use a Tripod
If you don’t already have one, a tripod is another indispensable tool that will help you see the results you want. Without a tripod, it becomes challenging to use longer shutter speeds–a useful tool in photography–and get clear pictures. Every time you go to use your handy DIY light box, you should also be utilizing a tripod.
And of course, a tripod is only useful if you’re taking pictures the right way. Pressing the button can cause camera shake, so you should use either a 2-second timer or a shutter release to take the images. Otherwise, you might find that despite your best intentions, your photos are coming out blurry.
And one final thing to pay attention to achieve clear images? Make sure you turn off features like image stabilization or vibration control if your lens has them.
Aperture Settings
Now let’s talk about aperture settings. Using aperture priority mode (with ISO set to 100) is a excellent place to start. But the aperture setting you choose will depend on what kind of image you want, and it will be different across varying types of product/object photography.
For example, if you’re shooting smaller items, such as crafts, jewelry, or anything you want the viewer to focus on entirely, you should use a narrow aperture, such as f/22. A narrow aperture focuses sharply on the item, and it gives you a wider depth of field.
However, you may want to have a shorter depth of field with more blurring. A wider aperture, such as f/1.8, does just that. This technique is popular for food bloggers, as it helps make their dishes appear tastier.
And finally, the exposure compensation will depend on your background. We recommend using +1 for white backgrounds, while black backgrounds need -1.
Other Light Box Photography Tips
The goal of using your DIY light box for photography is to make your shooting as attractive as possible. A good photo inspires confidence in your product and helps sell it. Here are a few more tips and tricks to create the impact you want on your website or blog.
Lighting
Tip one is about lighting. It’s often tricky to get right, but when you nail it, you’ll see beautiful results. Good lighting also helps you in post-processing.
If you’re utilizing natural light, pick a spot that has plenty of it. And if the light is harsh, even if the object you’re shooting is protected by the white poster board of your photography light box, you can diffuse it by placing cloth or white paper on the window.
If you’re using lamps, they should be directly opposite each other on their respective sides of the box. Play around with the angle and distance until you get it right. Putting white paper or cloth over the lamps can help diffuse the light and avoid harsh shadows.
Backdrop
Your backdrop, whether you’re using white paper or poster board, must be pristine. Avoid using any paper or poster board with wrinkles, creases, dust, or any other imperfections. These details will show up in the final image and are difficult to eliminate.
Position of Subject/Object and Lamps
When it comes to finding the ideal position for your subject, a little experimentation is generally the name of the game. A pretty fail-proof way to start is by placing the object dead center inside the box.
Remember that the shadows will change depending on where you place the subject in the box. They will also vary according to how you’ve decided to position the lights.
There is no right or wrong answer here, as the proper placement will often depend on the light conditions. Just make sure not to place your subject too close to the cardboard box walls. And we do recommend leaving some room between the product and the box edges, which will give you some margin to experiment with zoom.
Pay Attention to Ambient Lighting
Ambient lighting is another factor to keep in mind. Specifically, you should avoid letting direct sunlight hit the lightbox, which creates a harsh effect. It also makes it harder to balance your photos later.
Tools for Editing Your Product Photos
One common issue photographers face when using lighting box photography is the tradeoff between ensuring their subject is adequately exposed or having a completely white background. Getting this balance right can be pretty tricky, and photographers often rely heavily on post-processing to fix errors.
The most popular tools for editing photos are Lightroom or Photoshop, but there are also plenty of freebies you can take advantage of.
Editing Presets that You Can Use for Free
- Photoshop texture. Photoshop has tons of textures to choose from, and you can use them as the background for flat lay photography. Textures help lighten the photo, or they add interest without taking the focus away from your products.
- Canvas. Similarly, Canvas has lots of free textures that you can swap for your backgrounds to achieve the look you like.
- Product Clarity in Lightroom. This freebie allows you to correct white balance quickly. It’s also fantastic for removing yellow and green tones from photos.
- Product HDR in Lightroom. Use Product HDR for photographs with bright colors and no noise.
Free Photo Editing for Your Product Photos
Not ready to commit to the price of Photoshop and Lightroom? We get it. Thankfully, you can use plenty of free alternatives until you’re prepared to make the commitment. Here are some of our favorite ones.
- Gimp. Gimp is quite similar to Photoshop and allows users access to many of the same functions. It can be a bit unwieldy to navigate, but that’s the tradeoff to use this free platform.
- Sumopaint. Sumopaint is an excellent option for working with masks and layers as you would in Photoshop.
- Pixlr. Pixlr is an online photo editor. If you need to correct white balance or work with saturation on product photos, it could be the option for you.
- Raw Therapee. With Raw Therapee, you get necessary photo editing capabilities, like the ability to clean up shadows and improve photos with poor light.
- Polarr. We haven’t forgotten the smartphone user. Polarr allows you to correct the color of photos that come from a mobile device. It has cropping and filters available, too.
Final Thoughts
We hope you found this guide on how to make a DIY light box helpful. Given its utility, we consider a light box to be a photography tool worth investing in—or DIYing, as it were. Even having one simple DIY light box can elevate photographs of small objects.
So give your sales photographs or blog pictures the refinement that you want to inspire trust in your customers. And most importantly, have fun experimenting with your new light box. You’ll be amazed at how such a straightforward DIY can have such amazing results.

![Personal Branding Photography Basics [Complete Guide]](https://colesclassroom.com/wp-content/uploads/2019/06/adorable-adult-beautiful-774095-768x512.jpg)