
Have you ever seen a photo that makes you instantly jealous of the model’s eyes? Well, believe it or not, most of this is due to post-processing using eye Photoshop – and it’s effortless to do yourself! If you’re wondering how to make eyes pop in photoshop eye, we’ll teach you how to do just that in this article.
Looking to improve your photography? Just enter any questions you have about improving your photography below and hit send and get answers & feedback instantly - for FREE! Submit QuestionsHow to Make Eyes Pop In Photoshop Quickly and Easily
Many people have created lots of different methods to make the eyes look more intense during post-processing. There’s no right or wrong way to do eyes editing – simply do what looks best to you as the artist. However, for most people, the ideal place for eye “brightness” is to make the eyes look luminous and glowing, but not so bright as to look unnatural.
The goal here is to improve the brightness and color of the eyes without making it too obvious that you’ve edited the photo. Our method involves four main parts: catchlights, irises, lashes, and contrast and brightness.
Step One: Catchlights
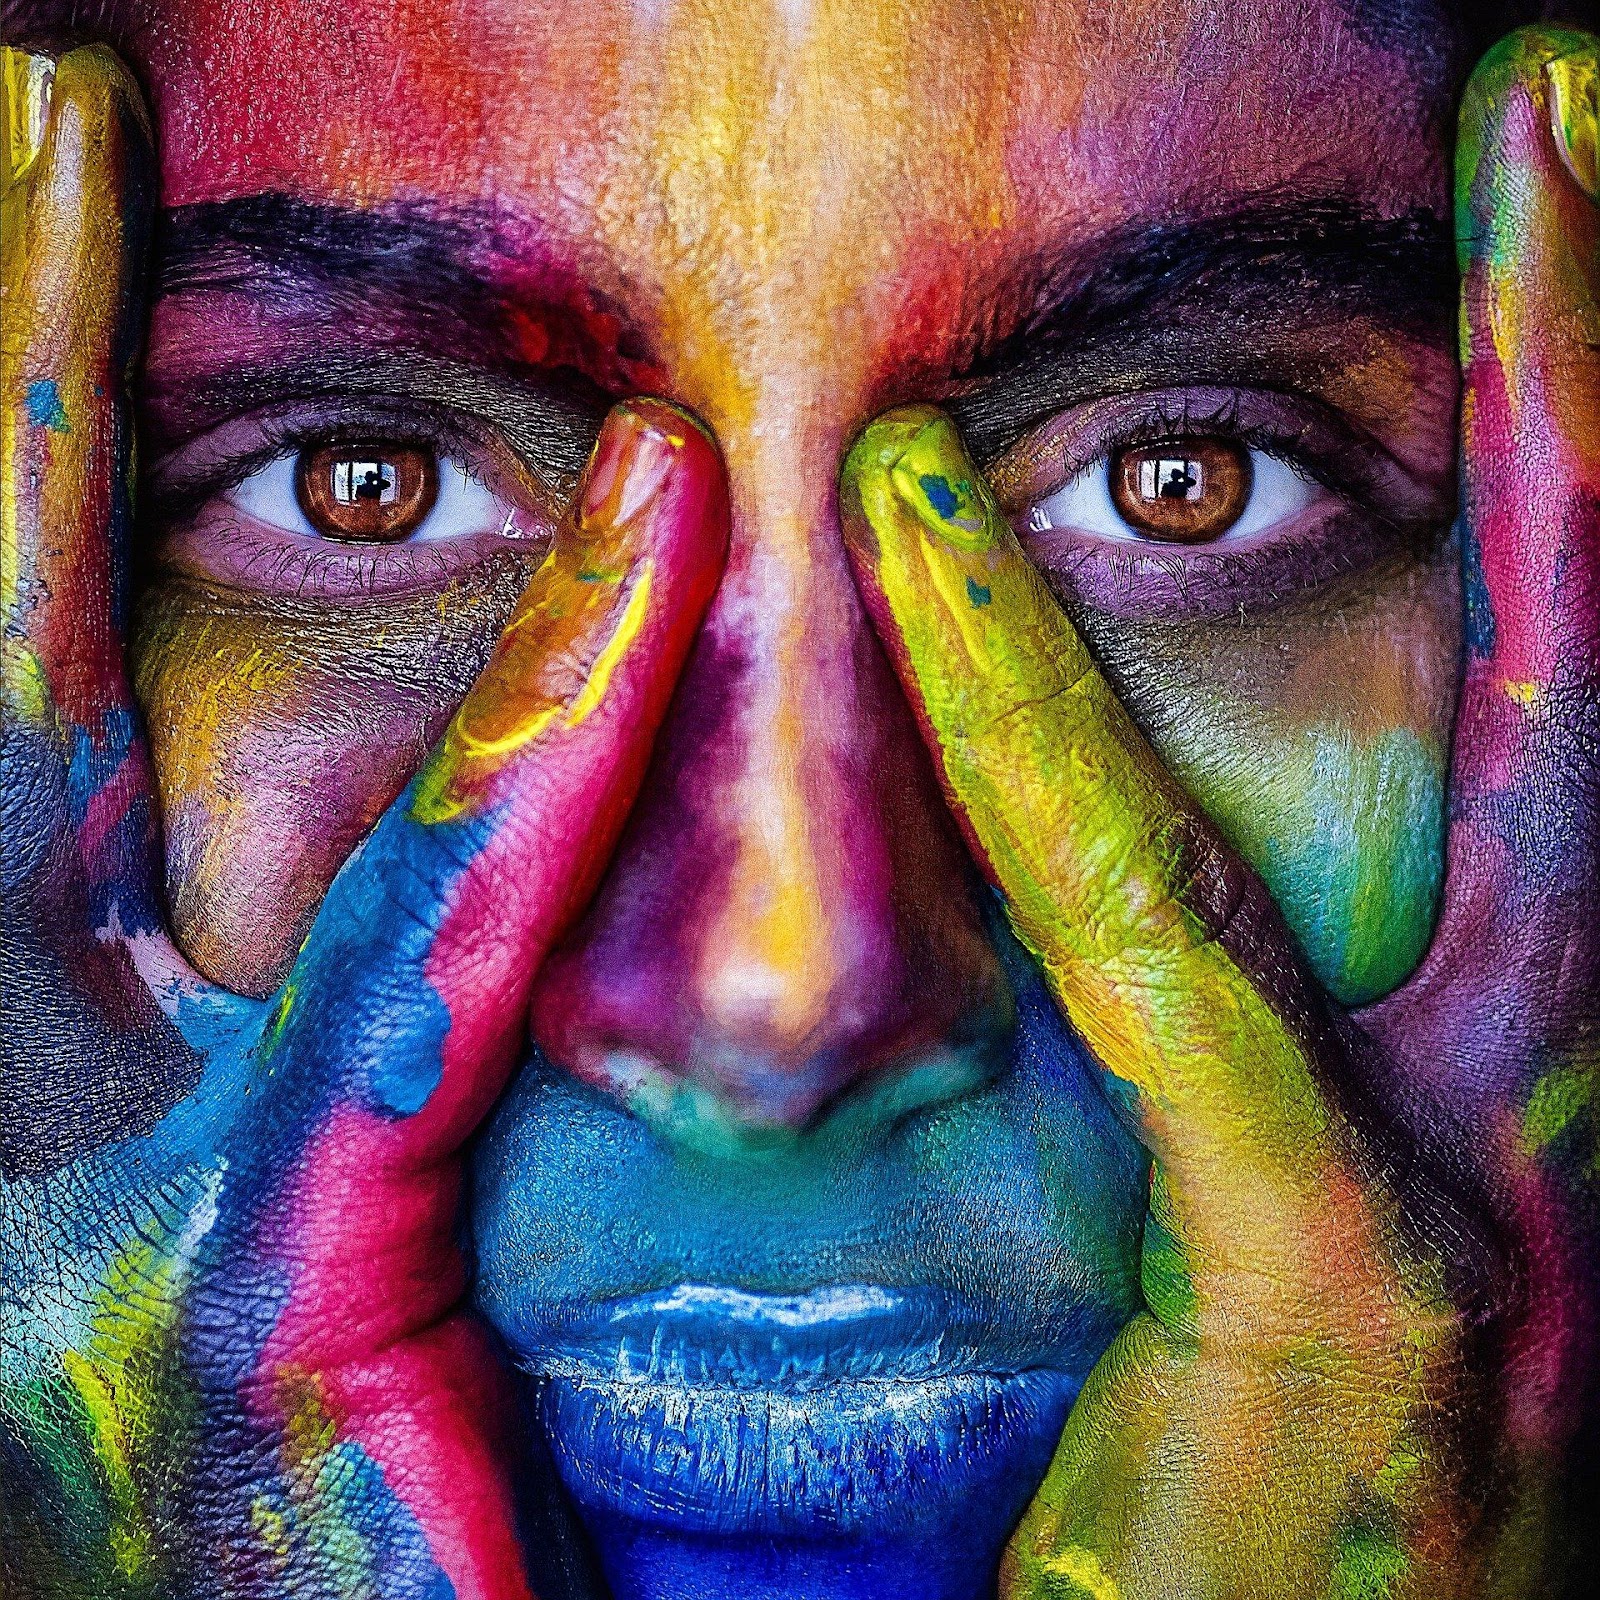
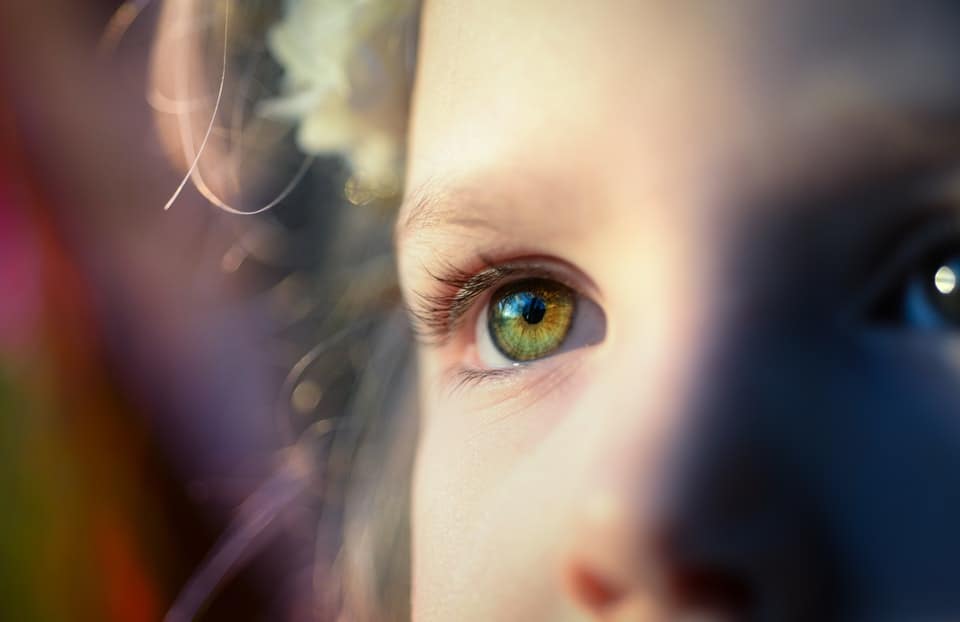
Image by Alexandr Ivanov licensed under Pixabay
If you don’t already know what catchlights are, they’re the light that your subject’s eyes reflect into the camera when you take a photo. Some photographers and videographers like to use special catchlights, such as ring lights, to create special catchlight effects on the final image.
To brighten the catchlights, create a new layer above the background layer, use your magic wand tool to select the catchlights, and brush over them with a small brush size. Make sure you have white as the foreground color. If you have the skills, you can create a more complicated layer mask for the catchlights, too. It’s a good idea to turn the layer opacity down, also, since unnaturally white catchlights will ruin the natural look of your photo.
Step Two: Irises
Next, you’ll want to up the intensity of your subject’s irises. You can do this in any number of ways depending on your experience level, the subject’s eye color, and the effect you’re looking for. However, one great way to do it is to duplicate one of the colors in your subject’s eyes with the dropper, then brush over the iris with that color (with the opacity turned down, of course).
You may also want to tweak each color you select slightly before applying it to your subject’s eye. For example, if your subject has dark brown eyes, you may want to change the color to a slightly warmer and lighter brown to help them pop. You can also run a deeper and darker brown along the iris’s edges to help define it.
Make sure you do your eye edits on a new layer that’s underneath the catchlight layer above. If your subject has multicolored eyes, such as hazel, you can use more than one color, too. Just repeat the same process with a different color present in another area of the eye – for example, with hazel eyes, you might want to work with both brown and green to get the effect you want.
Step Three: Lashes
How much effort you put into your subject’s lashes is entirely up to you, but it’s generally a good idea to run a dark brush with a small brush size along the lash line to make the eyes pop just a little more. If you have the time and desire to, you can also define and extend your subject’s eyelashes slightly for an elegant effect, but the safest way to do this is to stick to the lash line.
Keep in mind that your brush’s darkness (and opacity) may need to vary depending on your subject. You should make the color a bit more opaque for male subjects, while darker lashes generally look more natural on female subjects.
Step Four: Contrast and Brightness
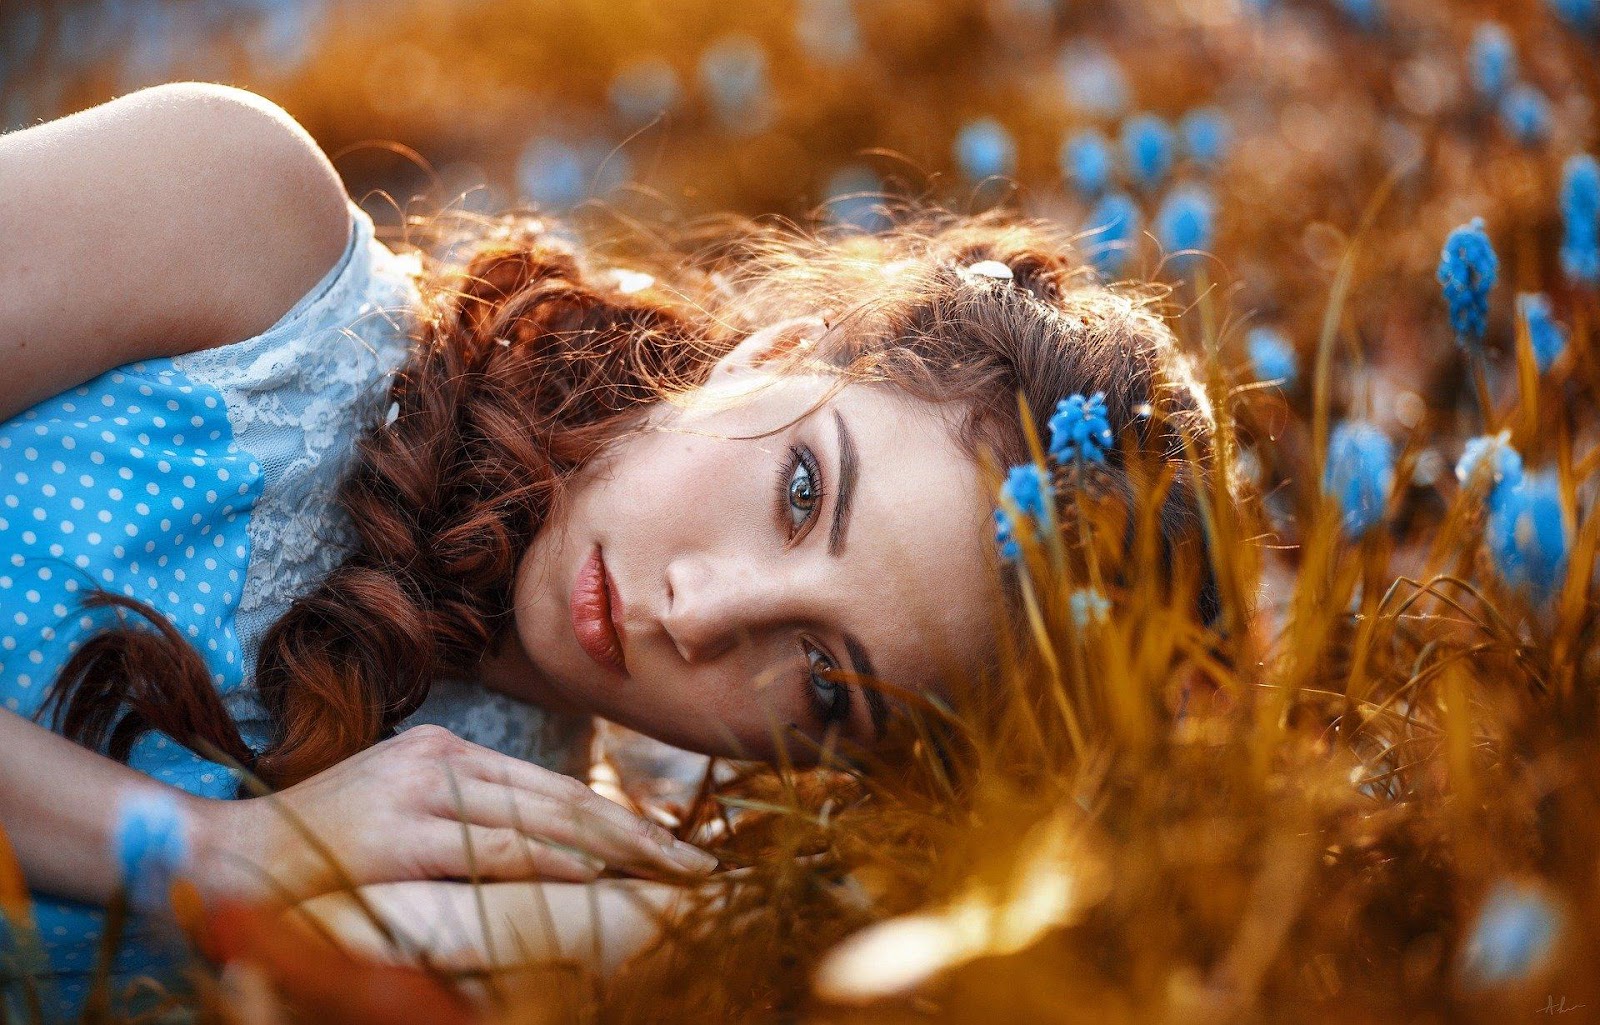
Image by Kirill Averianov licensed under Pixabay
Finally, it’s time to take your entire product and make some final changes to the contrast and brightness. Bake all of your changes down into the background layer, then adjust the brightness and contrast as you see fit. If you want, you can create a layer mask around your subject’s eyes and change the eyes independently of the rest of the photo, but keep in mind that this can make the eyes look unnatural unless you’re very precise with your mask.
Don’t just stick to contrast and brightness for this effect! If you want to, you can also get creative with color dodge and color burn effects to intensify your subject’s eyes. However, be careful not to get too carried away – your goal is to make the eyes “pop” and “glow,” not look unnatural.
Final Review
After you’ve finished with the above adjustments, it’s always a good idea to un-hide any layers you’ve hidden away and take a good look at your final product. You may not always get a good idea of the final effect until you zoom all the way out and take everything in at once. If you don’t like how it looks, go back in and do any tweaks and changes until the eyes look just how you want.
Once you have everything the way you want it, you’re done – you’ve mastered how to make eyes pop in photoshop eyes!
Meta Description: In this quick and easy guide, you’ll learn all about the best ways to make your eyes instantly pop in any photo with Adobe Photoshop.