
Those adorable pictures set on wood transfer photos look great, but did you know that you can print on wood yourself? There are quite a few ways to ensure that your pictures print on wood and turn out great. Here’s what you need to know about printing on wood to get the best results every time.
Looking to improve your photography? Just enter any questions you have about improving your photography below and hit send and get answers & feedback instantly - for FREE! Submit QuestionsDecide What You Want To Print
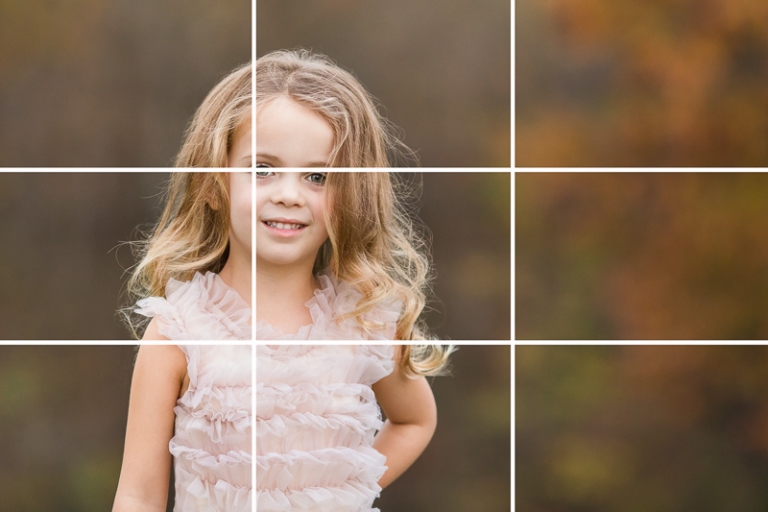
To print on wood, regardless of your chosen method, isn’t going to print photo quality, high contrast images. You’ll want to select an image to print on wood with clear boundaries between colors or highlights and shadows so that you can see the photo once you’re done.
If you’re transferring a color image, make sure there are big blocks of color without a lot of small details. For black and white, choose images that have simple, clear boundaries. The key here is ensuring that you have a simple, large enough image to make out the different print boundaries of color.
Other than that, the concept or style depends on you. These image transfers work well with simple portraits or vintage images mainly, but you could print where your heart wants to take you.
Consider your images carefully for the print on wood. The more time you spend choosing the perfect photo for this particular technique, the less you’ll be disappointed in the result later. You might also want to experiment with smaller pieces of wood just to get the print on wood technique right.
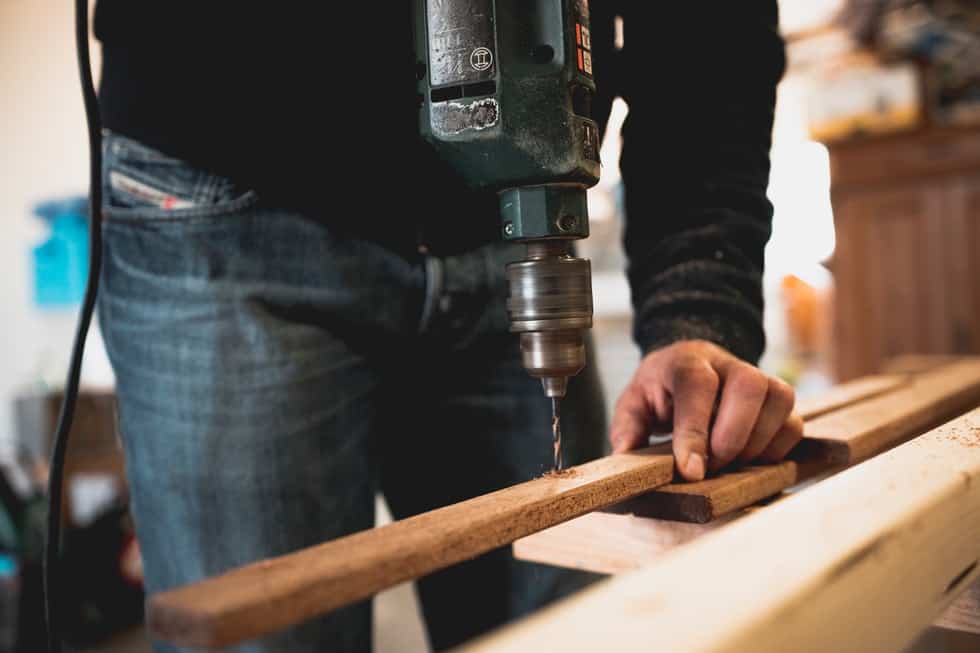
Find Your Wood Piece
Lighter wood is the way to go here for a good print. You want a solid piece of wood to print, no particle board or MDF woods here. Instead, choose a solid wood piece in lighter colors to ensure that your print on wood is bright enough.
One of the biggest things to remember is the print requires a light or white background to provide highlight and contrast. Printers don’t use white ink, just the absence of ink on the white paper, so the same principle will apply to your wood.
A darker wood could muddy the print and make details hard to discern. Choose a wood that will highlight the lighter areas of your photo so that you have better contrast overall.
You’ll also need to choose a wood that can take transfers. It should be a natural wood with no additives or finishes that can chip your final print on wood. You’ll add a finish later to ensure that your print is well protected, so take some time choosing your wood piece.

Add Your Picture
Now it’s time to build your perfect wood printed piece. There are several different options for ensuring you get the best print available. Some are fast, while others are convenient. Some produce a lasting image, and others provide clarity and contrast. Here’s what you need to know.
Before you get started on the wood, you need to find the “reverse picture” settings in whatever photo editor you use. The image transferring process requires the photo to print backward. When you’re transferring photos to wood, it’s right side again. Use an ink jet printer or laser.
Once you’ve mastered that, you can start figuring out which of the following wood print methods below is the right one for your particular project.
Gel Medium Wood Prints
The gel medium is very similar to the polyurethane finish like mod podge, but the gel medium may be more suitable if you want a less messy method. The gel medium is a little easier to control for application, so use this one if you aren’t used to getting polyurethane everywhere.
Supplies
- Foam brush
- Gel medium
- A toothbrush
- A card or good edge tool
- Water
- Photo
- Wood piece
- Take the gel medium and apply it to the surface of your wood with the foam brush.
- Carefully apply the photo face down on the surface of the wood, taking care to get the right placement. You won’t be able to adjust it much.
- Press the paper from the center outward to remove any bubbles or imperfections.
- Once you’ve used the gel medium, allow the photo to dry completely before you peel the paper from the wood print.
- Wet the back of the photo just a bit and begin to peel the pieces of the paper off the wood print carefully.
- Use the toothbrush to brush away any remaining paper to reveal the image underneath.
- Wipe with a soft cloth to finish the image.
The gel medium still takes a bit of time to dry, but it does produce a quality image. However, you’ll have to be more patient with removing the paper and the gel medium from the surface. It will take more time and more scrubbing to remove the paper.
The used finish will be a little rougher than acetone or polyurethane, but you can recover some of the smoothness with a lacquer finish. You’ll get a deeper, more vibrant photo, but it’s still going to be rougher.
Clothes Iron Wood Prints
If you don’t want to deal with acetone when you print onto wood, a simple household appliance could help you get the photo on wood that you want. Your iron and some heat help get the image on your wood. The photos aren’t quite as crisp, but it can help in a pinch.
Supplies:
- Clothes iron
- Photo
- Wood piece
- Place the photo on the wood piece face down and ensure it’s in the right place.
- Run the iron over the image gently, trying not to move the photo around.
- Check that the image has transferred by carefully peeling back the corner. If not, rub the image with the iron for just a bit more.
Be sure you watch your hands so that you don’t accidentally burn yourself. This method is straightforward and allows you to get a quick transferring without using any chemicals that irritate your skin or airways.
It’s helpful to have a really hot iron. You might also get a better photo using wax paper if your printer can handle it. Be very careful moving your photo as you’re ironing because it’s easy to smudge the edges.
This method is best for an aged or vintage look because you’re going to lose a lot of detail in the heat transfer. A finish will darken it a bit but won’t recover the details. Go with a simple photo here.

Polycrylic Wood Prints
A water-based polyurethane can also help you apply an image to the wood. You’ll need to allow prints to dry thoroughly. However, it does produce wildly good prints in most cases with crisp edges and good boundaries.
Supplies
- Polyurethane
- A small brush
- Stiff toothbrush
- Water
- Photo
- Wood piece
- Brush the polyurethane onto wood on the surface.
- Attach the photo onto the wood face down. Take care that you place your photo exactly where you want it.
- Smooth the paper from the center outward to ensure that you’ve smoothed out any imperfections or bubbles.
- Wait until the photo is completely dry.
- Gently wet the back of the photo and remove the paper with your fingers.
- Take the toothbrush and gently scrub away any remaining paper to ensure a smooth finish.
- Wipe the wood print surface with a soft towel to reveal the final finish.
This mod podge style option is an excellent option for clear, crisp pictures. It takes a bit longer once used, and you have no room for error in placing the photo since the image goes on first. However, it’s a reliable method for getting a clear photo.
Polyurethane based prints also darken and deepen with a finish. You may end up with a beautiful photo with plenty of depth, especially if you’ve chosen black and white.
Acetone Wood Prints
Acetone is our first option. It uses this solution to help ensure that your print is transferred. It requires just a few supplies and a steady hand. Take the proper precautions to ensure that you’re working safely when printing on wood.
Supplies:
- Acetone
- Paper Towel
- Nitrile gloves
- Old credit card or other stiff (not sharp) edge
- Photo
- Wood piece
- Print your photo on a laser or inkjet printer using a mirror print setting on your computer.
- Wrap the credit card in a thin piece of material just so that it will soak up the acetone efficiently.
- Place the print face down on your wood block or piece and ensure that it’s in exactly the right place.
- Dip the fabric-covered card in acetone (remember your gloves!) and begin gently applying the acetone, placing a bit of pressure as you spread the acetone.
- Go over the photo for a little bit and gently remove the paper at the corner to check.
- If you’ve done it correctly, the paper will peel away, leaving the image behind.
- Allow the print to dry in a safe place until it’s fully ready.
This is an excellent method for getting a reliable wood print, but it requires you to protect your hands and breathing pretty carefully. Ensure you take the proper precautions when working with acetone.
If you don’t have acetone itself, you might experiment with a similar medium, lacquer thinner. With a similar texture and composition, this could also transfer your photo using the same process above.
This method produces a nice print that highlights the boundaries of light and dark areas. It will also deepen when we finish the wood piece below.
CNC Laser Wood Prints
If you’re looking for a more permanent method of wood print, a laser could be the best option. It will require an investment on your part, so be sure you plan to do more than one.
Printers for wood are designed to work on a variety of non-traditional surfaces, including some plastics and leather. Do your research to find a printer that fits with your budget and also delivers the performance you’re used to.
Supplies
- Laser printer
- Wood piece
- Choose your settings for your image.
- Line up the wood piece with the positioning dot or the edge of the boundary for your particular machine.
- Leave the printer to do its thing and be sure that nothing bumps or knocks the wood print.
- When the laser is finished, you have your photo.
Laser printers produce a more permanent print on the wood because you’re burning the print into the surface. The laser does have a few limitations, however.
Text pictures and simple graphics are going to do a lot better than photos or complex portraits. Choose your print based on a great deal of clear white space and few details. Block prints and text do best.
A laser printer can be a significant investment, as well. If you tend to gravitate towards new hobbies, this could be a good investment. It may be too much to get used to for one job.

Waxed Paper Wood Prints
Waxed paper is another simple option if you aren’t used to chemicals or heat. Wax paper holds ink just long enough to transfer to something else, so this is a quick method for getting a more vintage image.
Supplies
- laser printer (not an ink jet)
- waxed paper
- desired image to print
- credit card or another edge tool
- wood piece
- Set your computer to reverse the photo and carefully place your wax paper into your printer.
- Begin printing and keep an eye on the wax paper as it moves through. Guide it through so that it doesn’t touch itself and smear the ink or get caught up in the printer gears.
- Once your wax photo is finished, place it carefully on the piece of wood. Try to get the placement right the first time because moving the wax paper later only smears the print and blurs lines.
- Begin rubbing the back of the wax paper with your card or edging tool. Do it hard enough to transfer the image but not so hard that you end up tearing the wax paper. Check carefully every once in a while to see if the image has transferred. This may take a few passes.
- Remove the paper entirely and allow your print to stand for a few minutes before touching it.
Wax paper is a simple solution, but it’s hard to get a vibrant, crisp photo. It’s best to use it when you want something that looks a little more aged or vintage. You’ll get the best result when you go slow and place your photo with assurance.
The finish with wax paper will require a lacquer to protect it in most cases, considering that the image transfer is already light. It will take on a vintage look, but you’ll be able to keep the wood print from fading or smudging while in use.
Finishing Your Wood Prints
After you print on wood, finishing the wood print with a finish to seal in the picture helps longevity. There are a few different finishes you can try but choose carefully, especially with delicate pictures like. However, by far the most comfortable option is spray lacquer.
The lacquer is going to darken the finish of acetone, polyurethane, and gel finishes, giving them a crisp, deep finish that really stands out.
It’s not going to do much for the iron-on transfer, unfortunately, but it will help the wax paper transfer last longer. Be sure you allow the ink to dry thoroughly before spraying the lacquer and avoid brushing the surface.
Spray lacquer is a better option than liquid because you’ll get a smooth, professional finish. The liquid is nearly impossible to apply without having some kind of lines or imperfections in the finish. If that’s what you’re going for, do it. Otherwise, stick to the spray.
Allow the lacquer to dry for longer than you think, and then add some more time. Be very, very careful about touching it because you’ll cause a foggy spot if it isn’t dry and you can’t fix it easily.
Displaying Your Wood Picture
The print on wood display is the fun part. You could attach a string and hang it if it’s small enough. You could use an easel if your picture is big enough or even figure out how to frame it in a shadow box. The possibilities are endless.
Take care to secure your print on wood wherever you decide to display it. Some wood pieces are no heavier than standard wood frames, but others are significantly heavier. You’ll have to consider weight when you’re deciding where to put it all.
Heavier pieces do well on an easel or other support. Alternately, find a stud in the wall to anchor the weight of your wood photo so that it doesn’t come crashing down on you. Finishing right is how transfer photos to wood come to a close.
Printing on Wood — Final Thoughts
Printing on wood is possible using a number of different mediums, and you can use each one to get a different effect. Whether you’re looking for crisp black and whites or you need something more vintage and worn, now you know how to transfer photos on wood.
The biggest takeaway is to be mindful of how and where you place your picture while transferring. The more you move the photo piece, the more likely you are to smudge the final result. Patience and determination are key.
You’ll be able to get a unique art piece with a photo you treasure or uplevel a boring wooden piece to something unique. These processes aren’t that difficult, so you could find yourself with plenty of new conversation starters in wood.