
Looking to improve your photography? Just enter any questions you have about improving your photography below and hit send and get answers & feedback instantly - for FREE! Submit Questions
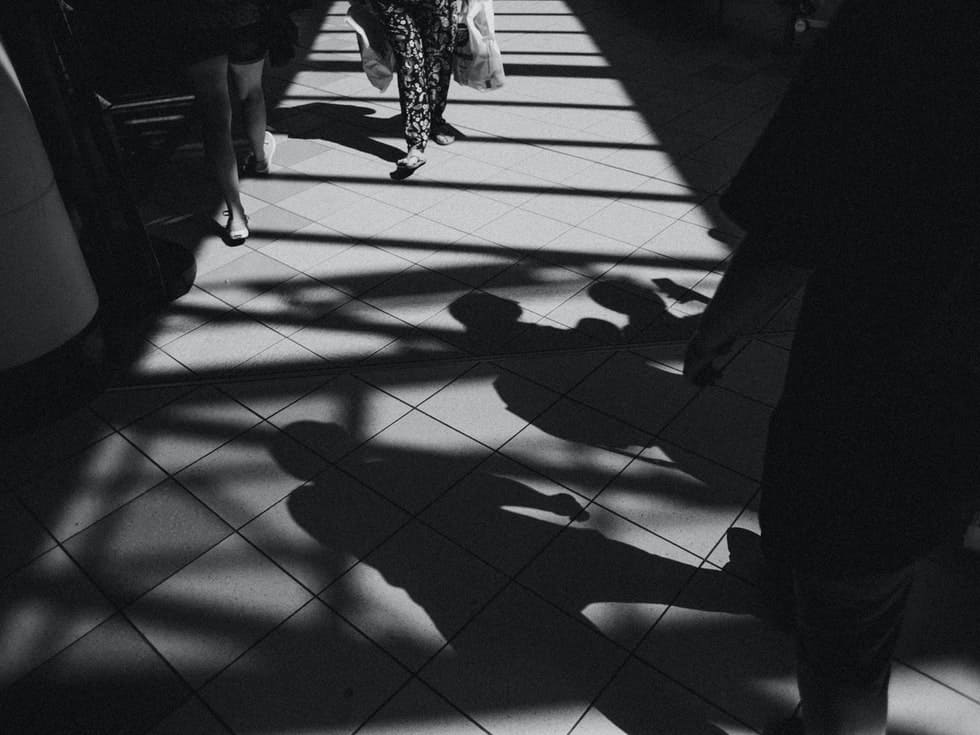
The Best Shadow Removal Photoshop Tools
There is more than one way to remove shadow in Photoshop, depending on the final effect that you want. You can use Photoshop’s retouch and repair tools to quickly remove shadows, including Clone Stamp Tool and the Patch Tool.
Repair tools also allow you to get in and fine-tune details using the Healing Brush and the Spot Healing Brush. If you just want to soften or adjust shadows, sometimes using the Adjustment Layer menul can yield better results.
How Do I Get Rid of a Shadow Using Photoshop?

Try the Patch Tool
The Patch Tool is an easy solution for how to Photoshop shadow. You can find it on the toolbar to the left of the Photoshop work screen. When you select the Patch Tool, be sure to click on the Content Aware option in the drop-down menu. Doing this gives Photoshop license to create new pixels from an existing background sample, creating a seamless final look.
Select the area immediately around any unwanted shadows, and move the selection to a different background area. Select an even, shadowless surface if possible. Photoshop will refer to colors and patterns here to fill in the blank space left after removing the shadow.
While this option is quick, easy, and relatively foolproof, for a perfect end result, you may have to go in and do some tweaking. You can change Structure and Color options to determine just how closely Photoshop will match and blend backgrounds. The Healing Brush can also help you to clean up any messy areas and remove shadow from photos.

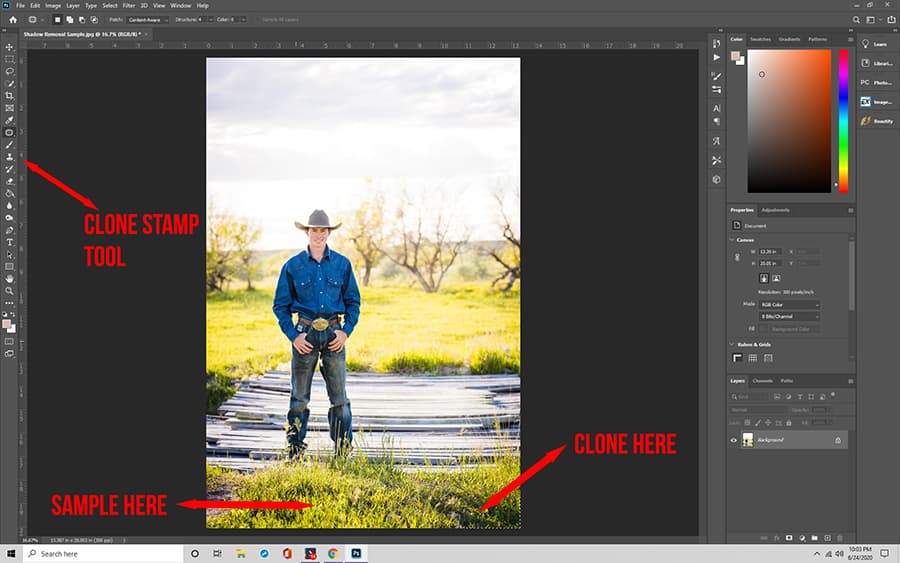
Clone Stamp Tool
The Clone Stamp tool option in Photoshop is similar to the Patch Tool and can also be found in the left-hand toolbar. The Clone Stamp option in Photoshop gives you a little bit more control over fine details compared to using the Patch Tool in Photoshop. Instead of using selections to eliminate shadow, you use a brush to paint over them.
Choose a source point that’s the color you’re looking for, usually from a background spot close to the shadow area. Using those pixels as a reference, you can add new color over dark spots to make them appear brighter. You may have to use a variety of reference points to get a realistic-looking result.
When working with the Clone Stamp Tool, you should remember to zoom in and out frequently to check your work. While it can be easier to work while zoomed in close to the picture, you don’t get a good feel for what the spot will look like against the rest of the image. Check yourself regularly to avoid wasting time or ruining your final image.
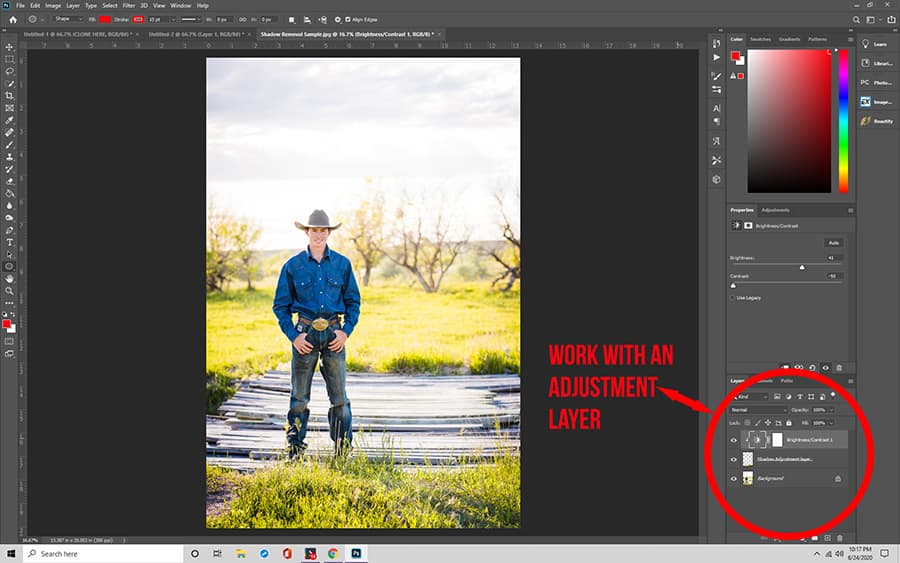
Work With an Adjustment Layer
When you don’t want to remove a shadow entirely, an Adjustment Layer can be a better solution than the repair tools in Photoshop. They help soften harsh shadow around the subject of a photo.
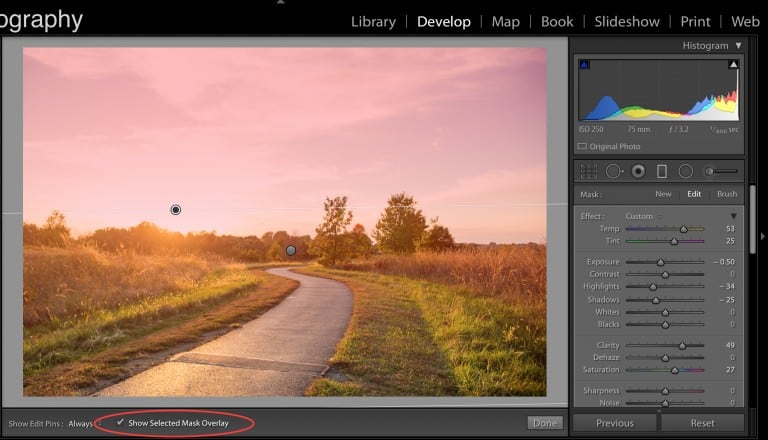
First, select the shadow you want to remove using an option such as Quick Select or the Magic Wand. Bring that selection to a new layer so that you can work freely. Then, move the Brightness Slider on the right-hand side of the screen until the shadow matches the surrounding areas.
Use the Dodge Option
This is another option for those who don’t want to remove shadow from the photo completely. It lightens dark shadows and helps to bring out the color and texture underneath.
You can select the Dodge Tool from the left-hand menu, navigate to Range, and click on the Shadows option. Entering a range of 50% or less can help to reduce the appearance of a shadow in a specific area.


Ready to take your photography to the next level?
Join Cole’s Classroom today! »
How Do I Avoid Losing Detail?
When you get rid of a shadow in an image, you risk losing some of the detail underneath. Less contrast can make surfaces seem flat, especially those with lots of texture such as fur or hair.
To keep photos looking realistic, you need to take steps to keep details intact during the editing process. Repair tools capture detail for you in most instances, provided that you’ve chosen the right reference point. Using the Clone Stamp Tool and Patching allow you to capture fine detail on materials and surfaces such as fur and foliage.
With methods such as Adjustment Layer and the Dodge Tool, you run more risk of losing texture as you work. By adjusting brightness settings, you can inadvertently alter colors and reduce contrast.
Doing this can dull essential features and make it more of a challenge to discern them from the background. You can often offset this by adjusting the Contrast Slider if your selection starts looking flat.
SPECIAL OFFER – Discover the secret to adding “wow factor” & retouching your photos, without having to use Photoshop, in only 3 clicks (…even if you’re brand new to editing your photos – guaranteed!)
Join the 54,000 other photographers using our Polished Lightroom Adjustment Brushes Presets Collection and get them here for 80% off!

Photoshop Freebies
While users pay a premium for the Adobe Photoshop Suite, there are also relatively new free image editing tools that offer many of the same features without the price tag. You can use several free Photoshop tools to remove any shadow from your photos and get clean, professional results.
PS Action Soft Contrast Filter
This setting helps regulate lighting and soften lines in a photograph. It’s often used to create images that appear warmer and brighter and can help to remove shadows in Photoshop.
PS Action Matte Effect Filter
Often, unwanted shadows are due to darker colors and low contrast. This option alters the coloring to give you a smooth and seamless final picture, eliminating areas of harsh contrast.
PS Overlay Party Glows Filter

As the name suggests, this free filter helps to brighten photos with sharper lines and more vibrant colors. It’s particularly good for helping to soften or remove shadows around the face.
PS Overlay Sunset Filter
If you take photos in harsh, low lighting, or against a sunset, you will often find that shadows get in the way of the finished product. This filter helps to brighten colors, adding a glow to create the appearance of more light. This technique draws the eye away from shadows and downplays their appearance.
Additional Questions
Here are some additional tips and tricks for using Photoshop to get rid of shadows in your pics.
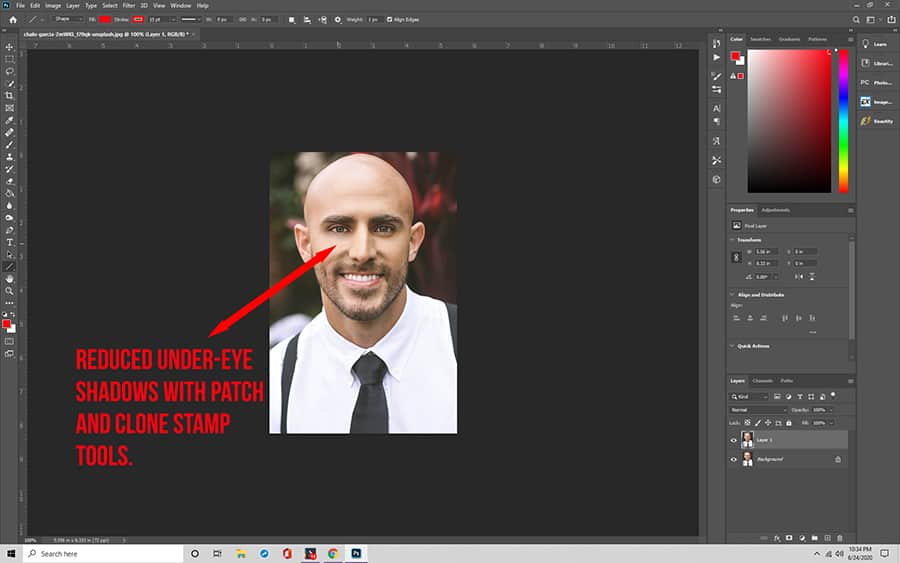
- How do you remove shadows under your eyes in Photoshop?
Many of us suffer from under-eye shadows, and it often doesn’t photograph well. If you’re unhappy with bags around the eyes of the subjects in your photos, you can remove them much in the same way you would a shadow. You can eliminate circles using the Patch Tool or the Clone Stamp tool with a reference point from around the cheek, or you can opt for a more natural look using Adjustment Layer or the Dodge Tool.
Photoshop Express is the free version of Photoshop, offering most of the basic features needed for image editing. You can soften or remove a shadow using adjustment sliders, including ones for blacks and whites, shadows, highlights, and contrast. You can also apply filters over pictures to brighten them and reduce the appearance of shadows.
Dream of Being a Pro Photographer?
Join Cole’s Classroom today to make it a reality.