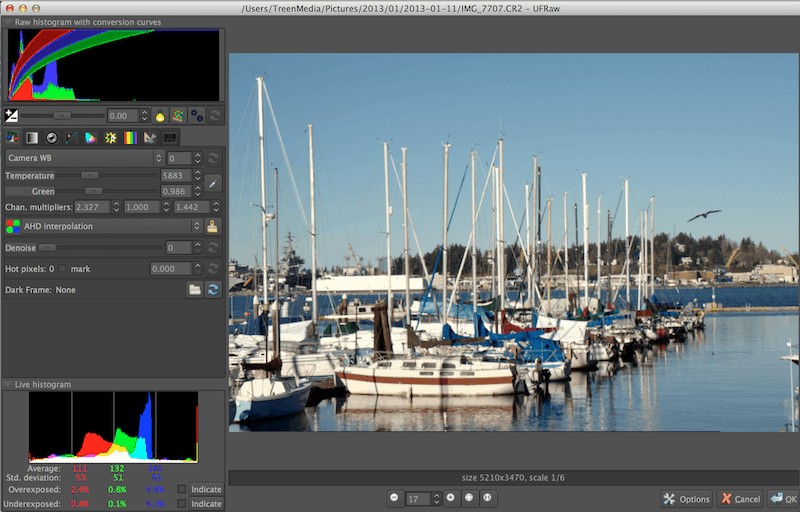

Have you snapped an image that ends up being unclear or blurry? The process of sharpening edges in Photoshop will significantly improve the quality of your image. Many photographers make the mistake of sharpening the entire image and applying the sharpen picture everywhere.
There are many instances where you need to be more selective in sharpening the image.
In this article, we provide a comprehensive step-by-step guide on how to seamlessly sharpen edges in Photoshop. We offer you the key differences between Smart Sharpen and Unsharp Mask within the program, including the keys to success with the better option, Smart Sharpen.
Unsharp Mask vs. Smart Sharpen
Both Smart Sharpen and Unsharp mask are both formidable options for image sharpening in Adobe Photoshop. We usually elect to go with the Smart Sharpen alternative because of a few essential benefits. The first is that Smart Sharpen is slightly more up to date than Unsharp Mask.
The Unsharp Mask has a much older edges image filter and is not effective at detecting the edges in your image. It uses a layer mask and does not have much control over the shadows and highlights on an image. This oversight can lead to a lack of detail in the darkest and lightest pixels.
On the other hand, Smart Sharpen’s filter is a lot newer and utilizes more relevant technology to stylize find edges on an image. Not only can it stylize find edges more successfully, but it can also sharpen smooth edges in an image in Photoshop without impacting the noise.
Not only does Smart Sharpen find edges effectively, but it also produces much more subtle, thinner halos near the edges of the image, which creates a cleaner, pristine photo. Some controls help you fade the edge contrast in both shadows and highlights.

SPECIAL OFFER – Discover the secret to adding “wow factor” & retouching your photos, without having to use Photoshop, in only 3 clicks (…even if you’re brand new to editing your photos – guaranteed!)
Join the 54,000 other photographers using our Polished Lightroom Adjustment Brushes Presets Collection and get them here for 80% off!

Edge Sharpening Process: Smart Sharpen
Here is a smooth edges Photoshop process that uses the Smart Sharpen function. As you read through the steps, you will understand why this option is superior to Unsharp Mask, stylize find, and layer mask.
Transform the Photo Layer into a Smart Object
You can implement Smart Sharpen as a static or smart filter to sharpen, but we prefer the latter. It will make the edges filter settings more flexible, and you can edit the blending options much easier. To implement Smart Sharpen with a smart filter, you must first convert the photo layer to a smart object.
After you navigate to the Layers panel, the photo will show on the background layer and image layer. If you want to convert it to a smart object, press the menu button in the upper right-hand corner. When the menu shows up, select the convert to smart object option from the choices.
Choose the Smart Sharpen Filter
Next, you need to click on the filter menu within the menu bar, select Sharpen, and then click the Smart Sharpen option. After you click OK, the Smart Sharpen image layer dialog box will appear. You will notice the preview window to the left, including the options and sliders to the right.
Another benefit of Smart Sharpen vs Unsharp Mask is that this dialog box can be enlarged to make the preview window easier to work with. If you would like to resize it, you can click and drag the corners or sides of the box outward. After you set the dialog box how you want it, you can click and drag within the preview window to center the subject.
Confirm that the Remove Option is set on Lens Blur
Smart Sharpen’s find edges filter will be a massive benefit for your editing process. If you want to utilize this with Smart Sharpen, you will need to go to the remove box and set the option to lens blur. There are two other alternative: Gaussian Blur and Motion Blur:
Gaussian Blur – the image adjustments reflect that of Unsharp Mask. But, blur gaussian cannot detect edges.
Motion Blur – allows you to remove blur from your image layer because of camera shake.
While Gaussian Blur (blur gaussian) and motion blur are ideal options, they do not provide the capabilities that lens blur does.
Set the Amount Value for Edge Contrast
The goal of edge sharpening is to raise the contrast along Photoshop’s smooth edges. As you learn how to smooth edges in Photoshop, Smart Sharpen will be an easy tool to implement. The Photoshop smooth edges process begins with adjusting the light and dark sides.
You want to make the light sides lighter and the dark sides darker. The more intense the edge contrast is, the sharper the photo will look. Smart Sharpen utilizes an amount slider to regulate the amount of contrast in the picture.
You will find that the default value is 200%, which will make the image look sharp already. The overall sharpness of image or sharpness image will also depend on the detail and size of the image. Use your best judgment when you increase this amount value, which will add more contrast and make the image look sharper.
What is the optimal amount value to use here? Depending on the overall size of your photo, most image values range between 150% and 200%.

Set the Radius Value for Edge Thickness
In addition to the amount value for edge contrast, the radius value within the Smart Sharpen dialog box also plays a pivotal role in the thickness of your photo’s edges. This radius value will determine the number of pixels that extend outward from the edge. The thicker the edges, the more contrast that you will bring out from the amount setting.
The default value for radius will usually be 1.0 pixels, which means that the amount value impacts only one pixel on the opposite side. As you raise this radius value by clicking, the wider the area gets affected.
So, how do you select the optimal radius value for sharpening your image? It will depend on the size of the picture, but it will also be contingent on whether the photo is getting sharpened for viewing on a screen or print. The pixels will show much smaller in the print form; therefore, the halos will not be obvious. The following guidelines for each option include:
- Sharpen for print: 1-3 pixels
- Sharpen for web, email, or screen viewing: 0.5-1 pixel
Adjust the Reduce Noise Filter
If you have Photoshop CC software, you might notice that Adobe included a reduce noise capability for Smart Sharpen. Noise can harm your image because it creates an abrupt change in brightness between pixels. Photoshop looks for this when it detects edges, and the noise may get sharpened as a whole, which will impact the quality of your photo.
You can lower the noise with the help of the slider to reduce noise. Be careful about removing too much noise because you will smooth over too much detail from the image. You should drag the slider until the picture looks more pristine, and the noise is less detrimental. The default value of 10% usually produces an ideal result.
Fade the Sharpening in the Shadows and Highlights (If Needed)
At this point, most of your work in sharpening is complete. Another advantage that Smart Sharpen has over Unsharp Mask is the fading feature with the highlights and shadows.
Depending on the photo and the amount of edge contrast you have applied, the filter sharpen can sometimes cause clipping in the shadows and highlights. This issue will cause some brighter pixels on the edge to turn pure white and the darker pixels to be blown up to pure black. This black and white problem will distort the photo and hinder the quality.
If you return and notice any dark or bright areas that are too intense in the image, you can navigate the shadow/highlights section. Two sets of options will open for shadows and highlights. Here, you can perform image adjustments on the following elements simply by pointing and clicking:
- Fade amount – fades the sharpening effects in both the highlights and shadows
- Tonal width – regulates the brightness adjustments levels that are impacted by the fade amount
- Radius – adjusts the area width around the pixels
Once you have made your image adjustments for the three different categories, click OK to exit the Smart Sharpen dialog box.
SPECIAL OFFER – Discover the secret to adding “wow factor” & retouching your photos, without having to use Photoshop, in only 3 clicks (…even if you’re brand new to editing your photos – guaranteed!)
Join the 54,000 other photographers using our Polished Lightroom Adjustment Brushes Presets Collection and get them here for 80% off!