

Stitching photos together is the process of taking multiple images and placing them side by side to form a panoramic photo. Adobe Lightroom offers an easy-to-use photo merge Panorama so you can build beautiful panoramic images. In this article, we’ll show you how to stitch photos together in Lightroom so you can rebuild the look of your favorite landscapes when single photos fail to do so.
Step 1: Snap Various Photos with Your Camera

Photo by Kristoffer Trolle is licensed under CC BY 2.0
The first thing you’ll need before stitching images together is plenty of photos of the panorama you want to create. To maximize merging quality, use a tripod, and set your camera’s settings to panoramic.
Then switch your camera to manual mode so that you can control the aperture size, shutter speed, and ISO. These exposures need to be the same for every photo you’ll be stitching in Lightroom. That way, the brightness will look seamless across the board.
You’ll also need to set up the focal distance and keep it consistent between all shots. Be sure to set the white balance manually. Otherwise, your camera could change the color shading from image to image, making it look like you took the shots at different times of the day.
Finally, shooting your photos vertical will offer more opportunities for seamless stitching when you use Lightroom. Make sure to overlap your shots by about one-third since it’s a step you’ll need during the merging phase.
Step 2: Upload Images to Lightroom

Photo by Got Credit is licensed under CC BY 2.0
Once you’ve snapped plenty of swoon-worthy photos, you’ll need to upload them to your Adobe Lightroom CC or Lightroom 6 account. Lightroom’s software is the same in both cases. However, CC stands for Creative Cloud and is an online subscription service, whereas Lightroom 6 is a standalone package.
To upload your images, insert your camera’s memory card into your computer, or directly connect your camera. A Lightroom import dialog box will pop up where you’ll select your import source. You’ll then indicate how you want Lightroom to add photos to your catalog.
Finally, select all the photos you took and click import. It’s tempting to pick and choose your best images directly from your camera, but it’s easiest to upload them all in a batch during this step.
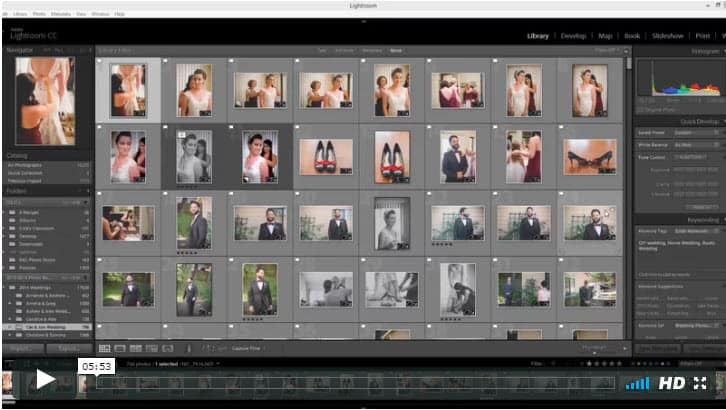
Step 3: Choose Your Favorite Images
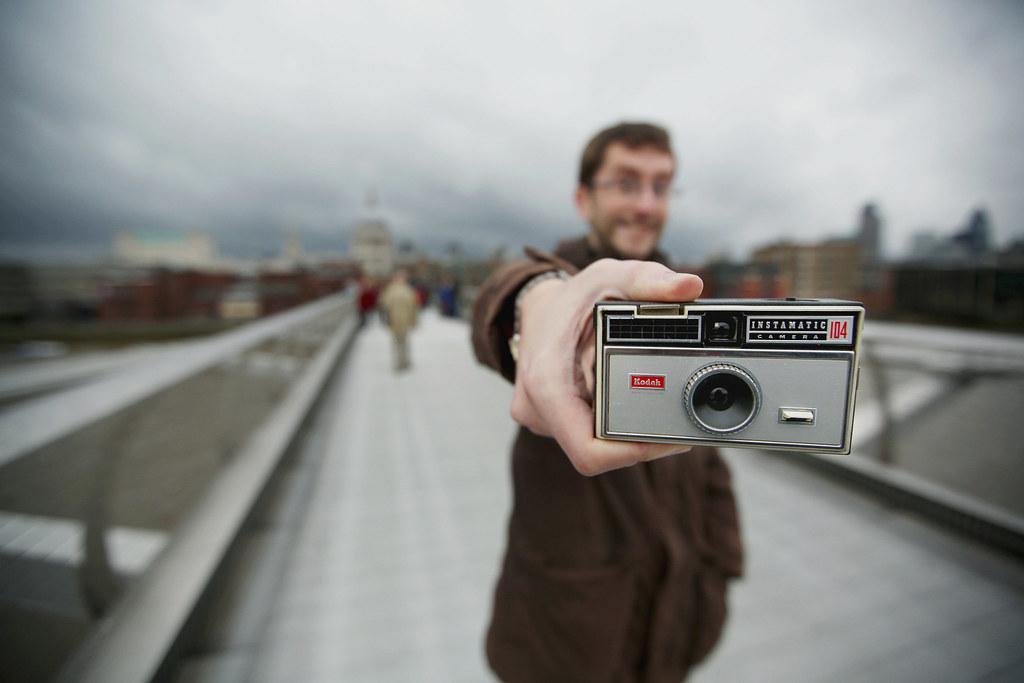
Photo by philhearing is licensed under CC BY 2.0
Select the thumbnails of the images you want to use in Lightroom CC. If your photos are in any file type other than RAW, you’ll need to develop them.
Once developed, make sure the developed settings are the same across all photos to avoid inconsistencies. Lightroom offers the option to specify the type of lens you used in the Lens Corrections section, improving the development settings.
While we’re on the topic of inconsistencies, you should never edit individual photos before you stitch them. Otherwise, the exposure settings could be off, which will turn your panoramic photo into an image that looks pieced together.
Step 4: Merge Your Chosen Images
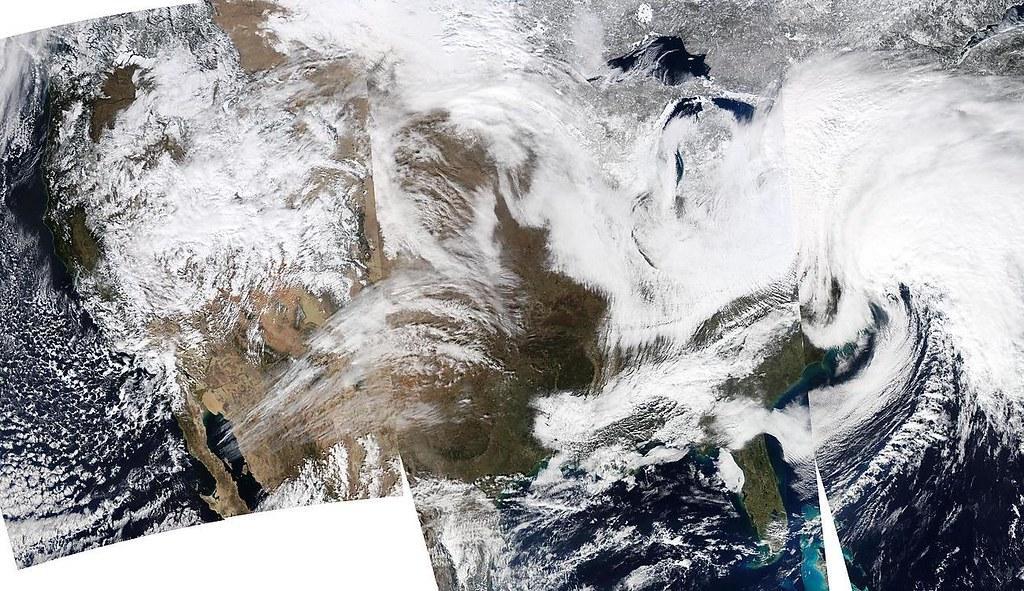
Photo by NASA Goddard Photo and Video is licensed under CC BY 2.0
Lightroom’s stitching magic is in the merging stage. To merge your photos, select your desired images. Then, right-click on the images and select “Panorama.”
A screen will pop up with a preview. Here, you’ll need to choose from one of three panorama options:
- Spherical cylindrical makes photos look like they’re inside of a sphere.
- Perspective is the most traditional panoramic layout since it’s flat and emphasizes the middle portion of the photo.
- Cylindrical gives images a cylinder-like look but keeps vertical lines in their original place.
After choosing your favorite panorama option, you’ll then have the opportunity to work with the Auto Crop setting. The crop will remove any white space generated from the panorama view.
Finally, play with the Boundary Warp setting, as this will help you fill the portion of the canvas eliminated during the crop.
Once you’ve completed these steps, hit the merge button to generate your photo merge.
Step 5: Finalize the Stitched Image
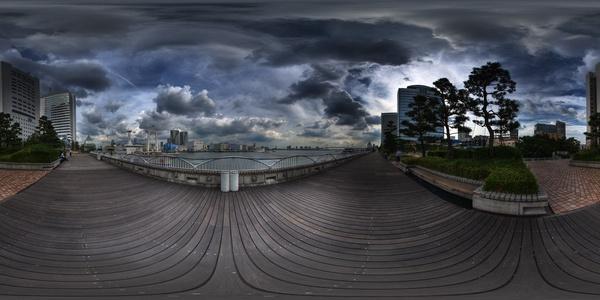
Photo by heiwa4126 is licensed under CC BY 2.0
Your merged panoramic photo is just about ready, but you may feel inclined to make a few more adjustments with right click.
You can opt to adjust filters, brightness, and saturation of the final image in this case. Remember that now is the best time to do so since it’ll allow the adjustments you make to remain uniform across the panorama photo.
You’ll receive your stitched Lightroom photo in a DNG RAW format, as this will keep your develop settings in place. However, you can export your image to choose the format and size of your preference.
SPECIAL OFFER – Discover the secret to adding “wow factor” & retouching your photos, without having to use Photoshop, in only 3 clicks (…even if you’re brand new to editing your photos – guaranteed!)
Join the 54,000 other photographers using our Polished Lightroom Adjustment Brushes Presets Collection and get them here for 80% off!

When Not to Use the Panorama Stitching Feature
Lightroom’s panorama merge feature covers the basics, but it lags in how much editing control it offers. Examples of when you shouldn’t use the panorama stitching feature include if you want to:
- Blend parts of a photo
- Use Vignette smoothing
- Utilize a masking feature
- Adjust the horizon
Lightroom File Type Compatibility
Lightroom works with various file types, including:
- JPEG
- PNG
- Photoshop
- RAW
- DNG
- TIFF
- PSD
Lightroom FAQ

Photo by Lenny K Photography is licensed under CC BY 2.0
Now that we’ve covered how to create a panorama in Lightroom CC, we’ll address a few other common questions.
What should you do when Lightroom is unable to merge panorama photos?
If you receive an error that Lightroom is unable to merge your panorama in lightroom photos, try the following:
- Test a different panorama option from the three options provided.
- Check that your images are the same sizes. If not, select images that are the same size and try again.
- Choose photos with the same focal lengths.
How do you stitch photos in Lightroom mobile?
At this time, it isn’t possible to stitch photos in Lightroom CC mobile. The only way to stitch a panoramic photo in Lightroom is by using a desktop.
Lightroom Photo Stitching Wrap Up
Adobe’s Lightroom software offers a user-friendly interface to offer basic panoramic image stitching. So, get out there and start snapping photos of your favorite city and natural landscapes. With a little practice, you’ll be filling your walls with stitched panoramic photography in no time.
SPECIAL OFFER – Discover the secret to adding “wow factor” & retouching your photos, without having to use Photoshop, in only 3 clicks (…even if you’re brand new to editing your photos – guaranteed!)
Join the 54,000 other photographers using our Polished Lightroom Adjustment Brushes Presets Collection and get them here for 80% off!
![How to Remove Glare in Photoshop [Complete Guide]](https://colesclassroom.com/wp-content/uploads/2020/05/sunset-girl-women-photography-17694-768x512.jpg)