Lightroom is an excellent application for editing your photos. But like many editing apps, there’s a bit of a learning curve. We’ve come across in the community how to see before and after in Lightroom shortcuts.
Looking to improve your photography? Just enter any questions you have about improving your photography below and hit send and get answers & feedback instantly - for FREE! Submit QuestionsThere are multiple ways you can view the before and after of your photos, which is extremely helpful during the photography process. Let’s take a look at some of those instances below.
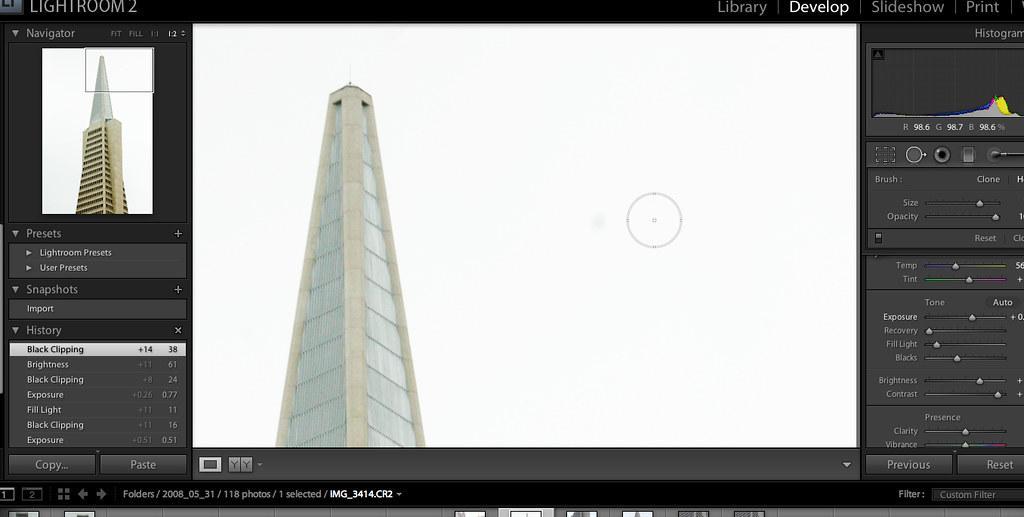
“Lightroom 2.0 Includes Healing Brush” by Thomas Hawk is licensed under CC BY-NC 2.0
Before and After
While without the Develop module of Lightroom, you can set up your View Modes. Doing so will enable you to gain access to many of the different pictures before, which we will discuss in more detail.
To set this up correctly, you need to take the following steps:
- Click on the little triangle located under the image, just to the right.
- Select View Modes. A checkmark will appear next to it once selected.
- Locate the Y|Y button that should have appeared in the bottom left corner below your image.
Once the Y|Y button has shown up and you can see it, you will be able to use it to change your before and after viewing settings.
Before Only
Let’s step away from the Y|Y button for just a moment to check out a quick and easy way to see only the before — and just the after — of your photo. Many editors prefer to see the image on a large screen, so one of the shortcuts for Lightroom is a great way to do that and track your progress.
- Press the backslash key (\) once. This will take you to the before image, which is the original image minus any cropping you’ve done.
- Hit the backslash key (\) once more. This jumps you back to the after image, including all of the edits you have already made.
And that’s it! Using one key, you can quickly analyze the progress you’ve made.
Left/Right
Remember that Y|Y button we made appear earlier? We’re going to head back over to that one right now to give you a left/right view, which shows your original picture on the left and the edited image on the right.
- Locate the Y|Y key on the bottom left corner of your screen.
- Click the small arrow to the right of the button.
- Select “Before/After Left/Right” from the drop-down menu.
Just like that, you have changed your perspective to left/right. The left/right view typically works best when you’re editing portrait orientation images.
Split Screen
In addition to viewing two different images on your screen at once, you can also change your view to present one whole image in split-screen mode. While the screen shows just one image, this mode will draw a line down the middle. One half of your screen will show the image as it originally was, while the right half shows your edits.
Achieving this view is easy, as well:
- Locate the Y|Y button in the bottom corner of the Develop module.
- Click the little triangle button to access the menu.
- Select “Before/After Left/Right Split” to see a side-by-side comparison in one image.
- Select “Before/After Top/Bottom Split” to see your photo changes to top and bottom.
Using split-screen mode lets you directly compare your image to itself while still getting the full-screen view.
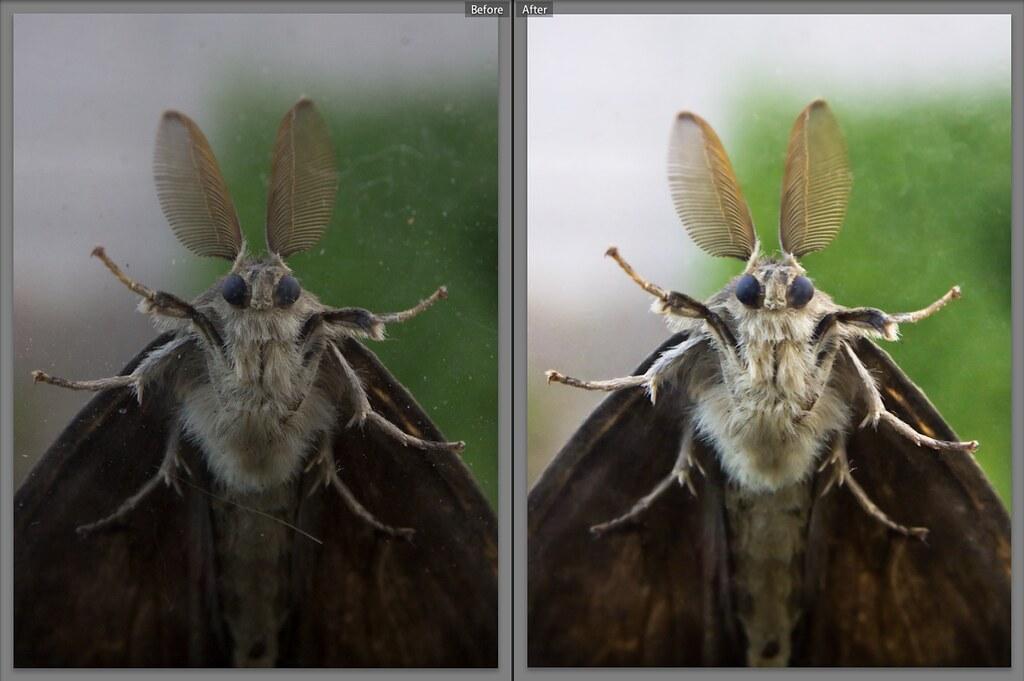
“Moth Macro #2 Lightroom before/after” by GuySie is licensed under CC BY-SA 2.0
Top/Bottom
Like with the left/right view, you can also arrange your editing setup with a top/bottom view. This places the before image at the top of the screen and the after image at the bottom.
- Find the Y|Y button at the bottom corner of the screen.
- Click the little arrow to reveal the drop-down menu.
- Select “Before/After Top/Bottom” from the menu.
Top/Bottom viewing mode is best for landscape photos because you can get a broader view instead of a portrait view.
Changing the “Before” State
Anyone who does edits photography in Adobe Lightroom knows that it can be a long and tricky process. Sometimes you even take things a few steps too far and end up liking a previous version best, and changing the before state is a great way to compare your edits’ history.
Use the following steps to change the before state and apply different edits you’ve made during various stages in the process:
- Within the Develop module, select your preferred viewing method (i.e., Top/Bottom).
- Expand the left panel.
- Navigate within that panel to the History panel.
- Drag and drop the step you want into the “before” panel of the screen.
By following these steps, your “before” picture will turn into the action that you have chosen, dragged, and dropped into place. You can then compare your current set of edits to a previous set you already made.
If you decide you like your previous Lightroom edits better, you can also use those edits instead. This strategy is much easier and less time consuming than trying to rework or undo all of your edits.
Additional Questions
Editing applications can be challenging to master. New users and seasoned artists to photography alike often come across questions while they’re editing — it’s nothing to be ashamed of; it’s all a part of the process. To make things a little easier, we’ve put together a few common questions and Lightroom tips below. So, take a look — you might learn something you didn’t know before.
How do I view original photos in Lightroom?
These easy steps allow you to see your original photos in Lightroom on your computer:
- Open Adobe Lightroom on your desktop by selecting the icon or finding it in your Start menu.
- Click into the Develop tab located at the top right corner of the screen.
- Choose the picture you’d like to view, opening it in the preview window.
- Click the backslash (\) key on your keyboard. This keyboard shortcut for Lightroom lets you jump between your original photo and your edited version.
- You can also choose from the Y|Y button at the bottom left of your screen to select various split-screen views. We discussed how to do this above. In these modes, you can see your original image alongside your edited image.
All of these methods allow you to view your original photo in Lightroom.
Conclusion
Looking back on your original image is a critical part of the image editing process. When you compare and contrast your edits’ various steps, you can catch mistakes, locate areas of improvement, or even realize that you’ve over-edited. All of the above reasons are enough to make comparisons a vital component.
Use the various methods we talked about today to discover the different comparisons in Lightroom, and decide which one is the best for your purposes.