If you have ever had trouble with knowing how to shoot in direct sunlight, you are not alone.
As a new photographer, one of the best skills you can learn is how to shoot in direct sunlight. And it all starts with learning where to position your subject, and then determining which angle is the best one to shoot from. As photographers, we can’t always control our lighting scenarios, and the reality is that there will be times when you want to take photos in lighting that is a little less than ideal.
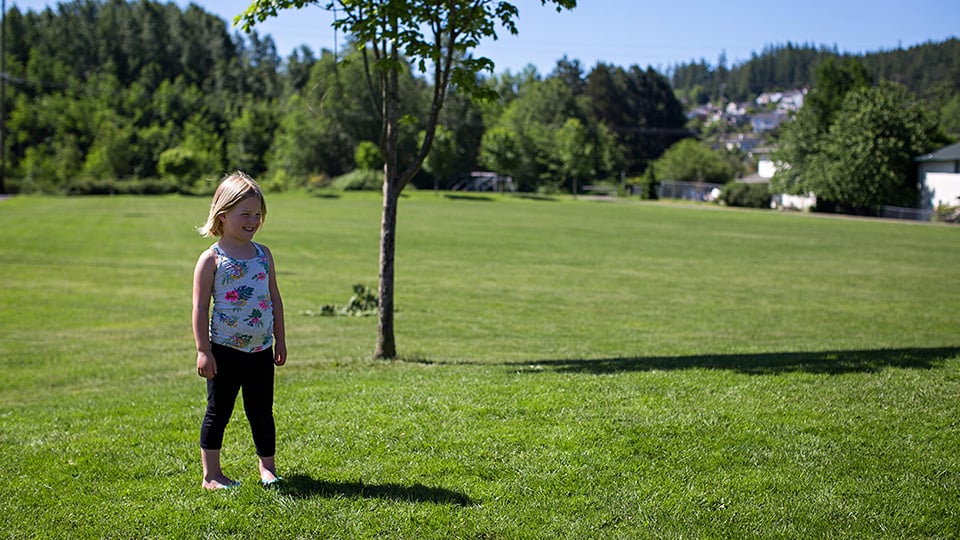
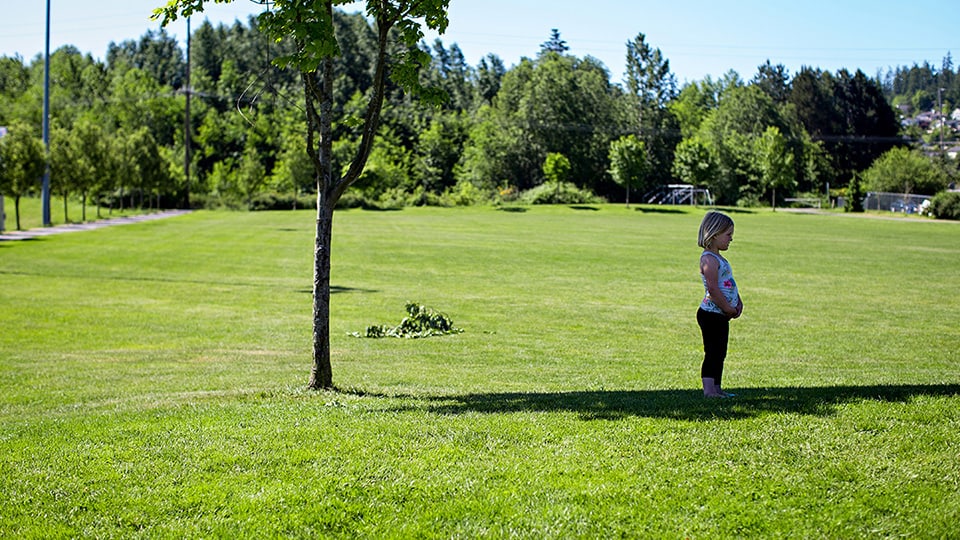
Here is one example of a really difficult lighting scenario: a a very bright day, in full sunlight. There’s also nothing particularly beautiful about this setting, but the point here is that I’m going to show you how you can still get a really beautiful portrait, even in not-so-great-light like this.
1. FACING THE SUN
Ok so here’s my cute little subject, and we’re going to start with her facing the direction of the sunlight. As you can see, the sun is SO bright on her face!
She is pretty much looking directly into the sun, which is just a really tough thing for anyone to do! Her eyes are squinted to the point of almost being shut – and this is just not flattering for anyone. So, location 1 – with our subject facing the sun – this is definitely not a good angle or position to shoot from.
2. SUNLIGHT HITTING ONE SIDE
Next, I’ll have the little gal turn around so that the sunlight is shining on her back – so I’m in front of her, shooting straight on.

Now with this shot, you can see that the sunlight is still spilling a little bit around her, and it’s still hitting one side of face. Her eyes are more open in these shots because she isn’t facing the sun, but look at how uneven the lighting is on her face! It is super unflattering- and so this is definitely not what we want, either.
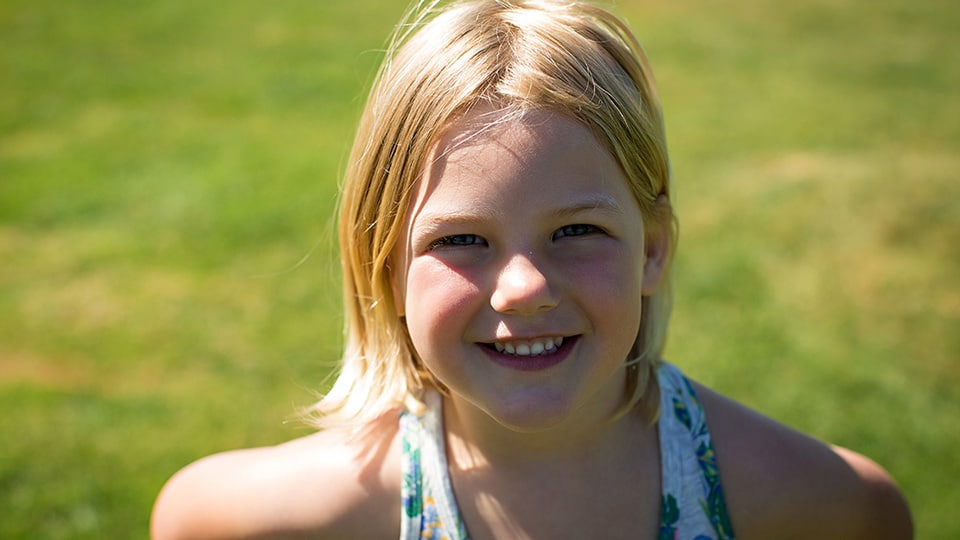
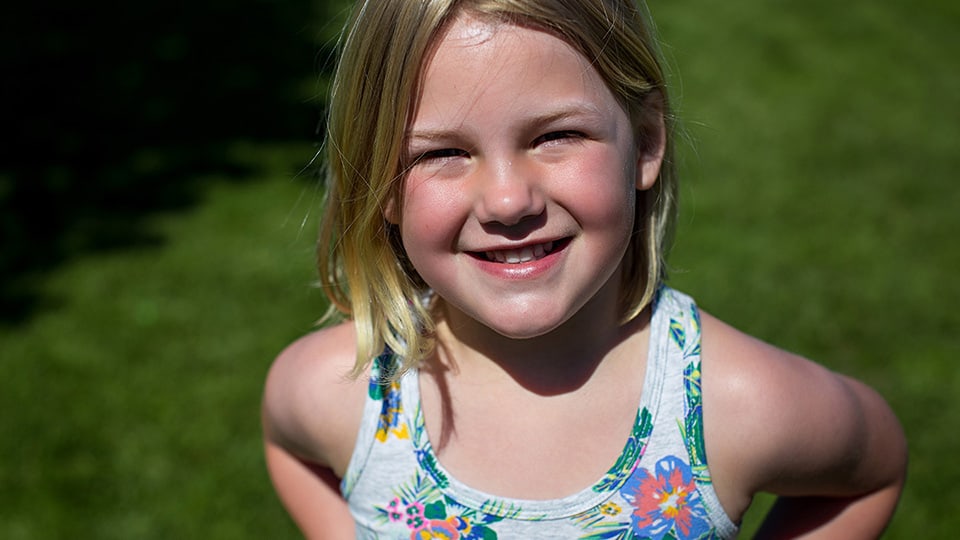
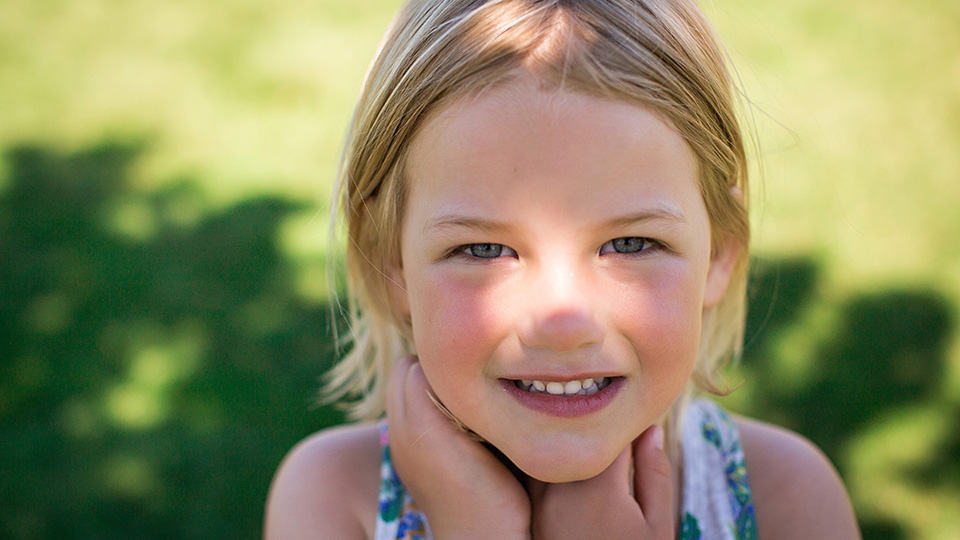
3. SUN DIRECTLY BEHIND
To fix this problem, all I need to do is have her shift her body JUST a tiny bit, so that the sun is completely behind her, and there isn’t any of that light spilling onto her face any more.
And as you can see now, there is even lighting on her face – there aren’t any spots that are overexposed – and this is exactly what we want!
Yes, there ARE a few overexposed spots on her shoulders – and on her blond hair – but there isn’t much we can do about those unless we bring in a diffuser. And for now, we aren’t going to worry about those bright spots. What I’m looking at here is her face – so as long as there is even lighting on her face, then I don’t mind that she is backlit with some overexposed spots on her shoulders or hair. So in this difficult lighting situation, this is the BEST spot to put a portrait subject in full sunlight – where the sun is directly behind them, they are backlit, and the lighting on their face is even.
4. IN PATCHY SHADE: FACING SUN
Now, one more thing I wanted to demonstrate here – and that is if you have a patch of shade to work with. As you can see, there is a tiny bit of shade that this tree is providing, so let’s see what happens when our little model moves over into the shade. So, first here she is in the shade, but notice how she is still facing the direction where the sunlight is coming from.
Now if this had been an even patch of shade, then this positioning wouldn’t be a problem – but because this is shade from a tree, the light is really patchy. So whenever the leaves move, or whenever our subject moves, you can see that the sun still shines through in a lot of places. The lighting here is just too difficult to control, and she ends up having unflattering light on her face when she faces this direction. This is definitely NOT what we want! So if you’re shooting in shade, be aware of that patchy light, because this is another no-no.
5. IN PATCHY SHADE: SUN BEHIND
Instead, I want to treat this shady spot JUST as I would treat full sunlight – I’m going to have her turn around, so that she is facing the other direction, with the sunlight hitting her from behind – and no sunlight is hitting her face directly.

You may not think it’s too important since you’re shooting in shade, but if that shade is even a little bit spotty, you still need to be very aware of what the light is doing to your subject’s face. These images are just so much more flattering to her, because again, the lighting is much more even on her face. So the verdict is – yes, this is a great direction to shoot from when you’re in patchy shade.
IMAGE COMPARISON:
So let’s do a quick recap here with all of the images we’ve seen. First, when shooting in full sunlight, here are the 3 examples… shooting with our subject facing the sun, then with the sun behind her but with light still hitting one side of her face… and then lastly, with the sunlight directly behind her. I think it’s pretty safe to say that the last shot is clearly MUCH more flattering than the other ones:

And then when we moved into the shade, we have this shot on the left where she is still facing the sun, with the light spilling through leaves and hitting her face… compared to the shot on the right, where the sun is behind her, giving more even lighting on her face.

I hope that this post has helped you see that first of all, you CAN still get good portrait images, even in the most difficult lighting situations. And secondly, I hope you’ve noticed just how important it is to assess the light, look at your subject’s face, and shoot from an angle with the most flattering lighting.
Looking for more tips on lighting? Check out Betsy’s series on “Finding the Light!”
Part 1: Finding the Light
Part 2: Using Shadows for Dramatic Portraits
Part 3: Shooting the Golden Hour
Part 4: How to Shoot in Harsh Light
Part 5: 3 Ways to Use Window Light
Part 6: Creative Light Sources