
Skin is one of the most crucial aspects of retouching a portrait to create the perfect look. Hair, eyes, and lips are all critical, but it’s the skin that makes the image stand out.
Looking to improve your photography? Just enter any questions you have about improving your photography below and hit send and get answers & feedback instantly - for FREE! Submit QuestionsOne way to make your subjects’ skin appear flawless is to achieve a natural, soft texture. In this tutorial, we’ll teach you to soften skin in Photoshop using different methods.
Start with Removing Blemishes
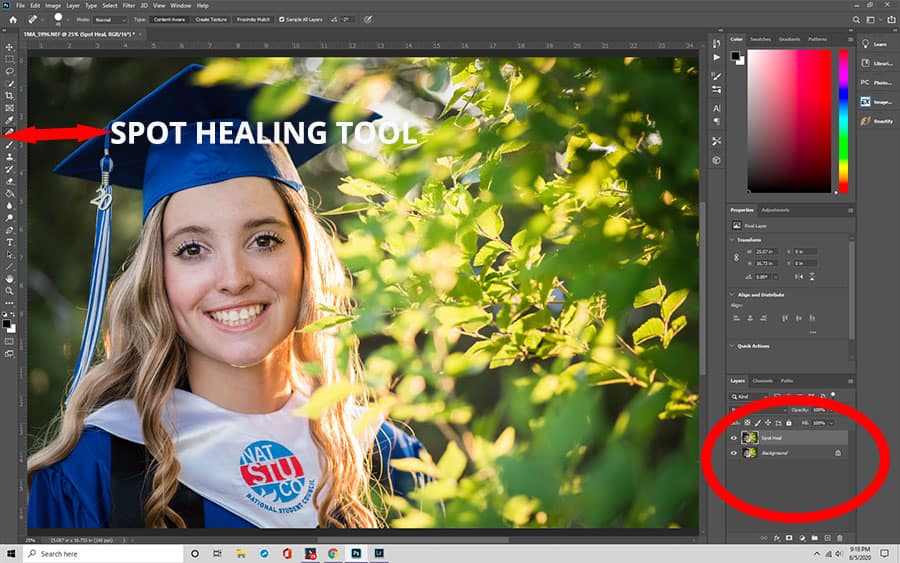
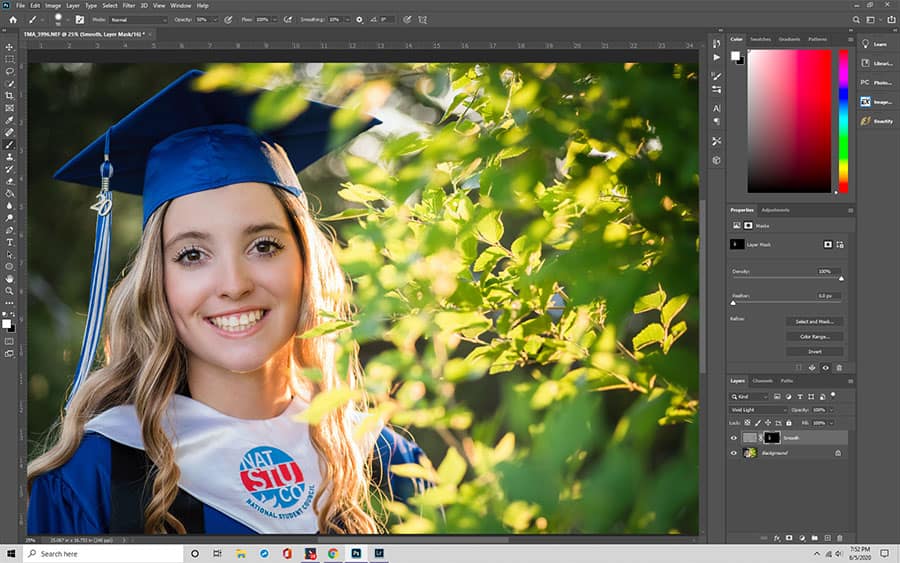
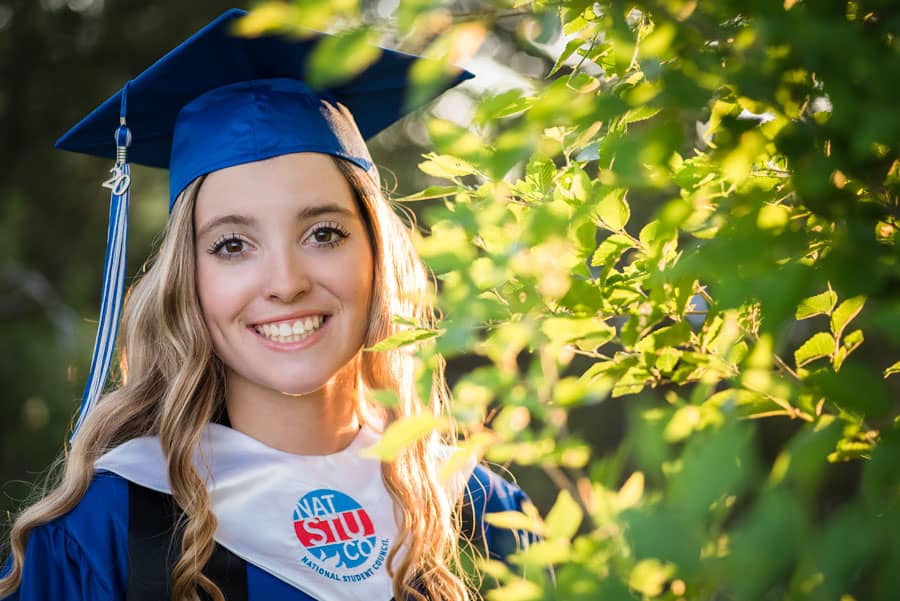
We’ll examine these methods using this photo from one of our writers here at Cole’s Classroom. Our model has lovely skin, but we might decide we want a more high-end finish to the image.

An initial skin cleanup is optional, but it can make your overall results look even better. So if you want to achieve the look of smooth skin in Photoshop, first get rid of any blemishes your subject may have.
Step 1: Open the Image in Photoshop
In Photoshop, click File > Open. You can also.use keyboard shortcuts, Ctrl+O or Command+O on Mac. Then, select the photo you want and click the Open button.
Step 2: Create a New Layer
Make a copy of the original photo (Background Layer) in Photoshop. To do this, press and hold the Alt key for Windows and Option key for Mac. Then, click on the Background Layer. Next, drag the Background Layer onto the New Layers icon, which is at the bottom of the Layers Panel in Photoshop.
After you do this, a dialog box will open. You’ll see a section where you can name the layer. In this case, you’ll want to name the layer “Spot Healing.” Then, click OK.
Now, you should see two different layers in Photoshop. The copy of the image should appear above the original layer. The copy layer should be named “Spot Healing.” The original layer should be listed as “Background.”
This allows you to do the initial blemish removal on separate layers and not all in one, which makes for a smoother, more realistic look.
Step 3: Find the Healing Brush
Locate the Toolbar and look for the Spot Healing Brush. In the Options Bar, set the Type to Content-Aware. This feature is helpful because it allows you to smooth skin in Photoshop by removing imperfections and replacing them with softer textures from the surrounding areas of your subject’s face.
So once you have the Healing Brush selected, click on any rough textures, blemishes, or other imperfections to remove them. If you make the brush size a bit larger than the photo, you should achieve the best results.
To make your brush larger, hit the right bracket key ( ] ). For a smaller brush, press the opposite key ( [ ). If you don’t see any noticeable results, press Ctrl+Z on Windows or Command+Z on Mac to undo your work. Then, keep resizing your brush and clicking the unwanted blemishes until you reach the desired results.
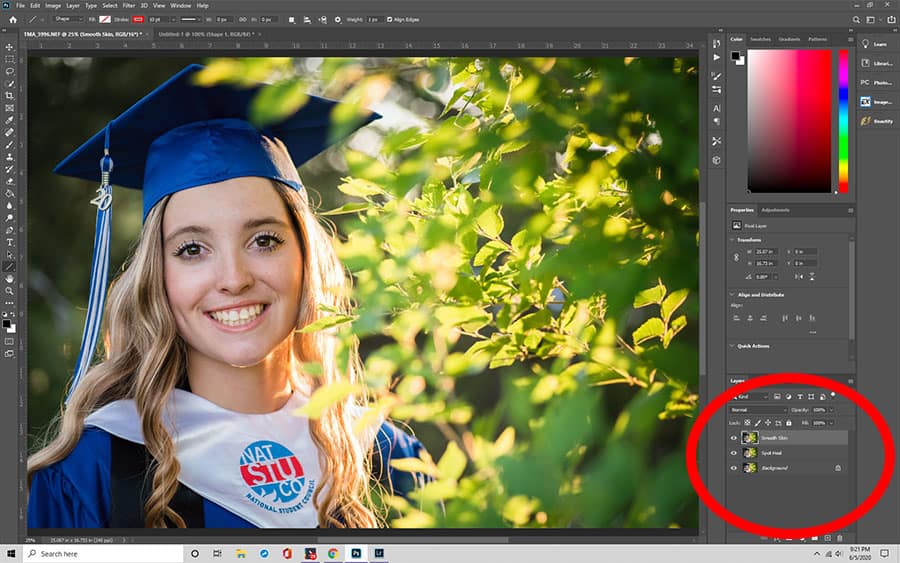
Step 4: Copy the Spot Healing Layer
Now that you’ve removed the blemishes from your subject’s face, it’s time to create a softer texture. But first, you need to create a separate layer. To copy the “Spot Healing” layer, press and hold the Alt (Option) key and click on the “Spot Healing” Layer. Then, drag it down to the New Layer icon.
When the Duplicate Layer dialog box opens, name it “Smooth Skin.” Then, click OK. After this, you should have three different layers: the original photo (Background) layer, the “Spot Healing” Layer, and the “Smooth Skin” layer.
The “Smooth Skin” layer should appear above the “Spot Healing” one. The “Spot Healing” layer should appear above the original photo (Background) layer.
Softening Skin With Photoshop’s High Pass Filter
Photoshop’s High Pass filter is an excellent tool because it smoothes skin in portraits. It works so well because it applies a smoothing effect to an entire photo. Then, by using a layer mask, you can uncover certain parts of a photo you want to stay sharp, such as the hair, mouth, and eyes.
Below are step-by-step instructions to achieve a skin smoothing effect in Photoshop using this method. We’ll use the same image as above.
Step 1: Copy the Layer
If you did the initial cleanup, then you can skip this step. But if not, just copy the original layer and give it a name. You can call it “Smoother Skin” layer, whatever is easier for you to identify.
Step 2: Select the Filter
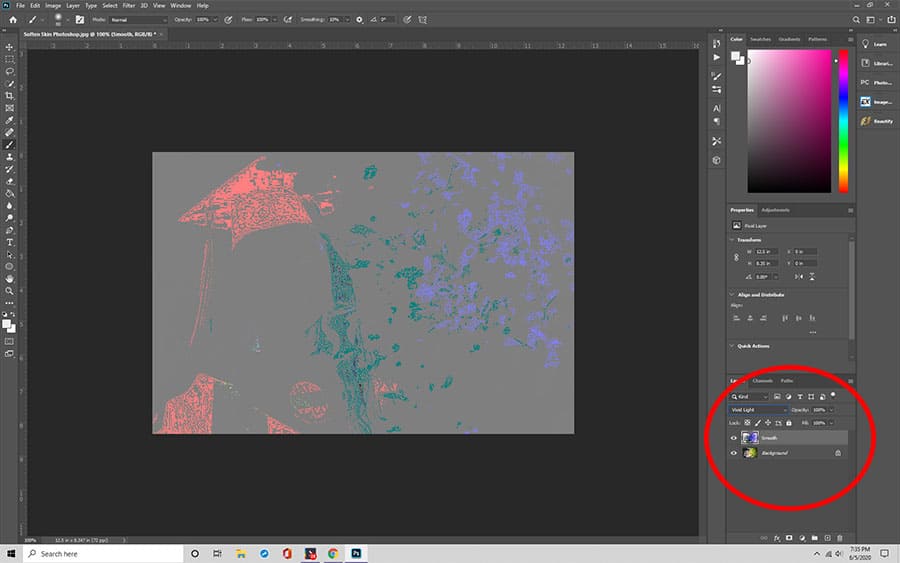
Next, select Image > Adjustments > Invert. The photo should appear softer and blurred out, except for the eyes and mouth.
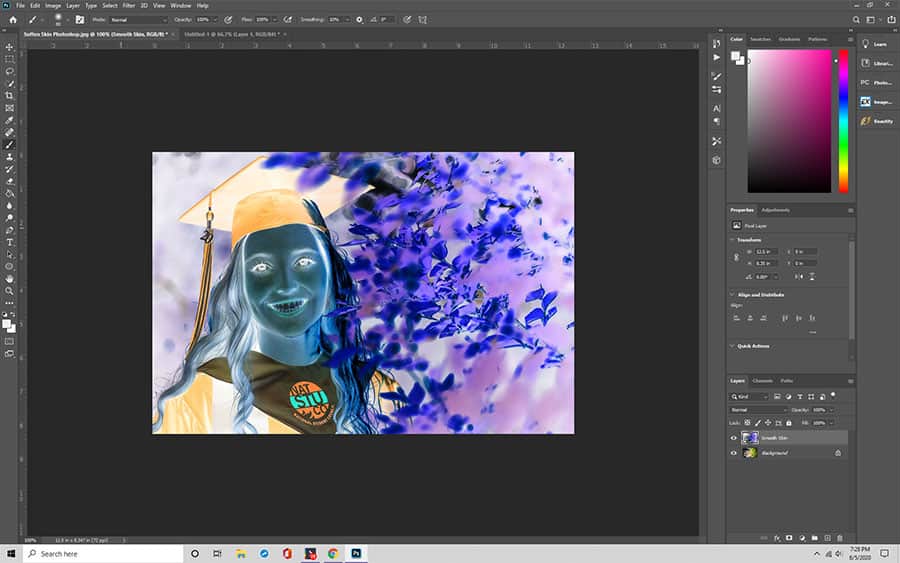
Then, in the Layers Panel, set the blending mode of this layer to vivid light.
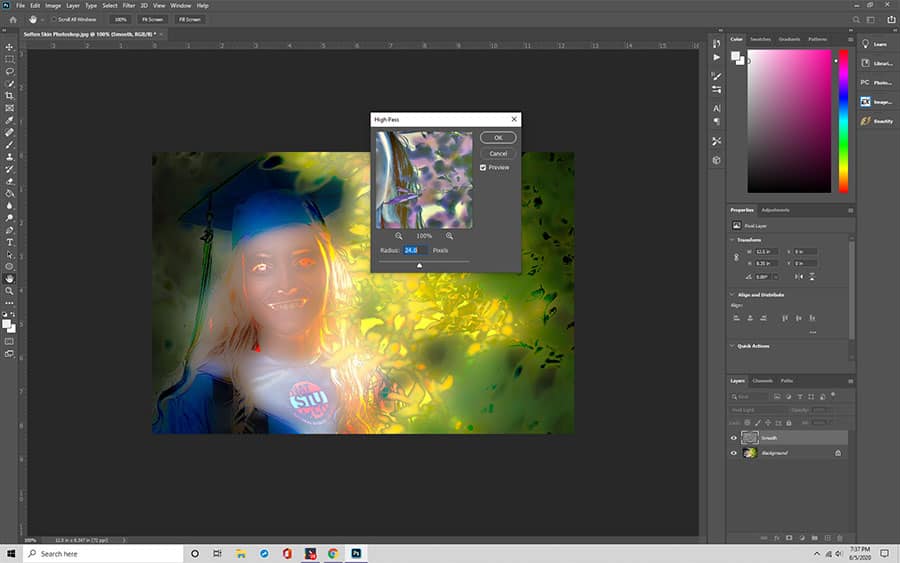
Under the Menu Bar, go to Filter > Other > High Pass. A dialog box will open, which displays the Radius value, which controls the thickness of the edge highlighting. The lower the Radius value, the less it will highlight the details in an image, and vice versa.
So if your subject is further back in the photo, then you’ll need a lower Radius value in order for it to capture every detail. But if your subject is closer, you’ll want to set it to a higher Radius. A Radius of 24 pixels works well for most portraits.
Once you’ve chosen the optimal Radius value for your portrait, click OK to close the dialog box. As a result, your photo will show a gray overlay.
Step 3: Use a Blur Filter
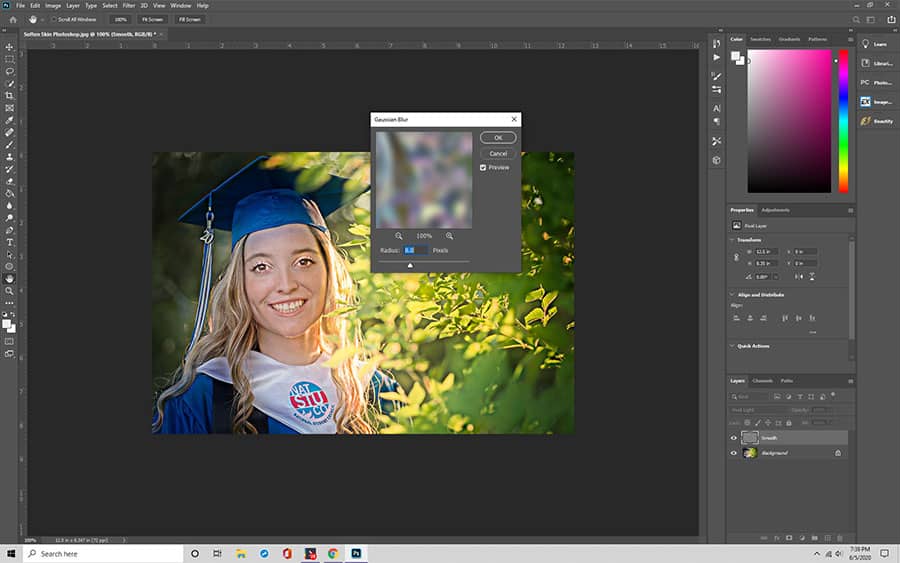
Using the Gaussian Blur feature in Adobe Photoshop, you can further reduce the sharpness of the photo. To use Gaussian Blur, go to the Filter menu again. Only this time, you’ll choose Blur > Gaussian.
After opening the dialog box, change the Radius value to one-third of the value you used for the filter. For example, if you set the radius to 18 pixels, then one-third of that is 6. Therefore, you’d set the radius to 6 pixels. After you’ve entered the radius, click the OK button.
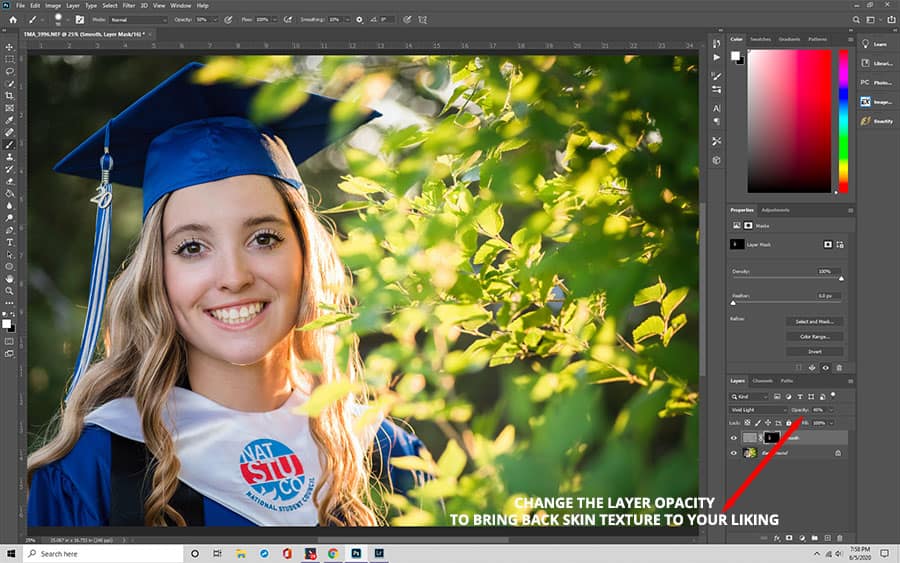
Step 4: Add Layer Mask
Because you don’t want to smooth out the entire photo, you must add a layer mask. To do this, hold the Alt (Option) key and click the Add Layer Mask icon in the Layers Panel. Your layer mask should be black. Then, select the Brush tool. Choose white as your Foreground color.
Next, pick a brush tool. Set the Hardness, Opacity, and Flow to whatever percentage that achieves the look you’re going for. Try starting with values of 50 percent for Hardness, 50 percent for Opacity, and 100 percent for flow. Use the brush tool to paint over the skin to reveal the “Smoother Skin” layer.
You can reduce the opacity if you want the subject’s face to keep some of its original skin texture.
Softening Skin With Adobe Photoshop’s Frequency Separation Feature
Another method to create a smooth skin in Photoshop is the software’s Frequency Separation feature. Each photo contains different frequencies. These frequencies determine the amount of detail a photo has.
Higher frequencies in a photo include fine details. These details consist of imperfections, skin tone, fine lines, pores, and hair. Lower frequencies are related to tones, colors, light areas, and shadows.
To smooth skin in Photoshop, you have to separate your subject’s face from the tone and shadows in the photo. This allows you to alter the colors, shadows, and highlights in a photo without messing up the texture. The Frequency Separation tool allows you to retouch your photos seamlessly.
Step 1: Open Your Image in Photoshop
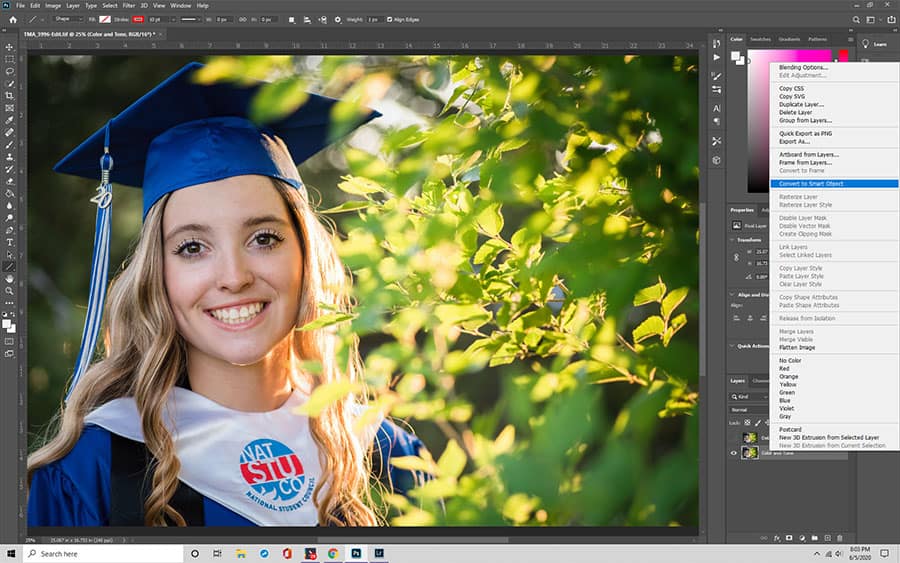
After uploading your photo in Photoshop, press and hold the Alt (Option) key to copy the Background layer. Name the duplicate “Detail & Texture,” which will be the high-frequency layer. Click the eye symbol to hide this layer for now.
Then, rename the Background layer to “Color & Tone,” which will act as the low-frequency layer. After that, right-click and select Convert to Smart Object.
Step 2: Blur the Image
Select the “Color & Tone layer. Then, go to the Filter > Blur > Gaussian Blur. Change the radius until you no longer see the skin texture. Click OK.
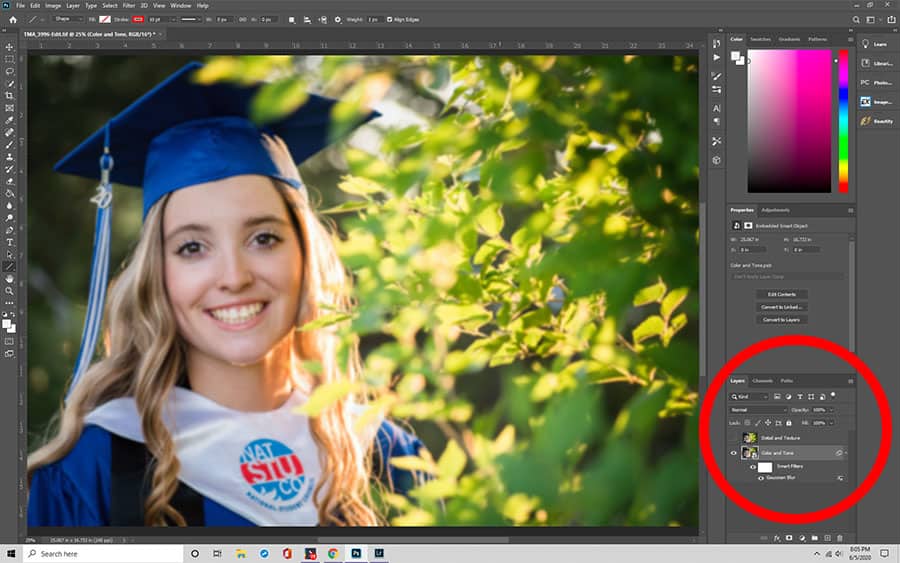
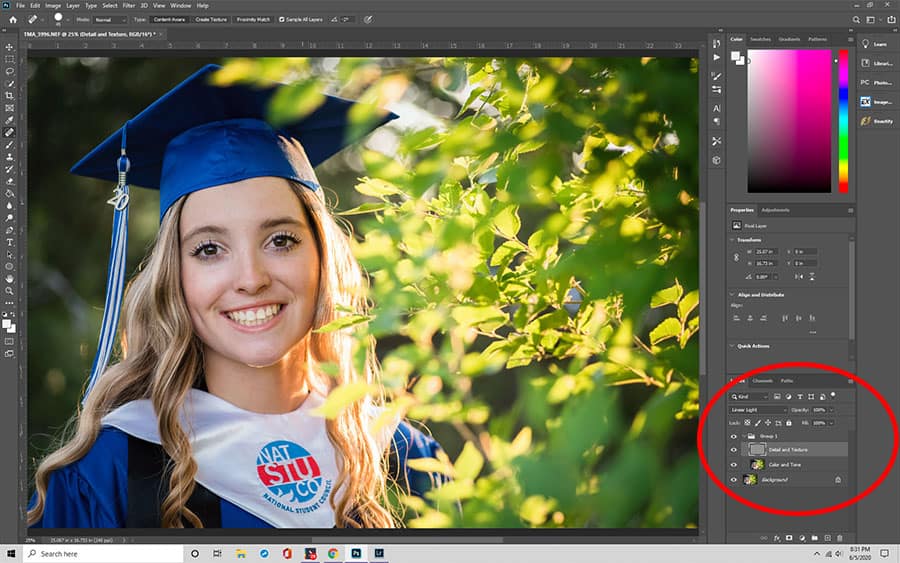
Step 3: Create a New Layer
Press and hold Ctrl (Command) + Shift + N to create a new layer. Place it between the Detail & Texture and Color & Tone layers. Name it “Retouch Color & Tone.” Unhide the Detail & Texture layer by clicking the eye symbol next to it.

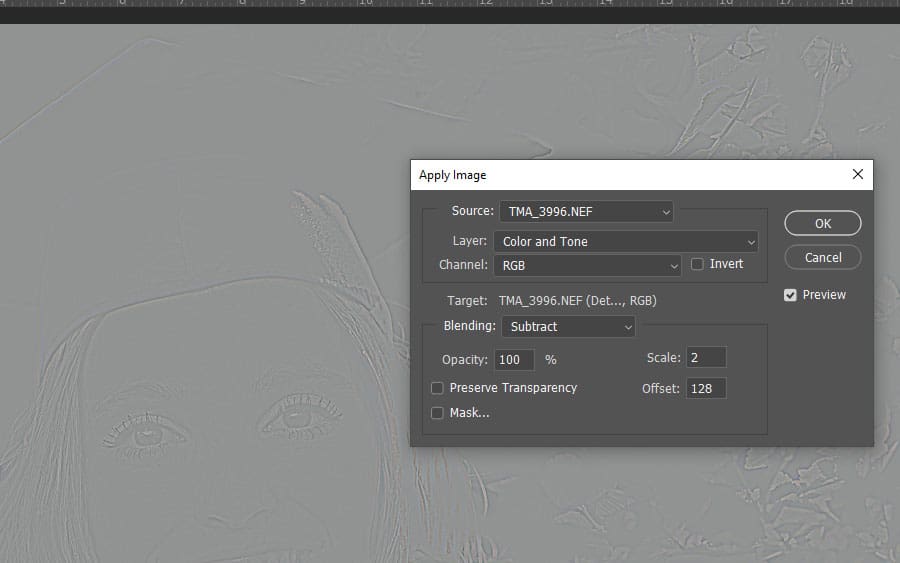
Step 4: Open the “Apply Image” Setting
At the top Menu Bar, select Image > Apply Image. In the settings, change the layer to Color & Tone. Under Blending, select Subtract. Set the Scale to 2. Then, change the Offset to 128. Next, click the OK button to apply the changes. After this, you’ll notice a gray overlay.
From the Layers Palette, change the Blend Mode to Linear Light. Your photo should appear normal again, only now it’s sharper.
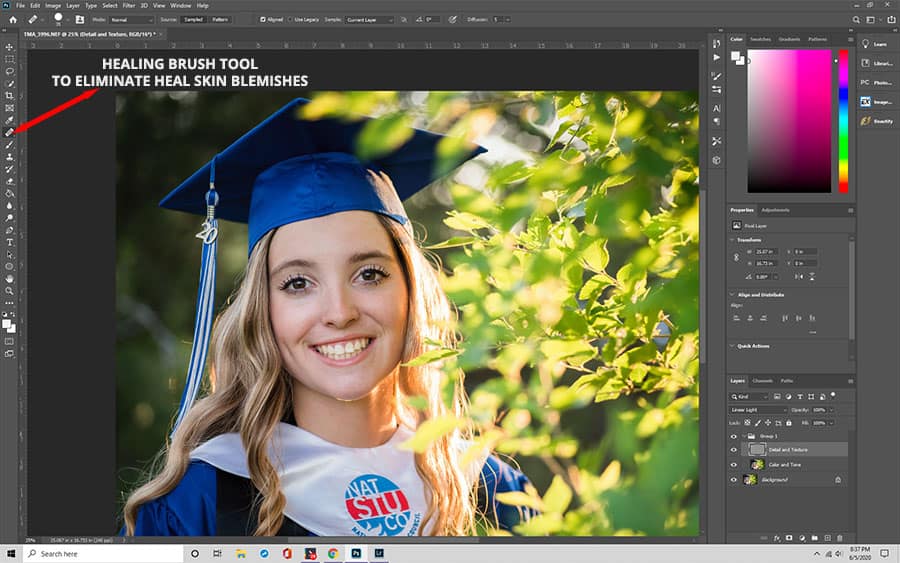
Step 5: Retouch the Skin
Select the “ Detail & Texture ” layer and use the Healing Brush tool to reduce the appearances of low-frequency details, such as wrinkles and blotches.
Step 6. Smooth the Skin
Then, select the “Color and Tone” layer. Add a quick mask by selecting it from the toolbar at the left.
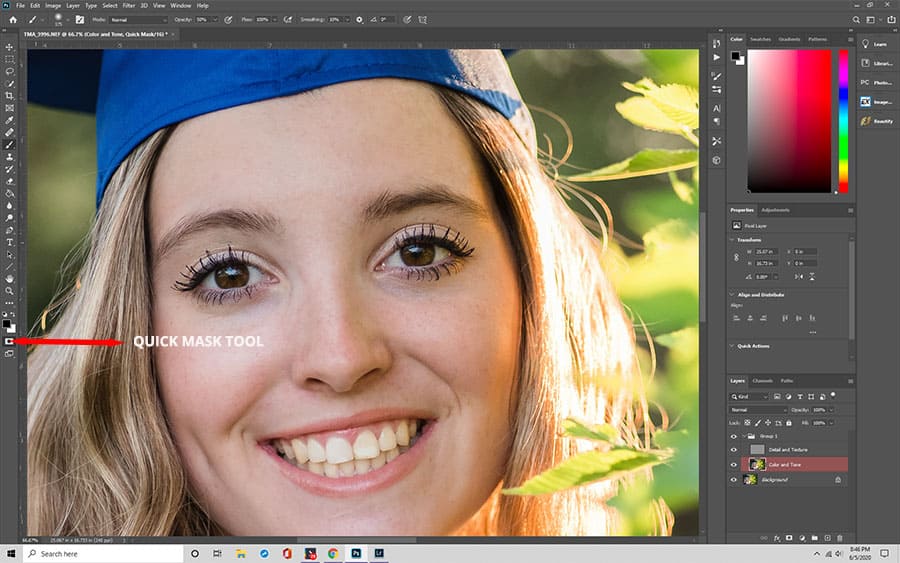
Use a soft brush on the mask to paint over the areas where you want to smooth the skin. You’ll see the mask being brushed on in red. Then hit “Q” to toggle between the painted mask and the selection ants marching.
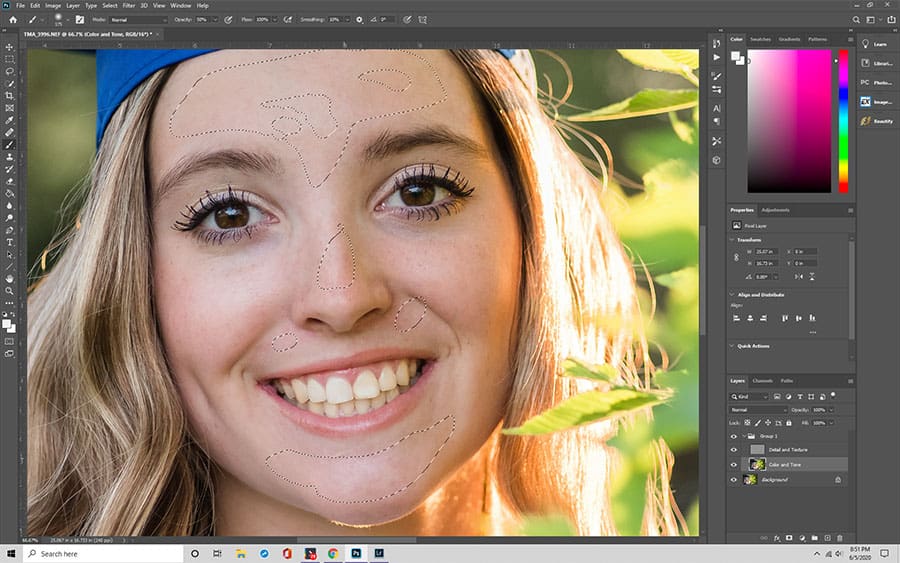
Now we want to smooth these layers out. Choose Filter > Blur >Gaussian Blur. Choose a radius where the skin looks smooth without any vignetting at the edges. Once you’re satisfied with the results, Choose Control+D or Command+D to deselect the selection. You can work on smaller areas individually to use different levels of blur.
Wrap Up
Retouching portraits in Photoshop may seem like a headache. But if you follow the steps closely, it should be fairly simple. For a better understanding, we suggest applying these steps to a photo as you follow along. That way, you’ll be able to achieve an excellent result that you can then duplicate in future image edits.