


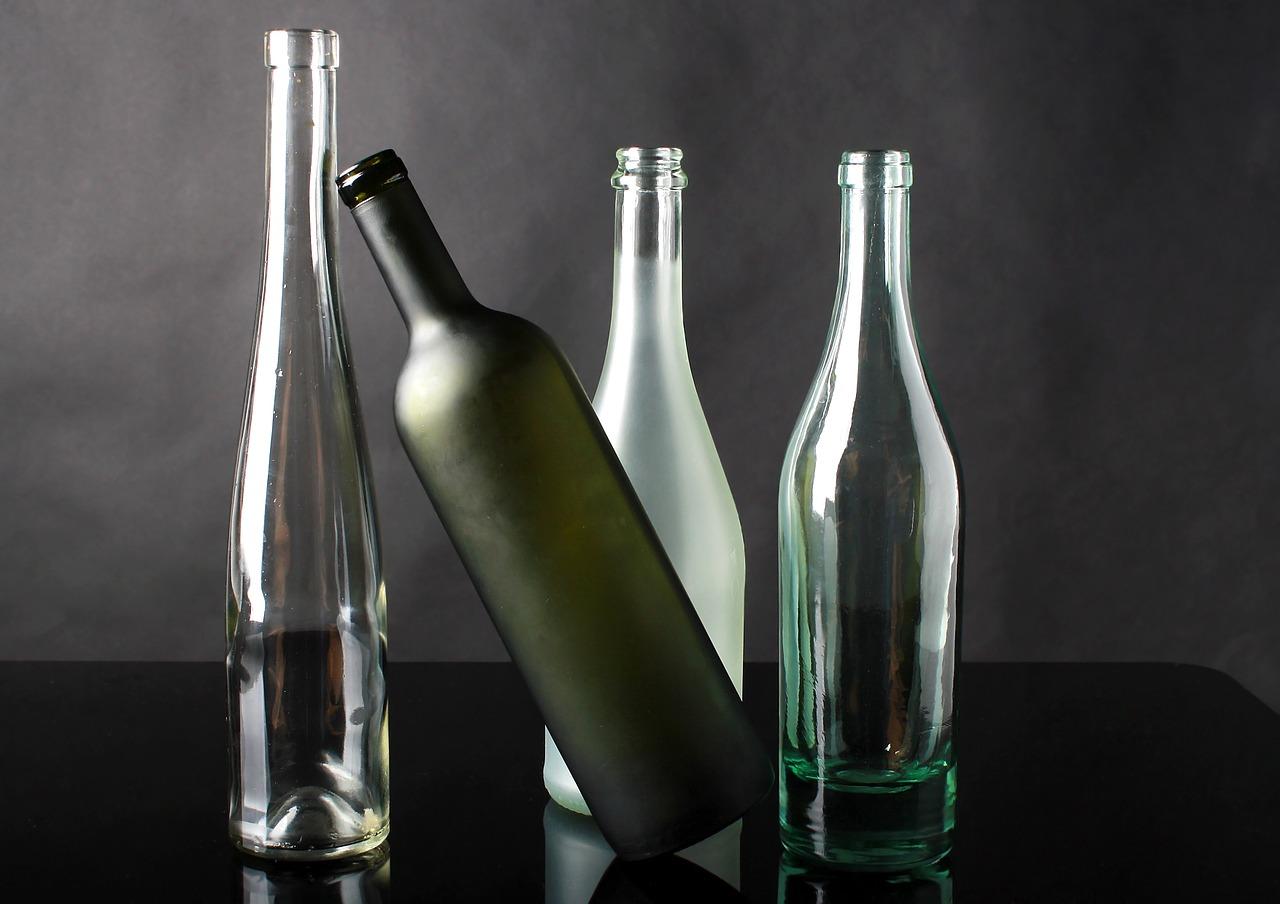
Many people like to use photo transfers to make unique artwork out of plain glass. These customized pictures on glass make a great DIY Christmas or birthday gift. And they can spruce up your decor without breaking your bank.
Looking to improve your photography? Just enter any questions you have about improving your photography below and hit send and get answers & feedback instantly - for FREE! Submit QuestionsThe easiest and most common technique for transferring a photo to glass is to use the decal method. A decal is a photo that you stick to a glass surface that can be permanent or temporary. Today, we’re going to look at how to use Mod Podge to transfer pictures to glass.
The technique of transferring photos on glass is simple and doesn’t take long to perform. And the biggest benefit is that it’s affordable enough to suit all budgets. Let’s look at how to transfer a photo to glass with Mod Podge.
Transferring with Mod Podge
When doing photo transfer to glass, the preferred technique is to use the decal method, which relies on Mod Podge, a type of paint that works for photo transfer to your chosen glass.
Mod Podge is an all-in-one photo transfer medium polymer that works as a glue, sealer, and finisher to adhere to materials like paper or fabric to a porous surface. This product contains polyvinyl acetate. You can use this water-based chemical on surfaces such as:
- Glass
- Paper
- Fabric
- Wood
- Ceramic
- Tin
- Terra Cotta
- Some plastics
The Decal Method can take some trial and error before you get the hang of the process. Don’t get discouraged if you fail the first, second, or tenth time. Just keep trying. Once you get the hang of photo transfer to glass, the process is pretty fast.
Which Printer to Use -Laser or Inkjet?
To use the decal method to photo transfer to glass, start by printing your images on printer paper. Do not use photo paper, as this won’t let your photo transfer to your glass surface. For the photo transfer to your glass, you will need to remove most of the paper, leaving behind a thin layer with the photo.
Be sure you edit your photo before printing so that your words are reversed. Trying to photo transfer with the words normally placed will result in backward words. The same goes for images that need to face a specific way to look right.
Another thing to remember about photo transfer onto glass is that you should use a laser printer instead of an inkjet. Most home printers are inkjet. If you don’t want to invest in a new laserjet printer, you can use a professional printing service to create the images for a few dollars.
You may be wondering why the type of printer matters. Using the wrong printer can create graphics that mess up during the photo transfer.
An inkjet printer uses wet ink to print your photos. This type of ink tends to bleed or smear when wet, resulting in damaged images.
A laser printer uses powdered ink (toner), which is pressed by heated rollers. This process fuses the color into the paper. Images printed with a laserjet won’t mess up if wet.
SPECIAL OFFER – Get Our Photography Fundamentals Guidebook Here for Huge Savings Today – Finally, a VISUAL guide that makes mastering photography as SIMPLE as “A-B-C” so you can confidently shoot in full manual mode, and know which settings to adjust…guaranteed! Click here to learn more.

Helpful Tips for Better Transfers
There are some tips to use for doing successful photo transfers to glass. Following these tips will give you better final results.
Tip One
Apply the Mod Podge in a thick layer to where you can’t see any of the photo underneath. Doing this keeps your decal from tearing and helps it stick to the glass better.
Tip Two
Use a thin printer paper, so there’s less to rub away to create your decal. Any paper less than twenty pounds would work for your decal.
Tip Three
Be aware of which Mod Podge you choose, as there are different types. You’ll get the best results with a photo transfer medium formula.
Tip Four
Avoid rubbing your photo too hard, or you can tear the paper. Instead, you should wet the paper, rub some of the material off, let the area dry, and then repeat the process until it’s to the thinness you want. It may take a few different sessions to get the look you want.
Tip Five
Your photo transfer will work best on a clean glass surface. Wash your glass with soap and water or use a glass cleaner before applying your decal.
Materials You Need
There are a few things you will need for a photo transfer to glass. First, you will need your chosen glass decor. If this is your first time using the decal method, you may do best with a flat glass surface instead of a curved glass shape.
You’ll also need to have a bottle of photo transfer medium formula Mod Podge. You can find this at any craft store or online.
Other materials you’ll need are the photo you want to use as a decal, printed on plain printer paper using a laserjet printer, a pair of scissors, a few sheets of wax paper, a foam brush, a sponge, and some water.
How to Transfer Photo to Glass
Once you’ve collected your materials, the photo transfer to glass or picture on the glass process is ready to begin. It doesn’t take long to complete the method, but it will take a day or two for the product to dry and be ready for use.
Step by Step Instructions
Follow these step by step instructions to photo transfer to glass. Failure to follow these steps can result in a defective decal that is permanently stuck to your glass.
Step 1: Print out your images on your printer and cut them out with the scissors.

Pick out what image you want to use and edit it for printing. Make sure you’ve reversed the image if needed, so it prints correctly.
Many people send their images as a word document rather than a jpeg to send to a professional printer. Give specific instructions to use plain paper instead of photo paper. And make sure the business you choose will use laser printers. Smaller companies may use inkjet.
Once your photos are printed, use your scissors to trim the white space. You’ll want the picture to trim down enough to fit on your glass surface. Leave a ½” to 1″ border around your image.
Step 2: Lay your photos face up on wax paper.
Spread your wax paper down on a flat surface. If you don’t have wax paper, you can use a silicone mat.
Place your trimmed image down on your paper, face up. The wax paper will keep the mess to a minimum and keep your paper still while you’re working. Set aside the rest of the wax paper for later use.
You may find it useful to place something heavy on the ends of your wax paper to keep it in place. Or, if possible, tuck the ends under the edge of your counter or table.
Step 3: Spread Mod Podge in a thick layer using the foam brush.
Once you’ve set up your work station, dip your foam brush into the Mod Podge and apply it to the front of your picture. You can also add a large glob of Mod Podge directly to your photo and spread it over your image using the foam brush.
Use broad strokes to cover the entire area with a thick, even layer of Mod Podge. You should not be able to see through the layer of Mod Podge.
For the best results, keep your strokes going in the same way, either horizontally or vertically. And try to keep the strokes even so you don’t end up with a decal that’s bumpy or lopsided. You may want to apply more than one layer.
Step 4: Set aside to dry for 24 hours.
Once you’re through applying the Mod Podge to your image, leave it to rest on the wax paper for twenty-four hours.
During this time, it’s essential to keep the images still and face up. Depending on the humidity of your area, it may take additional time to dry completely.
The best results come from doing this process in a room that stays at a consistent temperature between 60 – 80℉.
Do not use a heat source to dry or a fan. Your product should have time to air dry before you start to use your decal.
Step 5: Using a sponge, generously wet the back of the image.
After your image transfer has completely dried, transfer it to a clean piece of wax or another non stick paper. Flip it over so you can access the back of the page. Dip your sponge into the water you’ve set aside.
Don’t wring the sponge out before applying it to your picture. You want the water to break down the construction of the paper so you can create your decal.
Place the sponge on the back of your paper and blot the area where you want to work. Press the sponge onto the paper to release water and rub. You may need to frequently wet your sponge throughout the process, depending on your image’s size.
Other people use a spray bottle instead of a sponge. Or they run their image transfer under the faucet to dampen the photo. But we find the sponge technique gives you the best control of thinning your paper without tearing it.
Step 6: Carefully rub against the paper on the reverse of the image.
As you wet the back of your picture, apply medium pressure and rub against the paper using your finger. You will notice the material starting to peel away.
Continue the rubbing as you work your way across your picture. Do not rub too hard or stay too long in the same area, so you don’t risk ripping your image. If the area starts to dry out, rewet it before continuing.
In most cases, you will not remove all of the paper in the first wipe. The best option is to rub your picture down once, let it dry, and then repeat the process.
It will most times take two to three repeats to get the results you want (depending on paper strength). The thinner your paper, the faster you’ll have it worn down.
Step 7: Let the photos dry.
Once you’ve finished rubbing your paper down, set it aside to dry. Once finished, check to see if there are areas where the paper is too thick and needs to be rubbed more.
If you’re happy with your final product, it’s time to move onto the final step – transferring your image to the glass.
It’s best to precisely get your decal the way you want it before you try to transfer it to your surface. Once adhered, the decal can be challenging to remove without damaging.
Step 8: Cut out the images and adhere the photos to glass.
Once your picture is completely dry, do any final trimming to remove excess white space. You may need an Exacto knife to trim any excess Mod Podge photo transfer.
Carefully transfer your Mod Podge photo transfer decal from your wax paper to your glass surface. The image transfer will stick, so you have to be careful where you place the decal.
Do not apply pressure to the image transfer until you’ve got your decal positioned appropriately. Use your fingers to smooth the Mod Podge photo transfer against the glass and remove any air bubbles.
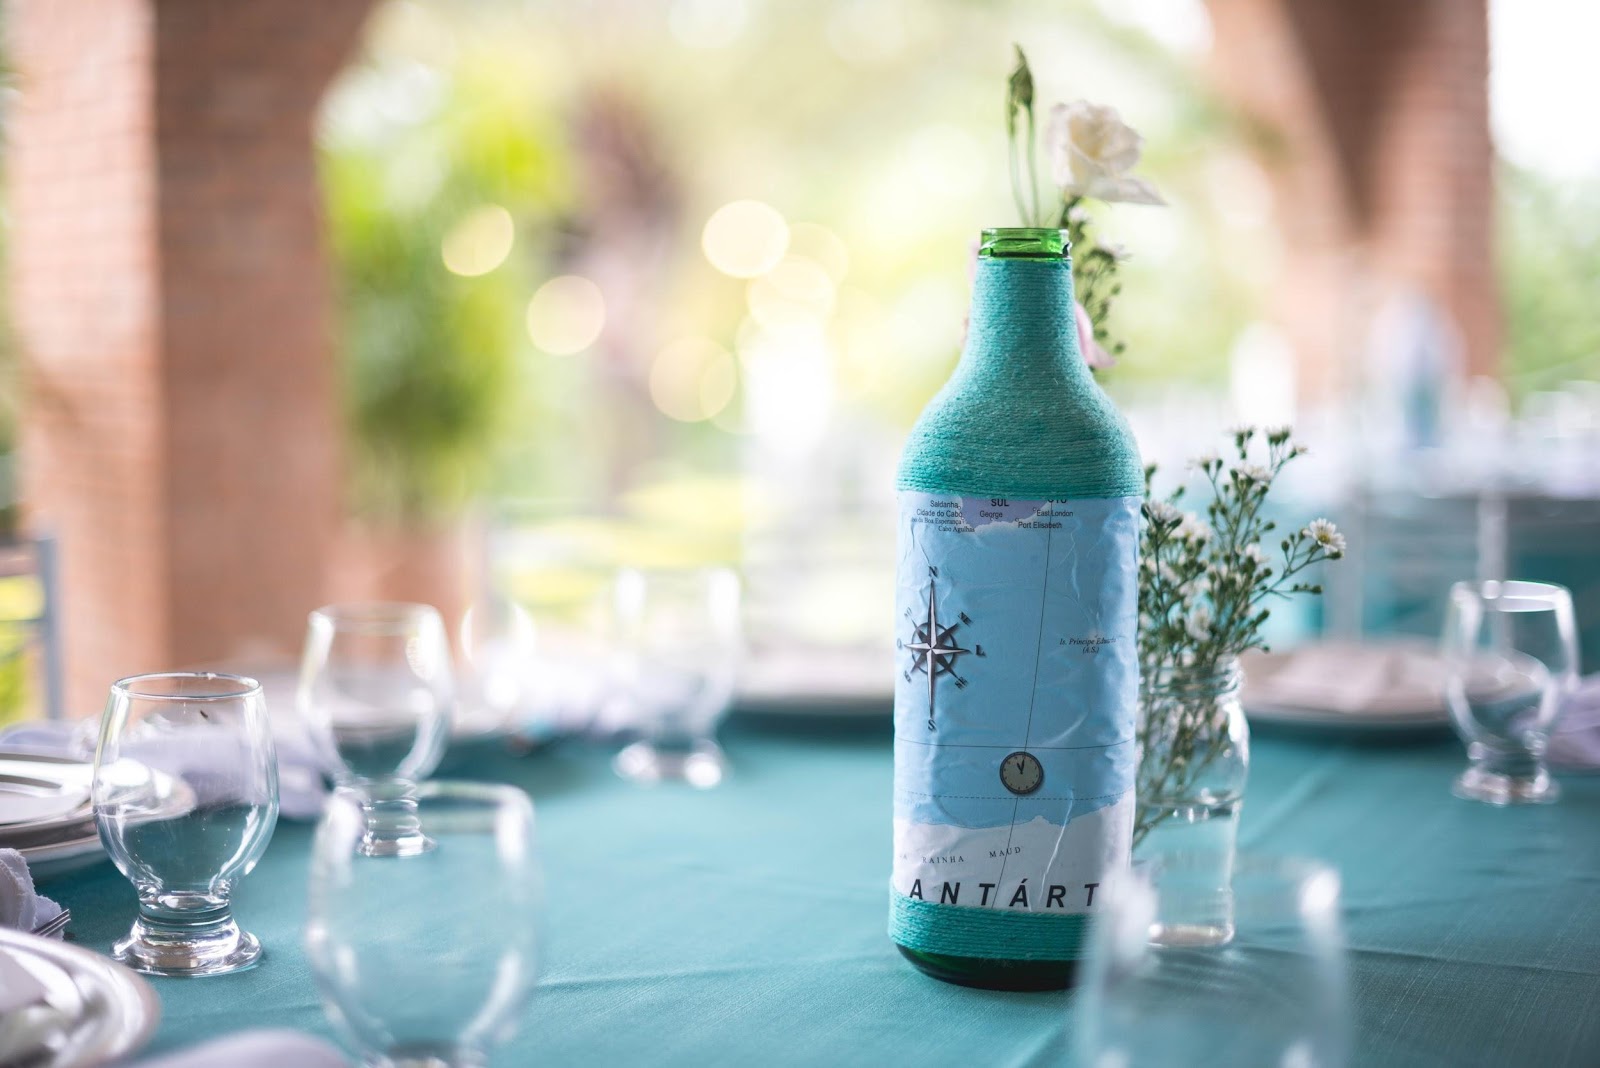
Photo by Mayron Oliveira on Unsplash
Since Mod Podge photo transfer works as a three-in-one product, your image transfer should stay permanently on the glass surface.
But some people do apply a thin layer of sealant over the top of their photos to ensure it lasts. If you’re going to be using your glass item frequently, such as glass, it’s best to add a protective layer over your photos for longer-lasting results.
FAQs on How to Transfer Photos to Glass
Here are a few common questions people have about transferring photos onto glass or photos on glass. These answers should help you have a better understanding of the process.
How do you transfer an image onto glass?
The easiest way to transfer photos on glass is to use the Mod Podge technique we’ve explained. But you can also apply your image transfer to glass using sticky photo paper or packing tape.
How do you transfer a photo onto glass with Mod Podge?
To transfer photos on glass using Mod Podge, you apply a thick layer of this chemical to your image and let it dry. Then you remove the paper’s back layer, leaving behind the Mod Podge layer, which contains the image you’ll stick on your glass.
How do I transfer an inkjet photo to glass?
If you choose to use an inkjet printer for your photos, it’s best to let your photos dry for a few hours before you attempt to apply the photos on glass, so the ink has time to set into the paper.
Then use a decoupage/transfer medium to cover your image transfer and adhere your photos on glass. Mod Podge is the best option for transferring photos on glass, but there are other brands you can try.


![The 13 Keys to Success in Photography [#6 Will Surprise You]!](https://colesclassroom.com/wp-content/uploads/2018/12/pexels-photo-1263986-768x512.jpeg)
