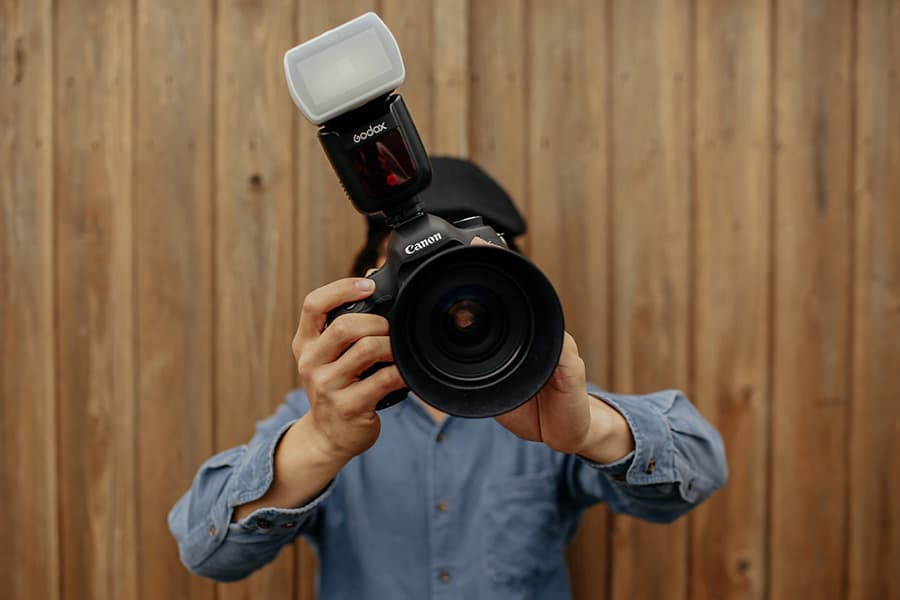

Grab your flash and head outside. We’ll show you how to use fill flash outdoors!
You’re shooting outside in great lighting conditions. So why in the world would you want to add flash? It’s all about filling in the shadows and balancing your ambient light with the exposure on your subject. Today we’ll learn how to use fill flash outdoors for portraits, and troubleshoot some common problems you might encounter!
Looking to improve your photography? Just enter any questions you have about improving your photography below and hit send and get answers & feedback instantly - for FREE! Submit Questions
What is fill flash?
Fill flash is a photography technique. It uses a flash to supplement the existing light in a scene. We call it fill flash because the flash fills in the shadows or dark areas in a scene. The flash isn’t the primary light source.
When should I use fill flash outdoors?
Fill flash is really helpful in a few different situations:
- When your subject is backlit (the background light is brighter than the light on your subject’s face).
- To lighten shadows and add detail to darker areas without overexposing highlights.
- Fill in shadows caused by hats, other people’s heads or facial features.
- Add catchlights to your subject’s eyes.
- You want to expose your subjects properly but still keep some color and texture to your sky.
- To add some separation from your background and subject.
You can also use fill flash indoors!
This tutorial talks about using fill flash for outdoor portraits, but fill flash works for any genre of photography – macro and product photography included.
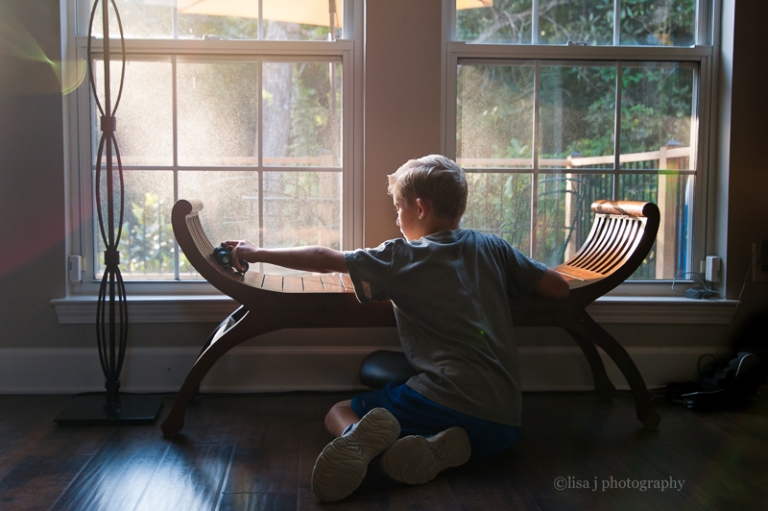
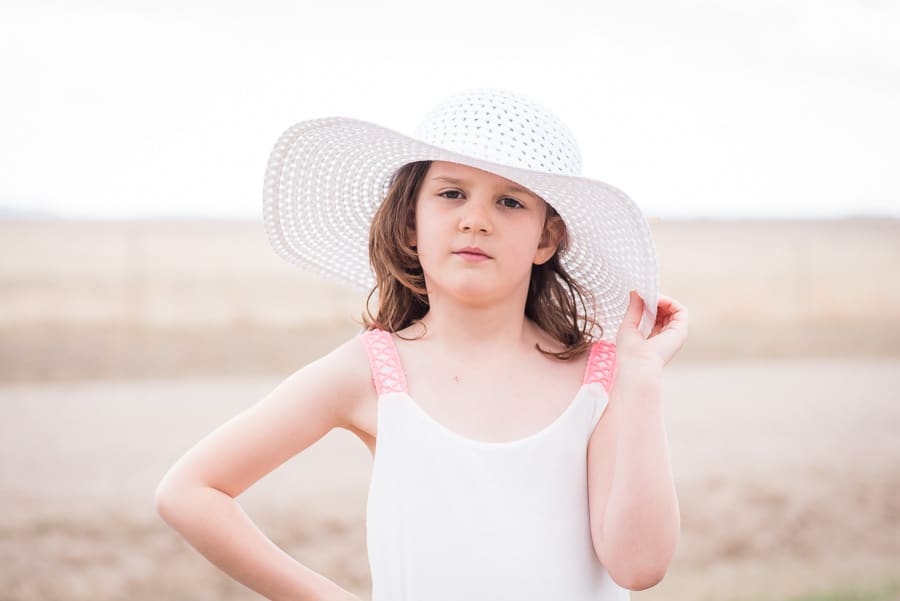
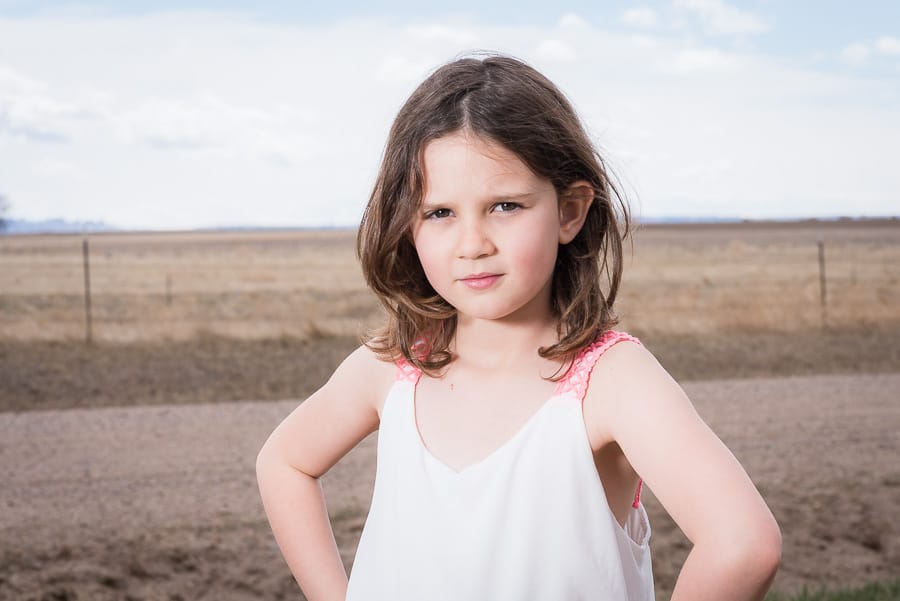
Below are two photos of my daughter, taken within minutes of each other. The sun was directly overhead with some clouds for shade. This first image is using natural light only. It’s not a bad image, lighting wise. She’s pretty evenly lit, there aren’t any blown highlights and the whites look white. But her eyes look slightly sunken in and while there is a catchlight in her eye, they aren’t exactly sparkling. And because I was trying to lighten up her eye sockets, she looks a little washed out. I’m getting some pink reflected back up to her face from the stuffed animal, so ignore that. And ignore her pouty face. She was going for serious. 🙂

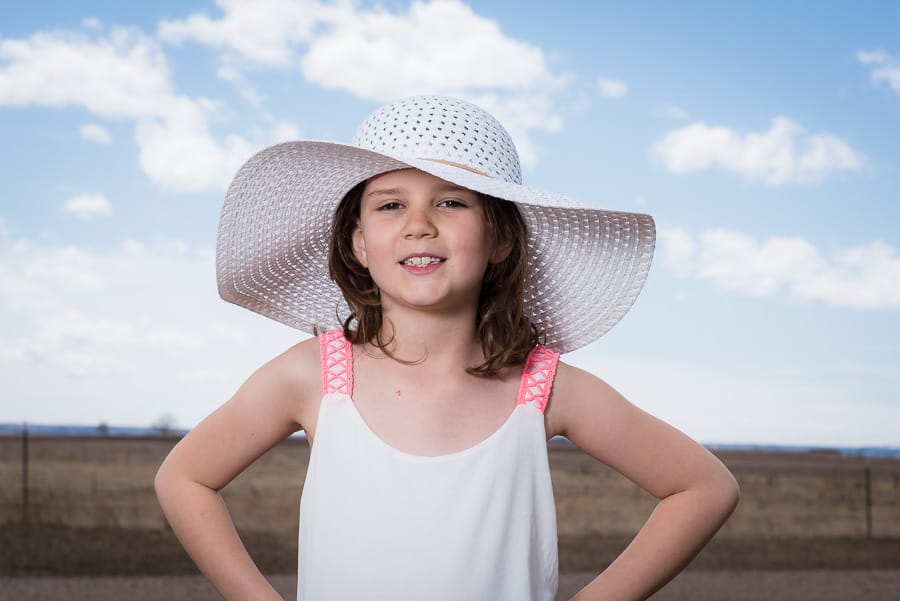
Here’s what happens when I add just a touch of fill-flash to an outdoor portrait. Her eyes have some sparkle to them, she’s even lit with more subtle highlights.

IMPORTANT: It’s reckless & irresponsible to NOT understand how to use (& when to use) a FLASH.
Understanding lighting is not a “nice to have” but a “must-have” skill… and something you need to take seriously.
Click here for our Flash Photography 101 Course and Master Flash in Just 2 Hours!

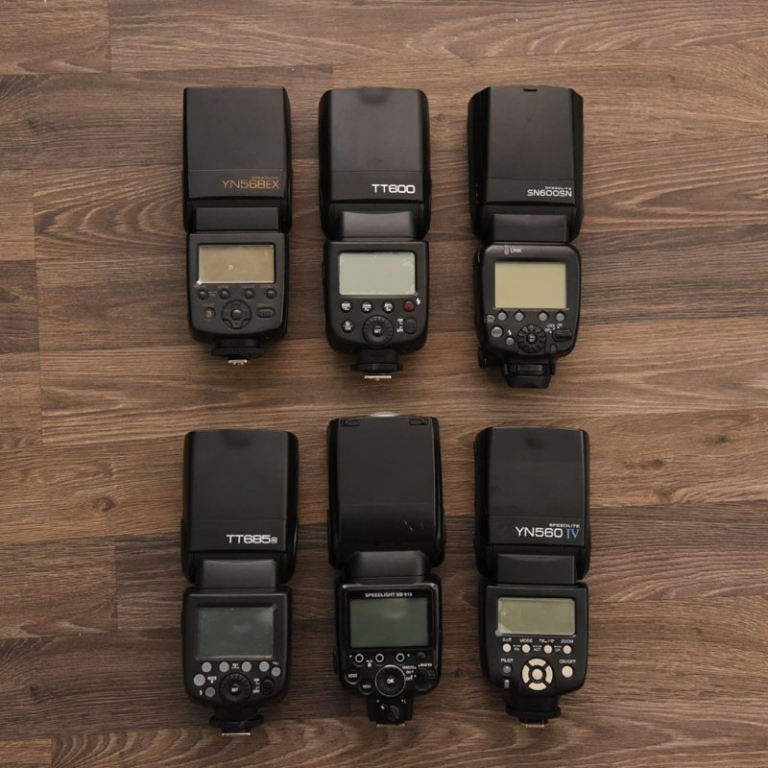
What kind of flash do you need for fill flash?
Any kind of flash can function as fill flash. As I said above, it’s a technique, not a specific piece of equipment. You can use a speedlight, strobe or even the popup flash on your camera (it comes with some drawbacks but it can be used!).
You can also use fill flash with an on-camera flash or off-camera flash.
Want some help getting started with off camera flash? We have a tutorial for that!
How to use fill flash outdoors
When your shooting environment requires some fill flash, here’s the basic procedure.
- First, set your aperture, shutter speed and ISO to expose the background to your liking. Remember to use a shutter speed below the max sync speed for your camera.
- Once the background looks like you want it to, turn on your flash.
- Then take a picture with the flash firing and aimed at your subject. I usually start at 1/8 power but you can use any power you like.
- Check your image on the LCD screen of your camera and see what you think. If needed, adjust your flash power up or down to add more or less light on your subject.
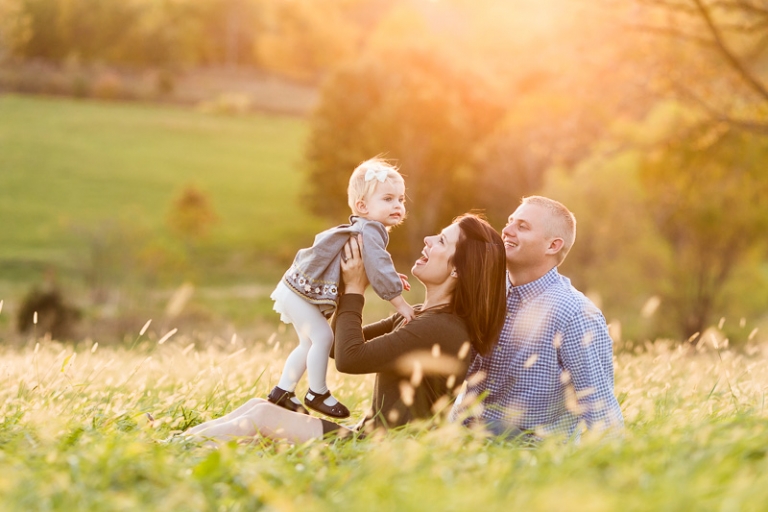
Here’s some additional examples of shooting natural light only vs. shooting fill flash. Here, the sun was still pretty high overhead with just a hint of cloud cover. I couldn’t face my subject into the sun or she’d be to squinty. And we didn’t have any shade to work with.
This first image is natural light only. Again, lighting-wise, it looks okay. Her face is exposed correctly and there aren’t any horribly hotspots. But because I’m exposing for her face, the white of her dress is so bright it’s lost most of the texture and I’ve lost all the color in my background. She also doesn’t have much for catchlights in her eyes. It’s also pretty flat. My settings were f/5, 1/250 and ISO 100.
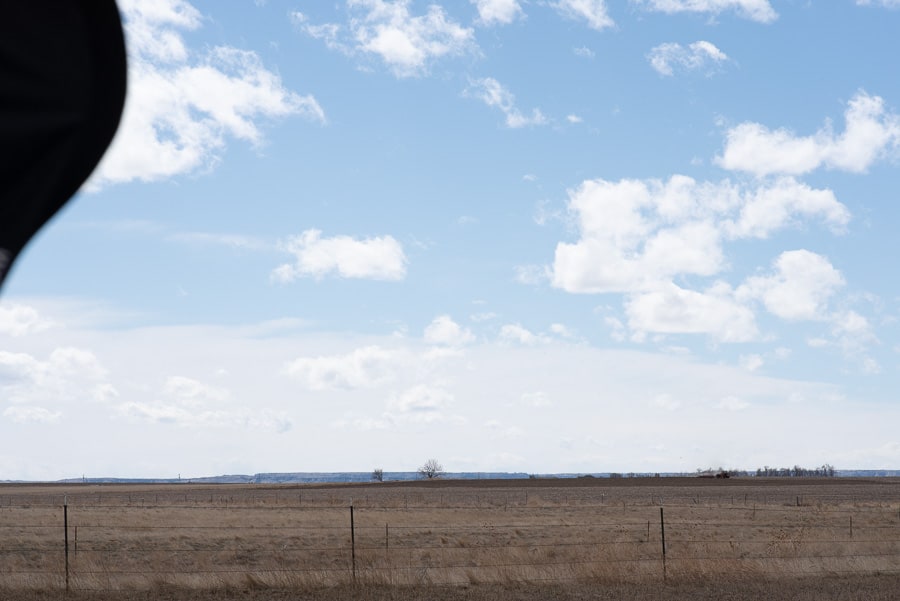
For reference, here’s what the background looked like as we were shooting. That black blob on the left-hand corner of the frame was my softbox.
By adding fill flash to my subject, I’m able to add some color back into the sky and give her dress some texture. There are also definite catchlights in her eyes now and there’s some contrast created by the shadows from the flash. Here my settings are f/16, 1/200 of a second and ISO 100, with an Godox AD200 in a 24″ softbox about 45 degrees and four feet from my subject. My flash power was set at 1/2 power.
Troubleshooting Fill Flash
Here are some common problems you might encounter as you learn how to use fill flash.
There’s a black bar on the bottom of my image!
Ah, the black bar of despair! That means you are using a shutter speed that’s too fast for your camera. Every camera has a maximum sync speed, which is the fastest shutter speed you can use when using flash. If you choose a shutter speed beyond the max sync speed, your shutter is starting to close before the flash is done firing. That’s what causes the black bar.
Most camera’s max sync speed is around 1/25 or 1/200 of a second. You need to check your manual for your specific camera make and model. But if you’re getting the black bar, lower your shutter speed to 1/200 or 1/160 and see if that bar goes away.
Still not sure what all those buttons on your flash do? Check out our awesome tutorial, “Meet Your Flash.”
My flash is turned all the way down, but it’s still too bright!
If your flash is too bright on your subject, move your flash further away from your subject. You can also add a modifier like a softbox to diffuse the flash.
My flash is turned all the way up, but my subject is still too dark.
Your flash isn’t putting out enough power to match the power of the sun. This is a common problem if you’re shooting on a very bright day or with really strong backlighting.
Here are a few things to try:
- Mover your flash closer to your subject.
- Use a more powerful light or add more lights.
- Adjust your aperture, shutter speed, and ISO to make your background brighter. You might blow out your background (lose color and texture) but you’ll make your flash effectively brighter.
- Use raise your shutter speed to cut the ambient light and use high-speed sync flash (if your flash has it!). That’s an entirely different technique. Here’s a video that explains HSS and how to use it.
Again, if you are in really bright sunlight, a single speedlight or even a small strobe might not give you enough power to match the sun’s power. Sometime you can’t get the light close enough to your subject without interfering with your shot. In that case, look for shade or wait for the sun to get lower on the horizon.
What to do if your image looks “flashy.”
As photographers start delving into the world of flash, images that are “too flashy” are a common complaint. “Flashy” images are usually a problem with either the overall exposure or the ambient/subject exposure.
If your images are too flashy because the image is overexposed overall, dial back your camera settings and your flash power until your image is properly exposed.
But sometimes an image feels flashy because the background lighting is darker than the lighting hitting the subject. This creates too much separation between the subject and the background. This discrepancy almost makes it feel as if the background was dropped in during post-production.
To fix these kinds of flashy images, you need to close the gap between the exposure on your background and the exposure on your subject. That means you need to decrease the exposure on your subject by lowering your flash power OR change your camera settings to make your background brighter.
Remember that if you change your settings to make your background brighter, you’ll need to offset that increase in exposure by lowering your flash power, too.
Below is an example of a “flashy” image. It’s overexposed overall and you can tell something isn’t quite right.
But by adjusting my flash power to better match my ambient, or background light, the result is a more natural-looking, but more dynamic, portrait than I could get with natural light only in this setting.
Can the popup flash on my camera work as fill?
The pop-up flash on your camera can definitely be used as fill flash. It’s a great solution in certain situations. But it’s not always the most flattering or versatile option.
Drawbacks of the popup flash
The popup flash on your camera isn’t very big and it’s not overly powerful. Most popup flashes have a range of around 2 to 12 feet. So if you’re trying to stand back from your subject, the light from the flash might not even hit your subject.
The popup flash is also a small light source. One of the tenets of flash photography is the bigger the light source, the softer the light. Because the popup flash is relatively small, it can put off light that is harsh and unflattering to your subjects. It’s also right above the lens and usually at eye-level with your subject, causing great chances of red-eye.
Those limitations are why more professional photographers will use an external flash as fill flash (and off-camera flash).
But you can make the popup flash work better by adjusting the flash compensation. Flash compensation lets you manually turn the power of your popup flash up or down, depending on your needs. To use flash compensation, you will need to be shooting in manual or a mode like aperture priority or shutter priority. When you’re in full auto, the camera makes all the decisions. It’s kind of a dictator like that.
Look for a +/- button on your camera next to the flash symbol, which is usually an arrow, bolt of lightning looking icon.
You can also diffuse your popup flash. There are specialty products that snap over your popup flash that either block some of the light from getting out or sort of bounce it around. Or you can go the DIY route and use a tissue wrapped around your popup flash or bounce light off a white notecard.
Using your camera’s pop-up flash can’t replace knowing experience and understanding of using on and off-camera flash. But it can work in a pinch.
Using fill flash at night outside
You can definitely use fill flash outdoors at night, too! The principals of using fill flash remain the same, but the problem usually becomes that your flash is too bright!
To use fill flash at night, follow the steps we outlined above. Use your camera settings to set the ambient or background light, then add flash.
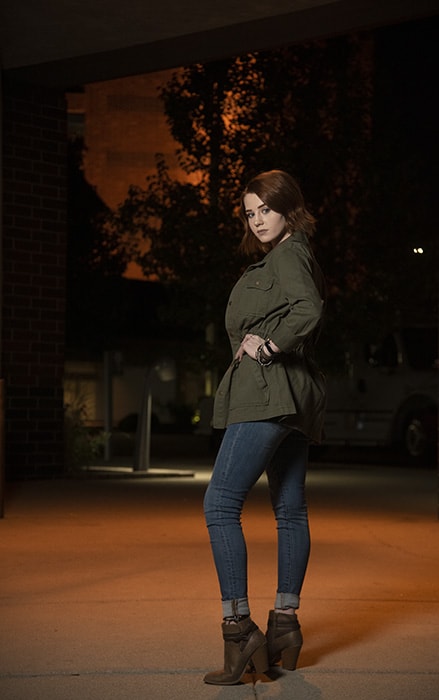
At night, our flash can easily overexpose our subject, even on it’s lowest power. That’s when you either diffuse the light somehow or move the light further from your subject. In the image below, my light was probably 25 feet from my subject and turned to its lowest power!
The best outdoor night portraits combine strong ambient light with great exposure on your subject. Look for areas where you have light in your background to add context, dimension and interest to your image. Without that, it’s just your subject on a black background. Not very interesting!
Why every photographer should know how to use fill flash outdoors
You might be a natural light photographer. But for me, the best photographers know how to light any scene, even if it requires the use of flash. You might have a situation where you can’t control the time of your shoot like an event or wedding. Or your lighting conditions can change.
You don’t have to use fill flash outdoors. If you prefer the look of natural light, keep rocking it in your sessions. But if you want the flexibility to shoot where you want, when you want, knowing how to use fill flash outdoors is a great skill to have.
Fill flash simply gives you one more tool in your photography arsenal. It can help you create more beautiful images, provide flexibility on where and when you shoot and help you create the exact look you are going for no matter the time, place or conditions!
IMPORTANT: It’s reckless & irresponsible to NOT understand how to use (& when to use) a FLASH.
Understanding lighting is not a “nice to have” but a “must-have” skill… and something you need to take seriously.
Click here for our Flash Photography 101 Course and Master Flash in Just 2 Hours!