Having trouble getting genuine and crisp images of pets? Here are 14 tips and tricks for improving your pet photography!
Looking to improve your photography? Just enter any questions you have about improving your photography below and hit send and get answers & feedback instantly - for FREE! Submit QuestionsI don’t know about you, but I love to change up my sessions! This type of photography can be a really fun, light, and rewarding time. It is often popular, as most people consider their animals to be a very important part of their family!
Cherished pets can often create a great dynamic in a photo (especially when it comes to children and sweet puppies/kittens). Your clients in this case, however, can be *slightly more unpredictable than their human counterparts! Here are our 14 quick photography tips for getting the most out of your pet photography sessions!
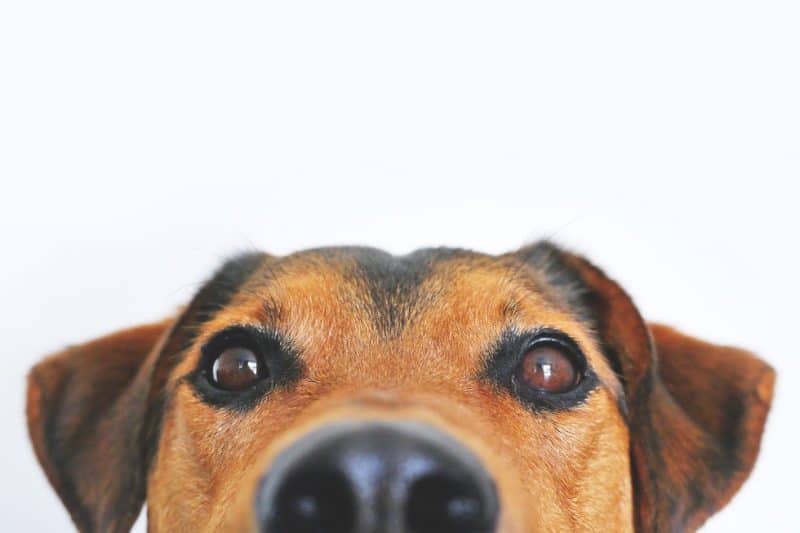
1. Focus on the Eyes!
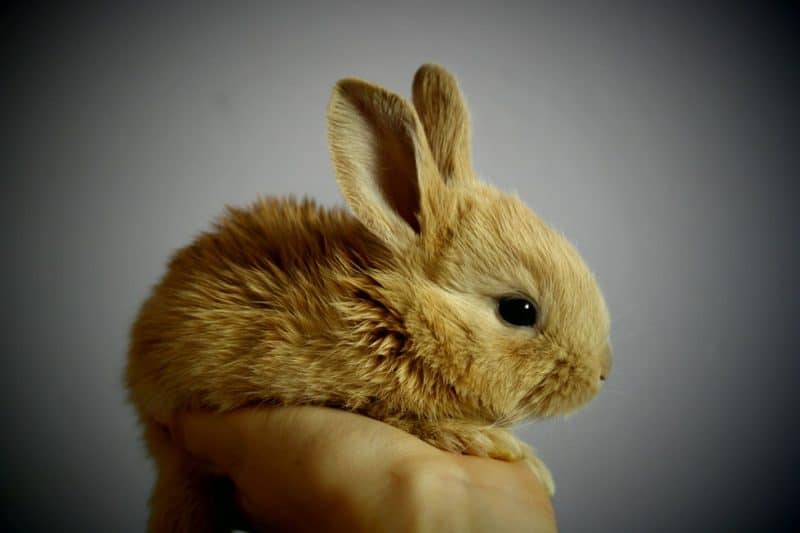
Just like you would in a regular photography session, you want to focus on your subject’s eye closest to your camera in a pet photo session. Because animals can’t communicate like humans, the pet’s eyes really ARE the windows to their soul. This photography technique is really great when photographing horses!
Get on the floor to be at the same level as the pet’s eye level. Focus on the eyes and you can get close to a pet’s face and hold its attention. Even if a dog is just sitting, focusing on the dog’s face will make the dog’s eyes pop on your shots.
It’s really important that you create that connection with the animal, just as you would with a person. At all costs, you want a sharp photo just as you would in any other photography session.
[ad id=’5′]
2. Choose the Right Exposure Settings
One fail-proof pet photography tips is learning how to choose the right camera exposure settings. Exposure is the amount of light that hits the camera’s sensor. It consists of three components:
Shutter Speed
You’ll want to make sure that you keep an eye on your shutter speed for obvious reasons. Basically, treat this pet session as you would a photography session with toddlers!
If you need to capture the pet in motion, use a fast shutter speed such as 1/1000, or try other fast shutter speeds such as 1/2000, 1/4000, and 1/8000+. If you want to take a shot of pets in a more relaxed set up, put the shutter speed in mid-range levels such as 1/25, 1/50, 1/100, 1/250, and 1/500.
ISO
ISO refers to the camera’s sensitivity to light, which impacts the brightness and darkness of photos.
When you need to get shots of pets during the daytime, opt for smaller ISO numbers such as 100, 200, 400, and 640. Meanwhile, larger numbers ranging from 640 to 2300+ are more appropriate if you’re holding a shoot during nighttime.
Aperture
Aperture determines the focus on your photos. One way to achieve a shallow depth of field is by selecting wide apertures from f/1.2 to f/4.0. If you want to single out a specific detail, let’s say a dog’s paws, you will benefit from wide apertures.
On the other hand, narrow apertures, which range from f/5.6 to f/22, results in a shallow depth of field. Use this when you want to shoot more of the location, along with the pets.
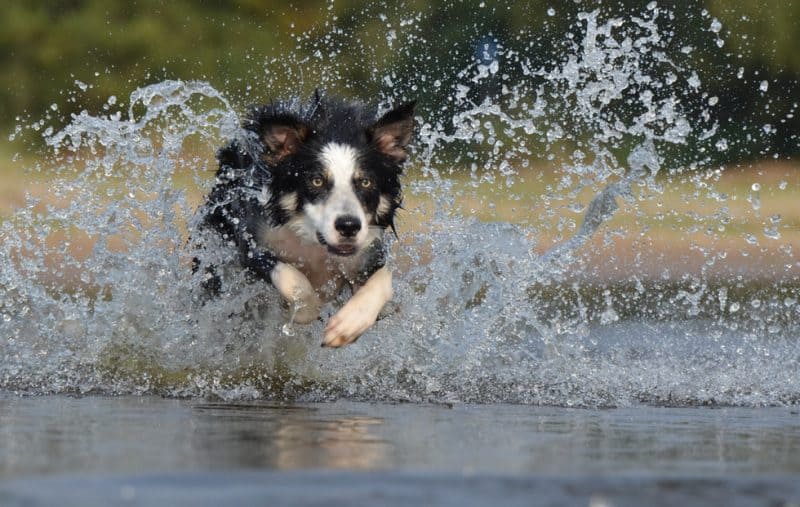
3. Use Continuous Focus and Burst Mode
Understanding different camera modes is one of the best pet photography tips to improve your shots. Pets can have unpredictable actions. You may not even get a pet’s attention for long, so you need to move fast to nail a shot.
Continuous focus may turn out to be your best friend, so look into your camera settings and see if it’s a possibility! This enables your camera to lock onto the subject, letting you follow around the pet, without the need to refocus consistently.
When taking multiple pet shots, use the continuous shooting mode and hold down the shutter button as long as necessary to help you capture the moment.
Use the burst mode if you want to take a succession of photos. If you need to shoot while a dog is in action, turn the burst mode on to make a sequence of fast shots in your photography session. You still have to use continuous focus to ensure you’ll be taking sharp pet images.
4. Move Slowly
If you’ve ever been around new animals, it can sometimes take a fair amount of time to get comfortable around one another. Make sure to use slow movements and allow the animal to check you out before making any drastic moves.
Use slow movements and act in a non-threatening way around the pet. This can make a world of difference in making animal friends, or making for a really difficult session. Keep the pet calm and let them take the lead.
5. Use Natural Light
Learning to use natural light is one of the most helpful pet photography tips. Take a look around the pet’s environment and determine the best bright, yet diffused and natural light.
Animals usually don’t love a flash going off in their face! Try getting them to face a window if you are photographing the pet inside of a home. We all know that they may not cooperate, so don’t beat yourself up if things don’t work out the way you had envisioned.
Flash can even be unnerving for small pets. If the pet is light-colored, white fur, in particular, will look washed out with a flash. Avoid using flash when you shoot pictures of pets that live in tanks and metal cages, as these can reflect the flash, causing unsightly white hotspots.
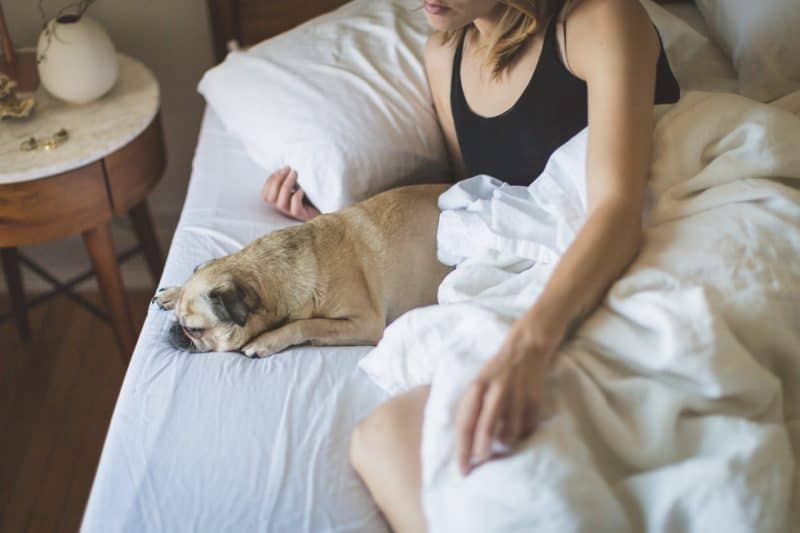
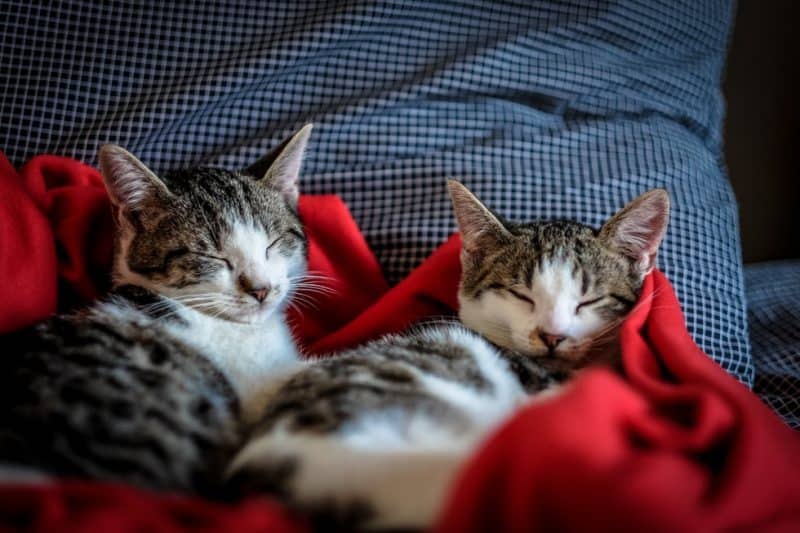
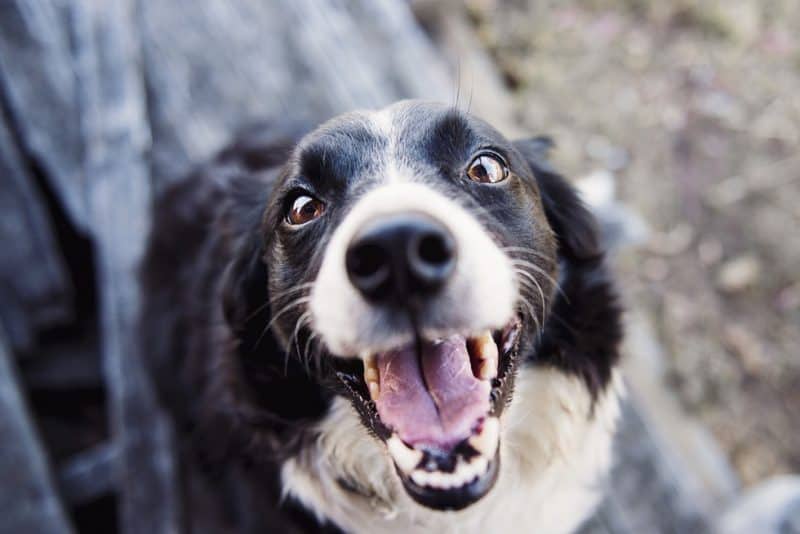
6. Catch Them in Their Element
Just like you would in a lifestyle session, try to capture some shots of your subject being themselves! If it’s an energetic puppy, let them play a fun game of tug of war. A lazy cat with an attitude? Capture the shot of him basking in the sun while simultaneously being annoyed by your presence.
7. Use a Longer Lens
Sometimes when we come across an extra skittish four-legged friend, we want to keep our distance. In this case, a longer lens for our camera may suit you, if you have access to one (it’s certainly not a requirement). A fixed prime lens would work, such as an 85mm or a 135mm.
If you’re interested in zoom lenses, a 70-200mm is known for its versatility and great quality images. Either way, remember that invading any creature’s space can be slightly intimidating, so keep these tips in mind when you’re packing your camera bag.

8. Try Something New
If things are going well during your session, and you have a really cooperative subject, start playing around more with your composition! You can try to direct the animal to a particular place you’d want to photograph, use the rule of thirds, or just mess around with new fun ideas and tips. The great part is, with a willing pet, it’s always a fun session.
9. Plan as Much as Possible
Communicating with your verbal client about your non-verbal client is never a bad idea. Just like people, animals sometimes have a time of day that they are more cooperative. We don’t want to interrupt any meals or nap times anymore than we would a toddler.
10. Create Concept and Shot Lists
Ask the owners what story they want to see during the shoot. Do they want to see the quirky side of a cat? Maybe they prefer if you take a shot of their dog being the most obedient boy.
You can even invite the owners to join the shoot, which can make your shots more engaging. For example, instruct the owners to wrap their arms around the horse’s neck to show a connection. Capture the moment a dog welcomes its owner through the front door.
11. Wear Appropriate Attire!
This may sound silly, but if you know you may be chasing an energetic horse around a pasture, maybe it would be a good idea to leave the flip flops at home.
You may end up running, laying in the dirt, getting covered in fur or stepping in something you wouldn’t want on your nicest stilettos. Just be mindful of your subject and their living conditions.
[ad id=’3′]
12. Keep their Interest
One of the trickiest parts of pet photography is that pets don’t understand posing instructions; unless their owners can help with commands. Bringing a toy or a tasty treat is never a bad idea. Use treats or toys to lead a pet’s eye level in a certain direction.
You can even play with the pet for a bit so that you can become familiar with the way it responds to movements. You will want to check with the animal’s owner to make sure if all types of treats are ok for their pet, but if you get the go-ahead, it’s a really great way to coerce your new buddy.
Balls that light up, anything that makes a squeaky noise will work for dogs (and some cats), but be aware of the type of animal and what treats THEY prefer. A loud rubber chicken probably won’t be your first choice for a horse, for example. Keep it simple and ask! The owner will be very grateful you did.
13. Stay Aware of their Mood
Just like with cranky toddlers, sometimes we need to call it quits before things turn really sour. If the animals seems agitated or shows any kind of aggressive behavior, it’s ok to stop the session. We all know that some animals can be unpredictable, and we don’t want anyone, including the animal to get hurt.
Make sure to check with your insurance company to see what you’ll need to include pet photography in your business. This can sometimes be overlooked, but on the off chance something DOES happen, you want to make sure you’re covered!
14. Be Patient!
This one seems obvious, right? Thankfully, pet photography isn’t quite as nerve wracking, as say, newborn photography, but patience is still a HUGE quality to possess in this setting. Let the animal do their thing, try to coax without getting frustrated, and just get the images you can. Just like when photographing kids, their parents often fall in love with the images that show their baby just being themselves.
When it comes to pet photography, take your time, have fun and try to capture the animal in their natural state with your camera. Try these pet photography tips, new techniques, play with your composition, and do your best to be flexible. This is usually a time when you can experiment! Keep shooting, have a blast and see what you end up with!