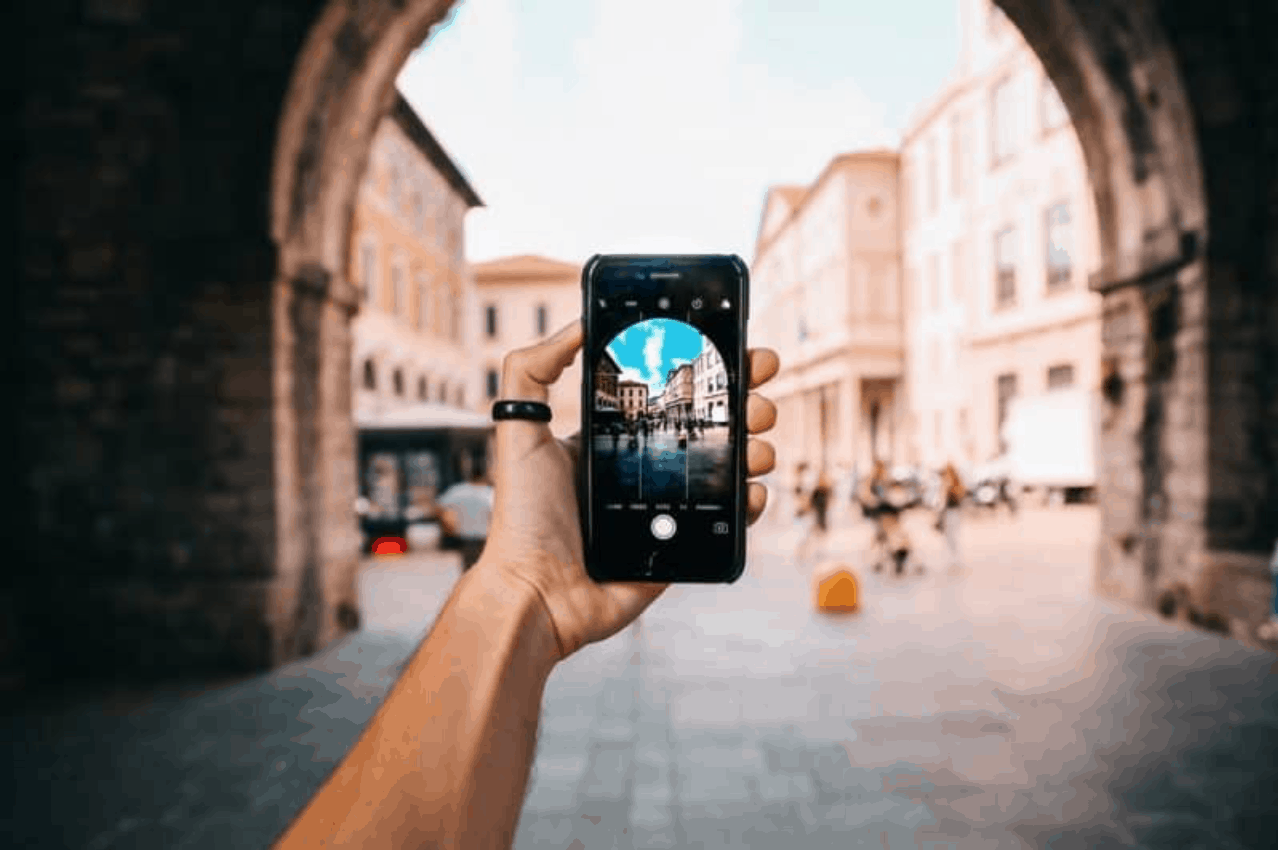

iPhones have wonderful cameras built into them. It’s now so easy to capture and share images with our phones, that printed snapshots have become a distant memory. With the right tools and knowledge, many iPhone photos can look like professional snapshots.
Looking to improve your photography? Just enter any questions you have about improving your photography below and hit send and get answers & feedback instantly - for FREE! Submit Questions5 Quick iPhone Photography Tips
- Camera Settings and Options – Adjusting exposure, VSCO, and other camera settings.
- Composition Guidelines – Following the rule of thirds, zoom in or out, portrait or landscape orientation.
- Editing Software Apps – Filtering and adjusting with Snapseed, Afterlight, or Lightroom.
- Hardware – Using tools such as supplemental lenses, selfie sticks, camera clamps.
- Lighting – Utilizing the built-in flash, ring lights, other lights.

As with any other photographic equipment, the old adage holds true to iPhone photography and other smartphone photography: “It’s not the camera, it’s the photographer.” Believe it or not, there are some professional photographers using iPhones for certain assignments, and they are not doing it simply for the novelty of using an iPhone. iPhones can make some amazing images! We just need to know how and what to do when setting up a shoot.
Camera Settings and Options
Camera settings provide us with a lot of camera control, especially if we opt for a third party camera app. But even the native iPhone camera app has some helpful, basic adjustments and filters. With iPhone photography, it’s wise to make certain adjustments before we even take a picture.
One important iPhone photography tip is how to focus. You are probably already using the tap-to-focus feature of the camera app. One thing many iPhone photographers don’t realize is that the focus area is also where the camera app will meter. So, you can effectively lock exposure onto a small spot of the picture. This is essentially spot metering. If your subject is backlit, tap to focus on the subject and the exposure will set on the subject, giving you nice pictures with a bright, almost halo, background.
Another basic iPhone photography tip is to change the ISO sensitivity. That way, you force the camera app to adjust shutter speeds and apertures to better match the image you want to create.

For more control, go the App Store and look for an iPhone photo camera app. Many camera apps provide controls for setting the shutter speed and aperture manually. Some may also have exposure compensation features. If you are serious about professional iPhone photography, then you’ll definitely want to use a third-party iPhone photography app.
VSCO is an interesting iPhone photography camera app. It offers an easy platform for sharing your artistic pictures. VSCO features filters that allow an iPhone photographer to emulate the look and feel of classic films from Kodak and Fuji, and other filter options as well. Many of the filters are included in the free version, but there are many more features available with the paid subscription model.
Composition Guidelines
A very helpful way to improve your iPhone photography is to apply basic photography rules and guidelines to the iPhone camera.
One important iPhone photography tip is to apply the rule of thirds. Rule of thirds is a photo composition technique that divides a scene by two horizontal lines and two vertical lines. If you were to draw out a rule of thirds grid inside a frame, you would end up with nine boxes of equal space, and four intersection points. Placing a subject at the intersection points, along either the horizontal lines or vertical lines, or inside any of the nine boxes, makes for a more appealing photography composition.

You can place a subject on one of those lines, or on one of the intersection points. Utilize the boxes outlined, too. Experiment with different placements, even using intersection points, horizontal and vertical lines, and the boxes altogether. When used properly, this guideline results in some very nice pictures.
Some third-party camera apps even have helpful gridlines that appear on our screen as you compose your photograph. A lot more can be said about the rule of thirds, so please look at our basic tutorials covering this helpful guideline.
Using the iPhone camera zoom is another helpful tip. For many iPhone photographers, it almost feels like a primal instinct to zoom in. Our instinct is to bring the subject close up into view. While that’s fine for some subjects, it doesn’t work for all. Sometimes, zooming out provides a fresh and more interesting view of the subject.
Besides the judicious use of the camera app zoom feature, you could also try varying your camera placement. Bend down and squat, stand on a rock or a bench, and try moving left or right a little bit. Changing your viewing angle is one of the easiest things to do that can have a huge effect on your images.
Another iPhone photography tip is to switch out of portrait mode from time to time. Almost every time people use an iPhone or another smartphone to take a picture, they are using the phone in portrait mode. Some scenes will be greatly benefited by turning the phone over to landscape mode. This simple camera trick can actually greatly improve your pictures and overall iPhone photography style.
Editing Software Apps
Just as in general photography, many enhancements can be made after the iPhone photo has been taken. In fact, several iPhone photography apps are designed for image manipulation right from the iPhone itself. Some of the best photography apps iPhone photographers can use are Snapseed, Afterlight, and Lightroom.
Snapseed is a Google app available on either Android or Apple IOS. This iPhone photography app provides an iPhone photographer with one-click actions for adjusting white balance, add filters, eliminate red-eye, crop, add out-of-focus lens blur, and fix awkward looking lines. You can even add iPhone HDR photography effects. Snapseed also has masking, brush, and healing adjustment features. Some of its features require a little more photography knowledge, but Snapseed is pretty easy to use.
Afterlight is an inexpensive iPhone photography app that has a full range of adjustments built in, along with many other filter and adjustment options. Using Afterlight is very straightforward. An iPhone photographer can either take a picture with Afterlight, or apply filters to an existing photograph. This iPhone camera app has an “Adjustments” button which features 15 different tools, such as exposure, brightness, tones, color temperature, and many other controls. There are also filters and textures in the app. Some filters and tools are only available after social media interaction, others are available as a purchase, and many free controls and filters are available as well.

Adobe Lightroom is a full-featured image manipulation program for casual use as well as professional iPhone photography. The software provides a full suite of professional features. As far as iPhone photography editing apps go, Lightroom has the most features and capabilities. Available on a subscription basis from Adobe, Lightroom is reasonably priced and can do almost anything an iPhone photographer will need. Besides exposure and white balance controls, Lightroom provides tools for tone enhancements and changes, lens distortion correction, spot and blemish removal, and even adding watermarks to a saved image. For anyone considering professional iPhone photography, Adobe Photoshop Lightroom is essential.
There are other iPhone photography editing apps that can be found in the Apple Store or on another platform. Some are free, and others have a small cost to them. The three listed here are extremely capable and are the most popular apps for iPhone photography. When looking for apps, be sure to read reviews from real users to see if the app is right for your iPhone photography needs.
Hardware
One of the most popular items sold to iPhone photographers and other smartphone camera users is the selfie stick. While it may seem a little silly to discuss selfie sticks in a serious iPhone photography article, they have numerous beneficial uses. Besides their use in taking social media self-portraits, a selfie stick can also be employed to provide a different perspective to other scenes. You can use it as a boom pole for your camera. It’s not limited to still photography — a movie recorded from a selfie stick can show a fresh perspective as well.
Clamps for mounting your iPhone to a tripod are extremely useful for professional iPhone photographers. A clamp allows the iPhone to be attached to a tripod or other type of stand. Immobilizing the camera this way opens up the possibilities for long-exposure iPhone photography. Some long-exposure opportunities may include street scenes and cityscapes at night, running water in streams and rivers, and even the night sky. Astrophotography is one of the most rewarding photographic endeavors, resulting in some very interesting images.

Lenses of all types are made for iPhone photography. The built-in lens is very capable, but accessory lenses open up a large world of creative iPhone photography. Some of the lenses include ultra-wide angle and fisheye, very long telephoto lenses, soft-focus portrait lenses, and lenses specially designed for extreme close-up macro photography. The iPhone lenses are small and are not usually very expensive. Many kits of multiple lenses can be found from a variety of sources.
Lighting
One important thing to remember when using your iPhone camera is that photography is more than just a camera app on your smartphone. It’s an art. Photography, at its root, is drawing with light. With that thought in mind, experienced photographers learn how to manipulate and control the light whenever possible. Look for the best use of the available light in the scene before you. There are many ways to do this in iPhone photography.
iPhone cameras have a very good built-in flash. That flash can be set to stay off, or be on with every exposure, or set to automatic light detection. The exposure compensation feature of third-party apps can be applied to the flash, and so can changing the ISO settings in the basic iPhone camera app.

Have you ever wondered how photographers achieve that virtually shadowless lighting effect? They are probably using a ring light. A ring light is a circle of light that surrounds your iPhone, and allows you to see more details of the subject. The light falls evenly from every direction, eliminating all shadows. Besides using large ring lights that an iPhone photographer mounts inside the ring, there are also small battery-powered ring lights barely add any size or weight to your iPhone.
Other lights available for iPhone photographers include small battery-powered panel lights that can be directly attached to the iPhone. But even a full professional style lighting kit isn’t overkill for iPhone photography. To get the best iPhone images, use whatever will accomplish your goals.
iPhone photography can be very rewarding! In today’s society, we are seldom without our smartphones. Since the iPhone has such a good camera, this means we seldom lack the ability to take amazing photographs. Photographic opportunity exists everywhere. Take advantage of this marvelous technology and let your creative juices flow.
iPhone photography is fast becoming an art form in its own right. Join the group of artists taking advantage of this fantastic camera. These tips and tricks will help every iPhone photographer achieve the best images. No more mere snapshots for social media platforms– take your iPhone photography to the next level. Enjoy being a part of this amazing art form!