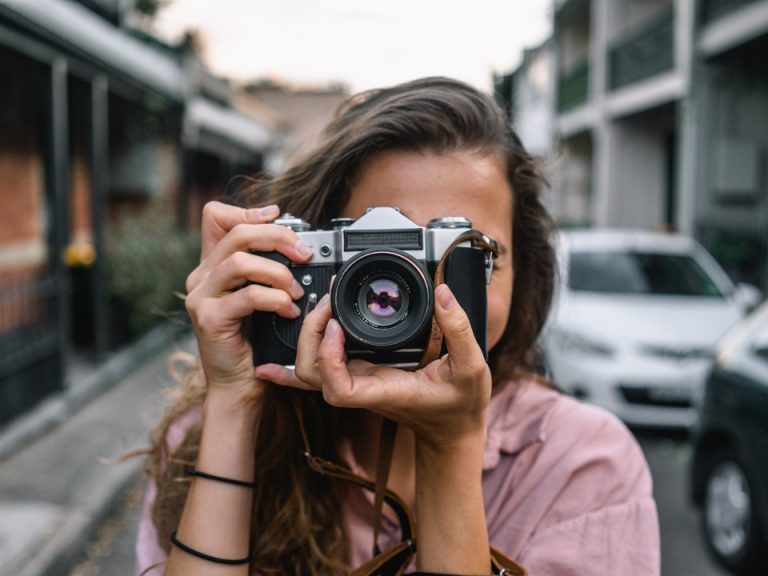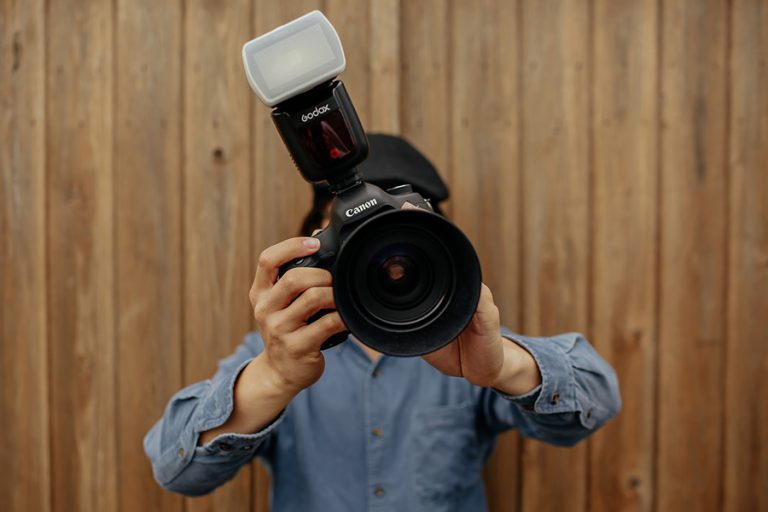

Have you ever struggled with bad lights, leading to dark and grainy photos? You’re not the first person to grapple with this and you won’t be the last. Luckily there are a few ways you can improve.
Which Type Of Light Is Used In Photography?
There are two main types of lights in photography: natural and artificial. My personal favourite is natural but that doesn’t have to be yours! My dislike of artificial light originated from a poor grasp of how a lighting setup works and frustration with my initial experimentation with flash.
Even after learning a ton about flash through Cole’s Classroom, I still prefer natural. However, there are times when using flash in my lighting setup has saved me from giving poor photos to clients, so it is definitely a skill worth investing in to get you started.
Do you want to take the course with behind the scenes video showing how to use flash? You can sign up for a membership here!
How Important Is Studio Lighting In Photography?
I would argue this lighting is the most important aspect of photography. If a client can’t see what is in their photo then it doesn’t matter how good the composition is, or how sharp the photo is, they will reject your work.
You don’t need the newest camera model available to get fantastic photos, but you do need to understand what your camera’s limitations are so that you can work around them. If your older model camera doesn’t handle low light situations well, then schedule your photo sessions during bright daylight hours.
Even photos taken during daylight hours can turn out poorly if you’re not using the right camera settings. What newer photographers sometimes call poor light is actually problems with exposure. Take the time to learn how ISO, shutter speed and aperture work together to get you properly exposed photos.
Once you master exposure settings, study how the available light is interacting with your subject. Are you getting soft shadows around your client’s eyes? Are there bright patches of hard light only hitting certain parts of your subject’s face?
Here you need to figure out where your light is coming from and move your client around accordingly.

Ready to take your photography to the next level?
Join Cole’s Classroom today! »
What Is The Best Light For Taking Pictures?
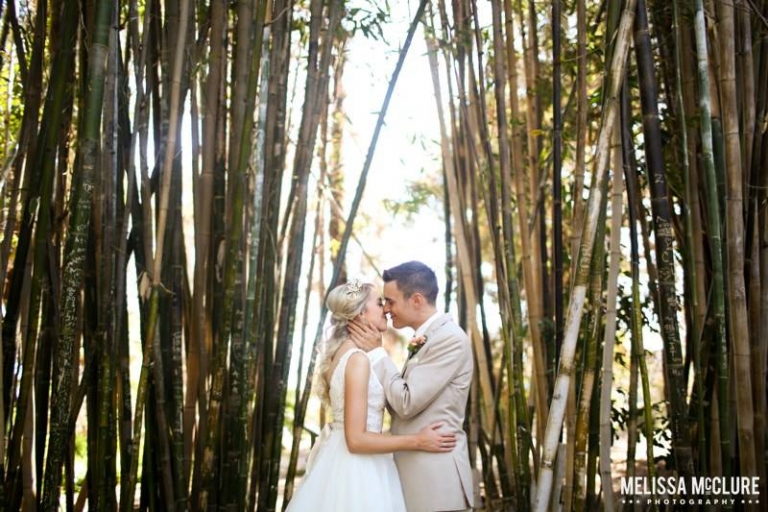
The best natural light, hands down, is the soft light produced during golden hour! Golden hour occurs when the sun is rising or setting. Often the light has a slight orange, pink or golden yellow tinge, which is very flattering to your subjects.
Golden hour light is also diffused which lights your client’s face much better than the directional light of the rest of the day. If clients can’t meet you during golden hour, then the next best thing is to choose a location with shade. During golden hour the sun is at a low angle giving you more freedom of where to shoot outdoors.
You can shoot in an open field, or by a lake side. When it comes to the best artificial hard light for taking photos, there is no one answer. Some argue that a basic studio lighting setup includes three lights. These three lights include a key light, a fill light, and a backlight, yet this depends entirely on your preference!
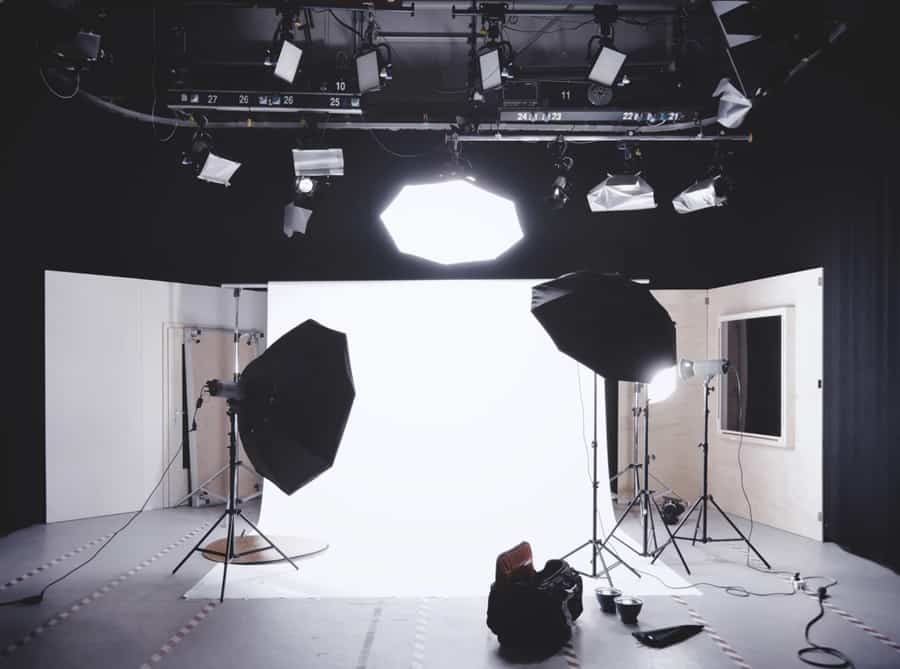
What Are The Different Types Of Indoor Studio Lighting?
First off, I will explain some common types of lighting equipment used and what the lighting equipment is used for. In the next section I will be exploring some photo studio lighting techniques. Studio lighting kits can be as complicated or simple as you like. Each continuous lighting kit can be used to light up a specific part of your subject, giving you different effects.
Just to be clear, many successful small business photo studio set ups involve only one or two lights or a hard light stand instead of a continuous lighting kit! So unless you have a lot of money lying around, I wouldn’t recommend buying all these pieces of lighting equipment or a lighting kit that comes with everything.
The lights in a studio will either be continuous lighting (always lighting up your subject) or strobe (where it goes off at the press of a button).
Many lights are mounted with a diffuser to soften the effect on your subject. Diffusers can be softboxes, oktobox, stripboxes and umbrellas. When looking at lighting kits, look to see what type of items they include.
Other devices will limit the direction a light travels in so as not to leak into the camera at the wrong spot.
Key Light
If you could only use one artificial light source, you’re going to want to get a key light. Even with a multi light source set up, a key light is the “main” one. The key light does most or all of the work for continuous lighting up your subjects face. Any other lights used will compliment the work done by the key light. The key light is most often placed to one side of and pointed directly at your subject.
Fill Light
The fill light is used in conjunction with the key light. The fill light brightens the shadow cast on your subject by the key light. The fill light can be a hard light as the key light but generally you want a little bit of shadow on your subject’s face to show some dimension in your shot.
Hair Light / Separation Light / Kicker
These light is has different names depending on if your subject is a human or an object but they provide the same purpose. This light is meant to only fall upon a small part of your subject, the hair for example. The light beam is narrow so as not to hit a large part of your subject.
Of course, the closer your hair light is to your subject, the more narrow the highlight. So move your light further away from your subject if you want it to hit a slightly larger area. This light should be set as high as or higher than your key light. This light is meant to help your subject stand out from the background and potentially draw your eye to a certain part of the image.
Background light
With so many lights on your subjects, sometimes your background can turn out too dark. Here is where the back light comes in handy. A back light can also help eliminate shadow cast on your backdrop by your subject. The back light is most often dimmer than or equal to the power of the key light.
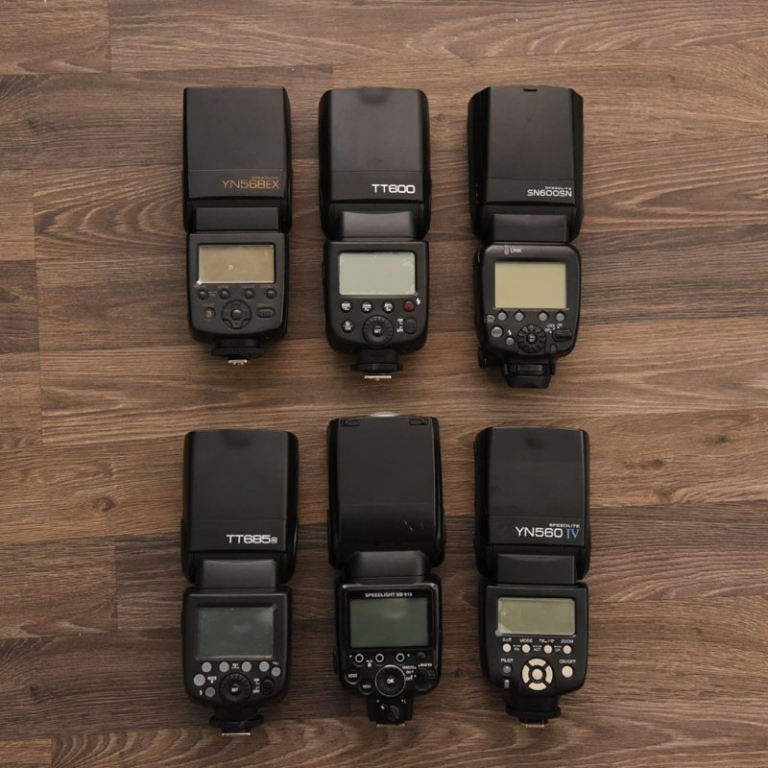
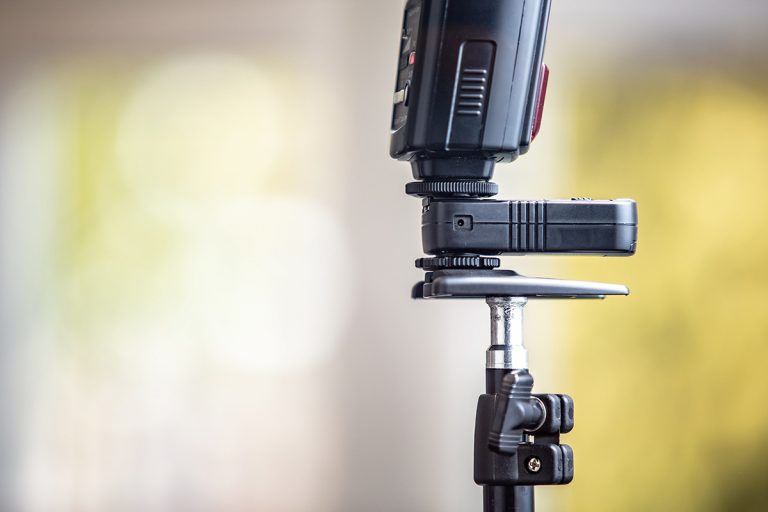
Camera Mounted Flash
Ok, so camera mounted flash isn’t necessarily studio continuous lighting, although I am sure some photographers may be using it in their studios. Flash does fall within the artificial lights category so I am going to talk about it here as one of your lighting options. The convenience of camera mounted flash is that it’s much more mobile than bulky light stands or using a secondary light.
This means you can quickly and somewhat discreetly move around and within crowds at concerts, wedding receptions and ceremonies. You can also swiftly and easily change which direction the flash is set off in.
Flash can be bounced off the ceiling to diffuse the soft light before it hits your subject. When the ceiling is so high that it doesn’t bounce the soft light back down, a flash diffuser can be used to soften the effect.
More than soft light, flash diffusers come in many shapes and forms, from mini softboxes to semi transparent plastic domes to reflective flat cards.
Flash is also often used outdoors as a fill light, or a secondary light, set at a low enough power so it only lightens the shadows without overpowering your stunning images.
Become the photographer of your dreams with Cole’s Classroom.
What Are The Different Light Techniques?
Now that you know what different lights do and what to look for in lighting kits, we can talk about how to place them to achieve certain looks. Some of these lights techniques are dramatic and others soft. There are no rules stating which situations you can or can’t use them in, however certain industries use certain lights techniques more than others.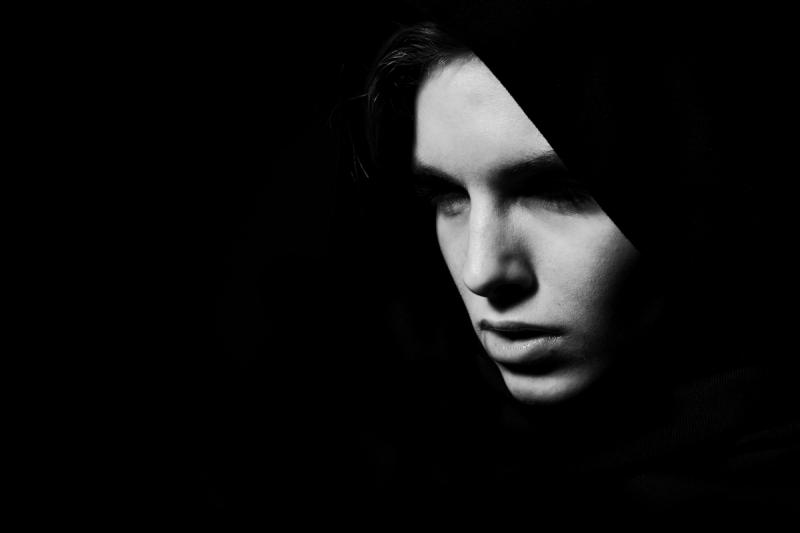
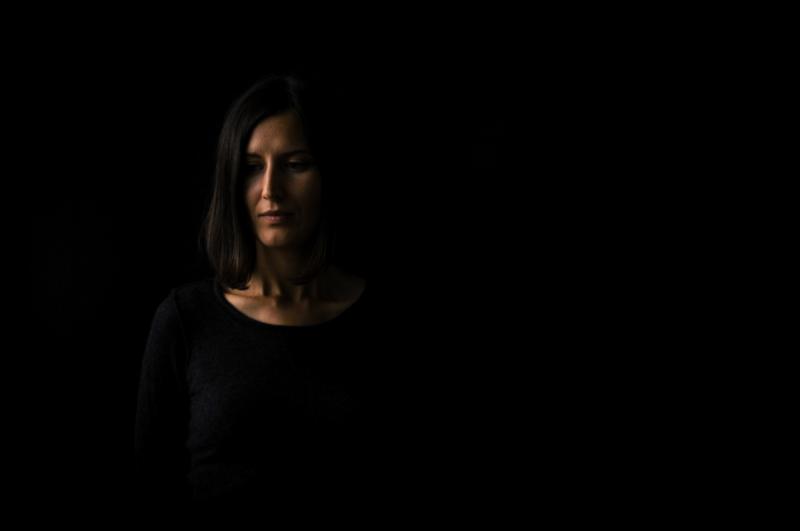
- Split Light: Place your light 90 degrees to your subject’s face for lighting setups with this light. You will end up with one side of the face lit up and the other in dark shadow. The shadow line will fall vertically down your subject’s face, creating a very dramatic portrait.
- Rembrandt Lighting: For these lighting setups, place your subject slightly more than 90 degrees away from the light sources. Your light sources will also be slightly the head height of your subject. One side of the face will still be in shadow but one one triangle of light should fall on the cheek, no wider than the eye and not longer than the nose. The soft shadows cast by this type of light helps round faces look slimmer. This light technique is named after the painter Rembrandt because he used this type of light on many of his subjects.
- Loop Lighting: Place your light sources at a 30-45 degree angle from the back of your subject. A reflector is placed on the opposite side of the subject facing the light to bounce the light back onto your subject’s face. When the light is placed slightly higher than eye level on the opposite side, it gives a slight contouring look to your subject’s face. This type of light is very flattering on most people so it tends to be used a lot in portrait work.
- Butterfly Lighting: Place your light directly behind and above your camera, shining directly on your subject facing the camera head on. This light casts a butterfly wing shaped shadow side directly beneath the subjects nose. When the light is placed high enough using lighting stands, you may get shadow cast off the cheeks of subjects with prominent cheekbones .
- Broad / Short lighting: This isn’t exactly a technique, as is more or less used to describe how much of the face is in the light. When your subject’s face is turned slightly in one direction, your light is broad if it casts the side of the face closest to the camera in light. Alternatively, if the side of the face closest to the camera is partially in shadow, your light is classified as short.
Ready to Learn More?
Join Cole’s Classroom today to unlock everything you need to become a pro photographer.