Loop lighting is an easy lighting pattern to master and implement
Off camera flash doesn’t have to be hard. Begin by understanding how to expose for your subject, then move on to mastering lighting patterns. Once you know the basic lighting patterns, like loop lighting, you can start to use your knowledge of them to create the exact look you want for portraits.
Looking to improve your photography? Just enter any questions you have about improving your photography below and hit send and get answers & feedback instantly - for FREE! Submit QuestionsLoop lighting is a simple, straightforward lighting pattern. All it takes is one light and a little knowledge of where to place it. In this tutorial we’ll go full circle with loop lighting – what is is, when to use it and how to set it up.
What is loop lighting?
As with most lighting patterns, loop lighting is named for the shadow created on the subject’s face in the portrait. This simple lighting pattern is so named for the “loop” shaped shadow created by the subject’s nose. Done correctly, loop lighting creates a circle shaped shadow under and to the opposite side of your light.
The size and intensity of the loop varies from small and well defined to softer and larger, extending down toward the mouth. But the loop nose shadow does not touch the shadow on the cheek (that’s Rembrandt lighting).
You’ve probably already created loop lighting and never even knew it. Many beginning photographers start their off-camera flash journey by setting a flashes at 45 degrees to their subject, one as main and the other as fill. That’s the basics of loop lighting, even if you didn’t know it!
Want tips on improving your portrait technique? We have 18 of them!
When should I use loop lighting?
Loop lighting is flattering to just about any subject. It is less dramatic than other lighting patterns like split or Rembrandt lighting, but edgier than flat lighting. Loop lighting can give a portrait subtle depth and interest while still maintain a well lit and bright look.
Loop lighting is also really flattering for subjects with oval faces. It helps define and heighten cheekbones a tad, thus slimming and elongating an oval face.
How do I achieve loop lighting?
First, pose your model. Next, set your light slightly above eye level of your model. Your light should be angled down slightly to throw that shadow across and down your model. Place your light at about 45 degrees to your subject.
Move the light slightly from side to side or raise it up and down to alter the shadow’s shape. You might find setting your light around 30 degrees is more pleasing to you than 45 degrees. You can also move it closer to, or further away from your subject to vary it’s intensity.
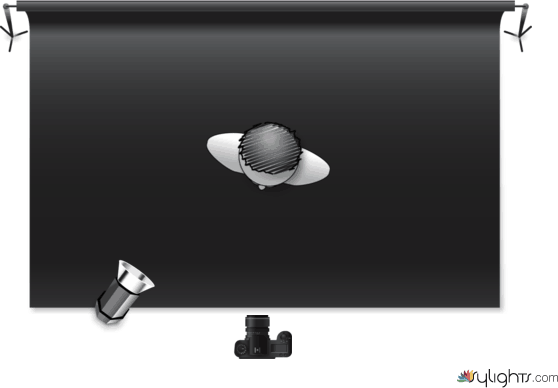
If you prefer softer shadows, add a reflector to the opposite side of your model for fill light. The closer the reflector, the more the softer the shadows.
You can also use a second light as fill on the opposite side of your main light. Start by setting your fill flash at ½ the power of your main light and adjust it to your liking. Don’t fill the shadows in completely and create a flat portrait, however. Shadows help give definition and interest to a portrait.
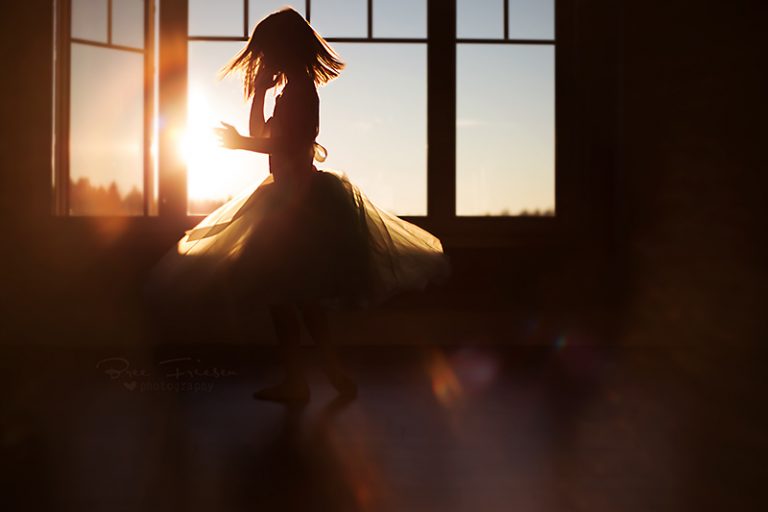
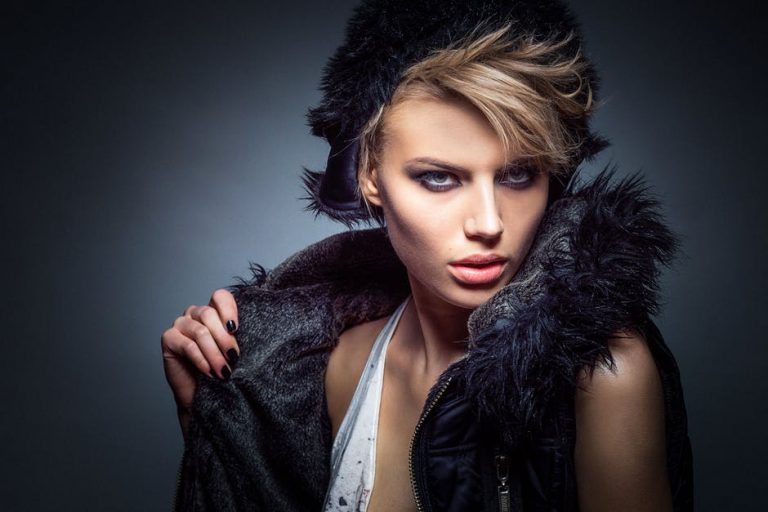
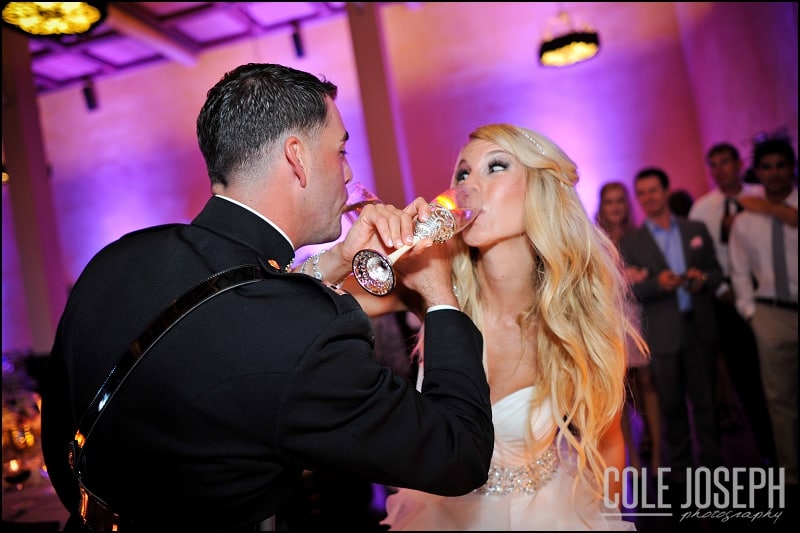
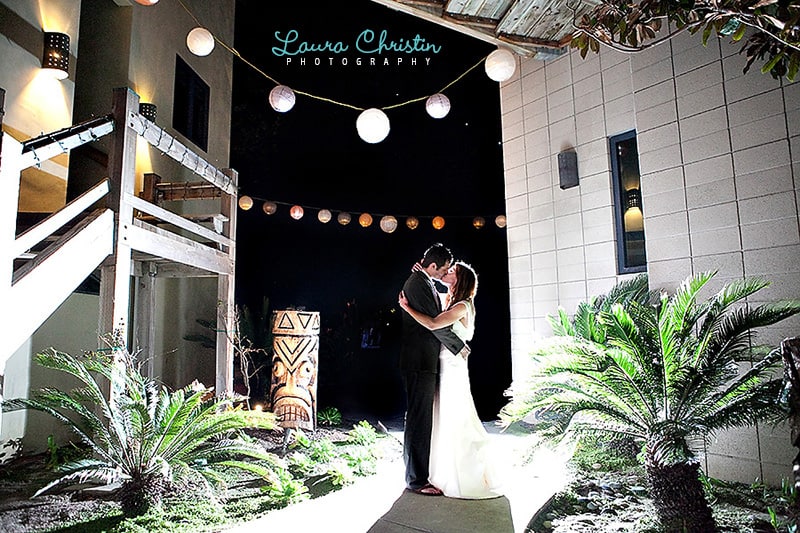
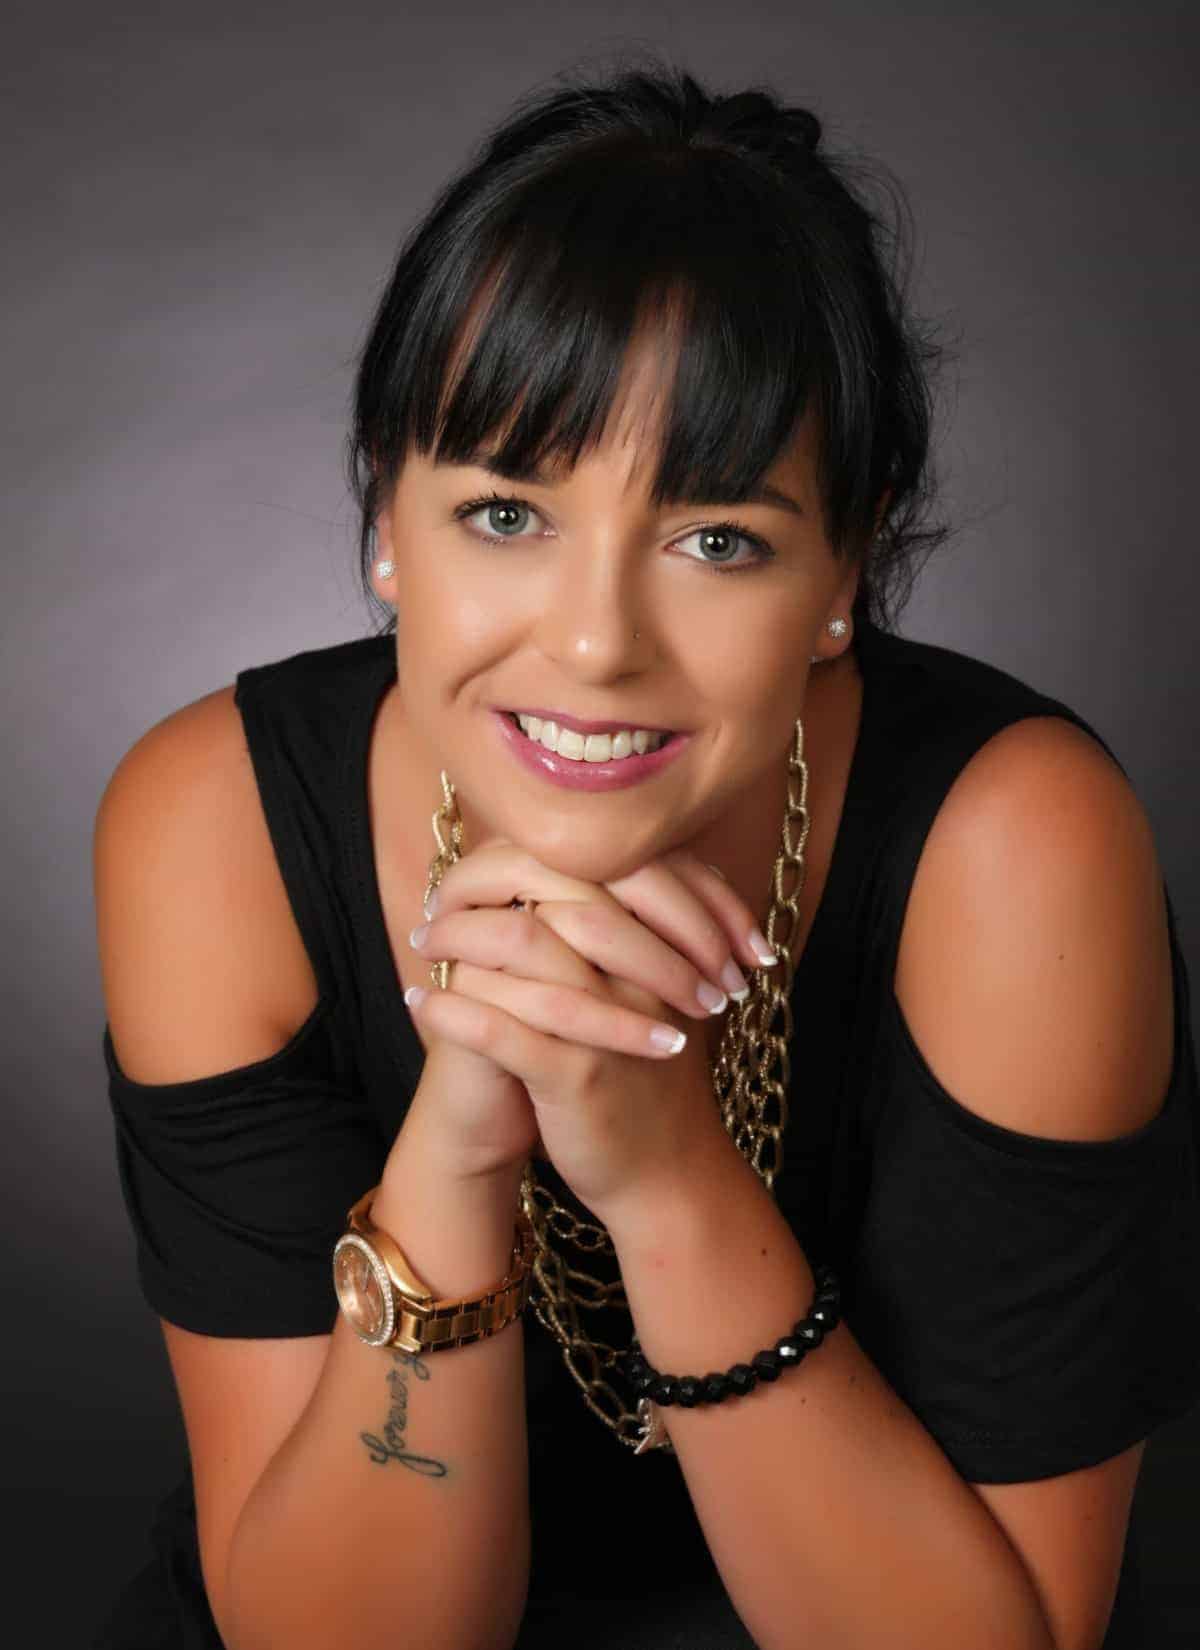
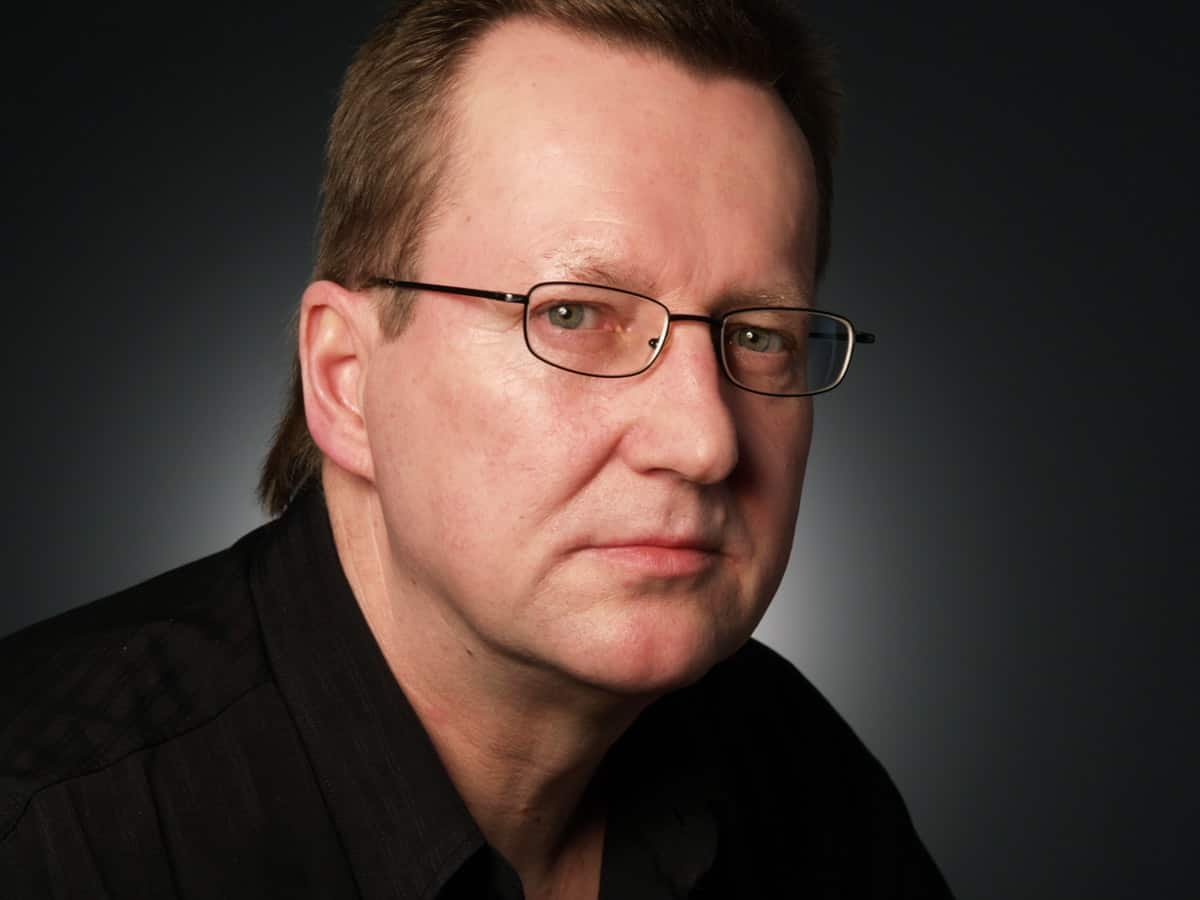
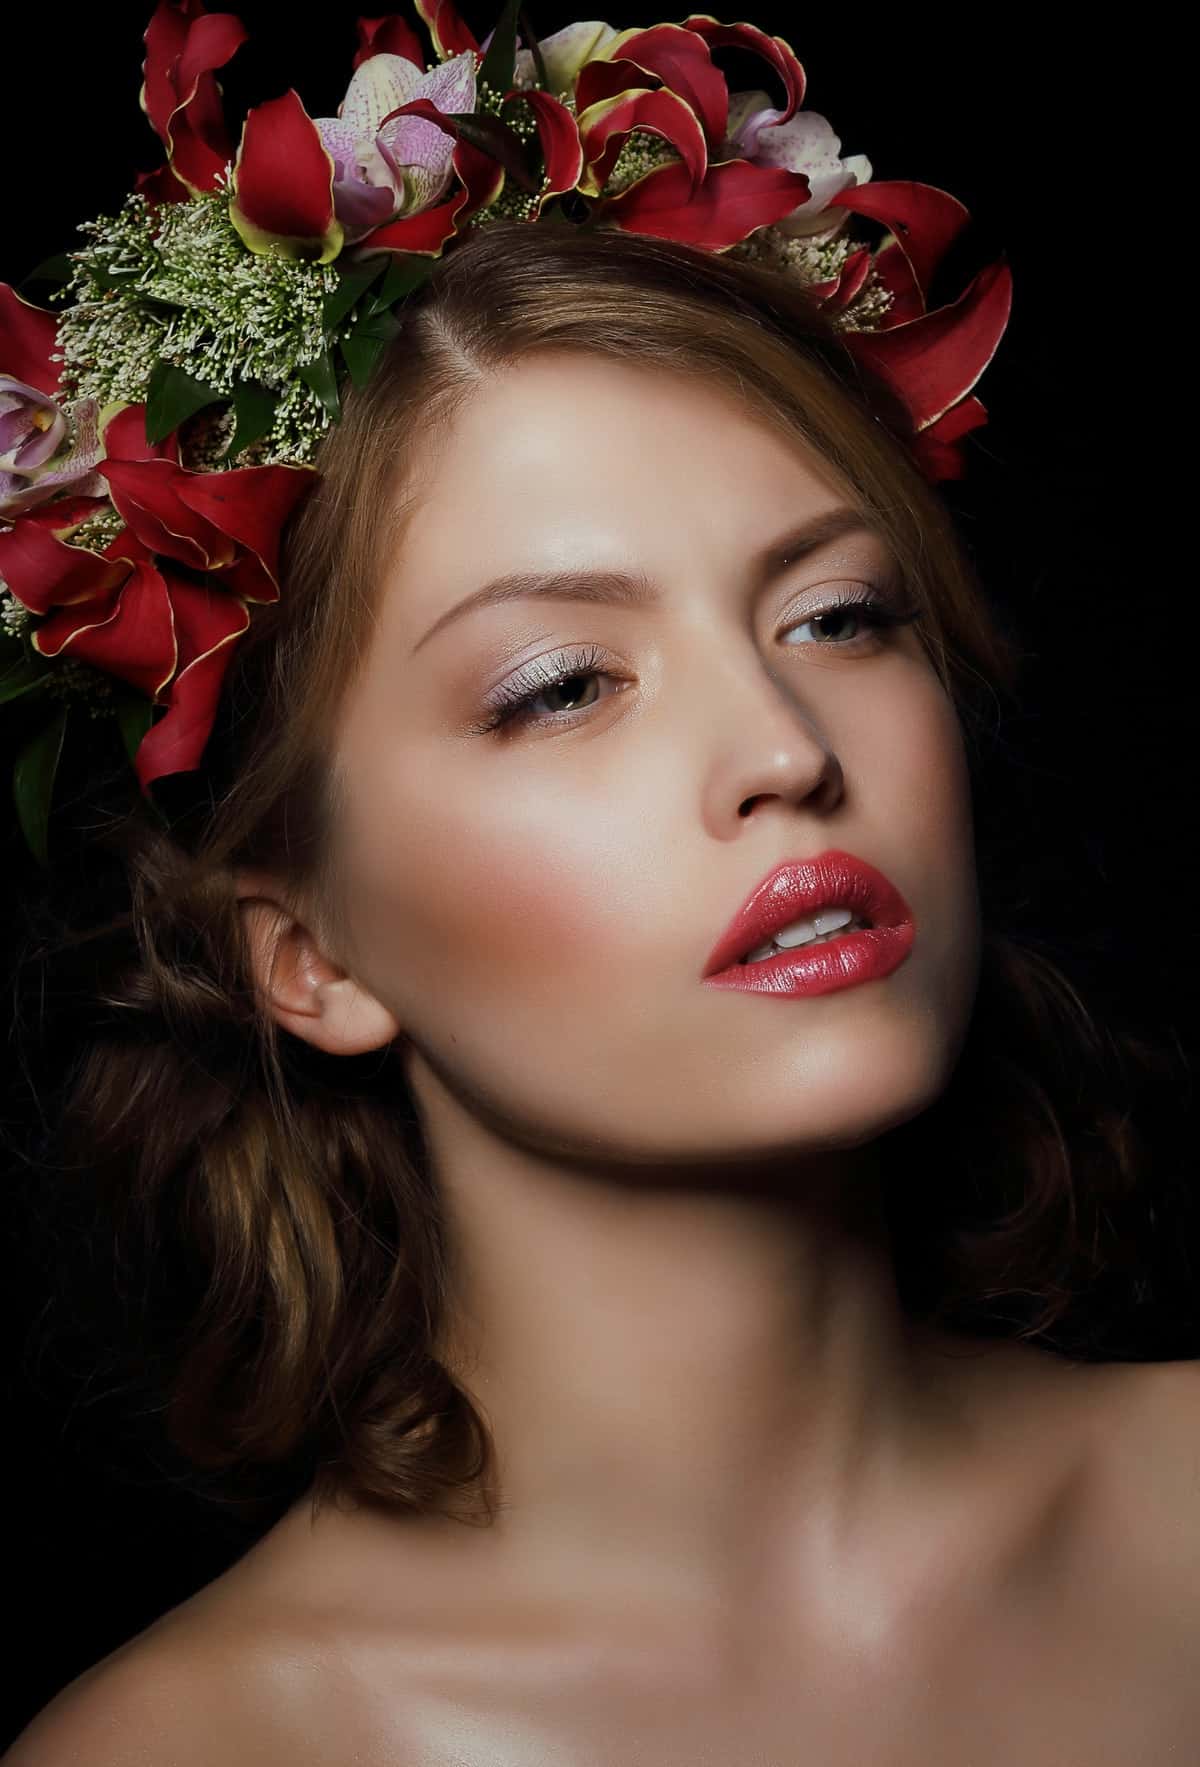
All of the images in this tutorial use loop lighting. But each is different in terms of style and intensity. Loop lighting is versatile and can be easily adjusted to match your portrait style!
Adding other lights to loop lighting.
You can add other lights to your loop lighting pattern to create additional interest or definition. If you’re shooting against a dark background, you can use a flash to light up the background from behind your model.
Or you can use a flash behind your model, pointing toward the back of her head as a hair light.
Additional lighting is completely up to you and won’t alter the basic loop lighting effect. That’s being controlled by your main light!

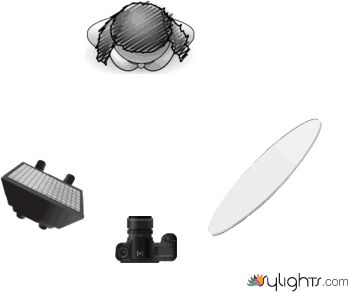
What kind of lighting equipment do I need?
Loop lighting can be achieved with a single light. Any kind of light works…natural light, flash, or continuous light, heck even a flashlight! Lighting patterns are easier to accomplish with flash or continuous light, however, because we can easily position our light to our liking. It’s not quite so easy to raise a window higher or move the sun.
You can also use a speedlight or strobe when using flash to create loop lighting. In fact, all of the basic lighting patterns work with speedlights or strobes, so try experimenting with what’s in your kit. Strobes do offer the advantage of having a modeling light, allowing you to see how your lighting pattern looks before the flash fires. Modeling lights can be really helpful as you’re learning basic lighting patterns.
You also don’t need a special modifier to create loop lighting. Umbrellas, softboxes, beauty dishes or even a product like the MagMod sphere will create loop lighting with the right technique. Try it with your current favorite modifier.
Just remember, it is the position of the light that creates loop lighting, not the type of light or modifier.
[ad id=’1′]
Other common lighting patterns
Loop lighting is just one of several common lighting patterns used by studio photographers. The others are:
- Butterfly lighting
- Split lighting
- Rembrandt lighting
- Broad lighting
- Short lighting
Rembrandt lighting uses a light at a 45-degree angle from your subject. Done correctly, your subject will have a triangle of light under his nose on the side of his face opposite the light. It’s a great setup for a moody, more contrasty look.
Learn how to master Rembrandt lighting with our tutorial!
Split lighting divides the face in half, with one side being properly exposed and the other side is in shadow.
Butterfly lighting is named for the butterfly-shaped shadow that is created under the nose by placing the main light source above and directly behind the camera. This is also called placing the light on-axis with the camera.
Make your off-camera flash portraits soar with our butterfly lighting tutorial!
Loop lighting creates a small shadow of the subject’s nose on his or her cheek. Loop lighting is a lot like Rembrandt lighting, but in loop patterns, the shadow of the nose and the shadow of the cheek do not touch. The two are often confused. And while it’s important to understand the difference, if you like the look of the portrait, that’s what matters more than exactly what you call it, right?
Broad lighting and short lighting aren’t really lighting patterns. They are more styles. Technically you could have a broad Rembrandt setup or a short loop lighting. Broad lighting lights the side of the face closest to the camera. Short lighting lights the side of the face furthest from the camera.
One light at a time
When we start to learn lighting and off-camera flash, it is easy to become overwhelmed. We see diagrams for four or five light setups and get intimidated. We don’t know where in the world to put one flash, let alone three, four or five.
Please don’t be intimidated. Take it one light at a time. Learn the basic light setups as described above using a single light and modifier (plus a reflector or fill light if you’re that adventurous). Understand what each light pattern is and when you might want to use it. Then move on to the next. Once you have these fundamental light patterns under your belt, the other accent lights are less intimidating.
Start by learning one light pattern, like loop lighting, and really know how to nail it. Then try another. And another. Soon, you’ll have moved through ALL the basic lighting patterns and be confident in your off-camera flash skills in any situation.