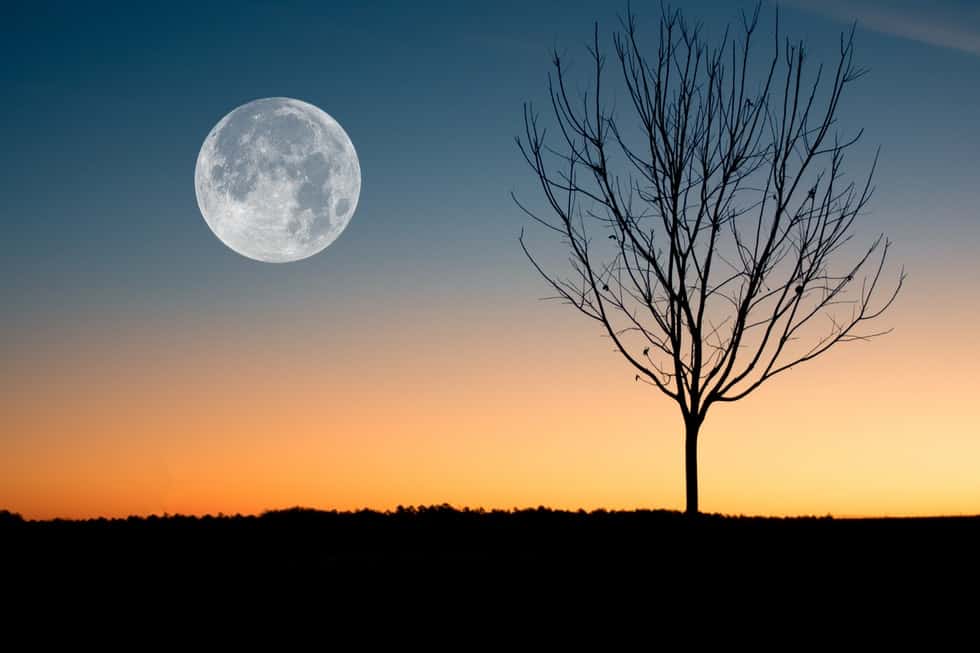

The moon, in addition to the other celestial bodies in our solar system, is one of the most captivating photography subjects we see today. However, unlike the other heavenly bodies out there, the moon is close enough and bright enough for us to photograph reasonably quickly.
Looking to improve your photography? Just enter any questions you have about improving your photography below and hit send and get answers & feedback instantly - for FREE! Submit QuestionsThat said, if you’ve ever tried to photograph the moon with a small camera – such as the one on your smartphone – it’s not as easy as it looks! Photographing the moon requires preparation and a little bit of background knowledge before you’ll be able to photograph the moon effectively.
Moon Phases: 2020 Calendar
Before you step outside to photograph the moon, you should be familiar with the current year’s moon phases. It may be a good idea to keep a calendar of these on-hand so that you can plan your photography trips.
Of course, you should keep routine moon phases such as the waning moon, waxing moon, full moon, and other moon phases in mind, but you should also try and get a shot of the moon during special events like:
- The super moon, or when a full moon falls close to the moon’s closest point in orbit with the Earth
- A “blue moon,” or the second moon to happen in one calendar month
- A lunar or solar eclipse
- A “blood moon,” or a total lunar eclipse
- Earthshine, or when the brightness of the Earth illuminates more of the moon than is usually visible
Finding Your Perfect Location
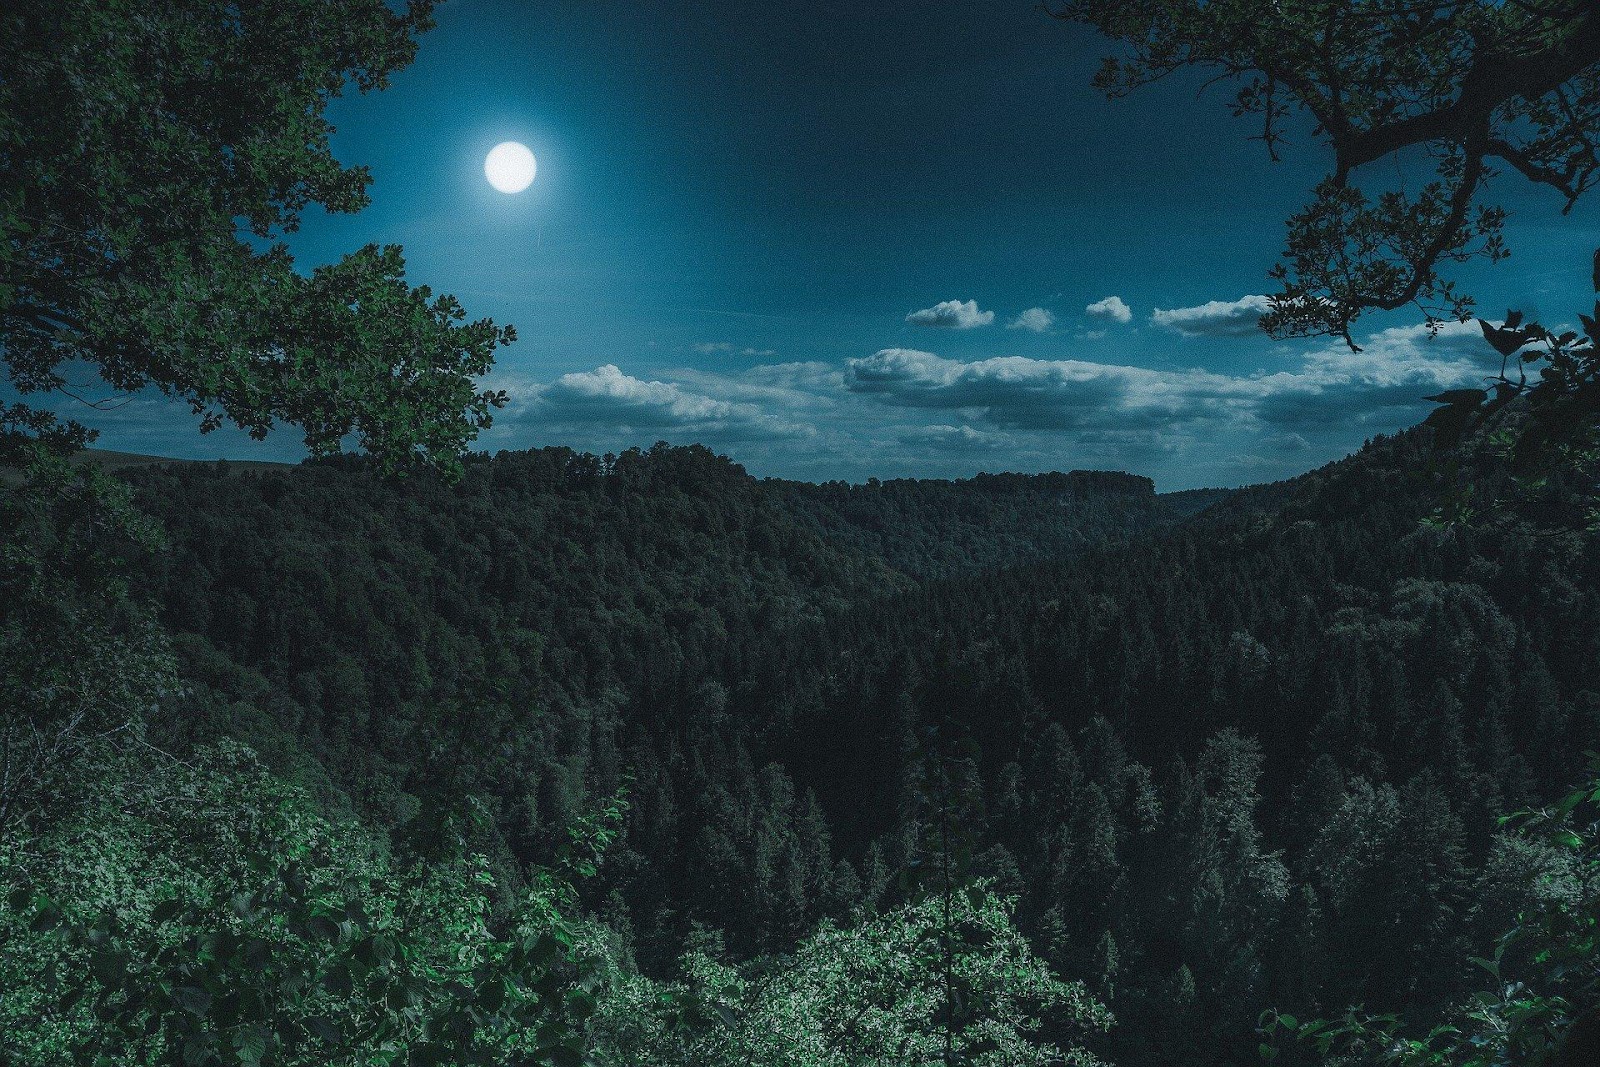
Photo by Florian Kurz licensed under CC0
Finding a great location to photograph the moon from is incredibly important, regardless of whether you only go there once or if you return to the same place again and again. The best places to photograph the moon from have more than one perfect “spot,” but this isn’t necessarily a requirement.
It’s also useful to find places that are somewhat elevated for a moon shot, such as the tops of buildings or open areas on hills or mountains. Alternatively, you can use a big, treeless field, but you’ll want to choose a place with as few obstructions as possible. Of course, if you’re going to include things like trees and buildings in your photos, you should consider that too.
Above all, you will want space to move your equipment around and find the perfect combination of angle, view, and distance from your subject. If you can find a place where a large amount of the night sky is visible, this is great too – you can use a site like this to photograph in the morning, evening, and throughout the night.
One final thing you can do while scoping out your location is to research it. If you are photographing at a public park, see if you can find anything out about good places to shoot, for example (and be sure you have rights reserved to be there). Things like hiking trails also might have well-known spots to take advantage of, or you can walk them yourself and find some hidden gems. Going out and doing your research on foot is valuable, too.
Before You Begin
Photo by Besi licensed under CC0
Choosing your photography spot should be your first step – preferably before you even bring your gear to the site. After all, you have a lot of measurements to use and other variables to consider.
For example, if you’re taking a picture of the moon and other subjects, such as buildings, trees, or people, the spot you choose will determine how big the moon is compared to the subject. You may have to experiment a bit to get this exact size right, and you may want to do this experimentation before the target day. This way, you won’t miss your photography window if it’s short.
Keep in mind that the angular diameter of a standard full moon is, for most people, about 30 arcmin (or arcminutes). You’ll need to use this measurement when choosing lenses, moon size versus subject size, and location.
Focal Length
The key to manipulating the size of the moon in photographs is the Focal Length. If you want the moon to be significant in your photos of the moon, you’ll want to increase the magnification as much as possible. However, you’ll also be reducing the field of view at the same time.
If you want to capture something like a vast landscape in your moon photograph, you’ll want a full field of view, but you’ll end up sacrificing magnification (and thus, the moon will appear much smaller).
Natural Light
Natural light, and how much of it is present, is incredibly crucial for nighttime photography. Of course, you’ll never see as much natural brightness as you do during the day unless you rely on artificial sources or post-processing effects. As such, the intensity you’ll be working with at night becomes all the more critical.
You don’t have to photograph the moon strictly at night, though. Some of the best natural-light-filled times to photograph the moon include:
- The golden hour, when the sky is golden or red shortly after sunset or before sunrise
- The blue hour, or when the sun is below the horizon, and the sky is a dim blue
- Civil twilight, or when the sun is between zero and six degrees below the horizon
- Nautical twilight, or when the sun is between six and twelve degrees below the horizon
- Astronomical twilight, or when the sun is between twelve and eighteen degrees below the horizon
- It is considered night when the moon is more than eighteen degrees below the horizon
If you have a practiced eye, you may be able to figure out when the different twilights and hours happen by sight. However, it may be best for beginners to use a resource to help, such as the apps we mentioned earlier. Don’t be afraid to try using different apertures, too. While the f 11 aperture is recommended, different settings will give you different results.
Moon Position
As you might have already realized, it’s incredibly important to know what the moon’s position will be before you begin your shoot. The moon’s position is typically defined by two measurements: the Azimuth and the elevation.
You probably already know what elevation means. On the other hand, Azimuth refers to the cardinal direction in which the moon is in the sky. For example, if the moon is due north, it’s at 0 degrees. If it’s due east, it’s at 90 degrees, and so on. Elevation and Azimuth together define where the moon is located in the sky.
To find Azimuth, all you need is a compass, which you likely have already on your smartphone. Do keep in mind that it may be difficult to pinpoint the moon’s Azimuth if it’s directly overhead.
The elevation of the moon is a bit harder to calculate. A tool called a theodolite can be used to make the measurement. Fortunately, theodolite apps exist on smartphones now to make this easy.
Planning Your Moon Photos
Photo by jplenio licensed under CC0
Planning the best moon photos happens in a few different stages. The first step involves finding your subject, of course. Perhaps you’ve seen a break in a grove of trees that would look incredibly illuminated by the full moon, or you may have a client who would like to be photographed by moonlight. Perhaps you’d just like to capture a picture of moonlight for fun.
The next step is to figure out when the moon will be exactly where you want it. You can do this using the calculations we’ve gone through in the previous sections. Depending on what you want, you may be able to capture your photograph right away, or you may need to wait or think of an alternative.
Of course, the last step is to gather the gear you need to capture the moon picture you want. Without the right telephoto lens, tripod, or other accessories, you could get there and be unable to obtain your shot!
Once you’ve found your subject, made your calculations, and gathered the gear you need, you’re ready to practice amazing moon photography.
Gathering Your Gear
Photo by Raman Oza licensed under CC0
Taking a high-end photograph of the moon isn’t always as easy as snapping a picture in the daytime. If you want a bright image, for example, you may need to capture a long-exposure shot. To do this, you’ll want a tripod of the right size while shooting the moon so that the result isn’t blurry since your shutter speed will be slower. That’s just scratching the surface of what you need.
Your Camera is Important
The better your camera, the better (and more custom) your result will be. It’s possible to capture a moon pic with a smartphone, for example, but the result won’t be particularly satisfying or impressive. It can be done, of course, especially with the right accessories (lenses and tripods for smartphones exist, too), but your result may not be up to the same standard.
As you might expect, the more expensive the camera, the more you’ll be able to do with moon photography. That doesn’t mean you can’t capture a good picture while shooting the moon with a low-end or high-end camera, though – you’ll have a more difficult time of it.
Notes on Camera Lens
Arguably, the camera long lens you use can make even more of a difference than the camera itself. Theoretically, you could purchase a high-quality long lens kit for a smartphone and capture a better picture than a low-quality, non-telephoto lens on a professional camera.
For moon photography, you will most likely want a good zoom lens to help magnify the moon. If you have a good collection of non zoom lens already, you may be able to use some of these, but a zoom lens offers more flexibility as far as moon and subject distance.
Tripod and Head Quality
Many different kinds of tripods and camera heads exist for your use and avoid camera shake. As long as you can use it comfortably and effectively in your chosen location, the quality of the tripod itself isn’t essential. However, the tripod should be both sturdy and easy for you to use, and it should eliminate as much camera shake as possible.
Additional Accessories You May Need
You’re ready to start with moon photography if you have the previously mentioned supplies. However, we have a few extra items in mind that you may also find helpful while shooting the moon. Consider bringing along the following:
- An intervalometer helps your device shoot pictures at specified intervals, such as for time-lapse photography
- A shutter release cable will allow you to shoot photographs without directly touching your camera, which helps with stability for zoomed-in shots and puts a stop to camera shake
- Flashlights and lamps, of course, will help you set up your rig at night. This is a no-brainer!
- Make sure you have sufficient memory cards for the number of pictures you plan to shoot
Camera Settings
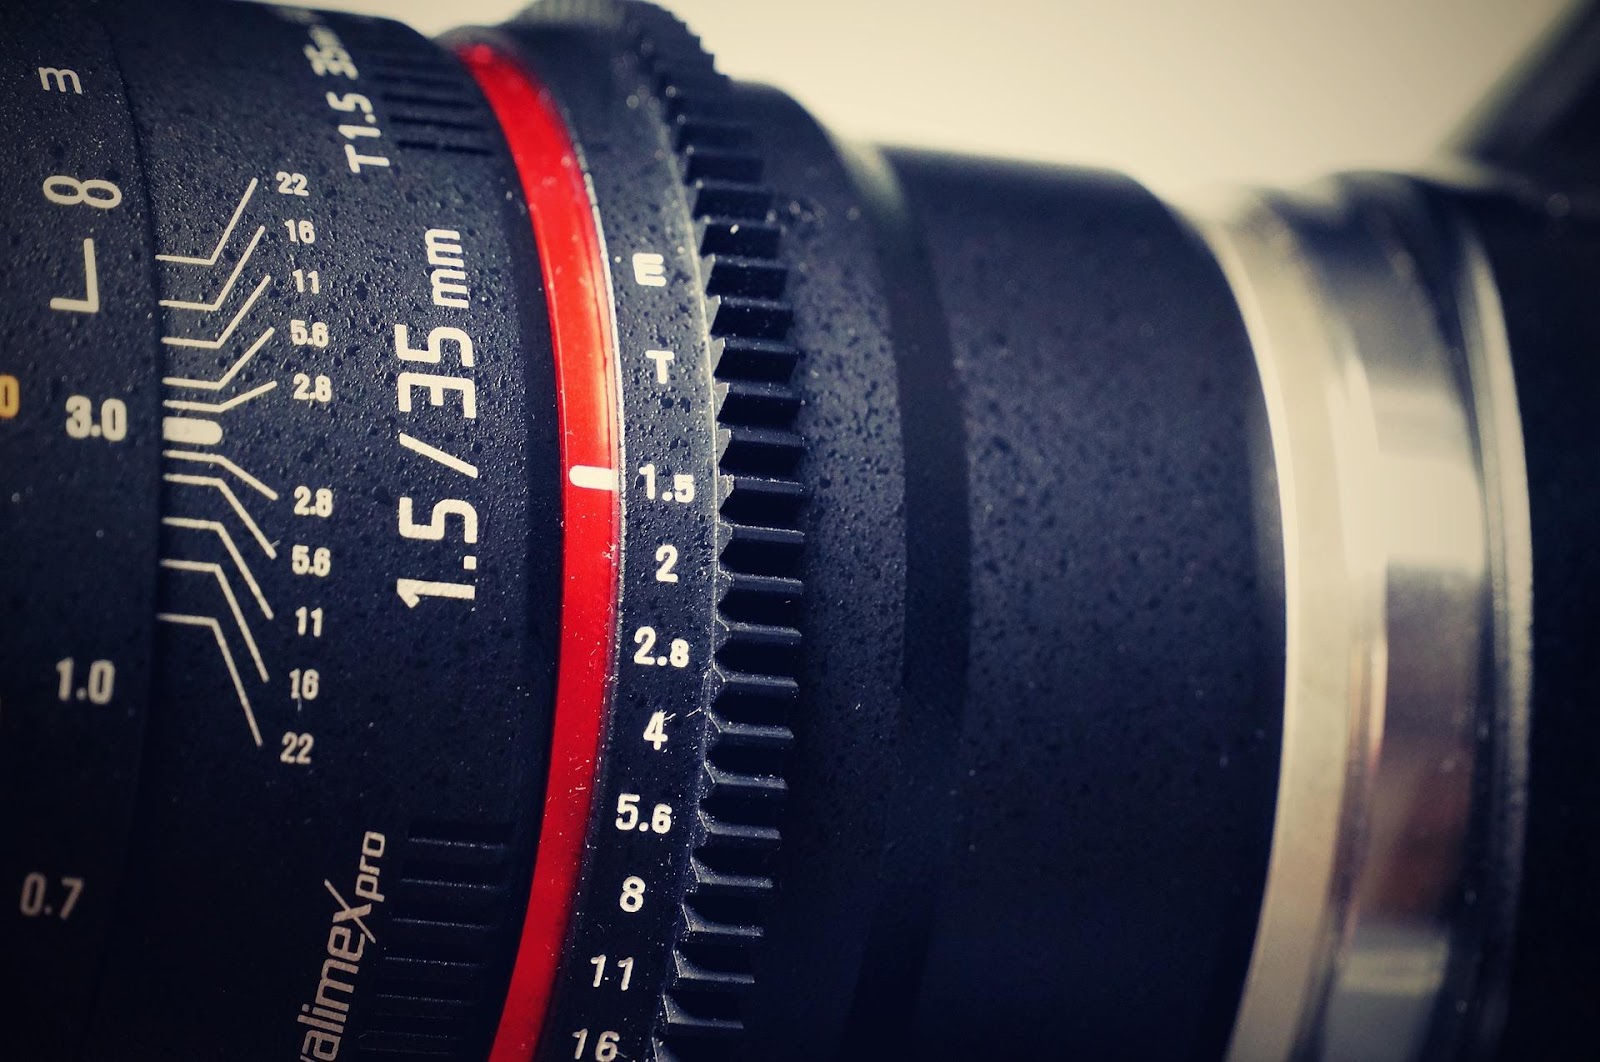
Photo by Robert Lischka licensed under CC0
Setting your camera on its tripod is good, but if you don’t have the right settings enabled when you shoot, it won’t turn out right. Make sure you choose your settings as follows:
- Set your camera to ISO 100.
- Choose an aperture setting between f 11 and f 16, whichever setting is the sharpest.
- Set the shutter speed between 1/60th and 1/25th.
Of course, you can tweak the above ISO, aperture, and shutter speed settings before you shoot as you see fit to find different results during manual focus; there is no hard-and-fast rule to follow when shooting the moon. However, the above is an excellent starting point. Try other settings like f/8 or f/5 6 when you shoot for variety, or play with the ISO settings a bit.
The Looney 11 Rule Explained
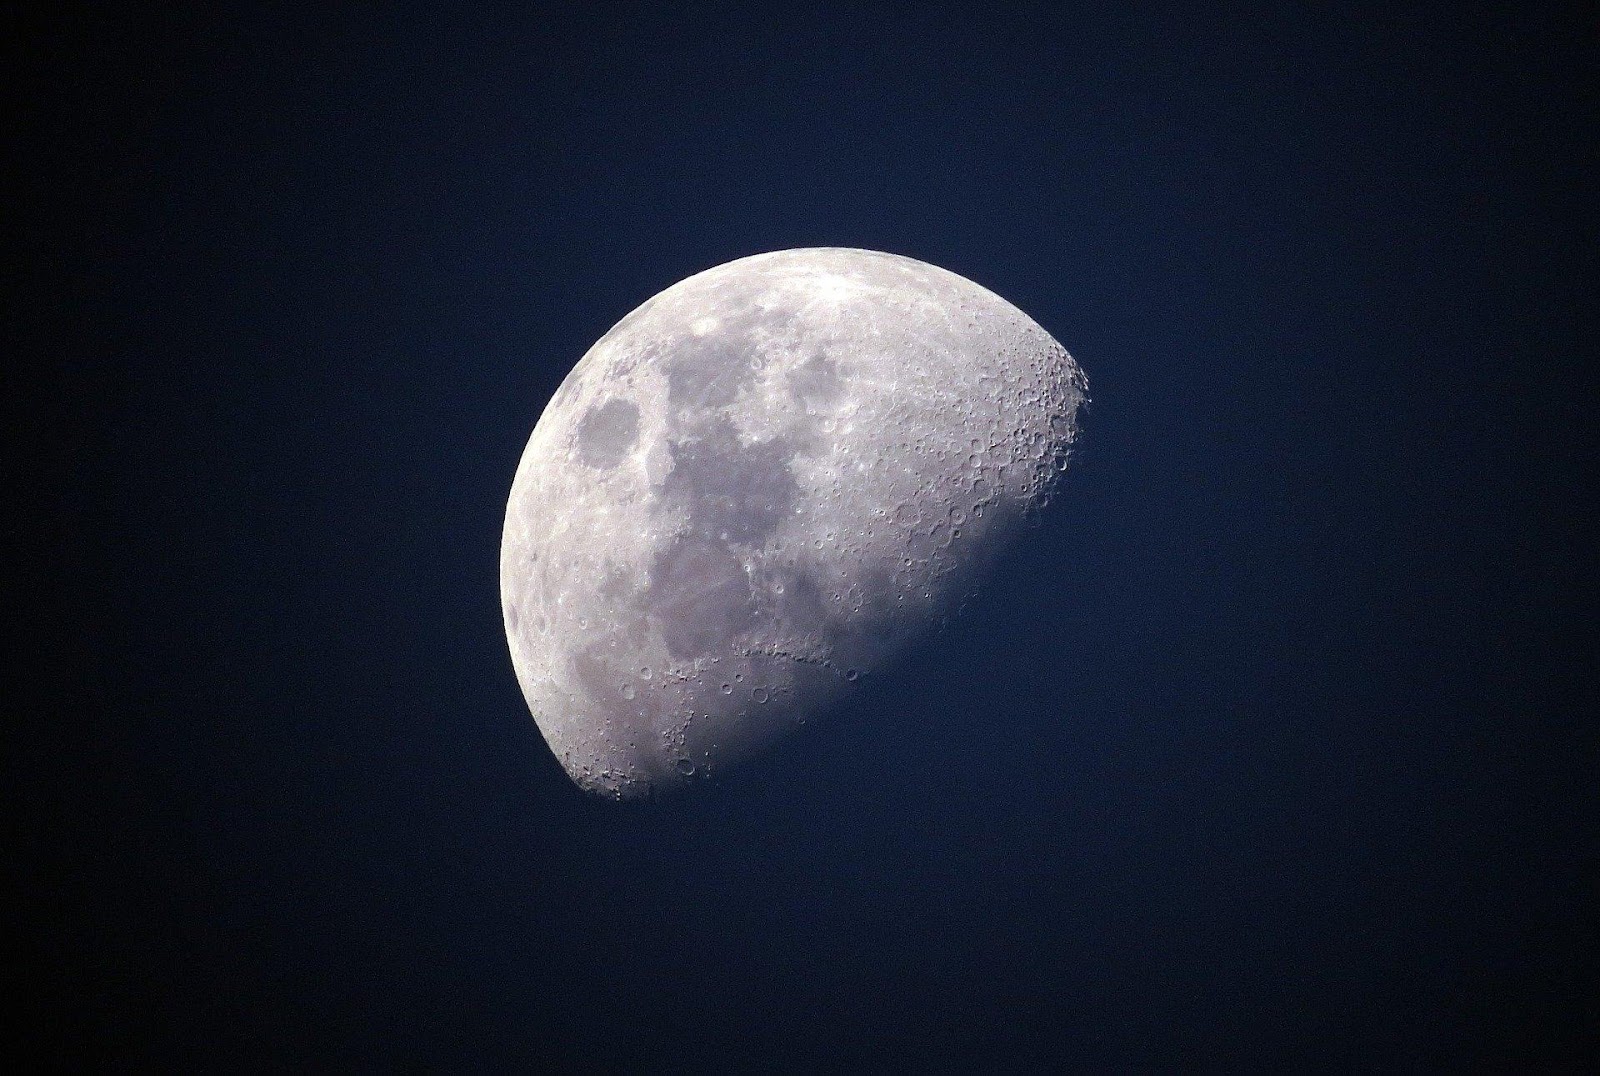
Photo by JB licensed under CC0
The Looney 11 Rule is a formula to follow that applies directly to shoot moon photography. Essentially, if you start at f/11, you should set the shutter speed to the reciprocal of the ISO. In essence, if you set your camera at ISO 100, the shutter speed should be 1/100; if you set your camera at ISO 200, the shutter speed should be 1/200, and so on. A fast shutter speed will be less blurry, but will also let in less brightness.
Steps to Photographing the Moon
If you’re still not clear on the above, take a look at the following steps for photographing the moon. While you should feel free to be a bit creative and do things that work best for you when you shoot, this is generally a reliable way to start to shoot moon photography.
First and foremost, you should prepare your spot for shooting the moon. Getting your photography spot identified and ready in advance is extremely important, especially if you’ll be taking pictures during a special event like an eclipse, meteor shower, super moon, or similar. You’ll find the most success by setting everything up a bit in advance, testing your settings, and taking a few practice photos of the moon before the big day comes.
Next, you should do the following steps in order:
- Set up your tripod, ball head, camera, and any long lenses you need.
- Remove the UV filter on your camera.
- Turn off any long lens stabilizations.
- Make sure to shoot in RAW mode for high-quality images.
- Pick the best focal length for your subject.
- Choose the Manual shooting mode and manual focus.
- Choose your desired aperture, such as f 11.
- Adjust the focus on the moon until you find a clear, crisp picture.
- Set the shutter speed to your desired setting.
- Choose the desired ISO speed.
- Fine-tune your white balance.
- Adjust the camera exposure.
- Shoot some bracketing shots.
- Prepare to move to several different angles.
When you’ve done the above, and you’re ready to move, simply repeat the list again.
Moon Photography During Different Phases
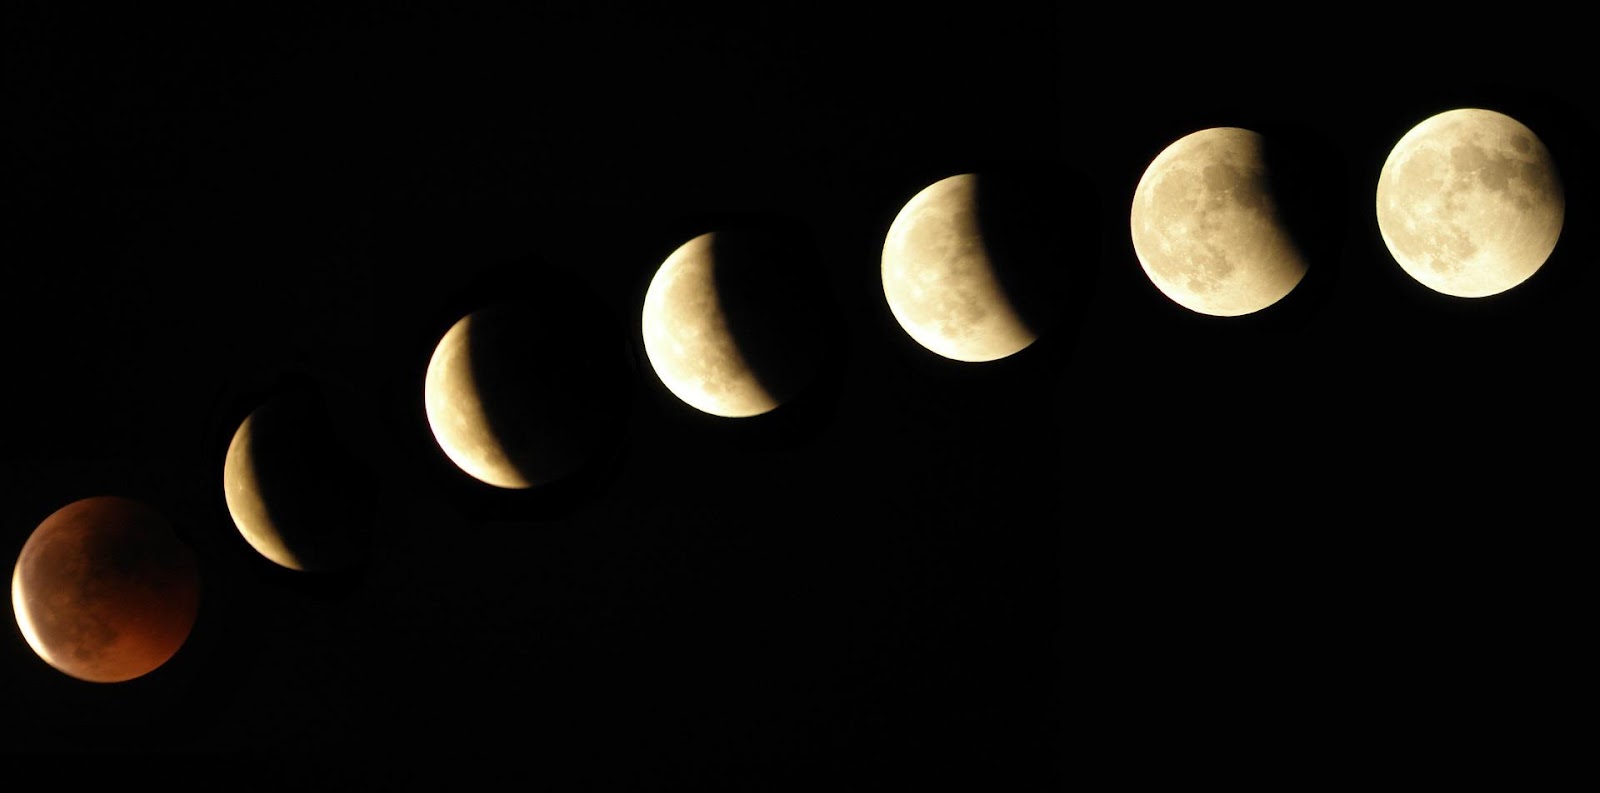
Photo by IB306660 licensed under CC0
Of course, the settings, gear, and photography spots you’ll want to use change with each moon phase. For example, you’ll likely want more exposure for an image of a new moon than what you would want for a full moon, but this is just the start.
Photographing a New Moon
Depending on how “new” the moon is, you may not be able to identify any of it while taking pictures of the moon. Sometimes, you may be able to see a faint halo around one side of the moon, giving away its position.
In comparison with the other moon phases, this can be quite difficult. Photographing a pale, nearly indistinct new moon can be a fun challenge, but it’s also an opportunity to photograph other things.
For example, with the ambiance of a bright moon out of the sky, it may be easier to shoot images of the stars or other phenomena, such as meteor showers or auroras.
Photographing a Waxing or Waning Moon
When the moon is waxing or waning, it’s often visible for parts of the day in addition to parts of the night. Consider trying out some evening shots, sunset or sunrise shots, and in-between shots in comparison to your images of moonlit nights.
Photographing a Full Moon
Of course, everyone longs to shoot ethereal photos of the moon when it’s full. Since full moons are often quite bright, this is a great time to shoot pictures of other subjects and shoot the full moon, since they’ll be partly lit. Landscapes are magnificent for this shot of the moon, but you can try to shoot with people, buildings, and other subjects, such as wildlife.
Common Errors and Mistakes
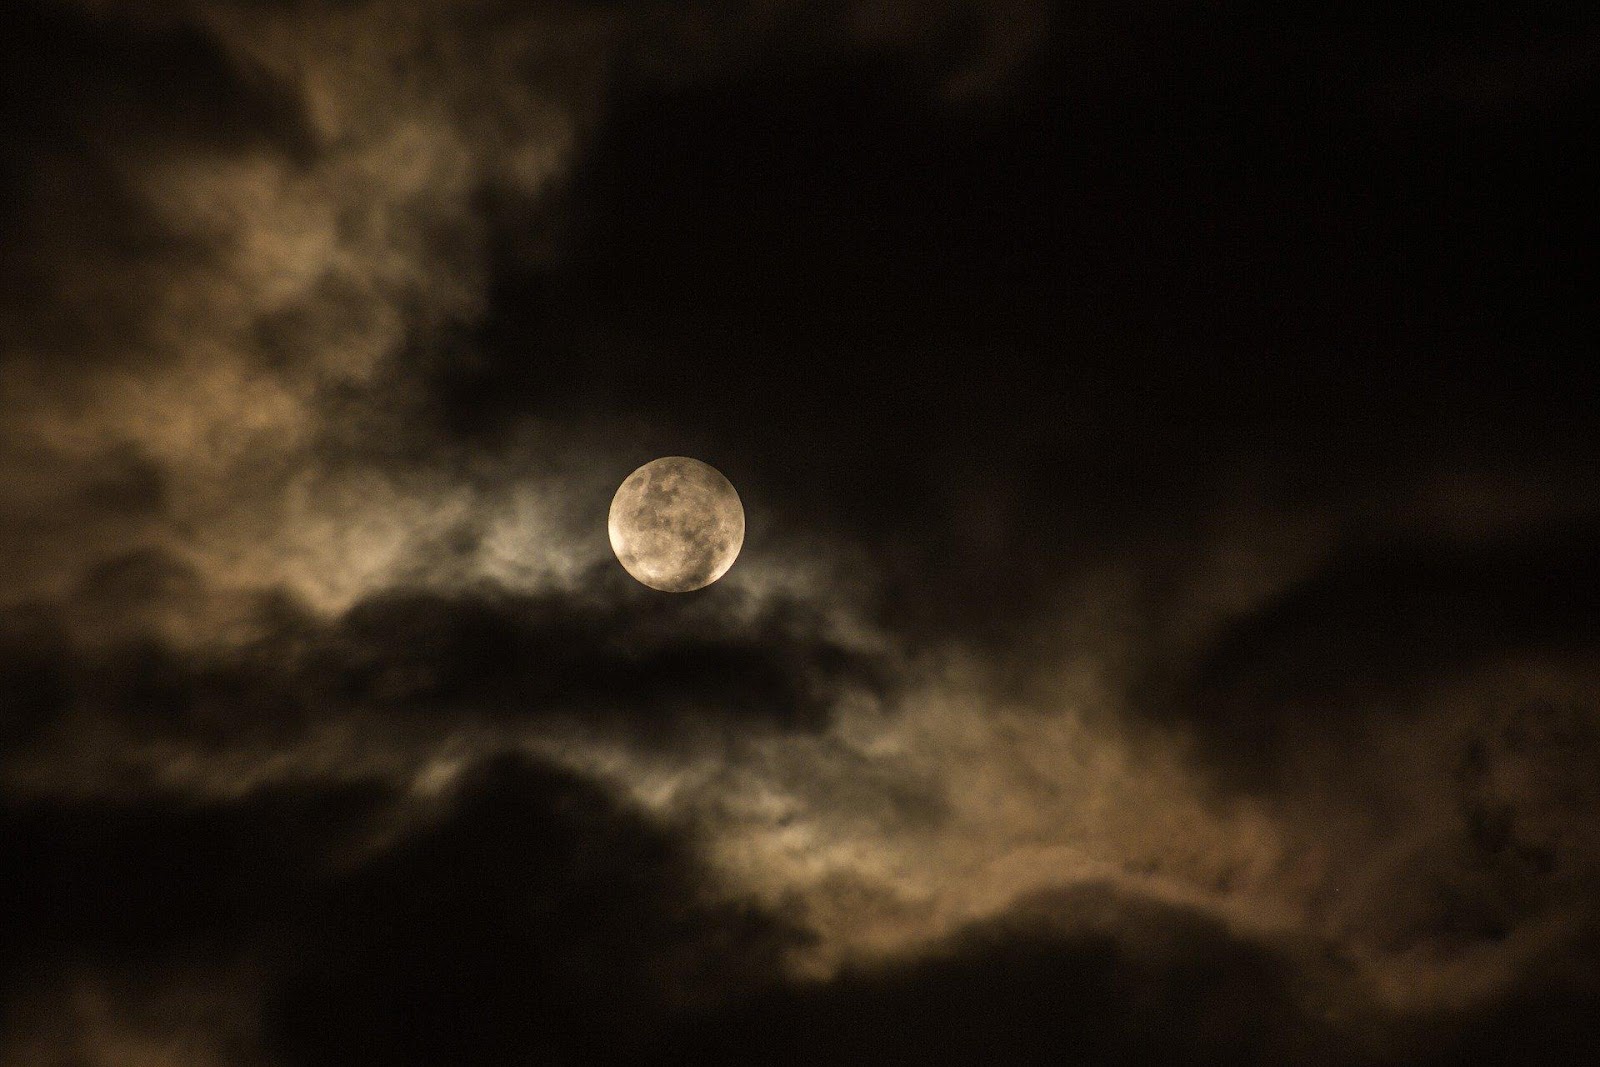
Photo by Pexels licensed under CC0
Sometimes, you may think you’ve gotten everything right, but you’ve forgotten just one or two things that can disrupt your image completely. After all, moon photography is a complicated journey, and many beginners don’t master it right on the first try. This is nothing to be ashamed of!
That being said, we’ve included some of the most common moon photography mistakes below so that, hopefully, you can avoid making them! Additionally, if you’ve already taken a shot at moon photography, but you ran into some issues, the tips below may help you identify the problem with the images.
You Haven’t Accurately Planned Your Photo
If you try “winging” one or more aspects of your shoot, you may end up with an incomplete final product. Try to plan as much of your photos of the moon as possible before the day you’re set to shoot them.
You Haven’t Scouted Your Location Enough
When looking at your location, make sure to pay attention to as many details as possible. It may even be handy to bring a notebook along with you to jot things down that may affect your final images.
In particular, pay attention to the land beneath your feet, how soft it is, if there are any holes, how windy or cloudy it is, etc. It’s also helpful to visit your site during the day to find a better idea of where things are located.
The Moon Has Moved
Unfortunately, one of the difficulties involved with moon photography is that the moon moves fairly quickly across the sky. If you misestimate your perfect time, don’t arrive there on time, or wait too long to find the correct settings, the moon may have moved out of the ideal area before you can capture the perfect image.
This is why it’s important to have several subject areas and angles ready to go; if you miss or mess up on one, you may still be able to salvage the day with some shots from a different perspective.
You Capture Blurry Pictures
If your settings aren’t optimized, you brought an unreliable tripod, or you’ve selected the wrong shutter speed, you may end up with a prohibitively-blurry photo. Because the moon is so far away, the barest movement of your camera can sometimes be blurry. If you’ve brought inadequate lenses for the job, you can end up with a similar result.
If you’ve tried all of the above but still end up with a blurry result, try using a shutter release cable or a sturdier tripod to eliminate any remaining camera shake.
You Get Overexposed Pictures
One of the reasons why bracketing is so essential is that it helps you choose the exposure level that looks best with your pictures. If you decide to “wing it” instead, you might end up with an over or under-exposed picture. This can happen if you aren’t familiar with the correct settings to use.
Try it with the f 11 aperture first and ISO 100, but you can also try other parameters such as f 8, f 5, and f 5 6. Remember to adjust your shutter speed as well!
The Weather Ruined It
Sometimes, no matter how much preparation you do, the weatherman is wrong. When the evening sky is fully cloudy, there’s not much you can do but wait for the moon to come back. If you miss your chance waiting for the moon to peek out from the clouds, there’s not much you can do but come back next time.
You should always check weather forecasts before you go out, as this might save you the trip, but occasionally there’s just nothing you can do. Don’t give up hope right away, though – occasionally, cloudy nights can give rise to some truly mysterious moon photography, and a sea of clouds backlit by moonlight is always beautiful, too. Try to salvage the day even if the clouds roll in at the wrong time!
Equipment Failure
It’s always a good idea to test your equipment routinely to make sure it’s still functional. However, occasionally equipment will break on the job, batteries will die sooner than expected, or accidents will happen before you can capture images of the moon. Of course, it’s a good idea to have some kind of backup on hand in case of equipment failures, but not many can afford to have a full backup rig ready.
Try to be as prepared as possible. Even if it’s lower-quality, having a backup lens, camera, or tripod stashed in your vehicle can make the difference between a fruitless night and some successful pictures.
You Forgot Something
It happens to the best of us. Occasionally, no matter how much you remind yourself to bring the extra-long lens or pack some spare batteries in case you leave something important at home. If you live close to your chosen location, you may be able to run back for it, but this often isn’t’ the case, especially with moon photography.
Being prepared for forgetfulness is as important as being prepared for equipment failure You know yourself – if you’re likely to leave things at home, pack them the night before, keep a spare in your trunk, or set a reminder on your smartphone.
You Didn’t Use RAW Mode
RAW is an image file format that contains more data at the pixel level than traditional JPEG images. As you might expect, RAW images use up more memory on a camera or memory card, but they’re also easier to post-process. RAW photos of the moon are uncompressed, whereas JPEGs are not.
Editing Your Moon Photos
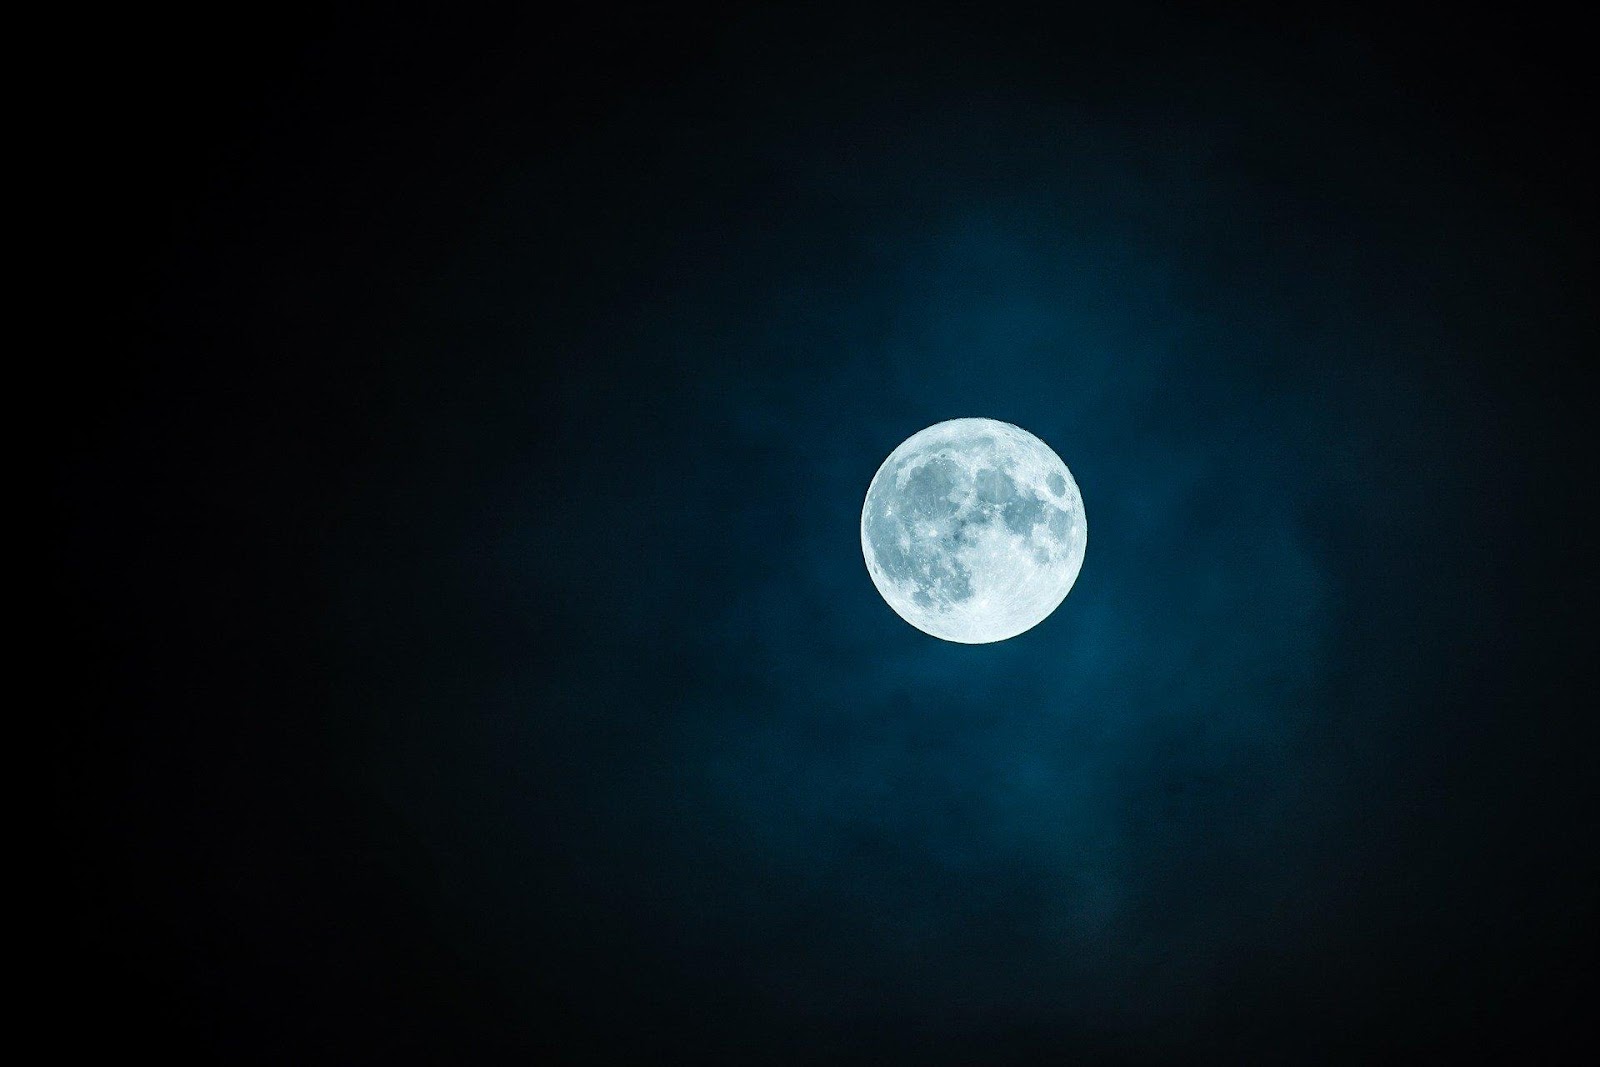
Photo by Robert Karkowski licensed under CC0
While some people prefer to capture natural photos of the moon, there are infinite things you can do in post-processing to make your photos look better. While post-processing can’t make up for many of the mistakes we listed above, it can help, and it’ll make your photos look more professional, too.
One of the many ways to make moon photography look better is with something called stacking. Stacking involves combining multiple images with different levels of focus. The result is a fully in-focus image, rather than the foreground or background being blurry.
This is great for a shot of the moon involving a subject in the foreground and the moon in the background. Usually, when you focus on the moon, anything in the foreground would become blurry and out-of-focus. However, by shooting the moon and taking pictures of both and combining them, you’ll end up with a crystal clear picture.
Most of the photos we see today have been post-processed in some way, whether in Adobe Lightroom, Photoshop, or some other image editing software. It’s a fact that as excellent as our cameras are, most of them can’t see things as good as we do in live view. If you want to create stunning photos right out of your imagination rather than live view, you’ll need to tweak them in post-processing at least a bit.
Some common live view aspects to tweak in post-processing include:
- Colors and filters
- Saturation, contrast, and brightness
- Combining bracketed images
- White balance
Applications, Tools and Online Resources
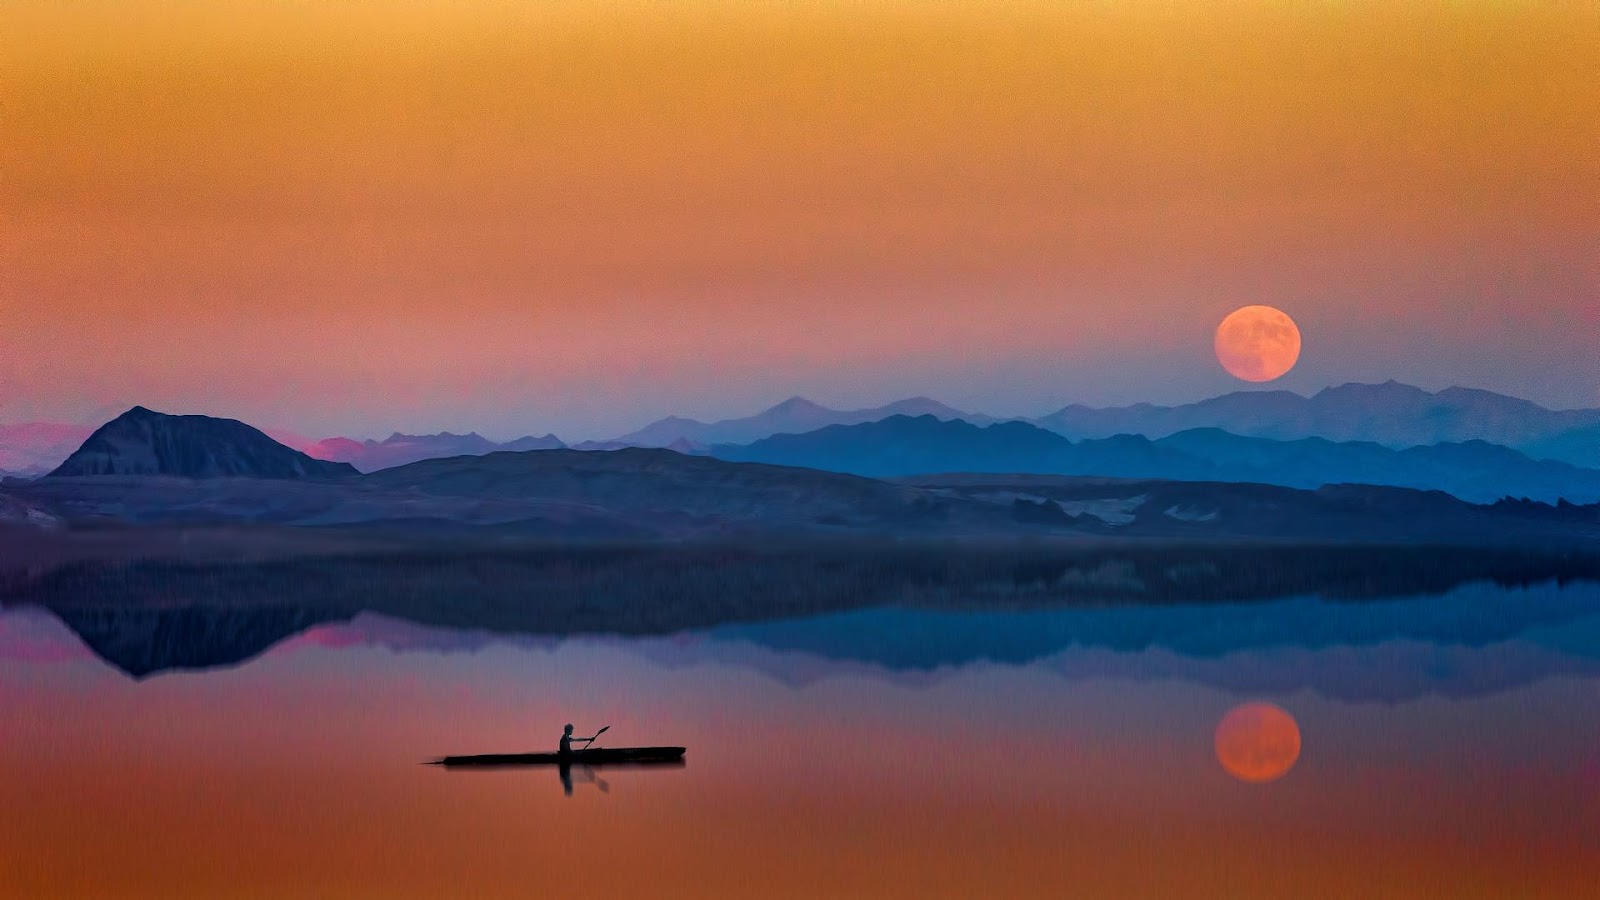
Photo by jplenio licensed under CC0
Consider downloading a mobile app or two before you begin your journey. There’s no telling whether you’ll have access to the internet or cellular service or not where you’re going, so it pays to have some resources pre-downloaded in addition to doing prior research.
PhotoPills and SunSurveyor both keep track of changing conditions, sun and moon paths, moon phases and events, and more to help you plan the perfect shot. DeluxeMoon is a more straightforward application that keeps track of moon-related details at your location, such as your coordinates, the moon’s zenith, the moon’s age, the onset of moonrise, and more.
Today, virtually all of the tools you could need for moon photography can be accessed from your smartphone. Like we said earlier, you can even download a theodolite app for your smartphone. Intervalometer timer apps exist for smartphones, too. You can also access Adobe apps like Lightroom and Photoshop from your phone, albeit in a limited capacity.
One of the best ways to begin understanding moon photography is to look at a visual guide. His is especially helpful for spatial concepts such as Azimuth and elevation. They may be able to help you find better shooting spots, as well.
If you’d like to make things quick and easy, consider looking into a moon photography calculator, like this one from PhotoPills. A calculator will make recommendations for where to set your settings based on how many stars you can see, your focal length, and the model of your camera.
If you’re interested in eclipse photography, you may want to download some additional resources for this. A lunar eclipse, or blood moon, is rather easy to photograph, but a solar eclipse is another animal entirely. Additionally, you’ll need to be extra-prepared, as eclipses often last from only a few minutes to a few hours.
Making the Moon Bigger
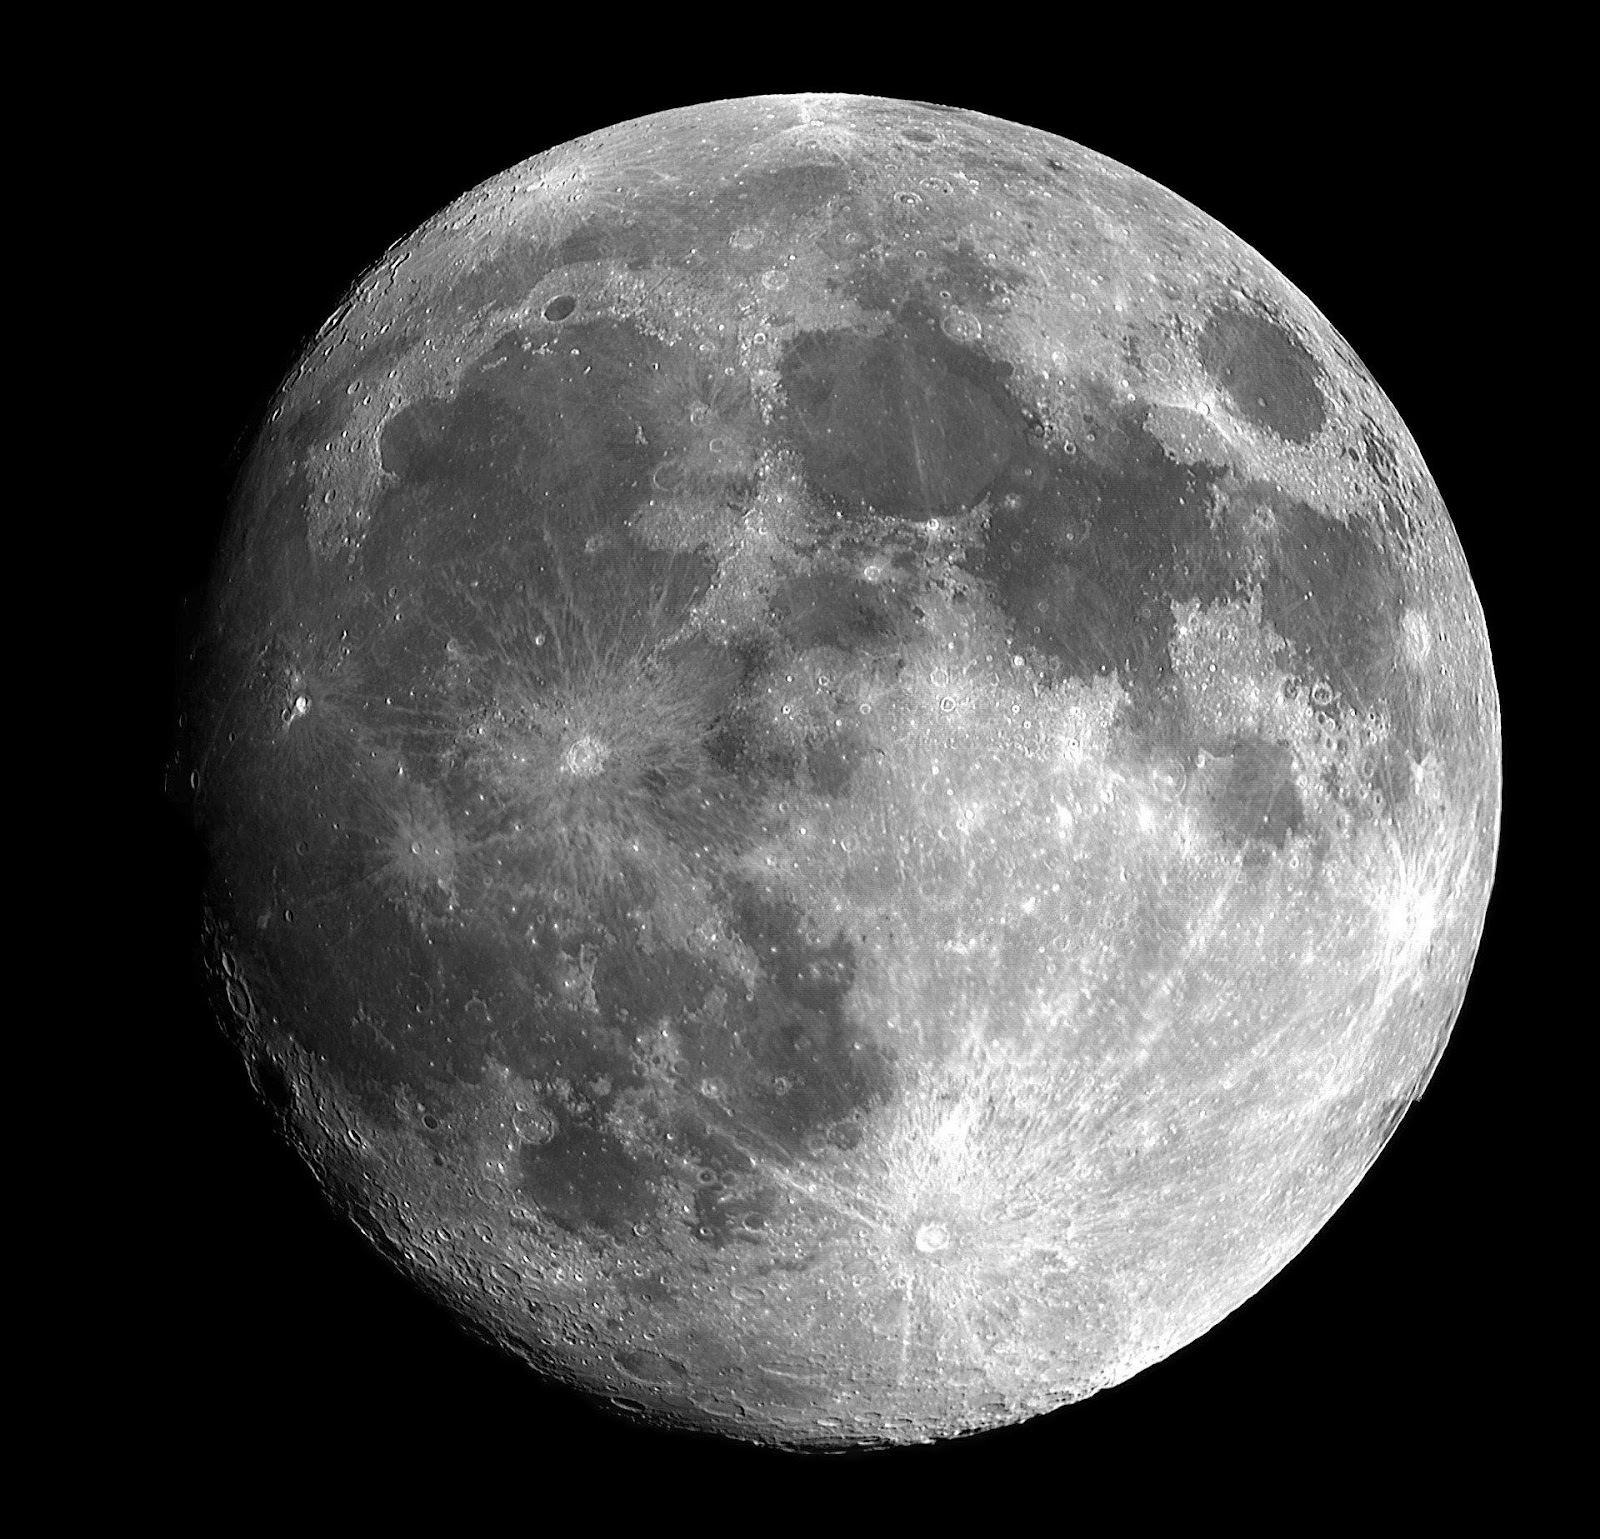
Photo by Duncan Miller licensed under CC0
Taking all of the steps we’ve talked about so far and ending up with a small white blob of a moon can be one of the most disheartening things ever. Fortunately, there are still things you can do to make the moon look even more prominent in your moon shots – even pictures from smartphones.
If you really want a big, otherworldly-looking moon, the best application to use is Photoshop. As long as your starting picture is suitably high-resolution, you should be able to increase the size of your moon somewhat without visually affecting the quality of your picture. This is by far the easiest way to make the moon bigger in your pictures, but it may look unnatural or blurry if you manipulate it too much.
If you want a bigger moon, the best way to get it is to get a bigger (or, in this case, longer) lens. The more you focus on the moon and magnify it with your lens, the bigger it will be. Of course, this can make it difficult to see your subjects in your shot of the moon, too, but the inverse relationship between magnification and field of view forbids anything but.
If you want a big moon and a visible subject without artificially increasing the moon’s size, you can always work to combine a few of your pictures. You can do this with stacking to bring both subjects into focus simultaneously, or you can add just the moon from another moon shot using photo manipulation tools. This falls more into the realm of moon photo editing than photography, though!
Why Is Photographing the Moon So Difficult?
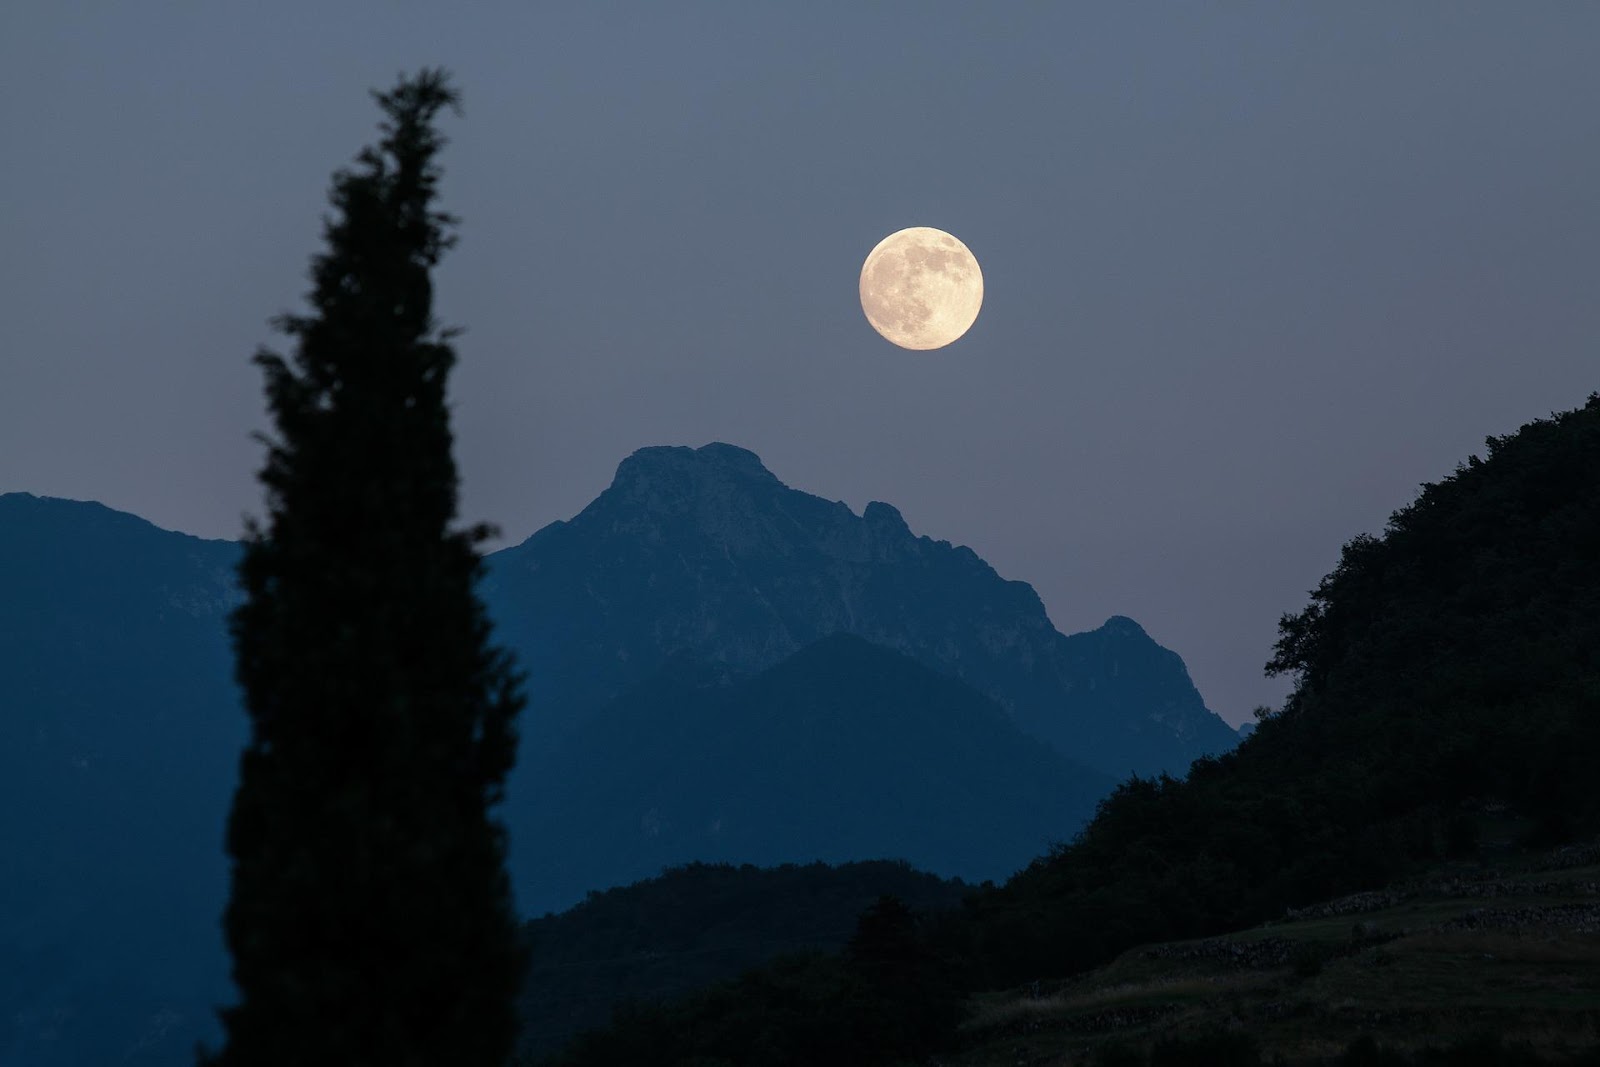
Photo by stux licensed under CC0
There are a lot of reasons why photographing the moon is hard. For one, it’s incredibly far away. Taking a picture of the moon with a camera is similar to shooting a target with a gun at long range, whereas taking a picture of something close to you is like shooting a target at close range. It’s much harder to hit the mark when it’s very far away!
Essentially, when you use a zoom or magnification lens, your camera is taking a picture of a tiny area of the night sky. As such, every detail is highly magnified. Any tilt of the camera while taking a photo will show in the end result and make it blurry. This is especially true with long-exposure photos.
However, keep in mind that the moon is, on average, between 225,000 and 250,000 miles away from Earth. While our eyes can see the moon pretty well, when you shrink the whole night sky down to just a picture, the moon ends up looking pretty small. Zoom lenses help mitigate this shrinking, of course, but there’s not much else that can be done about it other than manipulating the photo directly.
Another reason why moon photography is so tricky is because of the conditions that it’s photographed under. The best time to view (and photograph) the moon is at night, but taking pictures at night isn’t particularly easy. Whereas pictures captured during the day often look reasonably accurate to life, cameras struggle more to collect the brightness necessary for a clear picture at night.
The best way to alleviate this issue is to tweak the camera settings, but what if it doesn’t have many fancy settings? It’s possible to photograph the moon with a smartphone, for example. Still, unless your phone’s camera has a “professional” mode (or something similar) and a magnifying lens, it won’t look like much more than a glowing white pin-prick.
On that same note, you need to use specialized equipment – or at least a great deal of creativity – for good moon photography. A tripod is a requirement, or at least a flat, stable surface. You need to use a lens with a good deal of magnification if you want to see the details on the moon’s surface. Who wouldn’t see the details of the moon’s surface?
Post-processing software is highly encouraged for moon photography, too. By tweaking the exposures and balances on your photos, you can make the moon, the moon’s surface, and the surrounding landscape, appear brighter and more vibrant. Typically, they would look dull and dark without post-processing.
One of the last and most significant difficulties that come with photographing the moon is the Earth’s (and, by extension, the moon). As the Earth rotates, the moon also moves across the sky. The moon isn’t restricted to the same day-night cycle as the sun; it orbits the Earth approximately every 27 days, but it appears to move faster because of the spinning of the Earth. The time the moon rises and sets vary throughout the year.
When’s the Best Time to Photograph the Moon?
The best time to photograph the moon is, well, anytime. Each moon phase has different challenges, payoffs, and results, and as such, it’s good for any aspiring photographer to experiment with as many of them as possible. Don’t just settle with one good picture of a full moon; see if you can get a barely-there picture of moonlight, a crescent moon lit with Earthshine, or a big, beautiful blood moon.
Of course, there is one caveat to the above: the moon has to be in the sky to photograph it. As long as it’s visible in the sky, it’s a great time to photograph the moon!