
Want that dreamy glow? Here are our tips and tricks for natural light photography!
As photographers, we know that light is the most critical aspect of photography. By why is light so important? And how does it affect our images?
First, we need to understand the basic concept of light in photography. To take a picture, a certain amount of light is required to capture an image on the digital sensor. The actual amount of light needed will vary depending on your camera settings, your ISO, aperture and shutter speed. As light enters through our lens at a set aperture or opening, it reflects on the sensor creating the image. Without light, we would have a black frame. Nothing. But, how can you find the perfect light?

Look to the sky!
In natural light situations, the sun will always be your greatest light source. So look to the sky. Where is the sun about you? Mid-day sunlight will be harsh light, as the sun is directly overhead. The rays flood down, creating bright areas or “hot spots” and casting strong shadows. Early morning or evening sunlight is optimal, as the rays are slanted and softer in appearance. Early morning light or the blue hour is the hour leading up to the sunrise. Golden hour is the hour leading up to sunset. Most photographers prefer shooting at golden hour, as the light always has that perfect, dreamy glow. But, what if you cannot shoot during these optimal times? Well, there are a few light tips you may utilize to still obtain amazing images even in less than perfect natural light conditions.
Follow your shadow.
Scan your location and look for shadows on the ground. In sunny conditions, position your client, so they are facing into their shadow. With this technique, their feet will be pointing into the shadow they cast. This eliminates harsh shadows and “hot spots” on their face, as the sun will be behind them. There is also the “circle” test. Raise your hand in front of your face, and turn slowly around in a circle. You will visually see the light change on the surface of your skin. Watch for where the light creates an even glow on your features.
Search for open shade.
If you must shoot during mid-day, look around you and search for shaded areas. Placing your subject in the shade will help your images, but make sure you still have an available light source. Open shade is where your subject is protected from the light, but still has light reflected upon them from a secondary light source. Huh? I know it gets confusing. Let’s break it down even further. Imagine shooting into a cave. The image will be dark and grainy at best. Now, move your subjects to the entrance of that cave, where their faces have access to the sky. They are still covered, no light is hitting them from overhead. But, the key here is they have light hitting them from a secondary light source. The suns rays reflecting off the ground, or the open sky. So, take a walk around your location. Search for areas of open shade, which also have that secondary light source.

Diffused light is alright!
If you cannot find a good open shaded area, you may also look for the diffused light. This is where something blocks or breaks up the harsh rays before it hits your subject. Think of an old oak tree, with its branches and leaves spread majestically toward the sky. Any light rays filtering through these branches will be diffused, or broken up and less harsh. Placing your focus or client where the sun will be hitting them with less intensity, such as diffused lighting, is always a great option. One of my favorite techniques is to find a patch of diffused light on the ground. Position your client, so the light is hitting the back of their head only. This will give that amazing glow and highlight their hair with backlighting.
Body blocking and light wrapping.
You may be faced with a situation where none of the techniques listed above work for your location. What can you do then? Body blocking is another photography trick that can save your shoot. This technique works best with multiple subjects. You will position one person strategically to physically “block” the light from hitting another. For example, you are posing a couple, and there is not any shade. The sun is still blaring down and creating hot spots and shadows. You can then pose the clients facing one another, where the taller person is blocking the light from hitting the other. When you apply body blocking, also use light wrapping. Where you allow the light to hit the back of your client’s head and wrap toward their face, stopping at their ear.
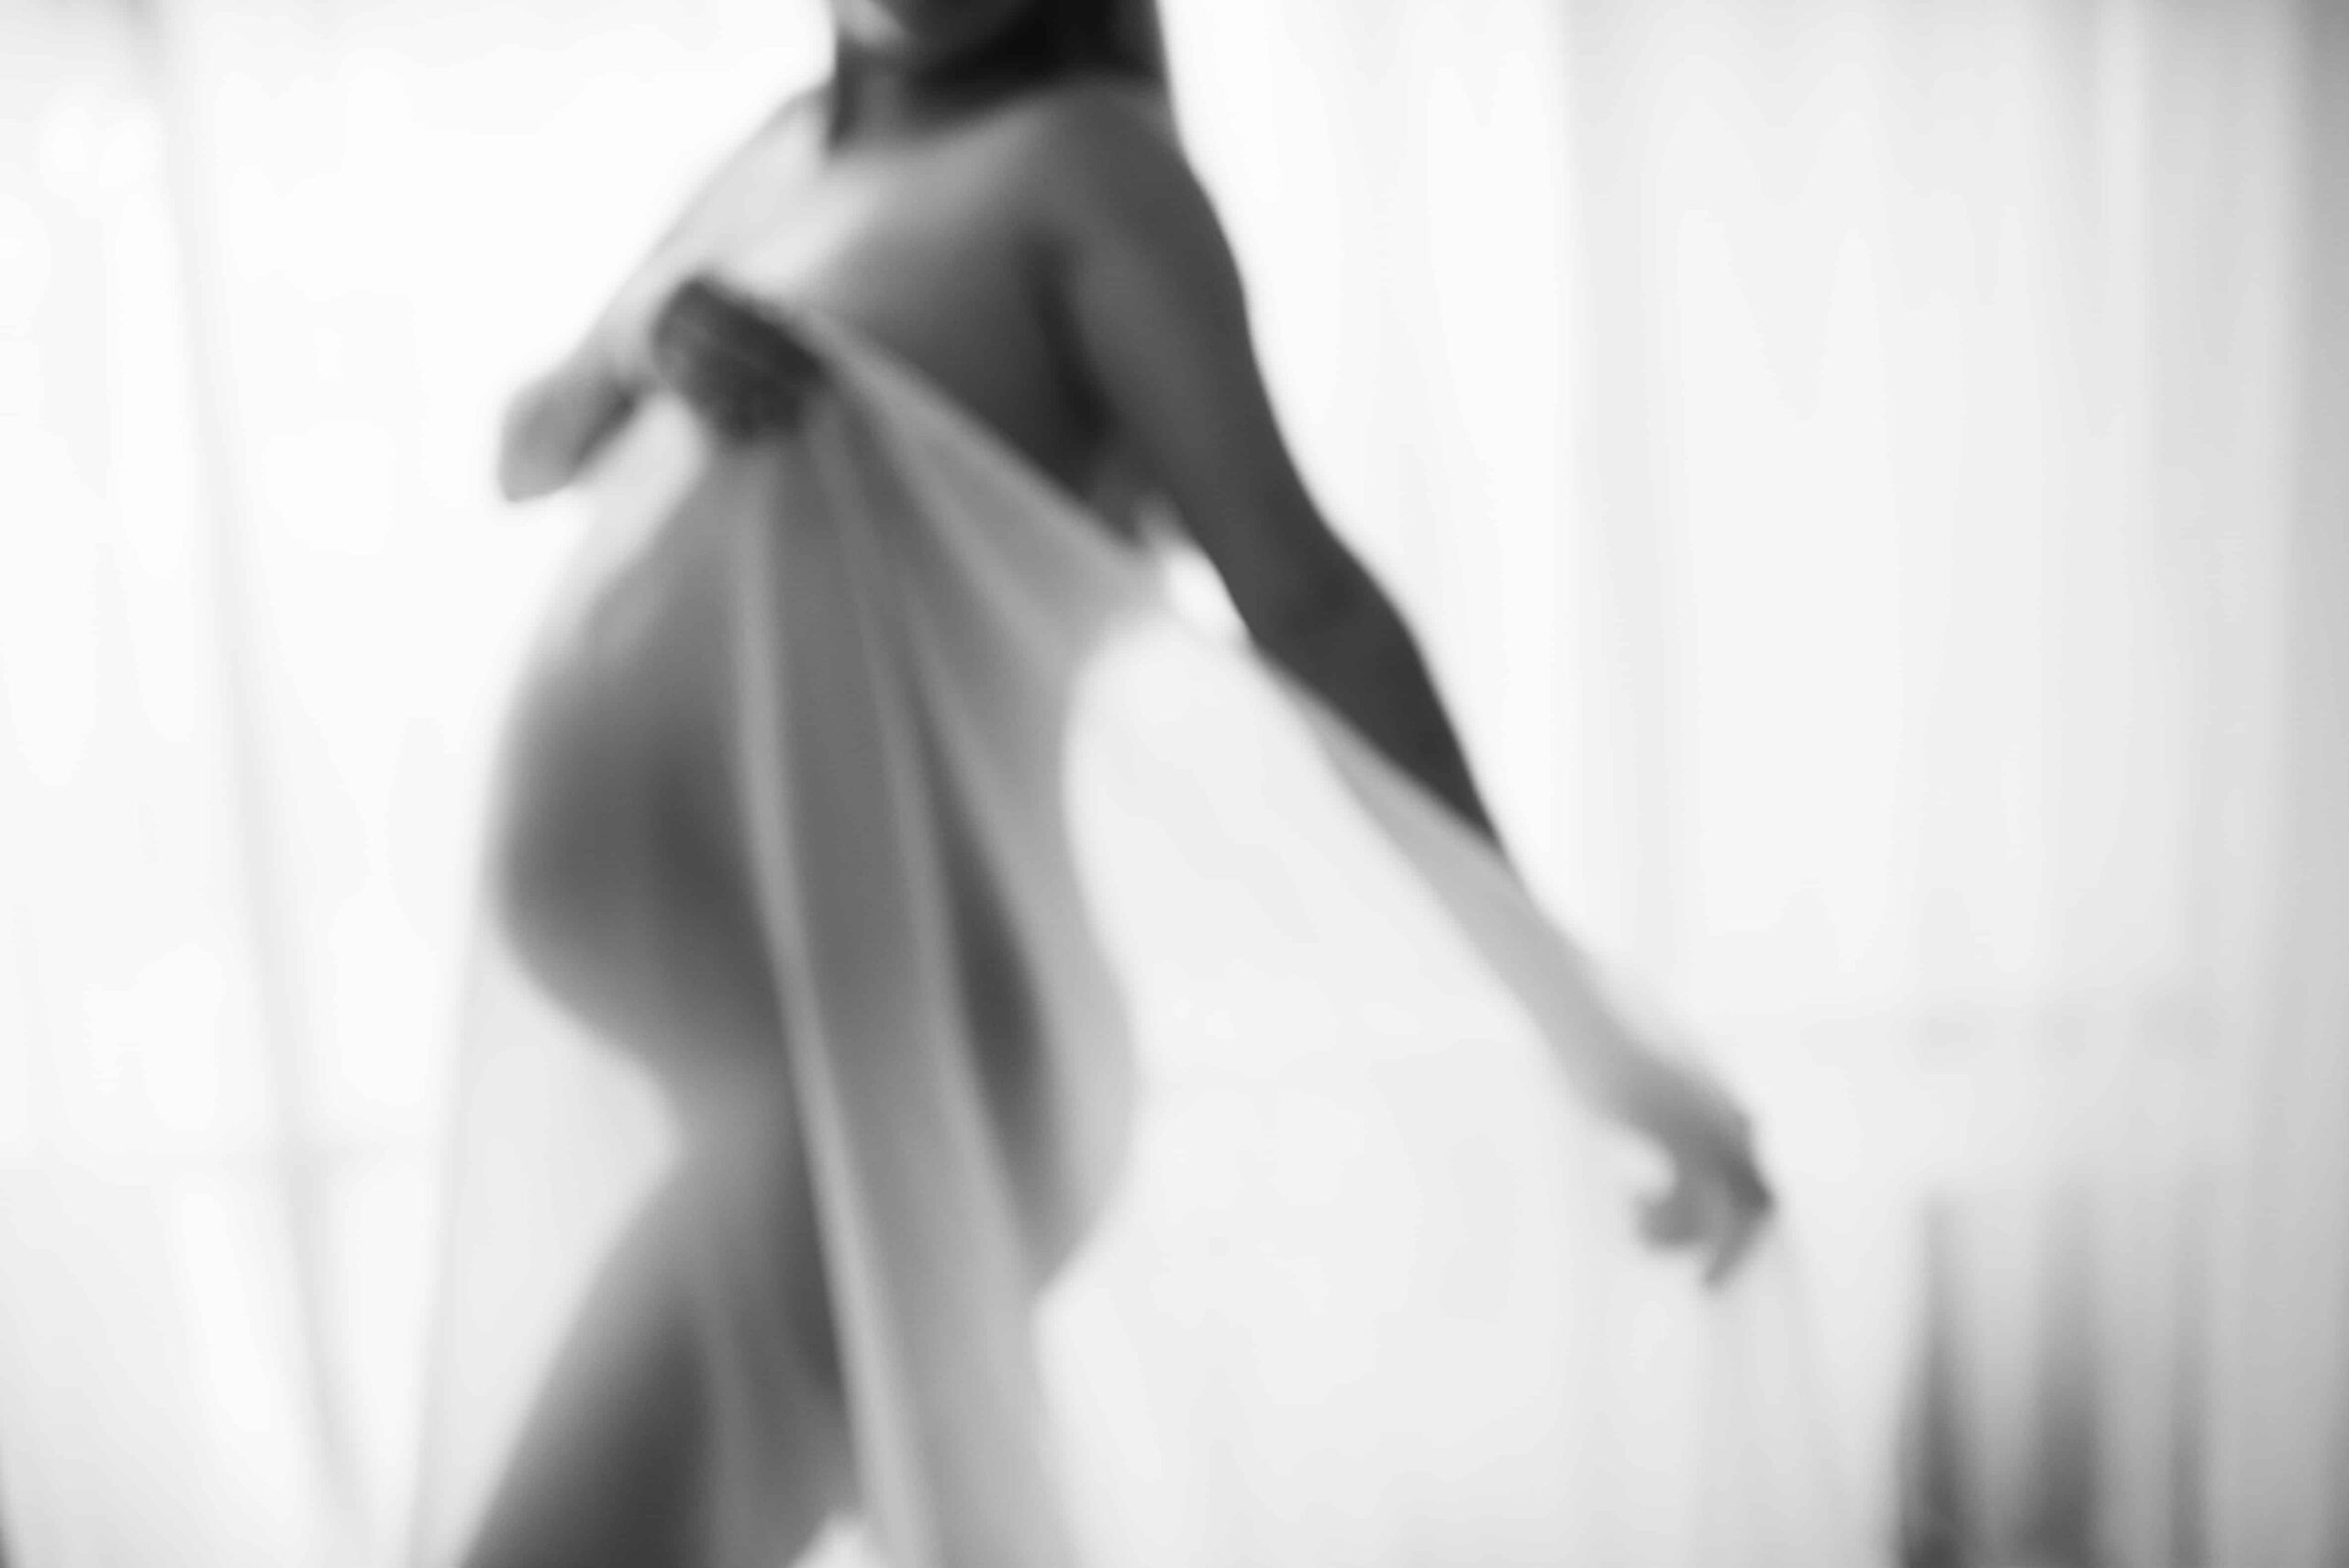
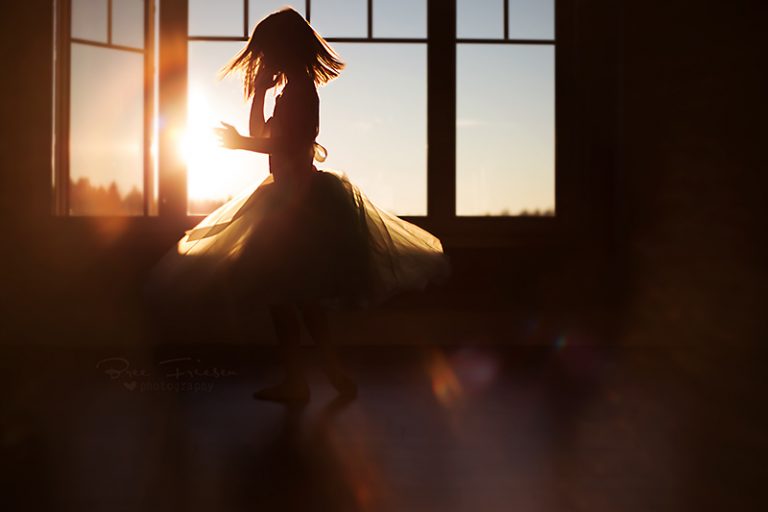
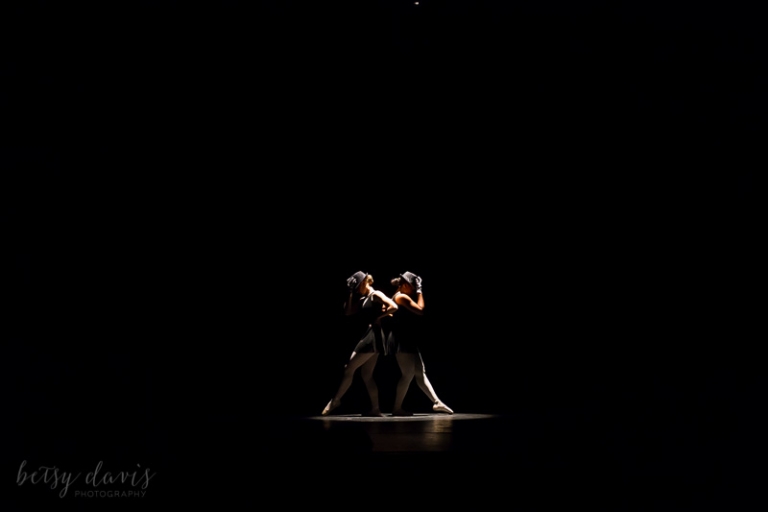
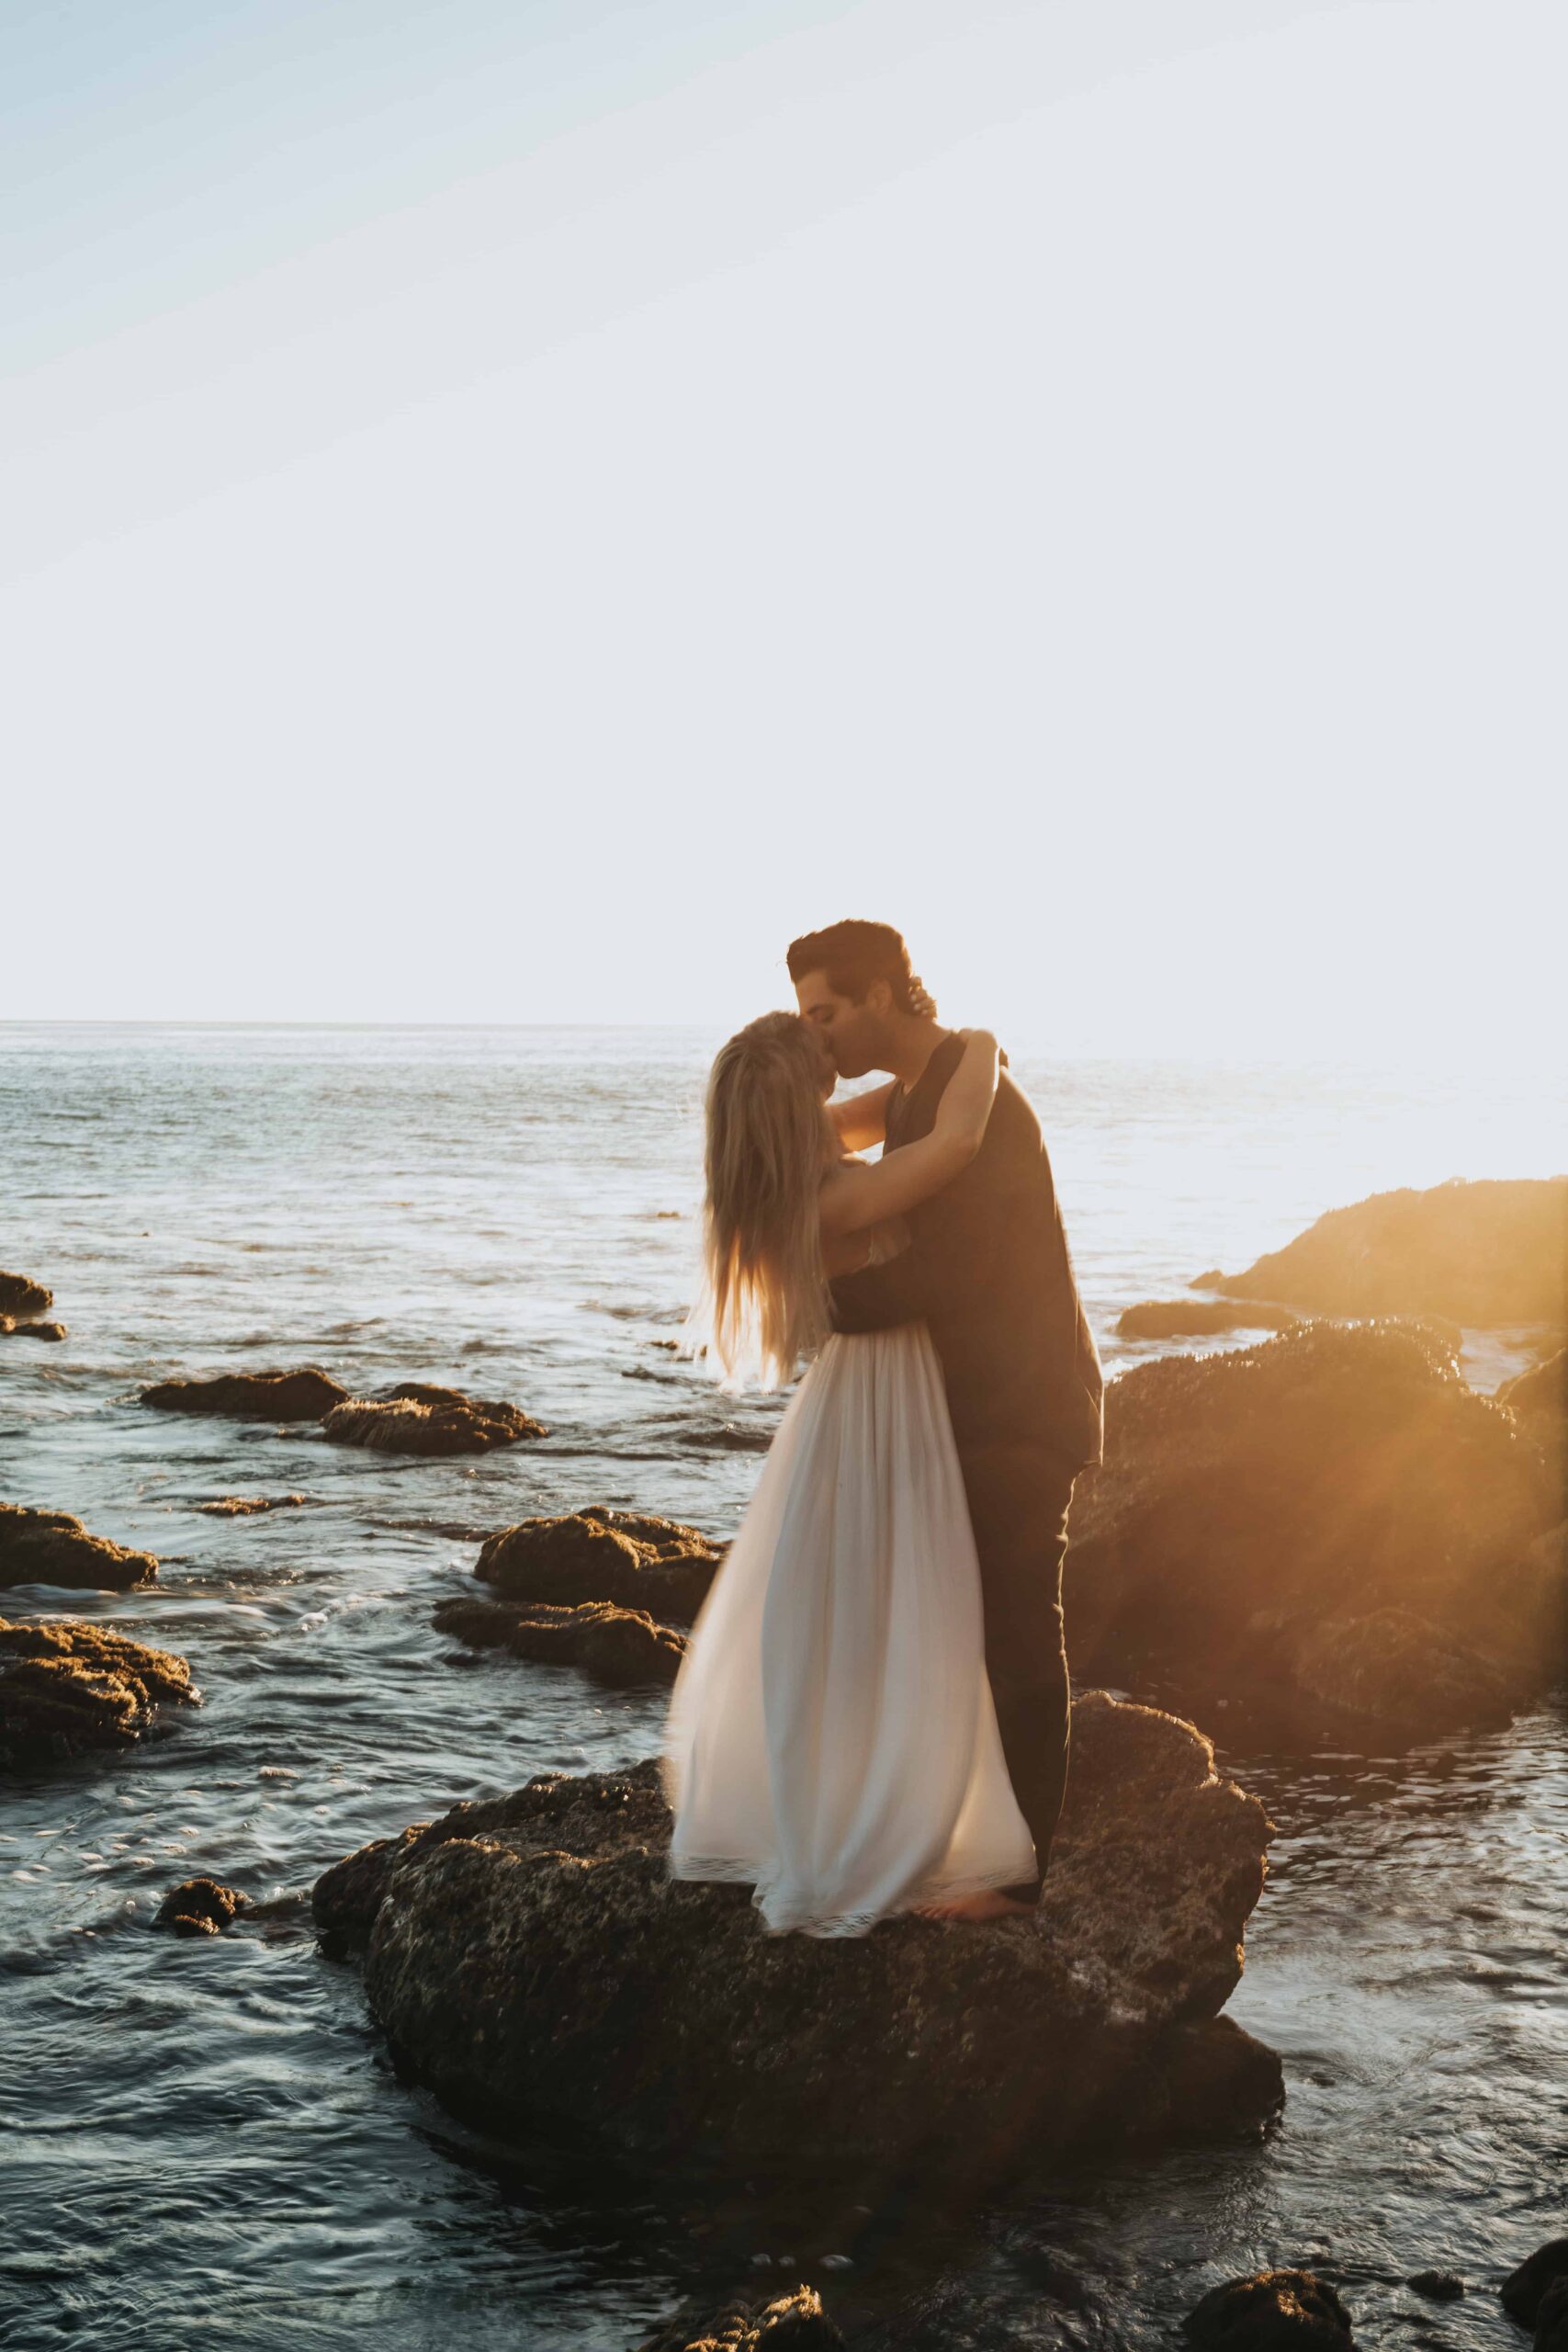
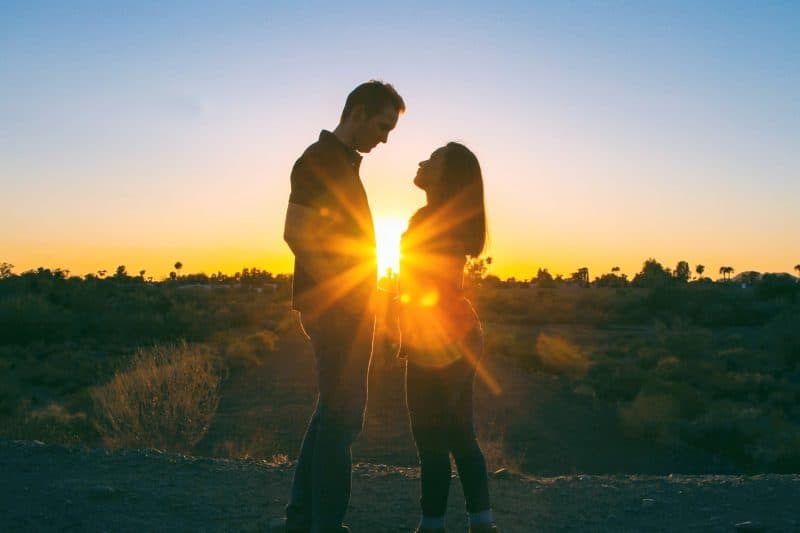
That amazing backlight.
Backlighting is the optimal lighting situation for almost all natural light photography. Think of sunset, and that dreamy golden glow illuminating the horizon. This is the light we all drool over, and cannot wait to get our clients into. Even though this is the best light available, we still have certain techniques to follow to obtain amazing images.
Haze and lens flare.
Shooting directing into the sun will result in haze. Where the image takes on that orange-yellow cast or that darker sepia tone. To eliminate haze from your frame, you have to make sure the camera, the subject, and the sun are not in a direct line. You can place the sun directly behind your client or off their shoulder to one side or the other, but you must move the camera about 30 degrees to the left or right. This way the light is not entering your lens directly and lessens the haze. Using a lens hood will also help cut down on this as well. Some photographers love the haze, and it is part of their style. Experiment and see what works for you.
Lens flare is where non-image forming light enters your camera and hits the sensor. This results in a blur or shape of light in your image. Although most times this is seen as a distracting element in your image and lowers the contrast in that area, it can also be used as an artistic element in your work. Think of rays of light streaming down upon a field, or slightly blurring out an area. This is one play of light that is entirely up to your personal preference and style.
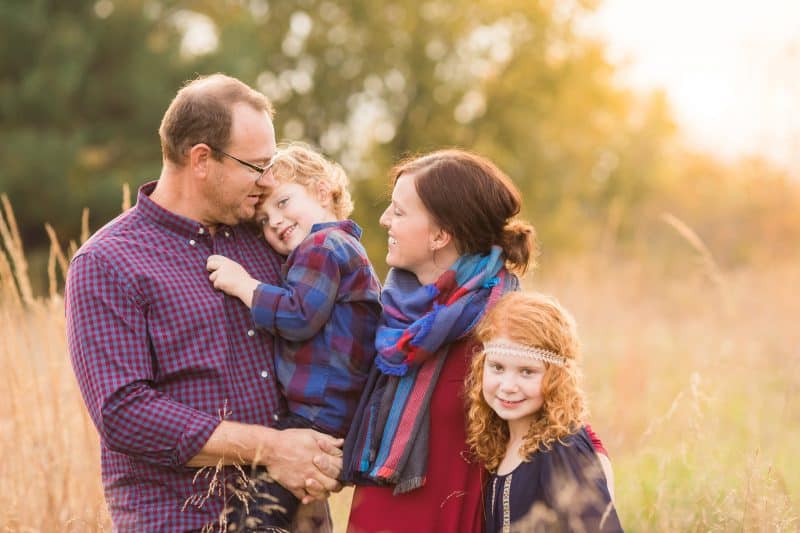
Cloudy or overcast days?
Cloudy or overcast days are loved by photographers as the sky turns into a giant softbox. But, have you ever noticed how skin tones take on a gray hue, or your clients have dark circles under their eyes when shooting in these type of situations? Well, that is because we still need access to the light. You will need to search the sky and locate where the sun is. If you are unsure, turn and do the circle test. Unlike sunny conditions, positioning changes in cloudy situations. On overcast days you should have your clients face the sun. This will help your images “pop” and eliminate those unseemly skin tones and under eye circles.
Natural light reflectors!
Some photographers utilize a reflector when shooting in natural light situations, to direct more light onto their client. But, what if you do not have one, or are working alone without an assistant and that extra pair of hands? You can search your surroundings for natural light reflectors. A large neutral colored building will reflect light or a light-colored sidewalk. Think of a white stone path or limestone walkway. Placing your clients onto or near these surfaces will naturally reflect light onto them in a pleasing way. Dark backgrounds or objects create that black hole and suck up all the light. Neutral colored objects bounce that light, for a light and airy effect.
One thing to watch for when shooting outside in natural light is color cast, where the reflection of your surroundings bounces back and reflects color onto your client. An excellent example of this would be a short, well-manicured lawn. The vivid green will cast onto your subject’s skin. With slight adjustments, such as placing them into tall grass you can avoid this. The light will get absorbed and caught in the texture, and eliminate that green cast.
No matter what photography style you prefer, natural light is fantastic and beautiful to work with. Take some time to learn how to pose your client’s in different types of lighting situations. Learning how to manage the light, and still obtain outstanding images will make you look like a rock star.