Have you ever wanted to learn night photography?
Expanding your photography repertoire to include night photography can be a lot of fun. I love the challenge of taking the existing light and creating an image that is artistic, eye catching and hopefully even mesmerizing.
Although night photography is quite different from portrait photography, I’m here to give you some tips that will hopefully get you started on shooting your own night scenes.

1. Tripod and Cable Release Cord
A tripod is a must. In the absence of light, your shutter speed will need to be very slow so that your camera’s sensor can take in as much light as possible. With a slow shutter speed, if you are holding your camera or have your camera on an unstable surface, all of your attempts will be blurry. A sturdy tripod is your first step to successful night shooting.
Looking to improve your photography? Just enter any questions you have about improving your photography below and hit send and get answers & feedback instantly - for FREE! Submit Questions[ad id=’5′]
If you do not have access to a tripod, or if you happen to be out and about and you didn’t bring it with you, then cheat! Look for something that is very stable and flat. This can be anything from an outdoor cafe table or chair, a park bench, the hood of your car, a flat rock or even the ground.
Sometimes, if you are using another option other than a tripod, you will most likely need to angle the camera. There have been times when I’ve been caught without my tripod and I have used my cell phone or a book, propped under the lens so that my camera is angled upwards.
It works in a pinch, but bottom line, a tripod is much easier and more efficient to work with and you’ll be able to easily get the height and angle that you desire.
Also, a cable release cord or a wireless remote is the best choice so that you do not have to touch the camera to release the shutter. Any time you touch the camera, you will inadvertently shake the camera and cause your image to be blurry.
If you don’t have a cable release cord, you can set your camera’s timer. Please refer to your camera’s manual as to how to set the timer, as each model is a little different.

2. Disable VR and engage Live View
You will need to make a couple of simple camera and lens adjustments to reduce further camera shake. There are two settings that you will need to change in order to keep your camera from internally making any movement.
The first is on your lens. If you have a lens that has VR, which stands for vibration reduction, you will need to switch this off. This seems counter-intuitive, because the purpose of VR is to help reduce shake when you are holding it in your hands.
If you have it on a tripod, you have already taken away the shake. The VR mechanism, though, is still trying to compensate for that shake and will add slight movement to the image if not disengaged.
Another switch you will need to make is having your camera in Live View. This is very important because when your camera is in Live View, the mirror is automatically locked up. If you are not in Live View, the motion of the mirror when the shutter is released will cause shake to your camera and will affect the clarity of your image.
You will also need Live View in order to focus. Move the little focus point around to wherever you’d like to focus and focus accordingly. You can also use the digital focus if needed.
3. Lens Choice
For night photography, a wide angle lens is best! Including more of the scene is much more eye catching and dynamic. I love using the Nikkor 14-24mm, but I’ve also had great results with my 35mm.
Click here if you’d like to find out more about different focal lengths.
Also, don’t forget your lens hood. The lens hood will protect the shot from lens flares that are outside of your frame. If you don’t have a wide angle lens, don’t let that stop you! When you are first practicing, go ahead and use whatever lens you already own.
In most cases, it comes down to the camera sensor’s ability to pick up lots of light. The choice of the lens may depend on what you’re trying to shoot:
Nighttime Portraits
For nighttime portraits, you need a lens that can manage a wide aperture and image stabilization. Possible focal lengths may include 50mm, 85mm, and 24-70mm.
Nighttime Landscapes
For nighttime sky photos, a tripod will handle the image stabilization for you. Hence, you only need to think of a way to capture a larger slice of the night sky.
One way to do this is by using prime lenses that come with wide apertures. Lenses such as 16mm, 24mm, and 35mm, are the best lenses for you to capture great image quality in low light conditions.
4. Put Your Camera in Manual Mode
Another way of improving night photography is skipping auto mode and using manual mode. By doing so, you’ll have full control over the exposure settings, especially aperture, shutter speed, and ISO.
If you use automatic mode, it will try to use inappropriate settings due to the lack of light. Hence, using auto will confuse your DSLR, and you might not get the exposure and image quality you want.
5. Settings for Night Photography
Much of this depends on what you are shooting, how much ambient light is available and the effect you want. The right exposure depends on how ISO, aperture, and shutter speed will work together.
ISO
The main challenge when you want to take nighttime images is getting the proper exposure. During the day, you have greater chances of getting natural light, which means it’s easy to go handheld without worrying about camera shake. At night, this method is not ideal because it may result in digital noise.
While it’s tempting to increase the ISO, you need to keep the ISO setting as low as you can. To get you started, first, set your ISO to 100. In some cases, having grain is good. In a subsequent article, we will talk about shooting the night sky, in which your ISO will be much higher.
In this sort of night photography, keeping your ISO low will produce beautiful, crisp colors with very little grain. Night photography means there will be dark areas in your images, and portions will produce digital noise. While increasing the ISO adds brightness to the shot, a high ISO will most likely create more digital noise.
Aperture
Since the background and sky will appear black, you won’t need a broader depth of field. By opening up the aperture at night, you will gather more light.
As far as exposure and aperture, start with 15-30 seconds at f/8 or f/16 and see what you get. If you decide that you want a longer exposure to bring out the lights more and blur out any bystanders, then try 30-60 seconds at f16-f22.
Shutter Speed
Whereas shutter speed is the first component of exposure you’ll think about during the day, this would be the last one you’ll worry about for a nighttime shoot. However, you may need to adjust the shutter speed depending on how much light is available in the landscape.
If you want to stop some of the motion, then use a faster shutter 1/10-1 second at around f8. These are just guidelines to start out with. After you’ve practiced a little, you’ll soon be able to figure out on your own, based on your available light, what you’ll need to adjust.
Since you’ll most likely shoot from a tripod, you can let the shutter stay open for as long as you need. If you’re adding elements such as running water or streaking lights in your shot, a longer shutter speed will make sure your images look better. Remember, the slower the shutter speed, the longer the light trails.
If you are new to night photography and want to learn more about the relationship between ISO, exposure, shutter speed and aperture, I encourage you to check out this article on the exposure triangle.
6. Use Manual Focus
While most cameras are great at autofocusing, they will struggle to find a reference point at night. Another way for photographers to enhance their nighttime photography is by switching to manual mode focus.
When you’ve located a bright spot, make sure you zoom in using the Live View. Then, make sure you adjust the focus ring until the spot becomes sharp. You may need to twist it back and forth until you find the sharpest spot.

7. Bring a Flashlight
A flashlight is an essential piece of equipment for night photographers because it is a multipurpose tool. First, a flashlight helps you see the controls when adjusting settings or a tripod.
In addition, it comes in handy for lighting areas of your images. If you want to learn light painting, you’ll need to wave a flashlight around the scene to capture the shot. You can even choose one that produces different colors to add an effect on your shots.
8. Try Out Bulb Mode
Manual mode only works for exposures up to 30 seconds. If you need to set the shutter speed longer than that, instead of manual mode, set the camera in bulb mode, so the shutter stays open as long as you’re holding the shutter button down.
Bulb mode enables you to take images with a slower shutter speed than what your device would otherwise allow in manual mode. Thus, this is perfect for creative night photographers who love to capture light or star trails.
It would be best if you can use a remote shutter release or shutter release cables to avoid shaking or any movement when the shutter closes.
9. Meter for the Highlights
Determining the right exposure level can be tricky at night. One way to solve this is by using spot metering and exposing for the highlights.
When using spot or martial metering, the meter will jump around depending upon where you aim. If you would use evaluative metering, the camera may get confused.
Set the meter between +1 and +2 as you meter on the highlights. In effect, you can keep your highlights bright and within the camera’s dynamic range.
10. Verify Exposure Using Histogram
After managing the exposures, check them on the LCD on the back of your device. While the image on the LCD will show you if the exposure is close to correct, it’s better to check the histogram to ensure the exposure is within your camera’s dynamic range.
Earlier, we looked into how handheld metering ensures accuracy by measuring kinds of lighting. With histograms, you’ll get a graphic representation of the digitally recorded photo. It even offers an overview of the distribution of tones and lighting contrasts.
Remember to retain the highlights on the histogram’s right side, although you’ll have to avoid a spike on the far right. Keep as much of the photo as possible within the range of the histogram. Likewise, prevent the highlights from blowing out.
11. Bracket Your Photos
Bracketing involves taking a series of images to create one evenly exposed picture. You need to take a shot with the correct exposure, and the rest of the photos must be under and overexposed. The camera adjusts the shutter speed for each shot, while the high ISO and aperture remain the same.
You can bracket the exposure either automatically or manually. For manual bracketing, set the camera to either Shutter Speed Priority or Aperture Priority.
12. Shoot Images in RAW
RAW files come out as 14-bit files, whereas JPEGs only produce 8-bit files. The more bits, the higher the range of available colors you can edit.
Most of the colors that cameras capture are at the top of the scale, making the tones bright. Meanwhile, the scale’s lower end has a limited range of colors. At night, images will most likely include a sizable dark portion.
13. Practice, Practice, Practice
This is the fun part! Just go out at night and begin. You will quickly find out how fun it can be to photograph the night scene.
Don’t forget about composition. Try different angles, use foreground, look for leading lines, etc. If you are standing amongst tall buildings, then lay your camera on the ground lens up!
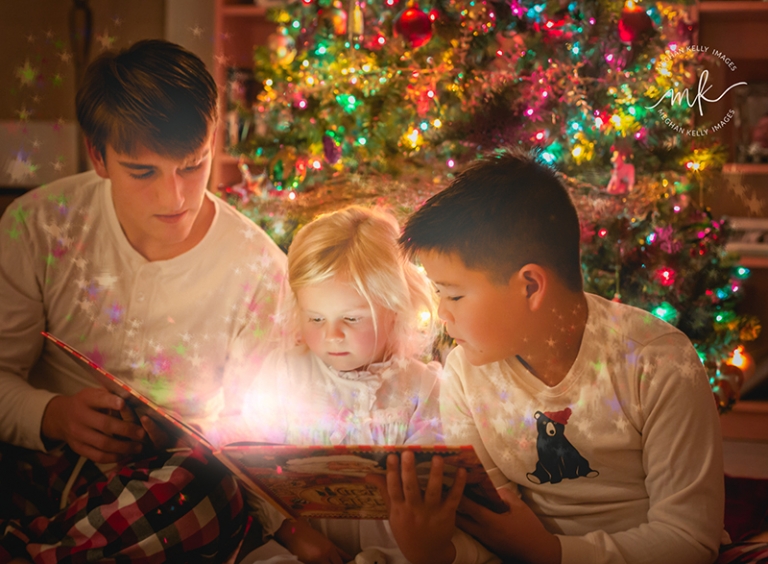
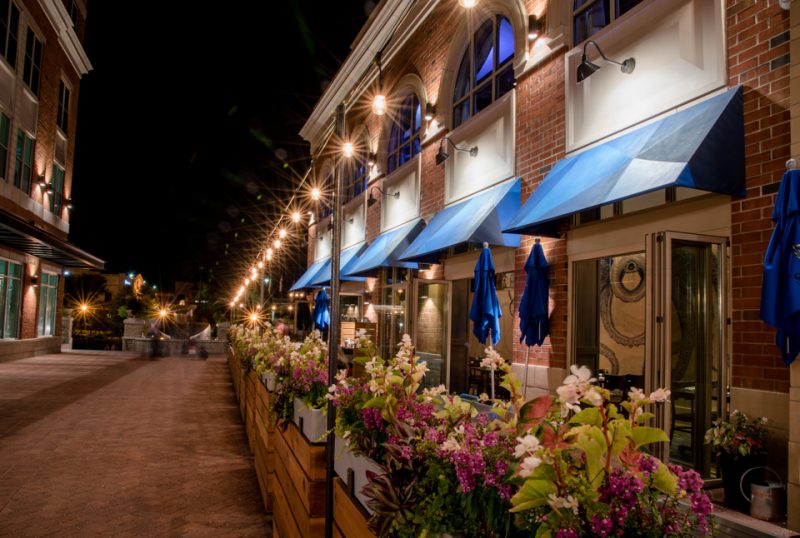
You don’t need to live in a city to explore night photography. Look for the available light wherever you are. Street lights, patio lights, and Christmas lights are a good place to start with night time photos.
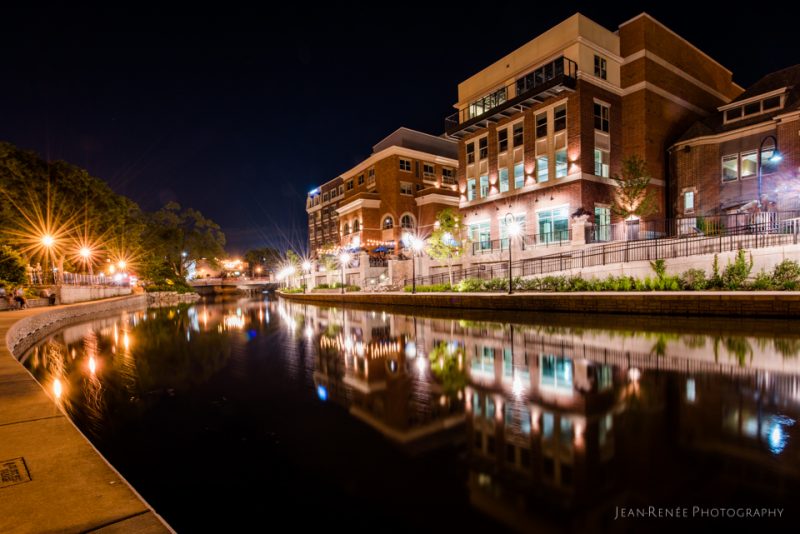
Look for water which reflects the lights and gives a smooth, glassy night time look when your shutter is slow. Bottom line, have fun with your night photography while you adjust your settings and experiment with different angles.
Although photographing the night presents a different set of variables than during the day, it won’t take you long to get the hang of it. Our world is so beautiful at night! I hope you are encouraged to go out and make sure you try this on your own.