
Families, seniors, couples, and businesses look to outdoor portrait photography for one-of-a-kind, stylized images. If you have not yet embraced outdoor photography, then you are missing out on a useful revenue stream. These photography tips and tricks will help you grow your business with outdoor portrait photography.
Outdoor Portrait Photography Tips
Shooting outdoor portraits is not as easy as it sounds. Unlike the studio, you have limited control over lighting conditions and background with portraits photography. You have to be able to work with the conditions to get the best images of your models. You have to pay attention to harsh shadows and natural light to capture attractive portraiture in photography.
Is There a Special Time of Day for Outdoor Portraits?
It might seem like shooting outdoor portrait photography in the middle of the day at high noon is the best time for photography, but this is not the case. In fact, shooting outdoor portraits at noon is not a good idea at all. You want to capture images during the early morning or early evening hours when the sun is low. The golden light makes faces look their best.
Looking to improve your photography? Just enter any questions you have about improving your photography below and hit send and get answers & feedback instantly - for FREE! Submit QuestionsHowever, if you can work on an overcast day, then you avoid problems with harsh shadows and bright light. You can capture attractive outdoor portraits on cloudy days by using a camera flash.
Is There a Season That Is Better Suited For Outdoor Portraits?
Any season will do when it comes to outdoor portrait photography. However, if you are mindful of the background, you will want to work when the trees, flowers, and bushes are at their best. For example, if you take pictures during the early spring, then trees are bare. If you work in the fall, you get colorful leaves in shades of red and orange.
Photography in the winter can be challenging. If you live in an area with snow, the white ground will affect your lighting conditions. But, you can also capture dramatic images if your models wear bright colors against the white snow. Pay attention to our photography tips for the best use of outdoor light.
In the summer, you have green leaves and colorful flowers to use in your photographs. You also tend to get the bluest skies, too. If you have beaches near you, then shooting in the natural light of the summer is something to embrace. Consider the time of day before shooting at a beach because the water can be reflective and bright.
Add Depth of Field to Your Outdoor Portraits To Give Context
If you are just shooting one face, then you are not fully embracing what makes outdoor photography special. Outdoor portraits should tell a story, and you can do this with location and props. You can tell a story by playing with background features, like barns, graffitied brick walls, and gorgeous flower gardens.
Don’t forget about using the foreground to enhance your photos. Your client could lean on a fence, or you could frame your model with tree branches.
Your clients should dress for the occasion, too. A good photography story includes clothing that is unexpected and dramatic. For example, a model wearing a formal dress at a barn creates interest. Be careful with the composition of the clothing and the location, as it can be easy to create cliche images in portraits in photography.
The Importance of Things Like Wardrobe, Hair and Make-Up
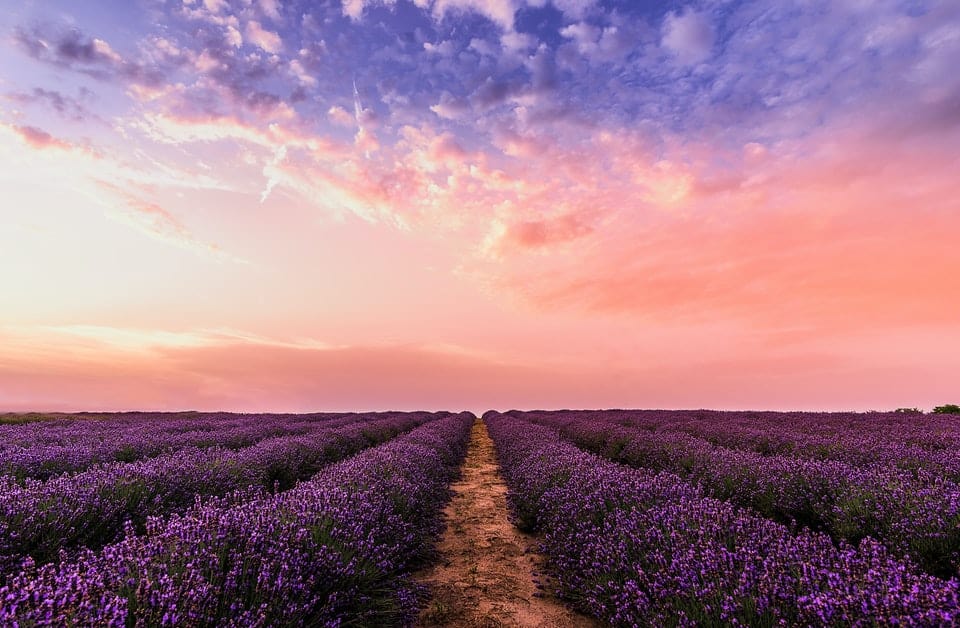
When you take outdoor portraits, you have bold, seasonal colors at your disposal. If you know you are shooting in a field of blue flowers, ask your client to wear a similar shade of blue.
It is important to consider weather conditions when doing hair and makeup. In bold sunlight, makeup can look like makeup. In the golden hours, very little makeup is needed. The sun will show all flaws in photography. Hair can be easy to manage on days without a breeze, but it can be tougher on windy days.
If you are going to the beach, your client should look casual. Clients with long hair should wear it down and let the breeze do its thing. However, if it is too windy, your clients might want to keep their hair in a ponytail. Or, you can embrace the wind and use a hat for a fun prop.
You should also consider background before advising your clients on what to wear. In photography, busy backgrounds, and clothing with busy patterns do not mix.
If you are shooting in front of greenery, your client should avoid wearing shades of green. Solid colors in neutral tones often look the best and don’t forget about neutrals like pink and soft yellow. Consider weather conditions before wearing white, as it can become too bright on sunny days.
Try to Find Unique Ways to Be Creative
When you take outdoor portraits, be creative. The forward-facing, typical portrait is not enough for an outdoor session. Play with your camera settings, using the background and foreground to frame your client. Use light and shadows to show off their features in an unexpected way.
In a studio, you control the lighting conditions, but in an outdoor environment, the lighting conditions control you. Use your artistic skills to show your client in the light that nature gives you. Use the setting to capture their personalities and style. The sky’s the limit when you shoot outdoors.
When Your Clients Aren’t Models
If you offer outdoor portraits, you will work with non-professional models. To get the most out of these photography sessions, you will need to perfect your rapport. Non-professional models need help with posing. They will need portrait photography tips to get the most out of the session.
Before you meet at the location, you should meet for a consultation. Ask your clients to bring in photographer portraits of what they like, so you can meet their needs and make the session easier for both of you.
You should prepare a guide with photography tips for clients who are new to outdoor photography. You can include ideas on what to wear, how to manage their hair, and how much makeup to wear. If you have a gallery of portrait photography, share those online so they can see poses and background ideas.
Try Your Hand at Creating Bokeh for More Dynamic Backgrounds
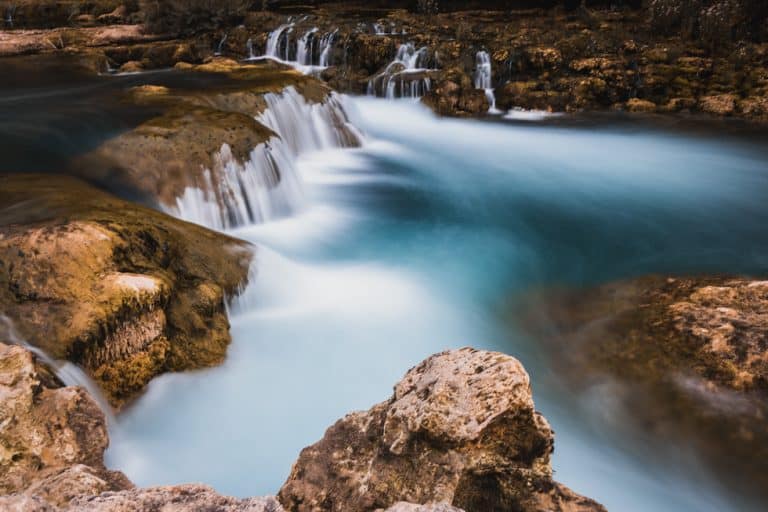
When you want your model to pop, you need to use bokeh to create a blurred background. This technique creates a soft background with blurred colors. This popular tool creates an interesting background as the blur renders it practically unrecognizable. It tells a story about your model and it creates a bit of movement in the image, too.
The best way to create Bokeh is to use a wide aperture on a fast lens. Set your lens to f/2.8 or wider if possible. The foreground object will be in focus, but the background will not.
Try To Avoid Harsh Light
While it might be beneficial for your business to shoot portraits all day, you should avoid shooting in direct sunlight. You will not get good images in the middle of the day with the sun beating over your clients. They will look washed out and covered with shadows. Instead, limit your shoots to the golden hour or to overcast days.
Even if you shoot images under trees or in heavily wooded areas, direct sunlight is not your friend. It will make odd shadows through the branches, and they will land on your clients’ faces.
Why It’s Important to Shoot in RAW
Each digital camera has slightly different instructions on shooting in RAW. Check your manual for information about how to change files. You can also get photography tips while digging through your manuals.
Keep Clicking
Digital cameras with focal length have freed photographers to take as many photos as their cameras can hold. When you work outdoors, try using rapid-fire shots to capture your clients moving through the setting. You might not get many amazing shots this way, but you will get some.
Take as many pictures as you can during the session and vary your focal length. Doing so gives you and your clients plenty of images to choose. You’ll be surprised how many times your clients see things in images that you do not, and vice versa. Play with your wide aperture and shutter speed options for variety.
Taking more photos gives you more photos to sell, too. If you only snap a few, then your clients won’t have as many to order. Do yourself a favor: don’t limit your outdoor photography sessions to how many times you click the shutter. Use time as a shutter speed guide.
Share on Social Media
If you are building your business, you should show off your work on social media. When you do, follow these tips:
- Add a watermark to all of your photos
- Put the watermark near the center
- Tag the client in the photo
- Write up a fun, truthful story about the shoot
- Show your range in the images
- Include your contact information
- Offer an incentive for customers who book after seeing you on social media
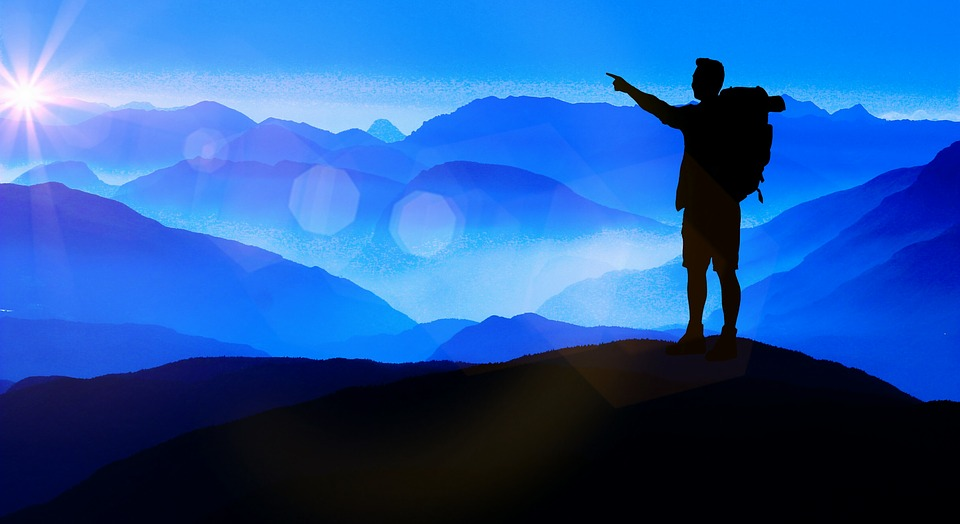
Photo by mohamed_hassan Licensed Under CC0
Try Golden Hour For the Perfect Shot
The best time of day for outdoor photography is during the golden hours. These are the early morning and evenings when the sun is low. The golden hours for portrait photography earn their names because the sun gives off a beautiful golden hue. Plan to shoot in the morning, about an hour or two after sunrise. In the evening, start shooting photos two hours before sunset.
When you shoot during the golden hour, remember that the sun is low. So even though the light is attractive, shadows are more common. Check out shadows on your subject’s face before you shoot, and position them accordingly. Pay attention to shutter speed when you shoot during this time.
Try To Avoid Harsh Light
While it might be beneficial for your business to shoot portraits all day, you should avoid shooting in direct sunlight. You will not get good images in the middle of the day with the sun beating over your clients. They will look washed out and covered with shadows. Instead, limit your shoots to the golden hour or to overcast days.
Even if you shoot images under trees or in heavily wooded areas, direct sunlight is not your friend. It will make odd shadows through the branches, and they will land on your clients’ faces.
When Reflectors Can Help
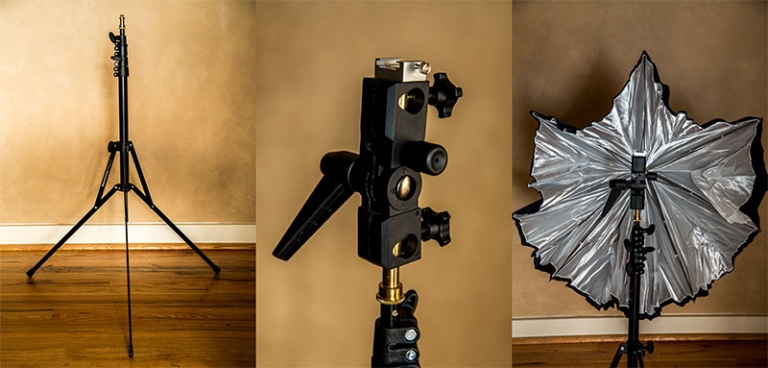
Because the sun is uncontrollable, you can use a reflector to move the light where you want it. They are affordable and easy to use; however, you will need an assistant to control the reflector while you take pictures. Pay attention to shutter speed when using a reflector.
Consider buying reflectors with different colors. White reflectors create a neutral hue on your client’s face, while golden reflectors add a softer light. If you do not have an assistant, reflector stands let you work on your own.
Prime Lenses are Best
The lens you use makes a difference in the style of your photos. When shooting outdoor photos, you should stick with a fixed focal length lens. The best choices are 50mm and 85mm because they allow you to frame your model and get the depth of field you want.
With a fixed focal length lens, you can shoot images with Bokeh, too. Your clients will love the way these look, especially if you can get a sharp focus on them with the soft blur in the back.
You should avoid using zoom lenses or wide-angle lenses. These take away from your ability to show your artistic side. They unnaturally alter the background and subject. With an outdoor portrait session, you want to keep your subject looking natural and composed.
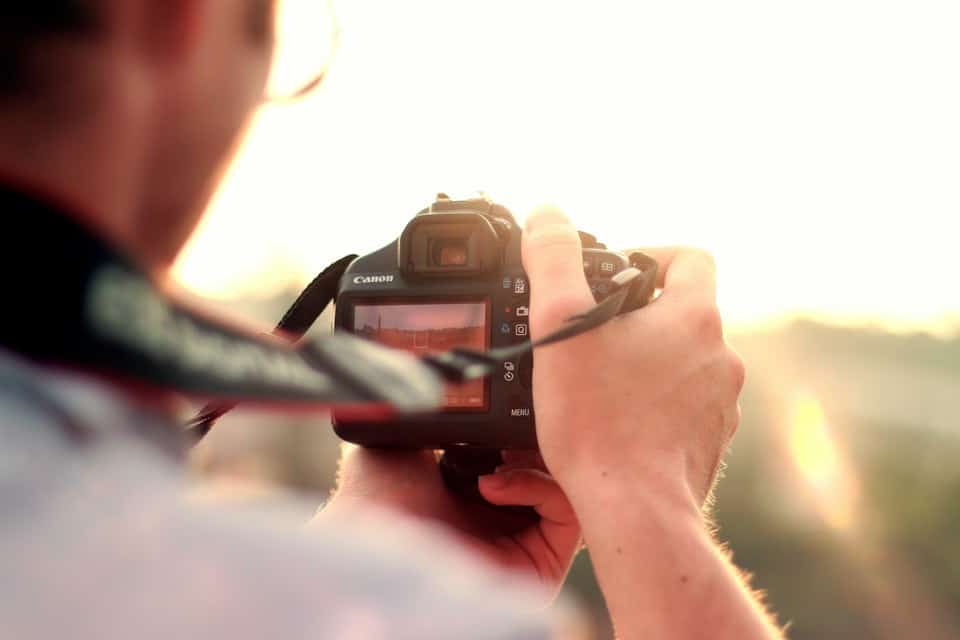
Natural Light is Key
When you arrive at your destination, it is important to make the most of the natural light you have. Here are some tips for different lighting situations:
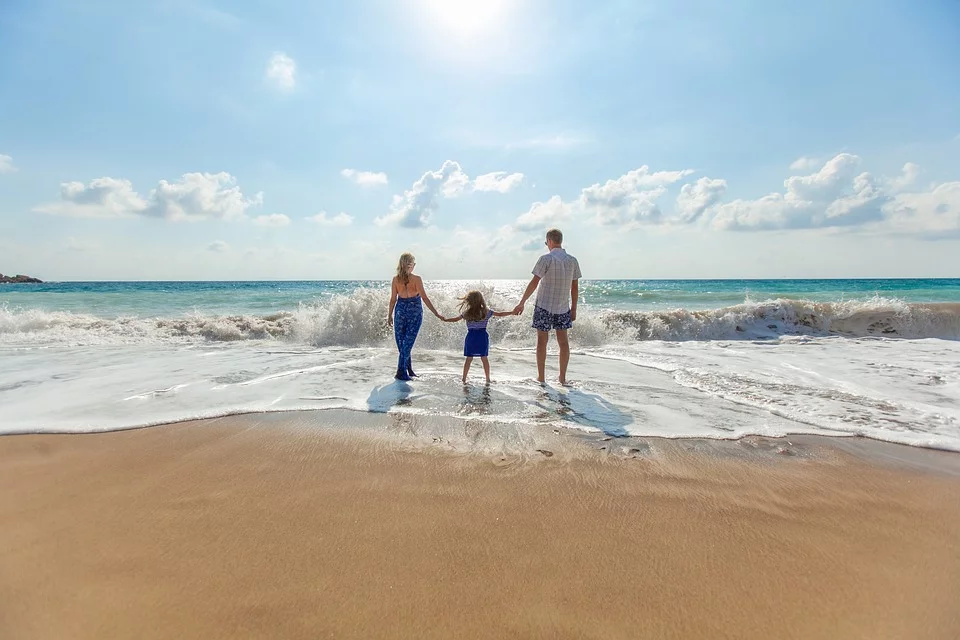
Photo by Pexels Licensed Under CC0
Why Full Sun is Tough
In full sun, you’ve got to find spots with shade. Without shade, you’ll have challenges getting flattering photos of your clients. You can use your flash to fill in the shadows if you don’t have any shade available. You will have limited shutter speed in full sun.
No Sun to Be Found
If you can’t get your clients shot during the golden hours, then no sun is what you want. Without the sun, you don’t have to worry about shadows. Camera flashes work well in no sun, as they make faces and colors pop against the duller backgrounds. You can play with shutter speed in no sun.
Shade and Cloudy Days Can Be Your Best Friend
Even though the shadows can be a nuisance, you can wait until the clouds roll in for a bit of helpful shade. Again, flashes are helpful to fill in shadows especially when the sun is shining overhead.
When to Consider Using a Flash
No matter the lighting situation, a flash can be helpful. With natural light, you do not need to have a powerful flash, but just enough to give a little pop in low light or to fill in shadows in bright light. You might not want to use a flash if you are using a wide aperture lens.
Shallow Depth of Field: Shooting Wide Open
To get the best, crisp shots, having a shallow depth of field helps. But, to do get a shallow depth of field, you have to shoot wide open. But, this means you have to be still when shooting. You can always use a tripod, but there are other alternatives, like propping yourself up against a tree or squatting for stability.
Focus on One Point
Cameras often have several focus points available for use. When you shoot portraits in natural light, all you need is one focus point so the face looks natural. Since you are only focusing on faces, you do not need to worry about the background being in focus.
Keep it on the Eyes
The eyes are the window to the soul, so you should always focus your viewfinder on the eyes. Even if the rest of the face has soft focus, the eyes should be sharp. This is the first place that viewers will look, so be sure the eyes are crisp.
You can have fun with colors if you focus on the eyes. If your client has blue eyes, find a background with a similar shade of blue. The same goes for clients with other colored eyes.
Location is Key
While trees and flowers look pretty in photos, you do need to consider your location. Some areas require photographers to book them in advance, while others can be filled with photographers and clients at certain times of the year. You also need to consider the quality of the ground, too. No one wants to walk in mucky grass or wet mud during sessions.
Backgrounds are Important
Before you snap any pictures, look around in the background. If you have signs or powerlines, you should pause and move somewhere else. These are too difficult to crop out, so just pay close attention to what is behind you.
Also, consider how trees and bushes look behind your clients’ heads. Sometimes, trees will look like they are growing out of heads. Be mindful before you shoot pictures.
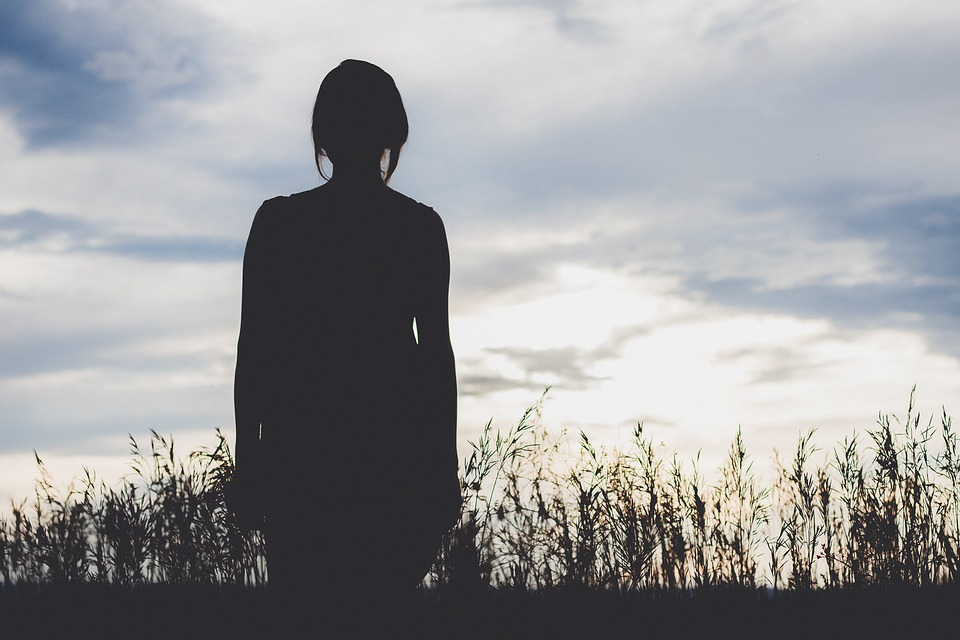
Photo by Pexels Licensed Under CC0
Try Your Hand at Backlit Images
All too often, photographers forget that the sun doesn’t have to be in their models’ faces. Some of the most beautiful images have backlighting. If you are shooting during the golden hours, backlighting can make your models look like they are glowing.
When you go to locations, keep in mind that some clients might want to change their clothes. You want places that have several options, so you aren’t limited to just trees in the background. Find a spot that has interesting buildings and interesting landscaping. Keep in mind that the landscaping does not have to be groomed to be beautiful.
Composition is Critical
Always remember to maintain your rules of thirds. Portraits do not have to be facing the camera. Play with the placement of the faces. Put them in one of the thirds, try unexpected placement for high interest.