So You’re Ready to Launch and Want to Create a Logo. Just How Do You Do It?
if you’re reading this article, then no doubt you have already been thinking about getting that crisp, cool tag with transparent background that you can attach to your photos. This is otherwise known as watermarking your photos.
There are many resources these days that you can pay into to design a very simple, yet elegant logo with a transparent background for your photography.
However, if you are looking to tackle this on your own, this article will take you through the step by step process to create a image with a transparent background on your very own terms and add it to your photos.
Why Should You Watermark?
There are several reasons, but perhaps the biggest one is copyright theft of your hard work. With the ease of digital distribution, it has become increasingly important to protect your images, or at least discourage others to use your work without your permission, or worse, claim your work as their own.
One thing to keep in mind here, however, is the reality that there is no way to guarantee that by watermarking your work or claiming it as your own, that it will not still be used without your consent. This article is simply to assist you to create a simple watermark on your own, and apply it to your photos.
Getting Started
The first thing you want to determine is if you want your watermark to be a ‘text only’, or if you are perhaps adding, or creating a graphic to go along with it.
Good news! I’m going to walk you through both. Remember to be creative, have fun, and be you in all aspects of your photography including your watermarking.
Note On Using Photoshop
This tutorial will be based on using the Adobe Photoshop CC program. Some functions may not transfer over to the version you may use. In those cases, please consult your online manuals or access help through the programs menu
How to Make a Logo Transparent in Photoshop
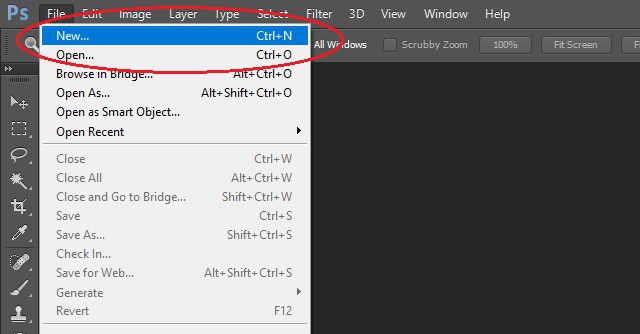
- Open Your File: Click “File” and open the file of your image in Adobe Photoshop.
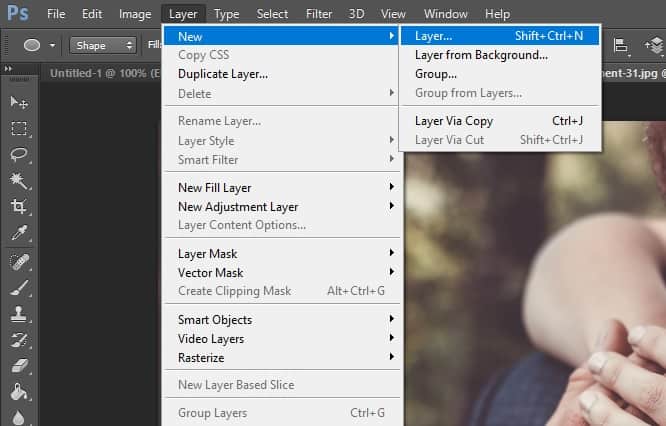
- Add A Transparent Layer: In the layers panel, select “Layer” > “New Layer” from the menu of your layers panel. Drag this new blank layer below your logo’s layer and select your content layer from the layers panel.
- Turn the Background Transparent: Use the magic wand tool or lasso tool, with the magic wand tool choose the area of your image you want to turn transparent. Using the tolerance setting of 32 in the magic wand tool, experiment with different settings to get the transparent background you want.
- Delete The Background: Once you’ve selected all the area you want with the magic wand to turn transparent, remove the background and the transparent background will become visible.
- Repeat on Other Areas of Your Image: You might need to repeat this selection and deletion process on those other areas of your image, depending on its shape, to get your transparent background.
- Save Your Logo File: Once you’re happy with your image and its transparent background, remember to save it as PNG Image. Click “File” -> “Save As”. Select “PNG (*.PNG) as the file format. Save it and click ok.
Note that while a transparent background will look checkered, it will actually look transparent in the final PNG file.
How to Create a Text Only Watermark
The most straightforward way to create a logo. Sometimes even the smallest of details can distract us from the endgame, which in this case, is making sure you have a watermark to claim your work.
Remember, this method just focuses on creating text on a background transparent, so if you aren’t one for designing a logo, this is the way to go for you. Let’s get started.
First, create a new project.
Open the image that you want to watermark. Once open, create a new blank layer.
That new layer will be your ‘Text’ layer. Select your text tool and place the cursor where you want on the photo. We recommend the bottom right or left of the image so as not to distract from your beautiful image.

Before you save the image, make sure you are satisfied with how your text-only watermark looks, from font and text color. We recommend using a neutral background color as they show better on images than dark, or black choices with a background transparent.
Once you are happy, save as a JPEG, save it and click ok. Your image will now be saved with a text-only watermark. Now you can create a text only watermark image with a background transparent.
[ad id = ‘5’]
How to Create a Logo Watermark
This process is similar but slightly different. What we will create is a logo file that you can save on its own, which you can then add to photo’s easily by embedding them, which we will get to shortly.
First, create a new project.
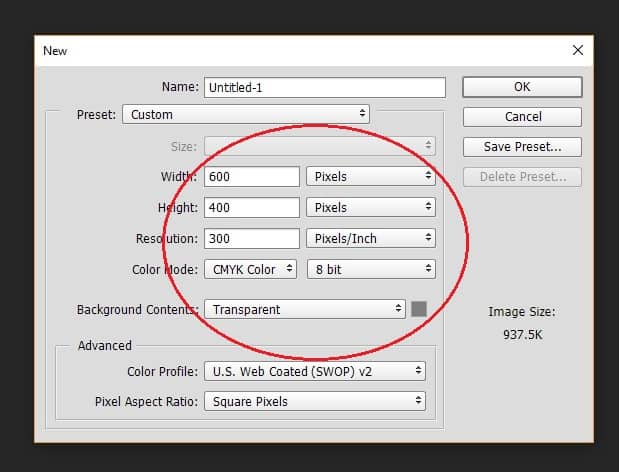
For simplicity sake, make sure the box we’re working with is 600 wide x 400 high and the option selected is pixels. At this point, you also want to ensure that your background drop down is on ‘Transparent’. If you miss this step, your watermark will have a solid background that you will not be able to eliminate.
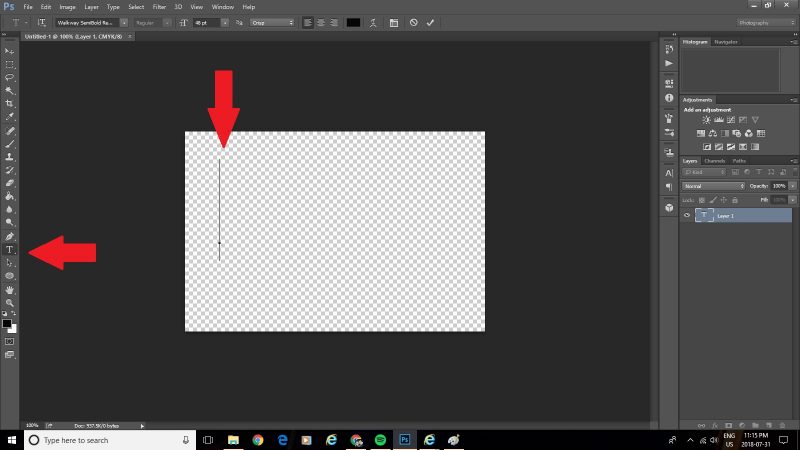
If not already done so, create a new layer. Let’s stick with making this ‘image’ text only just for this tutorial. Select your text tool and place the cursor where you want it in the box.
Type in your watermark. This can be your name, business name, but ensure that it is current to how you represent yourself.
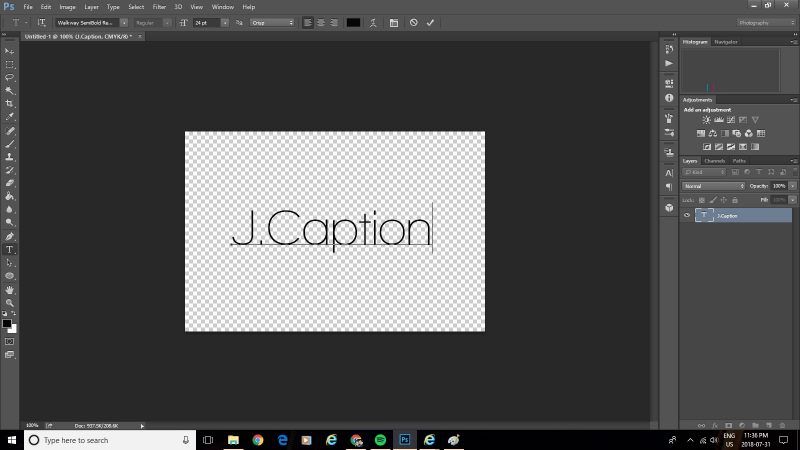
Ensure that you are happy with the font, and review if you should work on any corrections to the watermark. If you are satisfied, now it’s time to click save.
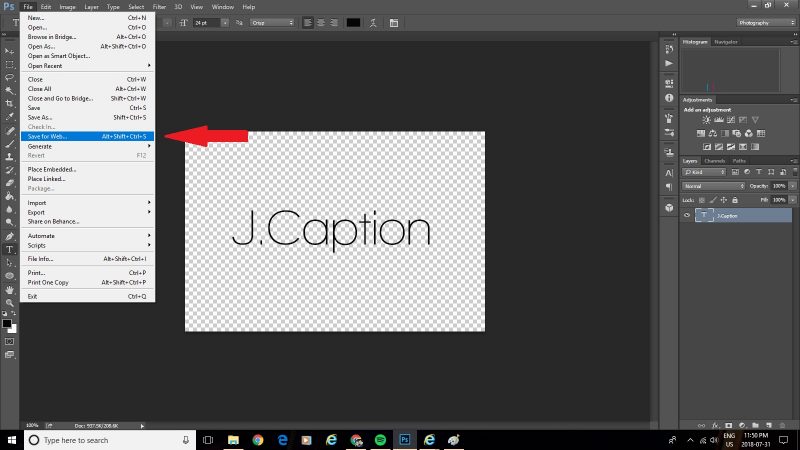
Click ‘Save for Web’. When the menu opens, select ‘PNG-24’. This will preserve the transparent background layer so that you can place your watermark on any image, and you will only see your watermark.
Use a background color that is neutral as you will see this better than using dark colors in a background transparent. (A black font was used here for the instructional purpose of seeing where the ‘logo’ was in the box)
How to Apply The Watermark
Open the image you want to watermark and create a new layer on top of it as previously done in the text-only step-by-step. This new layer will be the ‘logo layer’. Open your menu and select ‘Place Embedded’

Select your image from the folder you saved it in. Then place the watermark where it isn’t overly distracting in the image. Remember you still want the focus to be the quality of your work in the image, not the watermark.

Once you are happy with the placement of the watermark, save the image. Your watermark is now embedded in the photo.
Note on Images in Logos
Some may be interested to know that there are many resources available that offer royalty-free imagery with photography related icons and vector art. Play around with what would fit for your photo business, and ensure that besides the photo, imagery is powerful. Remeber that any image or art you select for your brand should not look out of place for your photography pursuit.
Conclusion
As you can see, it doesn’t take much to create a logo in photoshop. I would recommend to keep it simple, but have fun and experiment with the shapes tool, or play around with royalty free images as well. At all times, ensure that you are presenting yourself professionally, keep working at becoming a better photographer and developing a style that speaks of you, and that your clients and audience love.
Now that you can create a logo in photoshop, let’s take some really stunning images.
Until next time.
Jay