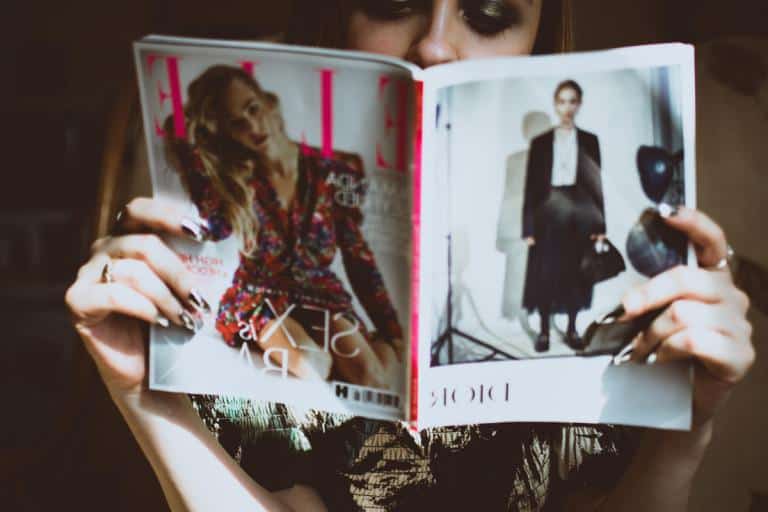
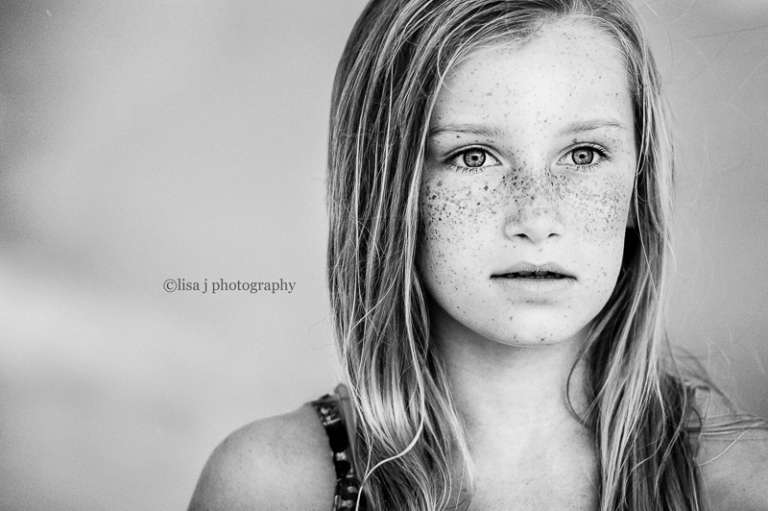
Ever panic on a portrait session because you’re unsure as to your camera settings? Relax! Here are some easy tips for your portrait camera settings!
So I think we’ve all been there. You arrive at a portrait location, and things are not “business as usual.” Maybe you’re behind on time, the light is not what you had hoped for, or the kids are extra wiggly! Don’t freak out. If you manage to learn the basics of your camera and your “go-to” portrait camera settings, you will produce images your clients love. The primary goal is to remain calm and professional. It’s ok if you’re freaking out inside (we ALL do it on occasion).
While there is no ONE standard group of settings for every session, there are some rules we can follow to get great results (while gaining confidence and making little tweaks along the way). This is a learning process, so be gentle with yourself and practice, practice, practice. It will all become second nature soon, I promise.
First, what lens do you choose?
It’s so easy to get lost in the endless amount of information on the internet…especially when it comes to choosing a portrait lens. Everyone has their preference, of course, but let’s chat about the most popular options. Prime (fixed lenses), and zoom lenses are the two most popular types of lenses for portrait photographers. Let’s look at some contenders for the best portrait lenses. (*Don’t worry if your lens isn’t on the list!!! There are MANY great options; we’re just listing the most popular!)
Prime Lenses
What are prime lenses? They are fixed lenses…meaning they only have one fixed focal length. These lenses won’t allow you to zoom (you’ll need your feet for that), but they do offer improved sharpness and can be pretty versatile as well. They tend to be lighter and more compact and have greater aperture capabilities, producing better compression.
What do we recommend?
35mm- This great wide angle lens will allow you to get more of the background in your image. This is an excellent choice if you want to capture your subject AND a beautiful landscape (like a gorgeous building or vast mountain range). It won’t produce the same compression as a 50mm or 85mm, but it will allow you to get in those tight spaces (like tiny streets or small studio space)!
50mm– The 50mm is probably the most versatile and popular lens among photographers when it comes to portraits. It’s wide enough for those pulled back shots, and can also be used for epic close-ups! It gives the perfect amount of compression, for that beautiful blur in the background that many professionals try and achieve!
85mm– This is the lens you want if you LOVE bokeh and have the extra space to shoot. It’s a dream for portraits if you love some serious blur (that’s often good enough to eliminate some background distraction).
135mm– The 135mm will give you the BEST compression, but make sure you have plenty of space to back up. This lens is ideal for the beach or a park! It’s popular among professional portrait and wedding photographers!
Here’s an in-depth tutorial about why everyone needs a prime lens.
Zoom Lenses
Zoom lenses are pretty self-explanatory. They zoom in and out, allowing you to choose multiple focal lengths with ONE lens (and without having to move in the process). This can be a great option if you are at a wedding and want to grab intimate moments without physically getting “too close.”
What do we recommend?
24-105mm-This lens has awesome reviews and can easily be used for portraits. It can be wide enough to capture those epic landscapes, and close enough to grab those intimate portrait moments with your clients. It’s a very diverse lens and a great option if you’re looking to cover a lot of ground.
70-200mm-This popular lens is great for portraits and those necessary tight shots at weddings! This lens can be a hefty carry, so make sure you can handle the extra weight on your shoulders.
[ad id=’4′]
Auto or Manual Focus?
Auto. Just choose auto. Ok, it is a little more complicated than that, but if you’re just starting, shoot on autofocus mode. This allows your camera to do the focusing, which is what you pay the big bucks for. You know when you stand just a little *too close to your subject, and your camera starts freaking out trying to choose a focal point? Photographers tend to use manual focus mode when shooting smaller details (or in macro settings), and when the camera has a harder time determining what you want to focus on, like a prong of a diamond ring. The fact is, on most cameras, autofocus mode does a great job of choosing the correct focus. Read on here for a breakdown of the types of autofocus modes!

What to choose: Auto
White balance.
Auto White Balance
White balance (“WB”) can be approached three different ways. The first is putting your camera on auto white balance and making any adjustments post-processing. This is the easiest way, and usually very accurate.
The Expodisc
There’s also a great tool, called the Expodisc that allows you to set your white balance based on your current lighting (meaning you have to adjust it every time the lighting changes). The Expodisc is excellent (I used to use it religiously), but it does add an extra step that may add too much stress to your thought process. In this case, you could theoretically use a grey card as well (which sets your camera’s WB to the perfect 18% grey).
Kelvin White Balance
The last option is using Kelvin. Kelvin is a temperature color scale that ranges from 2000k to 9000k…or from a warm orange temperature (2000k) to a cool blue temperature (9000k). Based on the lighting, YOU choose the numerical value. Does that sound complicated? It is…but it’s great when you figure it out. For example on a sunny day, you’d choose a value of 5500k because you don’t need to compensate for the white balance.
Kelvin allows you to make small adjustments IN camera. You start recognizing what you need in your images. So if you’re in a super warm situation, like crazy yellow tungsten light, you want to cool the image, so you’ll choose a value of like 3000. If your picture is cool (or blueish), then you want to warm it up (selecting a higher value number like 6000+). It honestly is NOT as hard as it seems.
Cool/Blue Tint = Warm and increase value to above 5500k.
Warm/Yellow Tint = Cool by lowering value to below 4500K.
Daylight is right in the middle at ~ 5000k!
What to choose: Auto (it’s for everyone…beginners to pros), Expodisc (for those who want to play around and get a custom white balance in every type of light), Kelvin (for more advanced photographers who want to make small white balance adjustments).
[ad id=’5′]
What is the best setting for portrait photography?
Unfortunately, we can’t tell you that. I know you wanted an exact guide, but you also know that lighting varies, along with the scene, and the number of people you are photographing. Here’s a three-step process that you can use in every situation to achieve the perfect settings each time you shoot.
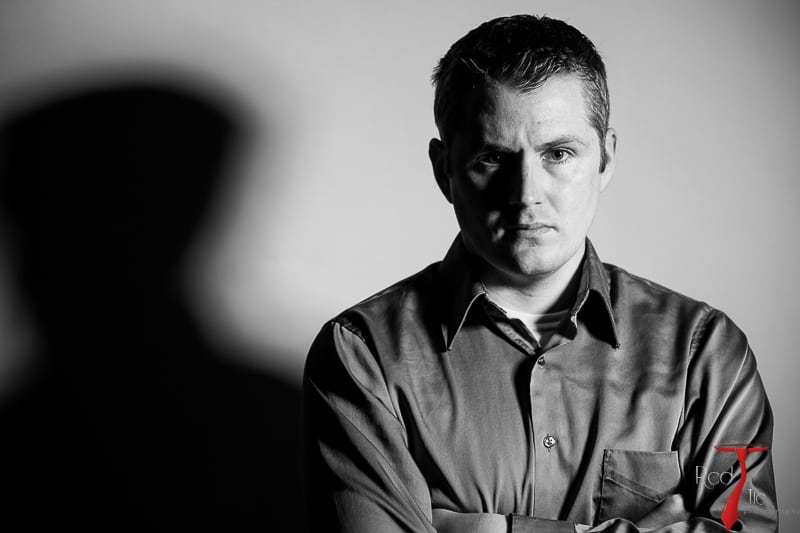
1. Pick your aperture (also known as f-stop or depth of field).
Canon EOS 70D, ISO 640, 50mm, f/2.8, Shutter Speed 1/125s
When it comes to your portrait camera settings, your camera’s aperture or f-stop determines the depth of field in your photo (or the amount of compression or blur that you’ll notice in the background). Shooting “wide open” means that your f-stop is open at say f/1.4-2.8 (depending on your camera). The higher the number, the more your image will appear in focus. If you’re shooting at f/1.4, keep in mind that maybe your subject’s eye will be in focus, while your subject’s ears may appear more blurry. However, if you’re photographing a large group will multiple rows, you’ll want a longer depth of field to make sure everyone is in focus, and not just the front row.
Read here to understand aperture in three quick steps.
What to choose:
1 person = f/1.2-f/4.0. It’s easy to shoot at a wider f-stop with one person because the only that one person needs to be in focus.
2 people = f/2.0-f/4.0. If your couple/pair are on the same focal plane, you can get away with an aperture as open as f/2.0 perhaps, but if they are staggered, you will need to increase your f-stop to something like f/4.0. We want to make sure that everyone is equally in focus.
3-8 people = f/3.2-f/5.6. You can get away with a wide aperture in a larger group, but you’ll need to be mindful of how the people are lined up. The more staggered they are, or say if you have two or three rows, you’ll need to up that f-stop even more. This will ensure that the focus will fall properly and that everyone will be sharp and crisp in the image! You’ll want to focus on the middle person in the group.
Large group = f/5.6-f/11.0. When photographing larger groups, you want to make sure that the entire scene is in focus. This can apply to large family portraits, class photos, or huge bridal parties. Click here for a more in-depth tutorial on large group photos!
2. Choose your shutter speed.
ISO 640, 48mm, f/2.8, Shutter Speed 1/5000s
Your shutter speed is one of the essential elements of any photo, and one of the three components of the exposure triangle. It freezes your subject and leads to those sharp, crisp images we are all after. It can also create that fantastic motion blur, like in waterfall photos with wispy water trails. However, as a basic rule, we typically want our portraits client photos to be in focus. To achieve this, we want to set our shutter speed to a minimum of double the focal length of your lens! This will ensure that you freeze your subject (and won’t get that motion blur that many don’t love in portraits). If you’re photographing wiggly kids or animals, it’s always a good idea to increase your shutter speed to “freeze” the motion.
To read more on the exposure triangle, check out this great tutorial!
What to choose: At least double your lens focal length! The longer the length of your lens, the more likely you are to encounter camera shake. We want to make sure that we capture our portrait clients in the most flattering way we can. This means we want our pictures sharp and detailed.
35mm = 1/70th
50mm = 1/100th
85mm = 1/170th
135mm = 1/270th
3. Set your ISO.
When it comes to getting accurate exposure, you can set your ISO based on your other two settings. Your ISO determines the amount of light that your camera will allow into your lens. If you’re outside, you’ll want to set it from 100-400, depending if it’s sunny or cloudy. The ISO sets your last component of the exposure triangle.

This was taken with a Canon EOS 110D, Lens: 50mm, ISO 100, F/3.2, Shutter 1/125s
Read this tutorial on ISO if you want to learn more about the basics of ISO. Remember that your ISO will change (will be lower) if you’re using an alternative lighting source like an on or off-camera flash.
What to choose:
Sunny day = ISO 100-400
Cloudy day = ISO ~400-800
Indoors with good natural light from windows = ISO ~800-2000
Dark interior (wedding reception, church interior) = ISO ~2000+
*Please note that these can vary slightly, so don’t worry if you find yourself deviating from these numbers in certain situations!
What is Aperture Priority and when should I use it?
Aperture priority is JUST that, you are choosing to put aperture at the most important part of your image. That means that you are choosing your depth of field FIRST, and your camera then calculates the shutter speed. This is one step closer towards manual mode! It really keeps the guesswork out of setting your shutter speed, and can really reduce the amount of stress if you’re moving quickly!
When to shoot in Aperture Priority mode!
We recommend using aperture priority mode when you’re in conditions where the lighting is changing fast and where capturing moments and candids are vastly important. For example, at events such as weddings, there will be people moving and you can’t always control the light. You certainly aren’t going to be able to use off-camera flash when you have 200 guests to photograph! Aperture priority mode is a great option for other events as well. where you can easily make quick adjustments based on how much or how little depth of field you need in your image.
Conclusion
If you learn the basics of portrait camera settings, your stress will start to melt away! But please remember, it takes time!!! We recommend thinking through your sessions the day before! Running through session day scenarios will get your brain thinking in camera terms! Sometimes I even find myself taking my kids to school and asking, hmmm, what would I set my ISO in this cloudy situation? No matter the session, take a deep breath and go back to the very basics! You can do it! We are with you! To ask questions and get involved in the supportive discussion about photography, check out our community Facebook page!
https://youtu.be/dXuoRoiDnm0