
You’ve done it. You had the perfect shot, and the more you look at it, the more it seems a little off. Or maybe you opened the photo and knew right away that the centering was off. Luckily, Adobe Photoshop offers you a way to fix small mistakes and reclaim your favorite pictures.
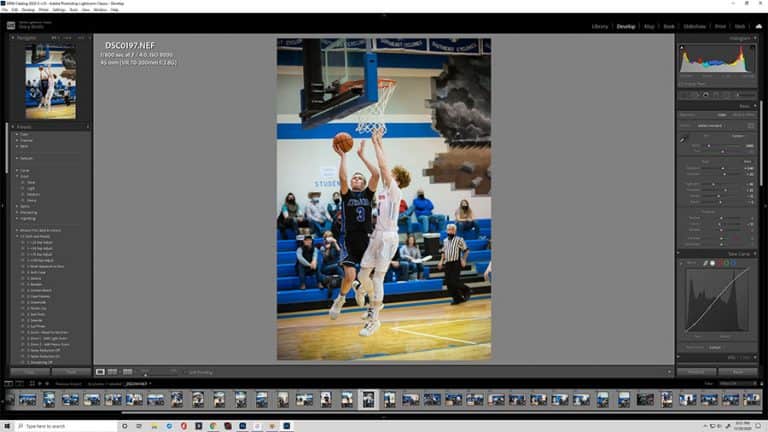
Looking to improve your photography? Just enter any questions you have about improving your photography below and hit send and get answers & feedback instantly - for FREE! Submit QuestionsThere are quite a few ways you can straighten an image in Photoshop (rights reserved), so let’s go through what you need to know about one of the program’s fundamental functions. Here’s how to straighten an image in Photoshop.
The Camera RAW Filter Method
Using RAW images in Photoshop helps you get past any other adjustments and create data for further photo manipulations. If your camera shoots in RAW, this is an excellent way to adjust a photo more effectively.
- Find the RAW image you want to change and load or drag it into Photoshop. Photoshop is compatible with a wide variety of RAW images.
- Under the Filter settings, choose “RAW” to begin working with the image directly.
- Find the Transform tool icon to open the slider for adjustments.
- Move the slider tool back and forth to find the perfect level for your RAW image. You’ll be able to see how small changes affect the composition and make decisions concerning the line of sight in the original photo.
Using RAW manipulations are a quick way to drag a photo to straighten without much fuss in several versions of Photoshop.
“The Ruler Tool” Method
The ruler tool is available on older versions of Photoshop. If that describes your program, this is how to straighten an image in Photoshop for old versions.
- Head to your options bar and select the Ruler tool, nestled underneath the eyedropper tool.
- Click the ruler tool and “drag along” the tool across something that you’re checking.
- Choose “Rotate Canvas-Arbitrary” within the ruler tool and then click ok. Photoshop will bring up the ruler tool dialog box with its suggestion for rotation.
- The ruler tool will then allow you to rotate the image until it looks straight.
- If you need to, you can use the crop tool to crop the edges from the images to reorient the photo.
The Photoshop ruler tool works excellently, but you’ll have to have specific versions of photoshop to use it. It’s a quick way to straighten an image.

The Crop Tool Method
If your photo is very uneven, it’s best to click straight to the good stuff — using the crop tool. With the crop tool, you’ll knock out any white space and, at the same time, straighten an image for good.
- Select the “Crop Tool” from your list of Photoshop tools in all versions of photoshop.
- Find the straighten Icon in your option’s bar and select the straighten Icon to begin drawing your image’s new dimensions.
- Once you’ve drawn the new dimension with the straighten icon, start with one corner of your photo and drag along a line where the straight edge should be.
- When you let go of the mouse or toolbar, Photoshop automatically straightens and crops the image to your new line.
- Confirm the crop to save the latest version of your picture.
- In some Photoshop versions, you can click and select a corner to begin drawing a square or rectangle in the same manner. Confirm the new crop, and you’ve got your straightened picture.
Using crop works excellent if your picture is highly off-kilter, giving you the chance to crop out unwanted white space or straighten by zooming in a bit. It knocks out two issues in one.
The Distort Tool Method
If your image is warped because of perspective rather than just a simple image tilt, you can use the Photoshop distort tool to fool the eye without losing the perspective. It allows you to straighten an image of the corner of a building, for example, without favoring one side over the other.
- Open your picture in photoshop or click and drag it in and unlock the background layer to allow you to work on all elements of the image instead of the picture as a whole.
- Under “Edit,” in the options bar, find the “transform” menu to open up your options.
- Choose “Distort” to begin working with the individual layers of the picture, bringing it into a better perspective with a straighter feel.
- Crop the image once you’ve adjusted the picture to your specifications to ensure that there is no white space and that the photo layers are centered the way you need them to be.
Click and drag the perspective to give you a better angle on your distorted image.
The “Non-Vertical Lines” Method
This method is a simple straighten image Photoshop method to check to see if it’s your mind playing tricks on you or if your picture is just a bit off. This method is best when you aren’t sure if straightening the photo is what your photo needs.
- Select and click the picture in Photoshop — take a good long look to see where its lines fall and consider if this is what your image needs.
- Use the guidelines function to open a grid set up. You’ll be able to see right away if the picture is off a bit and be able to adjust using the grid.
This option is a straightforward Photoshop option and also helps you if you can’t quite find the right adjustments.

Straighten a Warped Image
Whether you work in RAW or you’re still Photoshop CC, you’ll be able to manage the look and feel of your final picture with the right straightening method. Each one of these helps you build the chops you need to succeed as a photographer.
Straighten Image Photoshop tools (rights reserved) give you a variety of options. The straighten tools in Adobe Photoshop are precise and help you get the image you need. Straighten your photo for the best results and to create a dynamic picture regardless of perspective.
Working with Photoshop tools is intuitive and straightforward, and the straighten tool is one of the best and easiest features of the whole program. Never let off-center images ruin your camera roll again.