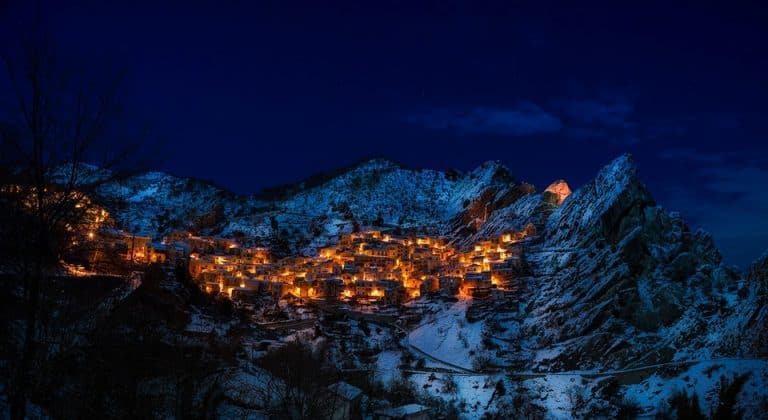

How do you create landscape photos others can’t stop staring at? We’ve all seen those stunning landscape photography images on Instagram, in magazines, travel blogs and tv commercials. Read on for more tips to get print worthy landscape photos.
What is the best landscape photography camera?
There are tons of great cameras out there and there is not a single camera that we recommend. We advocate that knowing the right DSLR camera settings, and knowing some landscape photography “rules” will result in beautiful photos. However, there are a few camera features you want to look for if you decide you would like to purchase a camera.
Looking to improve your photography? Just enter any questions you have about improving your photography below and hit send and get answers & feedback instantly - for FREE! Submit Questions- Full frame sensor
- High ISO capability (for Aurora & star chasing photographers)
- Approximately 20 megapixels
- Weather sealed
- Weight
- Good battery life

A full frame sensor shows more of the scene in the photo compared to the same image shot on a cropped sensor. While more megapixels are arguably better, a 20-megapixel camera should cover most of your photography needs. Your camera should be weather sealed so that a walk in a light rain won’t ruin your camera. Lastly, you will want to take weight into consideration. Higher end cameras tend to weigh more than entry-level cameras, and DSLR cameras tend to weigh more than mirrorless cameras. When hiking for hours to reach a location for your perfect photo, weight matters (so does invest in a good camera bag). Battery life is somewhat important, but I advocate for always carrying fully charged spare batteries on landscape photography excursions.

What is the best landscape photography lens?
This is equally, if not more important than having the right camera for landscape photography. Having the right lens on your camera makes a world of difference in the quality of the image your camera produces. Leave your kit lenses at home for your excursion because the lenses sold with camera bodies as part of a package tend to be sub-par. The type of lens you need depends on what type of shots you plan on getting. Some popular lenses among landscape photographers include:
- 14mm
- 16-35mm
- 24-70mm
- 70-200mm
It is important to note that not ALL these lenses are required or necessary for landscape photography. A landscape photographer can easily get all their shots with one or two of these lenses.
A super wide-angle 14mm prime lens is pretty affordable compared to zoom lenses, especially if you buy off-brand. It gets the maximum amount of landscape in your image. The 16-35mm lens gives a little more variety in focal length but is less affordable at a cost upwards of $1000. The 24-70mm is not the best lens at either side of their focal length range, however, it is the most versatile for walking around. Finally, the 70-200mm is superb if you’re a landscape photographer that likes to zoom in their landscape from far distances.
What are the best landscape photography settings?
Landscape photography settings will vary depending on the time of day and the amount of time available but here is a great place to start:
- Aperture: f/11-f/16
- ISO: 100
- Shutter speed: varies
- White balance: daylight, shade, or cloudy
- Autofocus points: single
Your ISO should be at 100 if you’re shooting a scene when the sun is fully up in the sky. However, if you shoot at sunrise or sunset or in a forest with a thick canopy, you’ll want to raise your ISO. Once you have your ISO set, then you can start to play around with shutter speed to get the right exposure. It is generally recommended that you don’t reduce your shutter speed to 1/focal length when supporting your camera by hand. So if your lens is 200mm focal length, don’t use a shutter speed of less than 1/200. If you have a tripod, you can use a lower shutter speed without getting blurry photos from slight movements of the hand.
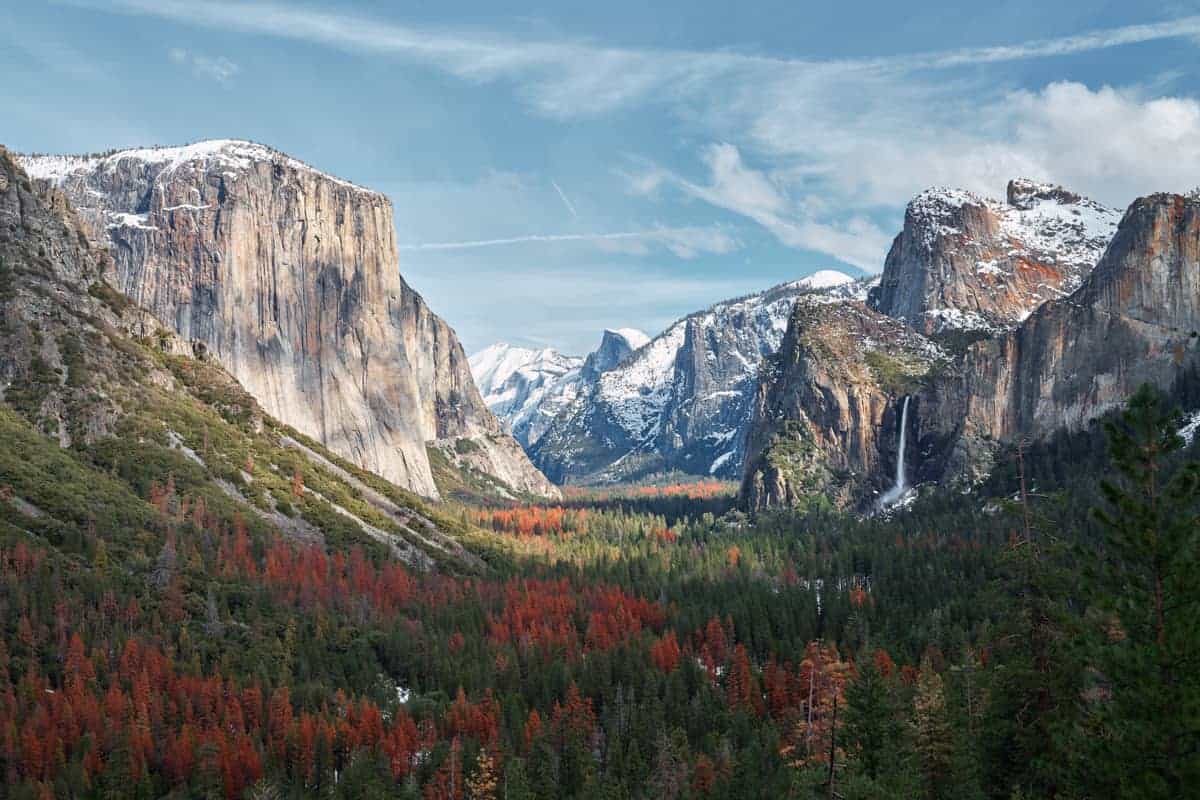
Landscape photography tips for beginners
Depth of field
To ensure your entire image is in focus and sharp, choose a point in your image about ⅓ of the way in to focus on. Your camera’s depth of field will allow everything in front of and behind that point to be in focus.
Light

Just like any other type of photography, your scene is always going to look the best in the flattering soft light of sunrise and sunset. Midday sun can create harsh shadows in your landscape, and make everything look dull. If possible, wait to capture your landscape until the sun is right near the horizon. Read on for more tips to take the perfect sunset photo.
Rule of thirds
Imagine drawing two evenly spaced diagonal lines and two horizontal lines through the scene in front of you. You’ll want to compose the point of interest in your image so it falls on one of the grid lines, or intersection points. This is called using the rule of thirds. For example. you could tilt your camera so that the horizon falls on the bottom third of your photo to emphasize the sky. This creates a pleasing composition for your photo. Learn more about that here.
Leading lines

When placed just right within your image, lines created by roads, logs, and streams can draw the eye into the rest of your photo. This engages your viewer leading them to spend more time admiring your work.
Framing
Landscape photography can be elevated by using natural features in your landscape to frame the edges of your photo. Foliage is a common framing element.
Vantage point
You can wow your audience by using different angles and vantage points to capture the scene in front of you. Landscape photography is all about showing the viewer something new. Don’t be afraid to get down low to the ground or up high to show a different point of view.
Foreground

Some of the best landscape photography makes use of interesting features in the foreground to accentuate the rest of the scene. Think of big boulders, a colorful shrub, or perhaps a pier in the water at the front of your image to create interest.
Reflections
Who can resist a perfectly calm lake with a perfectly clear reflection of the surrounding scenery? A few ripples in the water can add a bit of energy to the photo without destroying that peaceful feeling.
For more information on the compositional “rules” in photography, read our ultimate guide here.
Many photography tips and rules are a great way to hone your skills but sometimes those rules are meant to be broken. Continue experimenting to grow as a photographer and keep things interesting. After taking your beautiful photos, spend some time in Lightroom to perfectly enhance your photos. Finally, take pride in your work and display it somewhere for the world to see!